So, I know that I said that I would be back to update the progress on the ceiling texturing. And nothing…well, the only excuse I can come up is that texturing your ceilings is hard. Hard and time consuming. The good news is, we are done. At this point, I only have a few rooms painted because after the super hard part is done and you have brand new texture, the last step is painting them. That’s your reward for your hard work. You’re welcome.
Right after we moved in, I started scraping the popcorn that covered every inch of our ceilings, even the ceilings in the closets. Oh, I was so enthusiastic about starting this project. I told Nate we could get this done over the course of a couple weekends. Now that we are nearing the actual end of the project with only painting left to do, I underestimated by about a month. Ha! Oops. Here is what we started with.
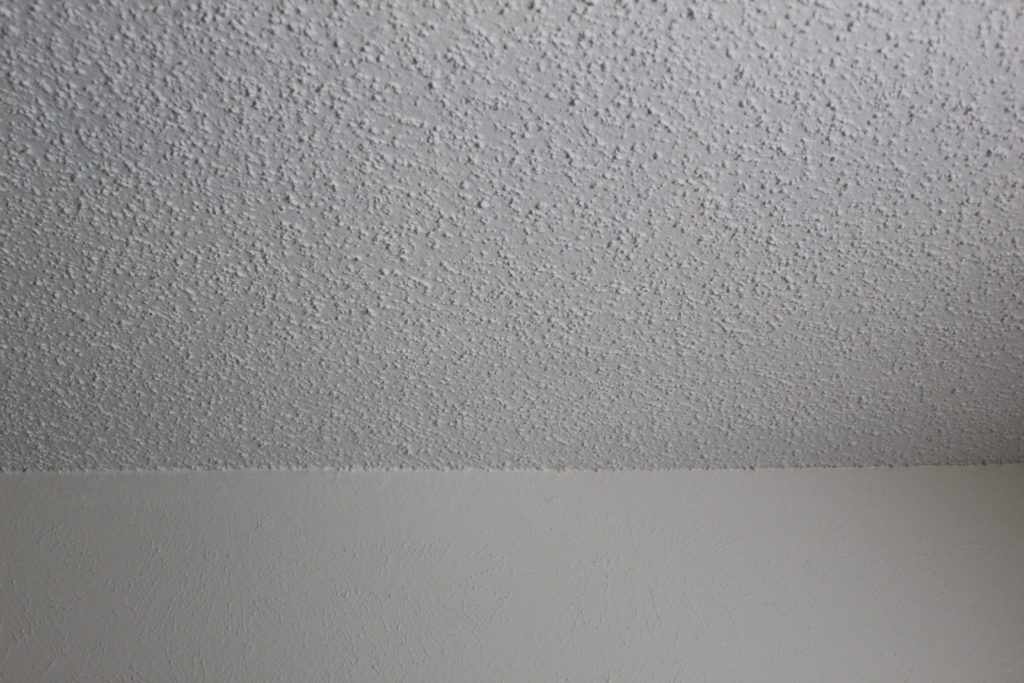
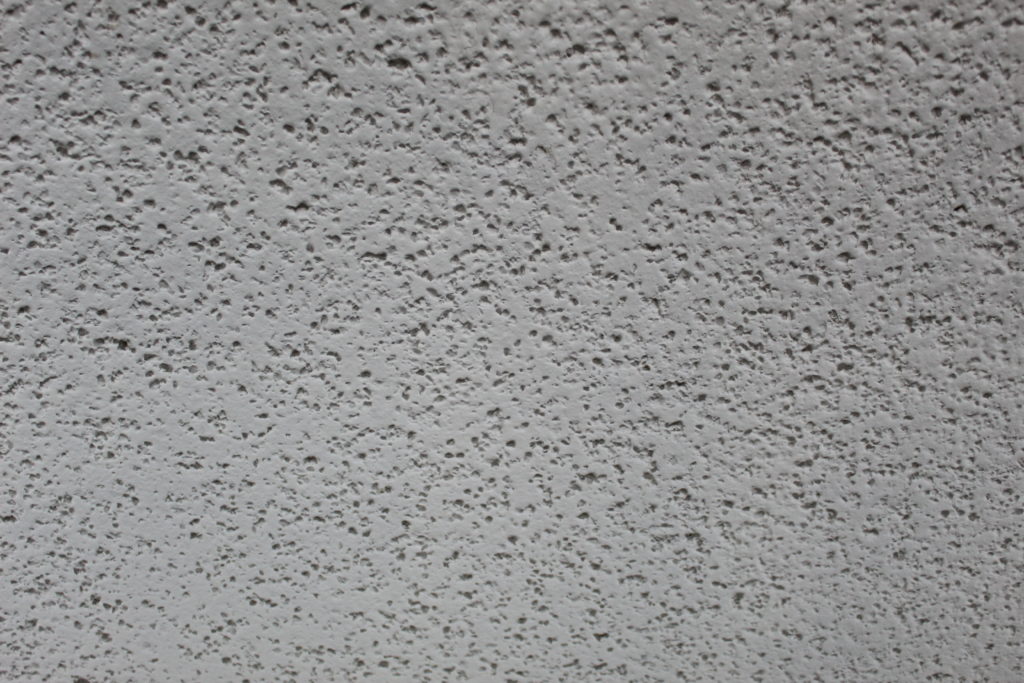
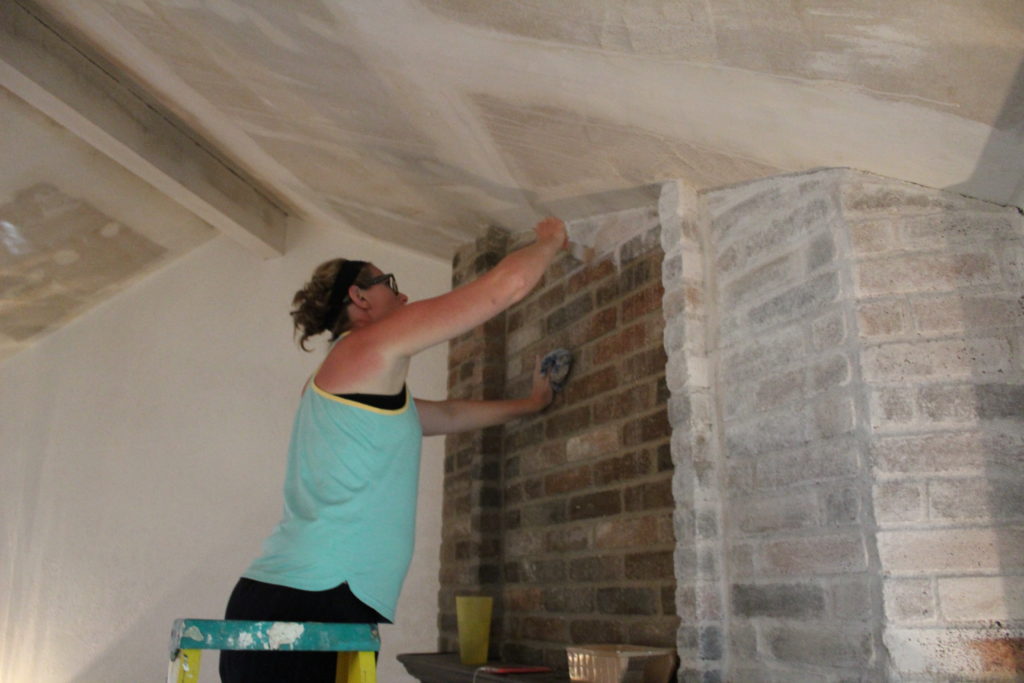
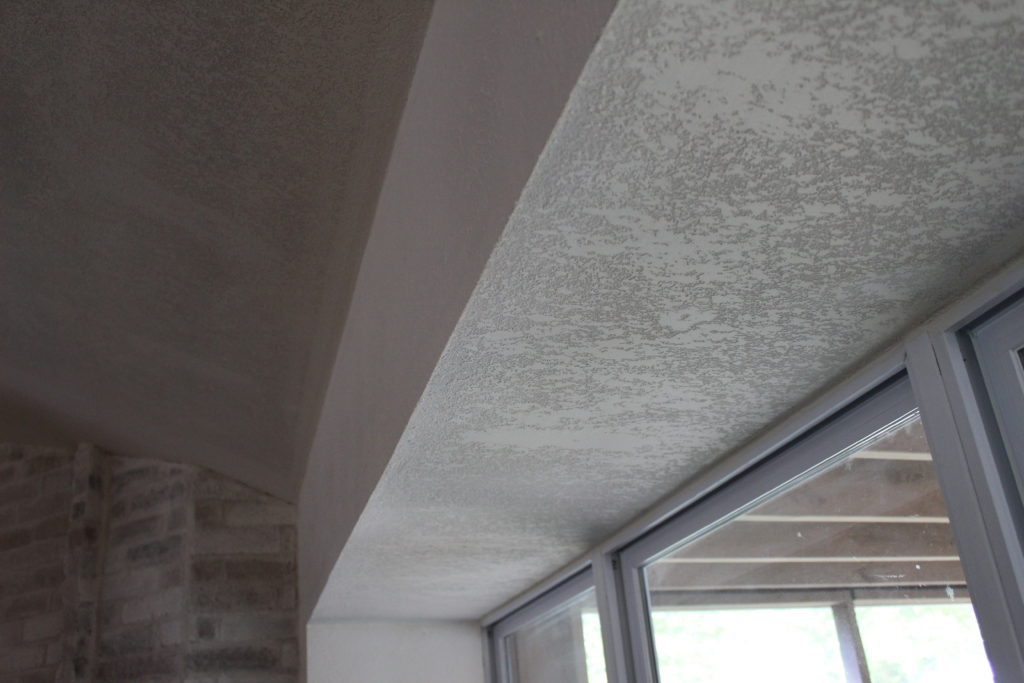
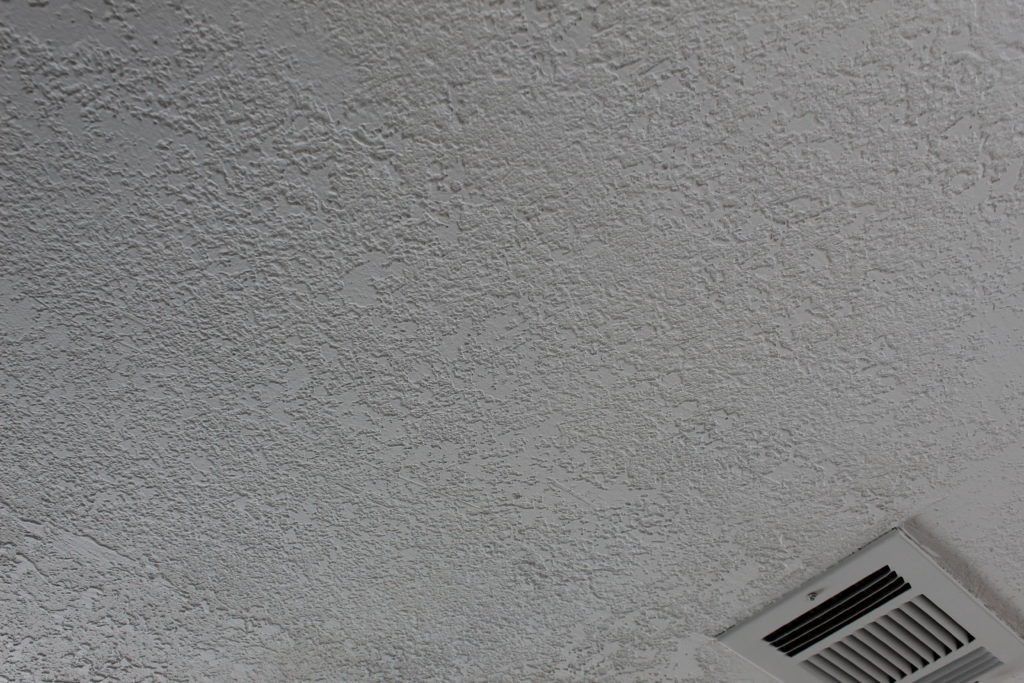
We did a lot of research about which new texture to go with and after asking our realtor what she sees in most houses in our area, we decided we would go with the knock down method. It’s pretty simple but after you spray on the texture with a hopper, you basically take a flat edge and knock down the peaks that leaves you with a smooth surface with little (and some not so little) islands, as we started calling them. After scraping the whole house, patching with joint compound, sanding, patching a second time, sanding a second time, spraying on the new texture with a hopper, and knocking the texture down, this is what we are left with.
Once it is painted, it basically looks the same, but has a more finished or polished look.
For all of that work and for such a long process, I wish it was more exciting than that. But, it is making a big difference in the house and I swear everything feels brighter and less dark. I think it will be one of those things that will make a overall big difference once we start updating some of the cosmetics in the house, like wood flooring, painting our trim white, and painting the walls. Popcorn ceilings are no joke people.
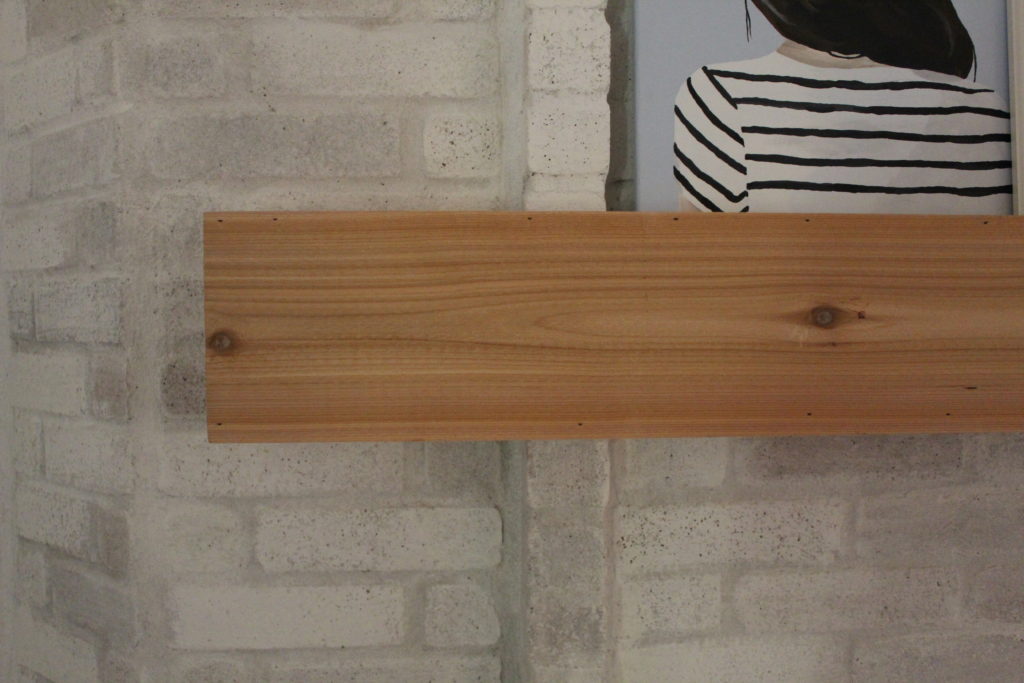
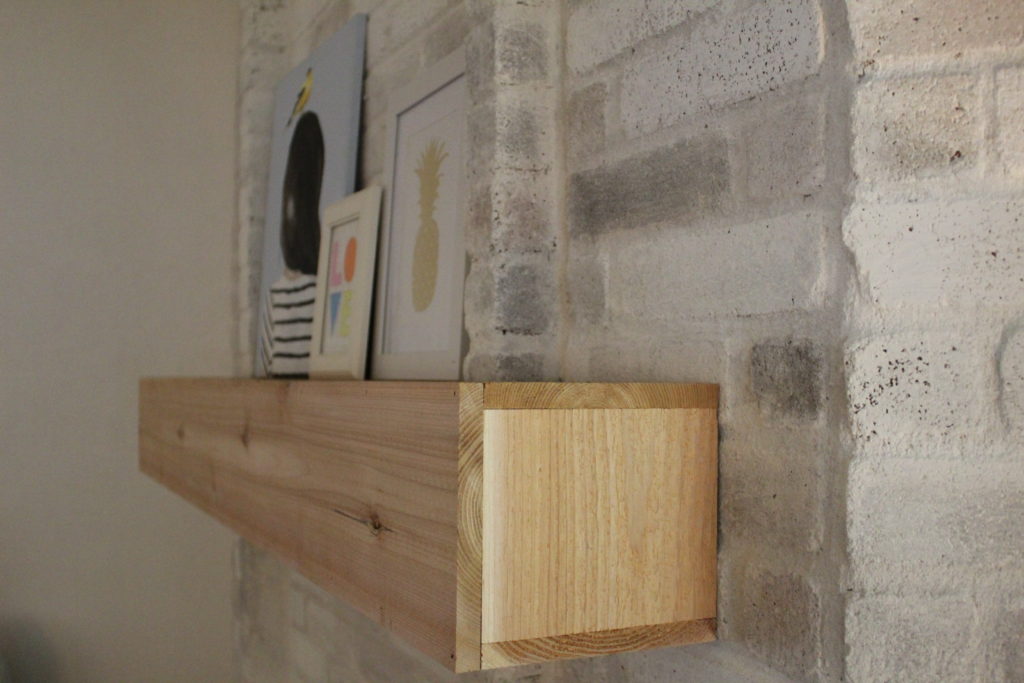
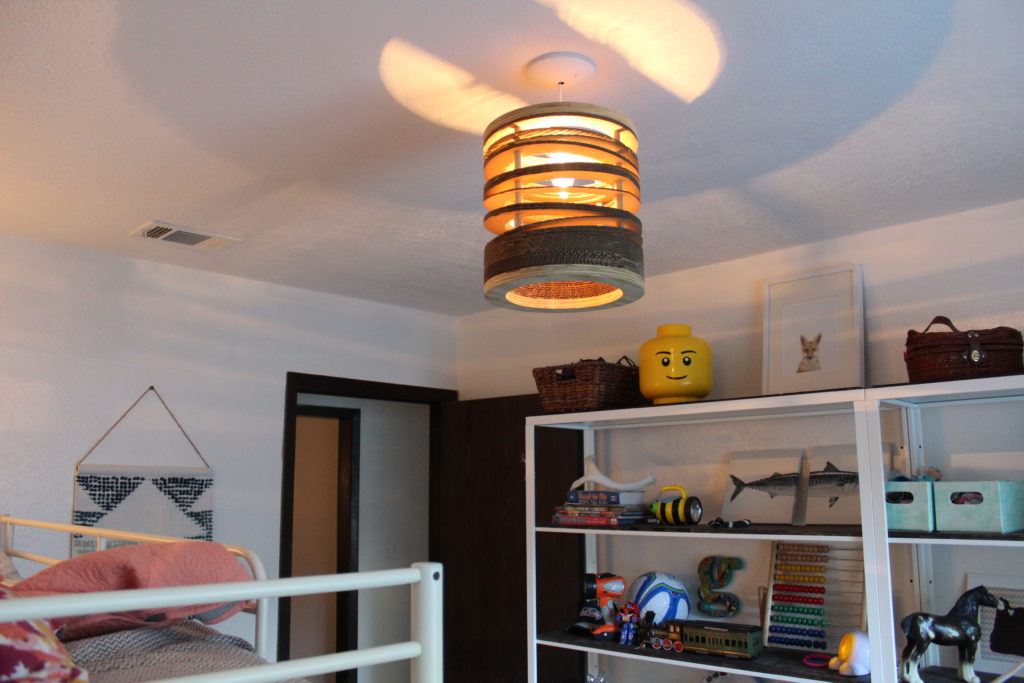
There have been lots of other smaller updates going on around here too. Since the ceilings are wrapping up, I have the luxury of focusing on some prettier things. Like lighting! Nate hung the fixture in the kids’ room yesterday and it looks so good. For the last month, there has been a vacant hole in the ceiling with wires hanging out so this is a big improvement.
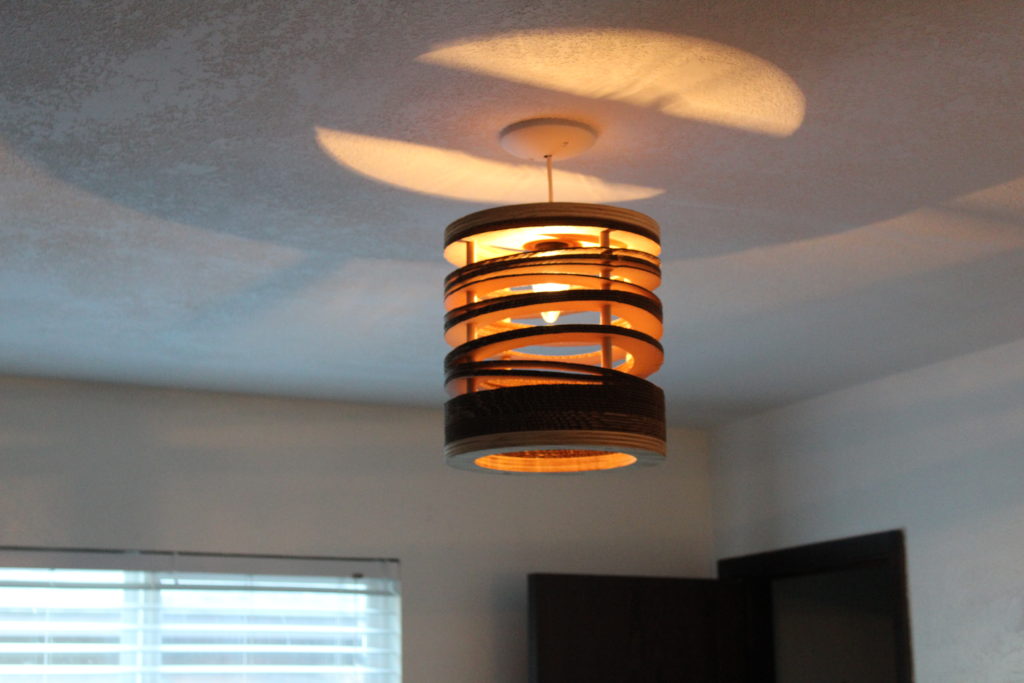
I scored this guy at Anthropologie a few years ago when I was wandering through the home section (you mean they actually have clothes???? What?!) and noticed this light fixture that someone had ordered online and returned it to the store so they marked it down like 3000%. It casts a very warm light that feels super cozy and Grey told Nate it was his “party light.” Five year old minds are the best.
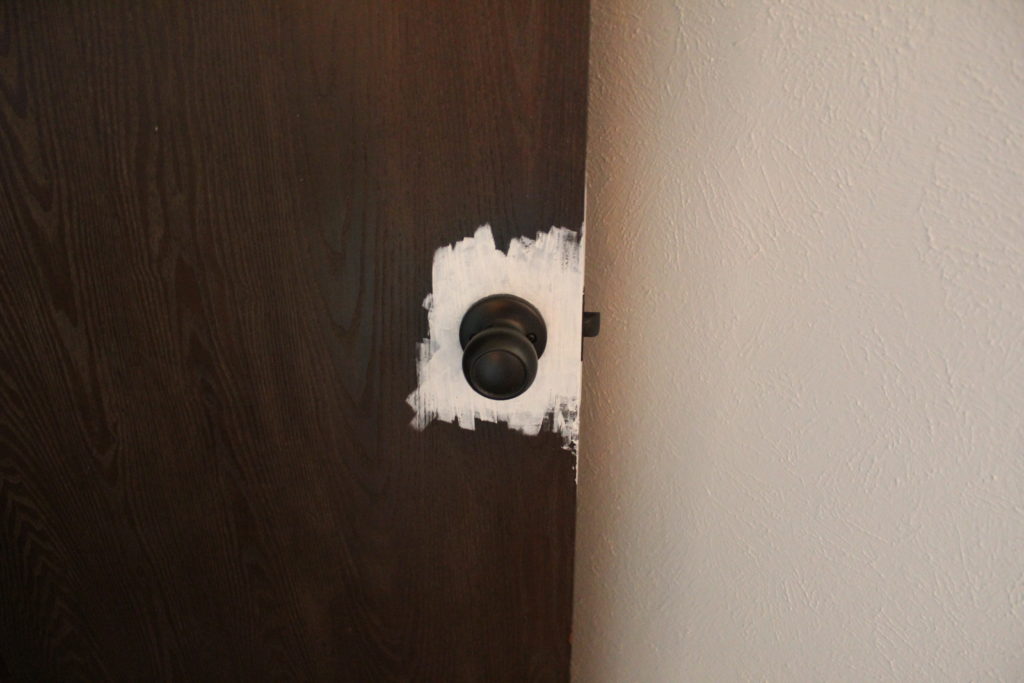
In other parts of the house I have a little experiment with spray paint happening. You see, the hardware on our doors is just ugly. On a scale of 1 to 10 in ugliness, 1 being beautiful, and 10 being the worst of the worst – ours are a 10. So, since it looks like we will making a little investment in door hardware, (which I have come to learn is NOT cheap) I thought I would try and give it a coat of paint to see if it holds up. If it doesn’t, we haven’t lost anything because we are planning on replacing them anyways. I have seen other bloggers use Oil Rubbed Bronze on door hardware before with a top coat with positive results so I thought I would give this a whirl and see how it goes. This is our hardware before paint and top coat.

Geesh. After a couple of coats of paint and top coat, they are looking more like this. I probably should have also mentioned that I started painting all of the doors and trim around the house too. I know, I have a million things going at the same time. F.O.C.U.S. I have been feeling good lately with lots of energy so I am taking advantage of this momentum before baby boy comes in November. Too much to do, too little time. But the doorknobs are looking better, no? I will keep you posted if the paint holds up through every day use.
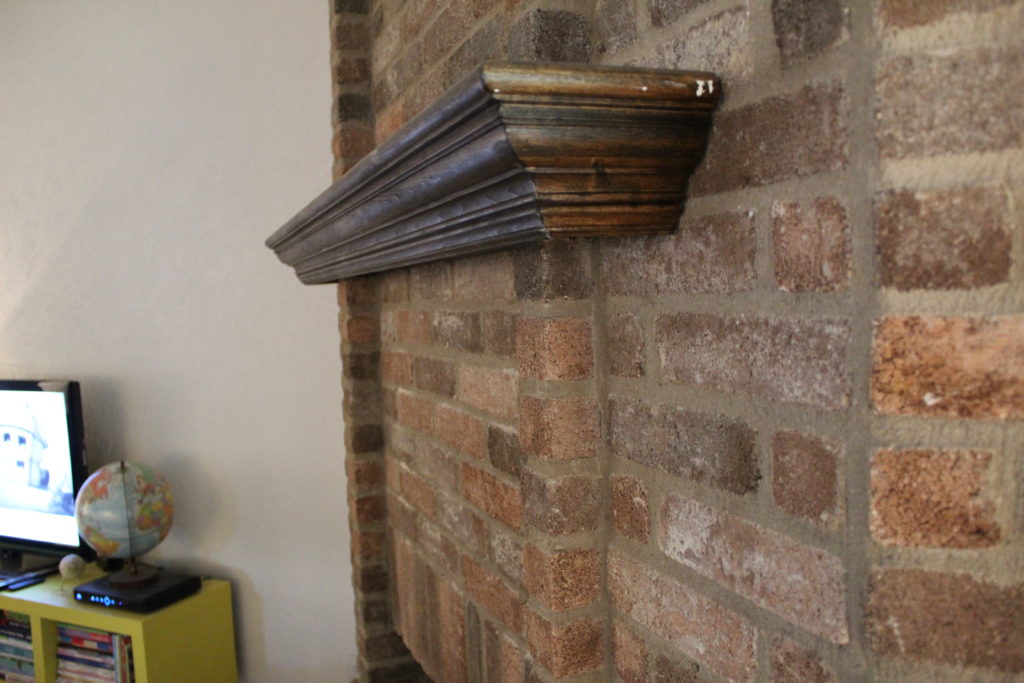
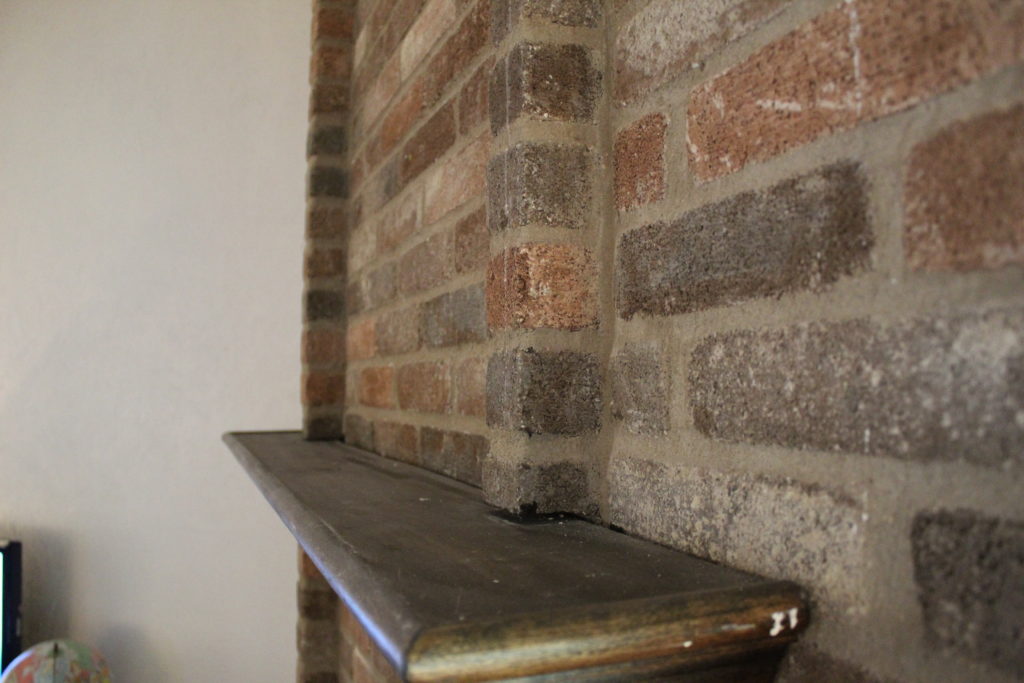
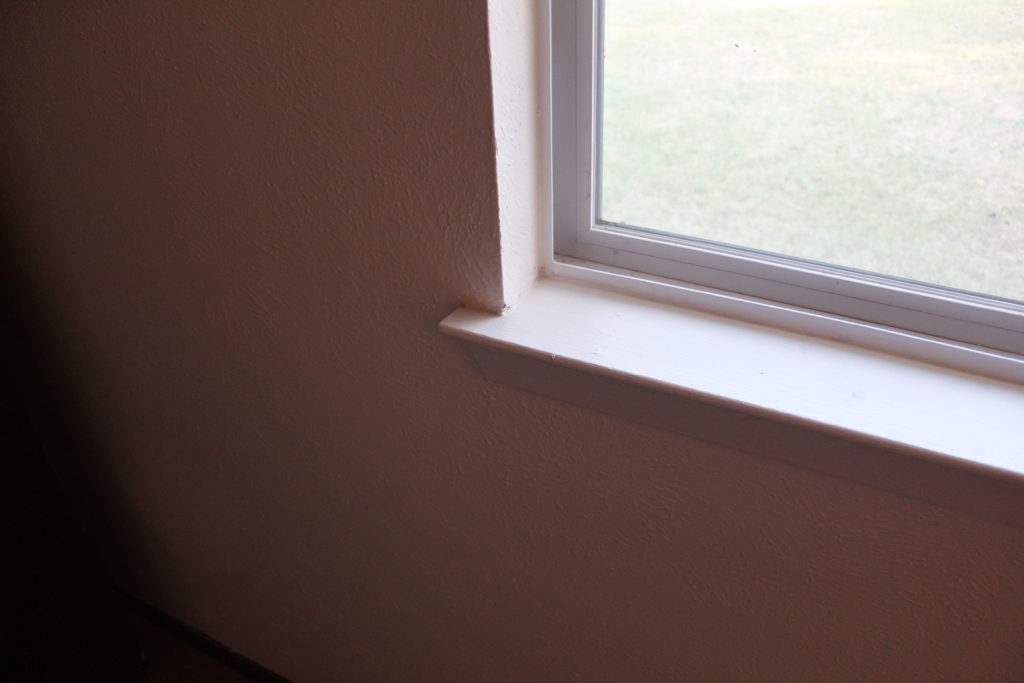
Here are a few more shots of the trim around the house that needs to be painted. I believe they used a very deep chocolate brown and just painted the trim. From far away, it appears to just be a very dark, stained wood. But it is not. It’s shiny too and reminds me of milk chocolate if you melted it on the stove top. Yum. On our trim though, yuck.
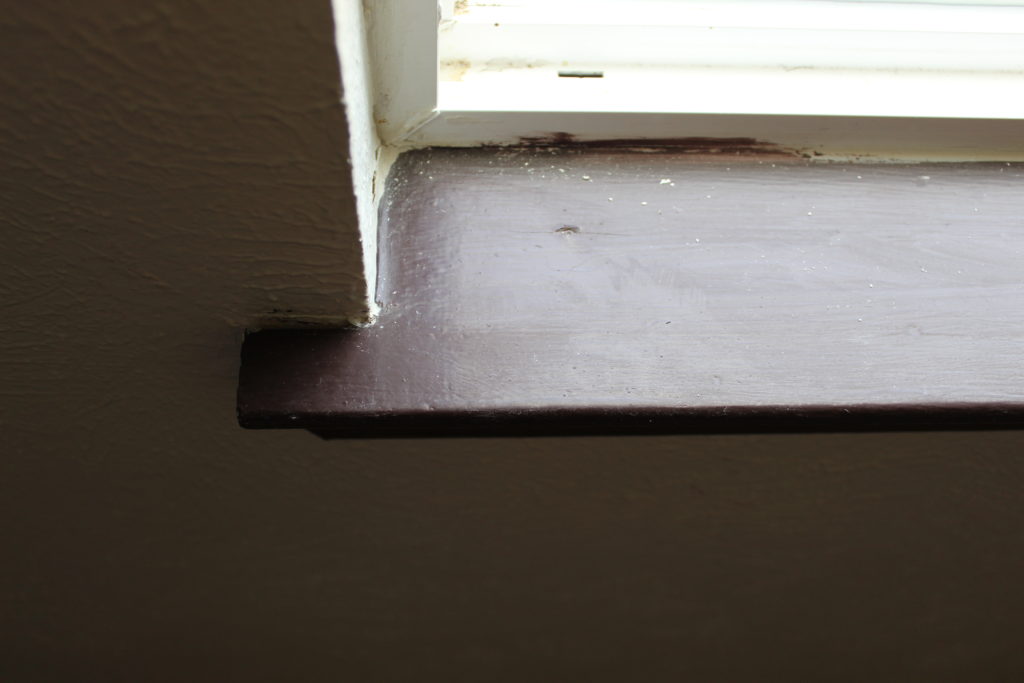
And once again, white paint for the win.
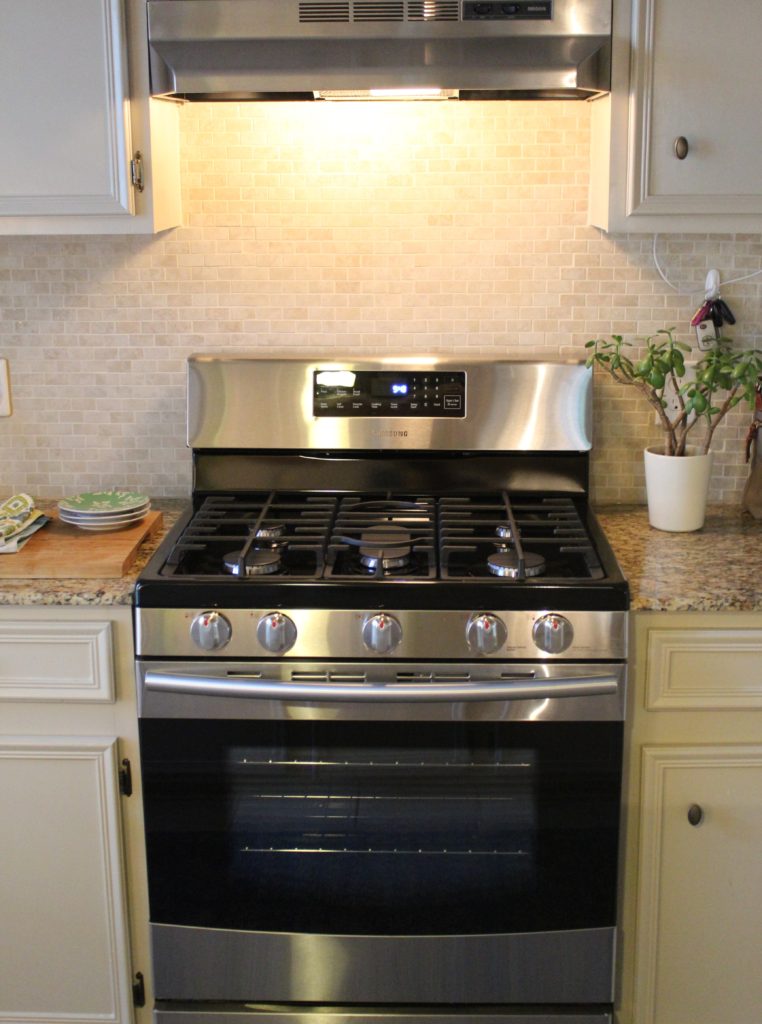
The last update that we made to the house this last week isn’t diy related but I thought I would mention it because Nate is in love and it is a house update. We bought a new range for the kitchen! This was a fun one because it’s functional and looks so pretty. The range that came with the house worked just fine but we are eventually going to upgrade all of the appliances to stainless steel so we thought the range was as good of a place to start as any. We listed it on Craiglist and it sold the next day so we were even able to recoup some of our investment.
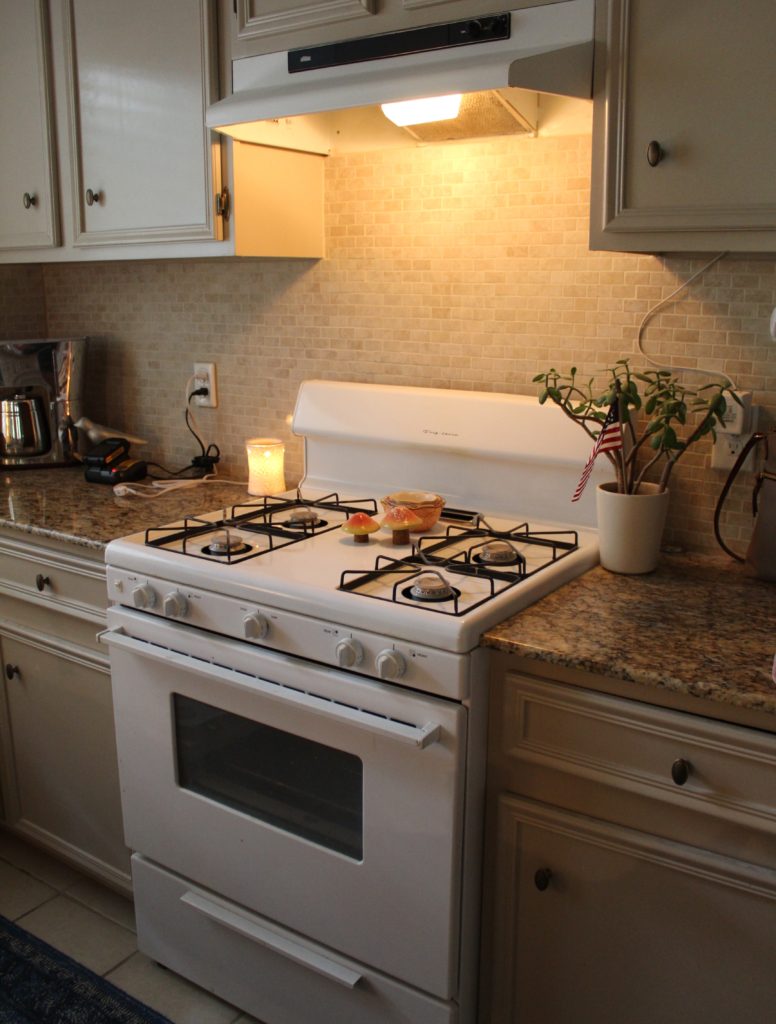
And here is the new one.
So, I think that about wraps up everything going on around our house for the week. Sorry about the brain dump but we’ve been busy. Really busy.
Ps. I updated my house tour with some progress pictures so you can see where we started when we moved in and where we are at today. It’s starting to look better…I hope!