We built a bench in our entryway and it feels so good. Hehe, I just sort of jumped right in without any pleasantries or warning. I’m a tad excited about this project, can you tell? Behold, our refreshed entryway:
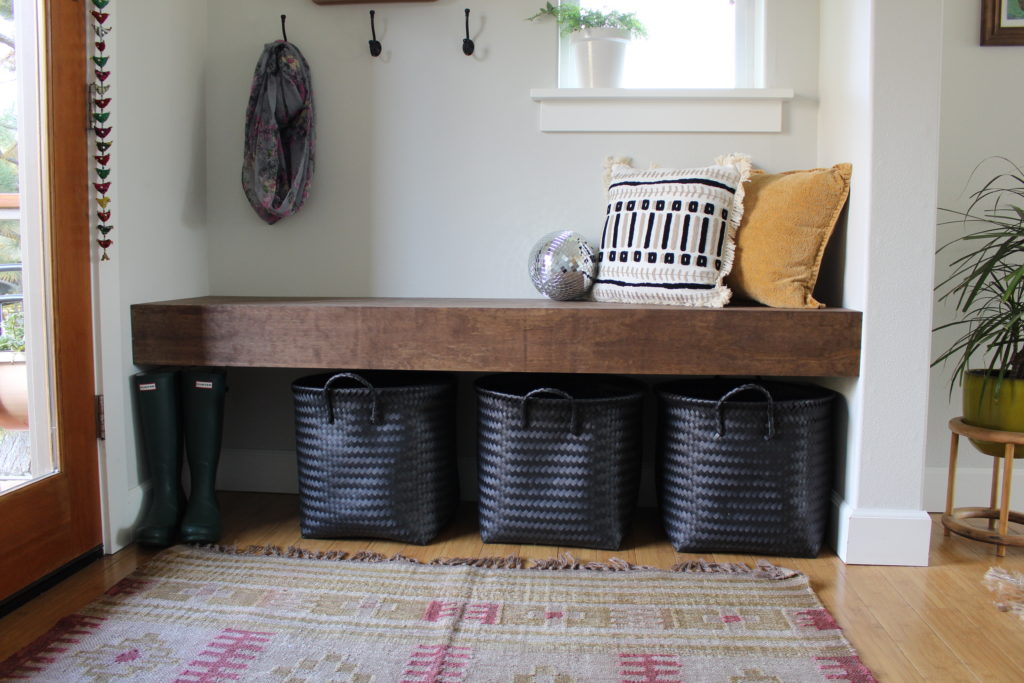
It feels like a whole new space. Ah, the power of diy.
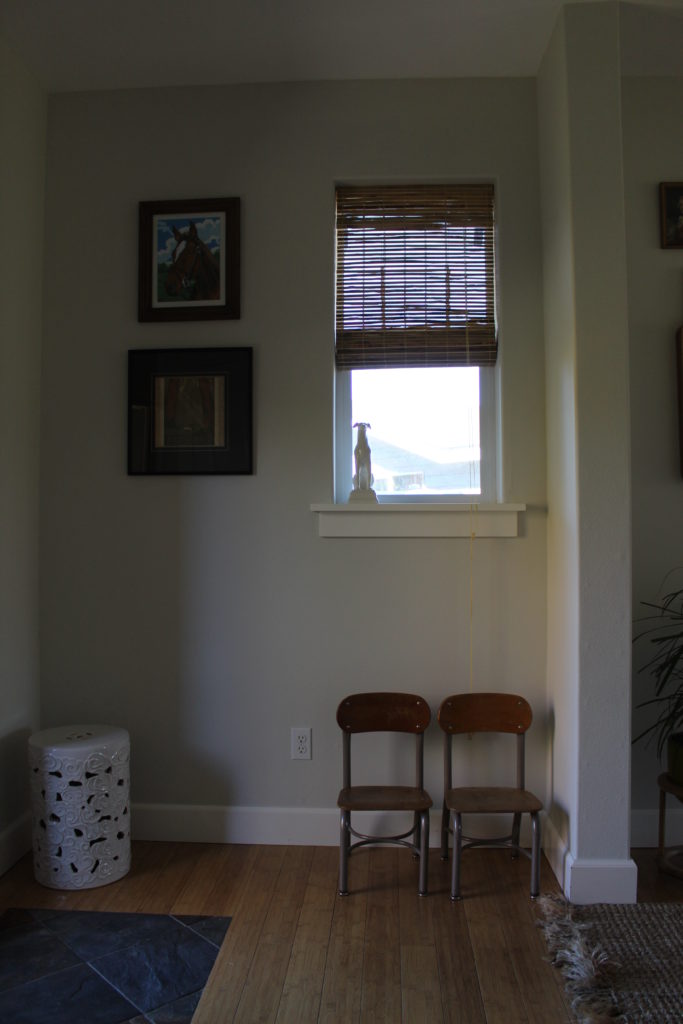
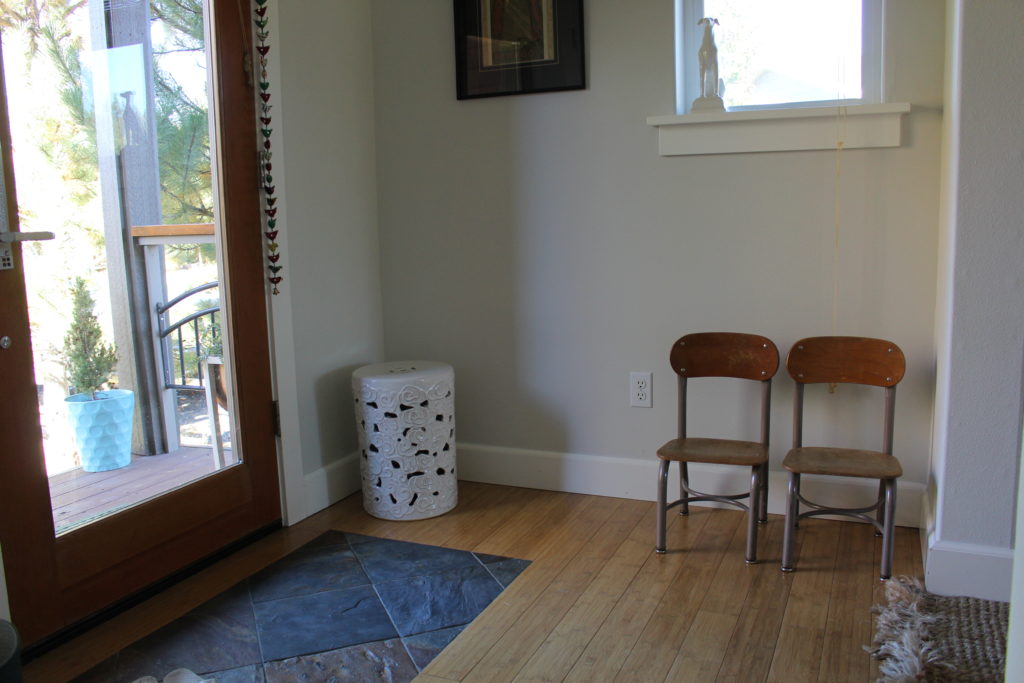
As you can see, we weren’t using this space in a functional way. Besides not being functional, it was so boring. Major snooze factor. There wasn’t any storage, no hooks for coats, and no mirror to check your hair when you leave. Doesn’t everyone do that? I knew it needed all these components, but I wasn’t sure how to implement them.
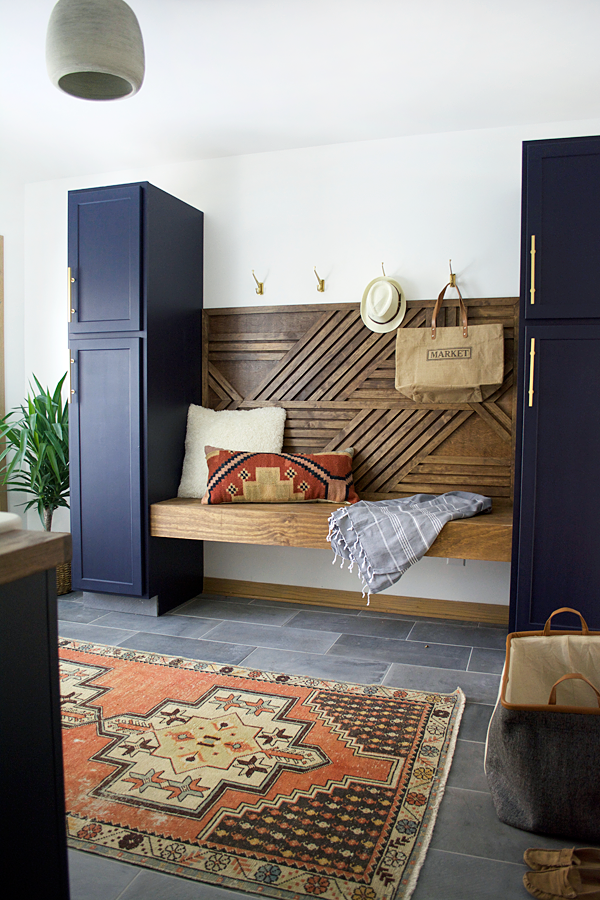
So a couple weeks ago, I was on instagram one evening and came across this image from a favorite blogger of mine. Gorgeous, no? That floating, simple bench would be perfect for my blah entryway! This is why I love a good diy blog – so much good content to be shared for others to use. She had a link to her blog with a genius set of instructions. I showed them to Nate and he thought we could handle the bench portion of the project – no problem.
We followed the instructions she provided without any problems. Her instructions were thorough and easy to follow. So, because I documented our steps and took photos along the way, I will include our step by step process. This is a great project that could be modified to fit a number of different spaces and homes.
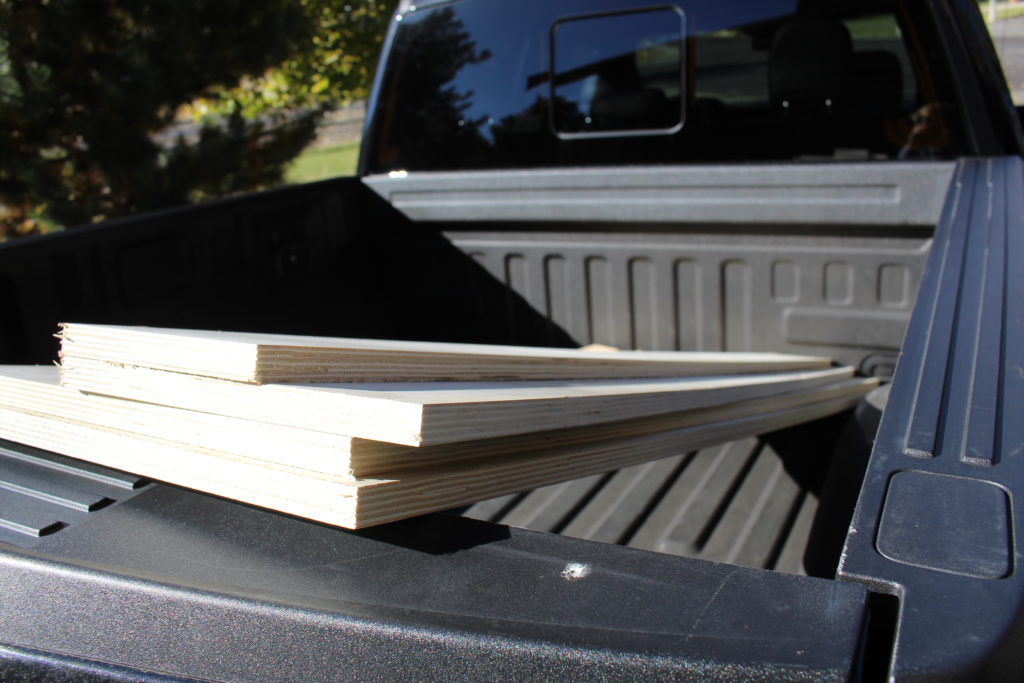
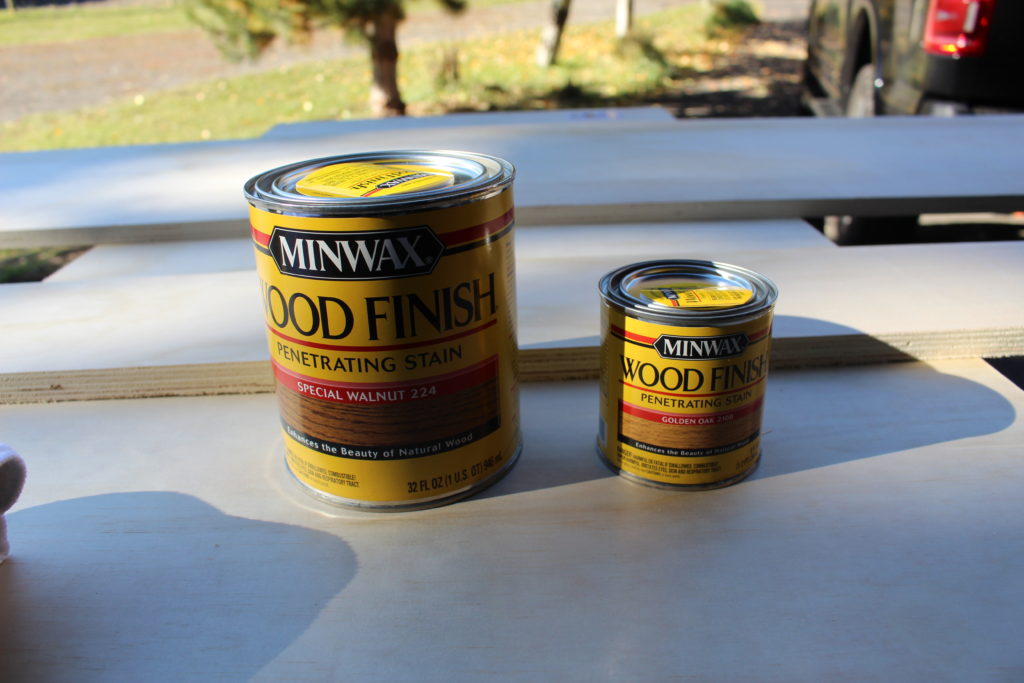
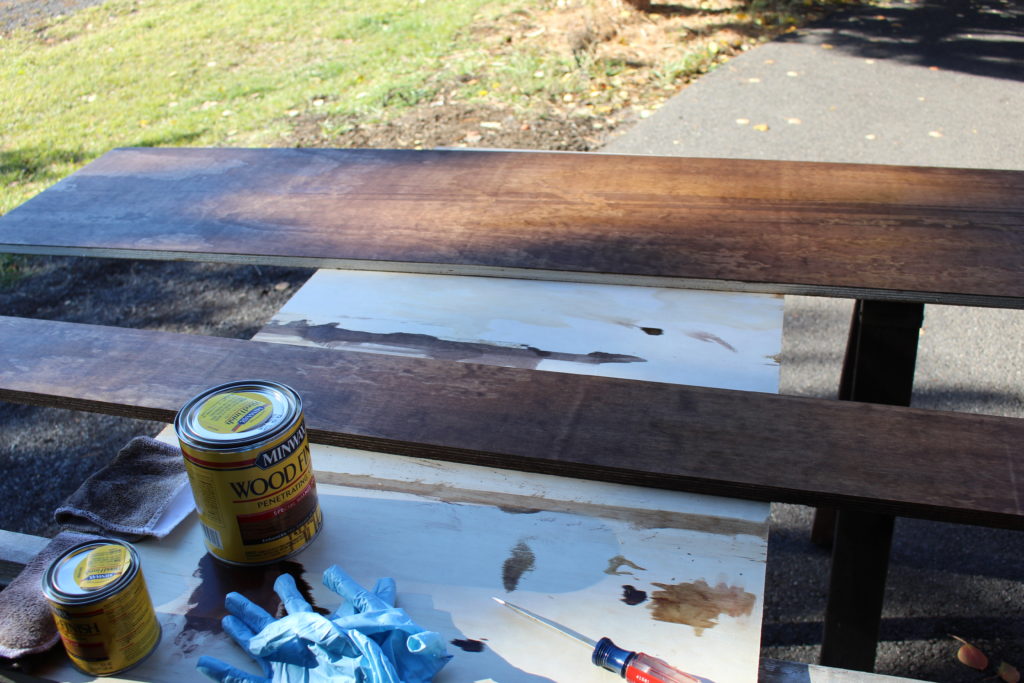
First, we picked up some project boards and had them cut to size right at Lowe’s. We also grabbed some stain, poly, a couple 2×4’s, and two brackets. For staining the boards, I followed the instructions from brepurposed.com and she swears that the perfect stain recipe is two coats of special walnut with one coat of golden oak in between. I don’t have very much experience with staining, so I thought I would give it a whirl. I stained the boards outside with a lint-free rag and let them dry overnight. After they were dry, I applied a couple coats of poly.
To decide how high we wanted the bench to be, we measured our dining table bench from West Elm. It seemed to be a good height and even moved it over in the entryway space to have a visual aid to help.
Next up, attaching the 2×4’s to studs in the wall for the framing of the bench.
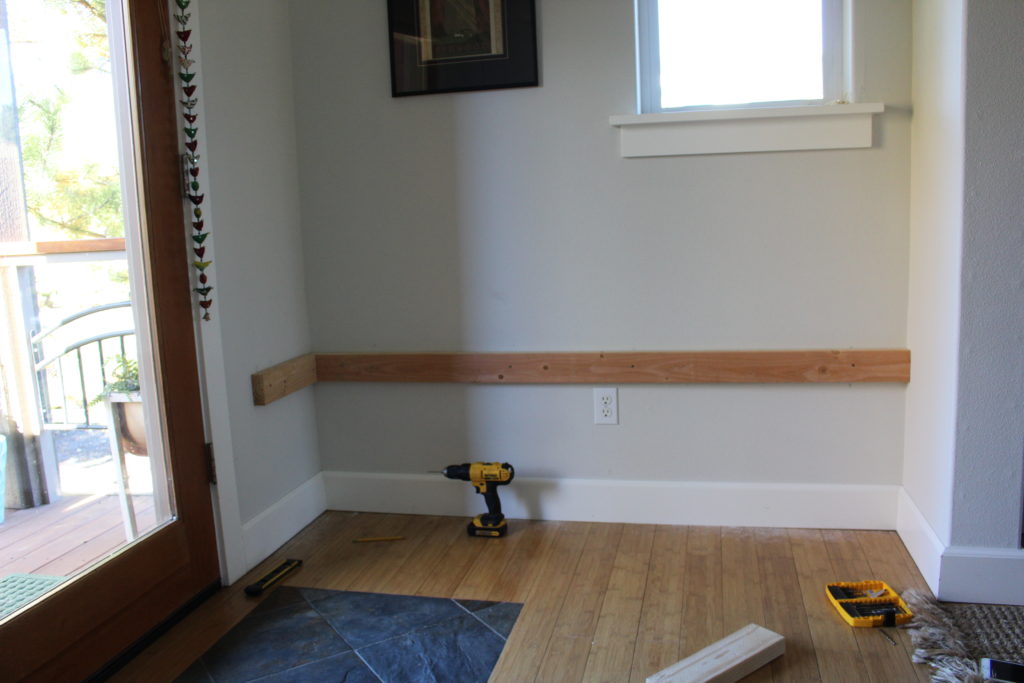
Then we attached a piece of the project board to the top of the framing.
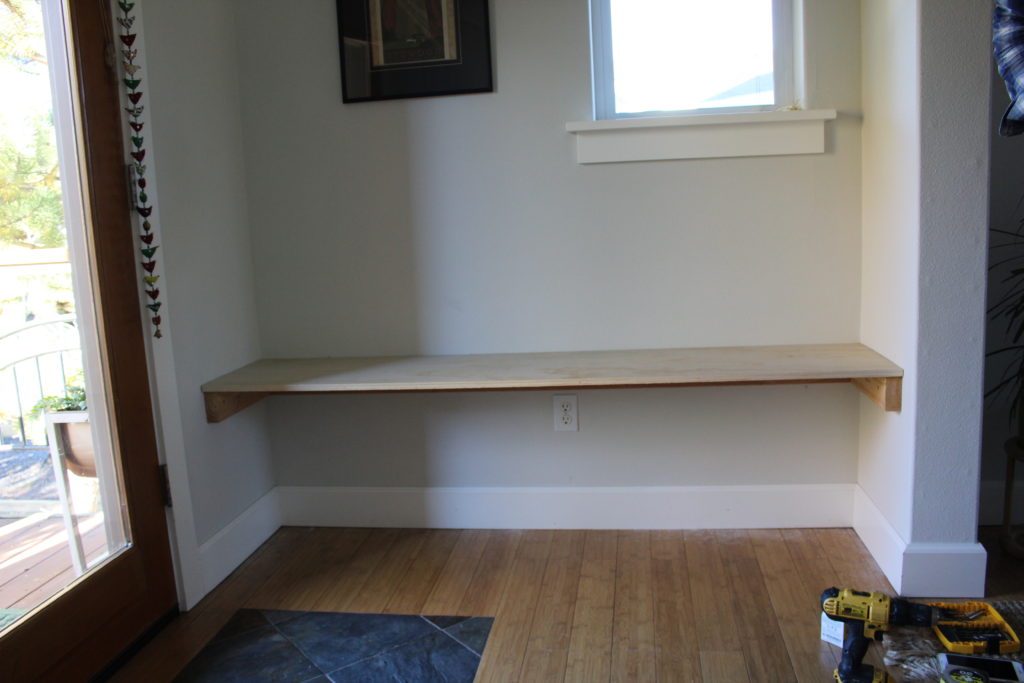
To make sure that the bench was sturdy and extra strong, our next step was adding two 2×4’s across the top of the project board.
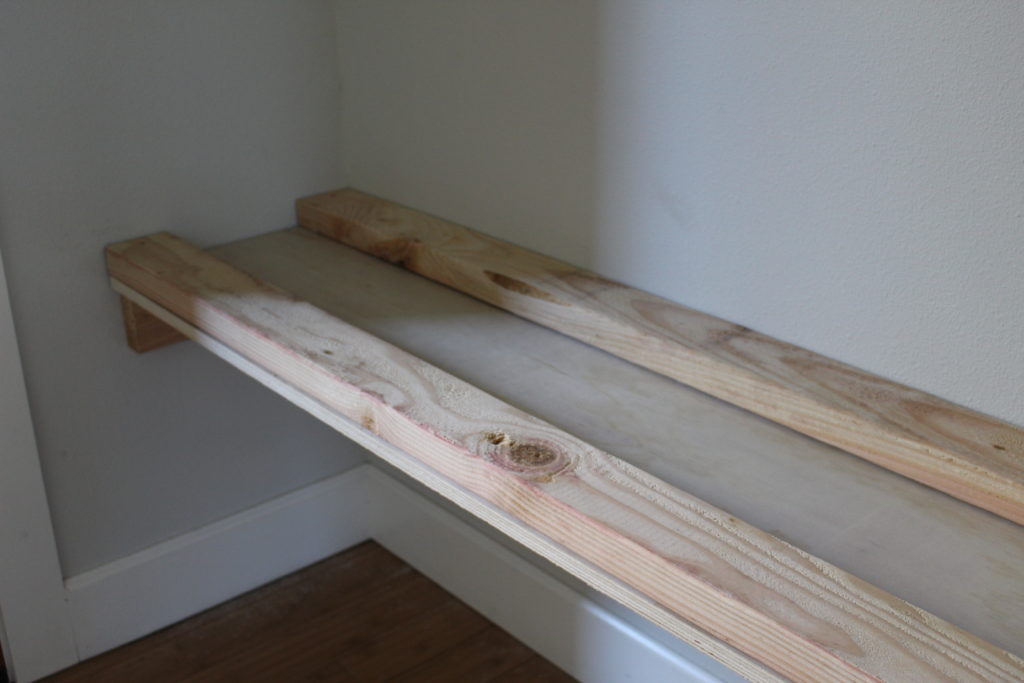
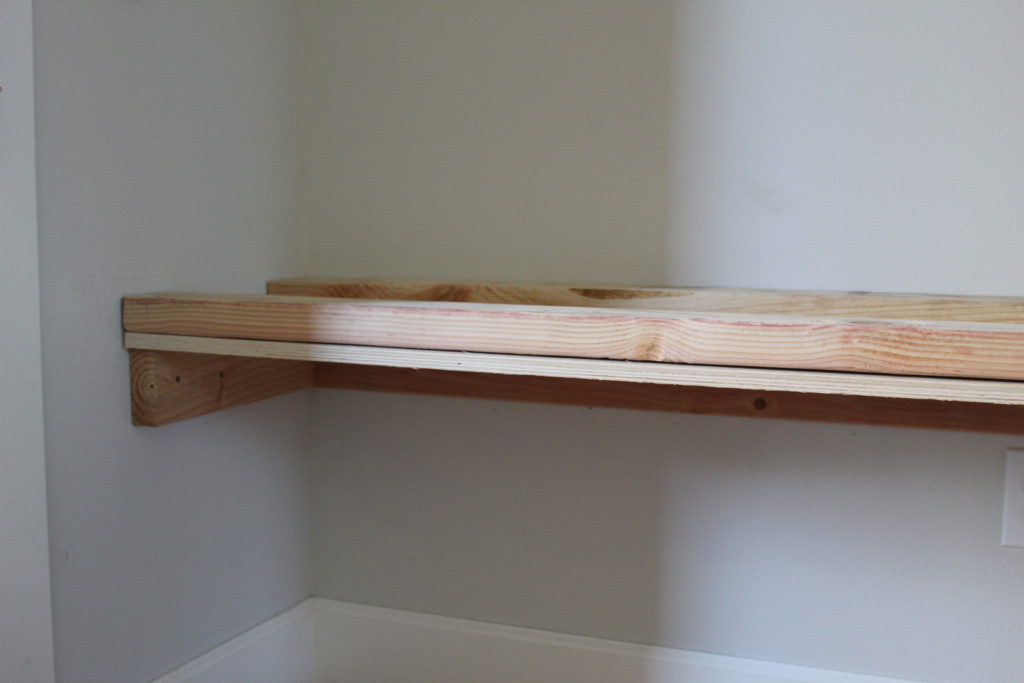
Finally, the top went on and we attached the brackets that the front piece would be screwed into.
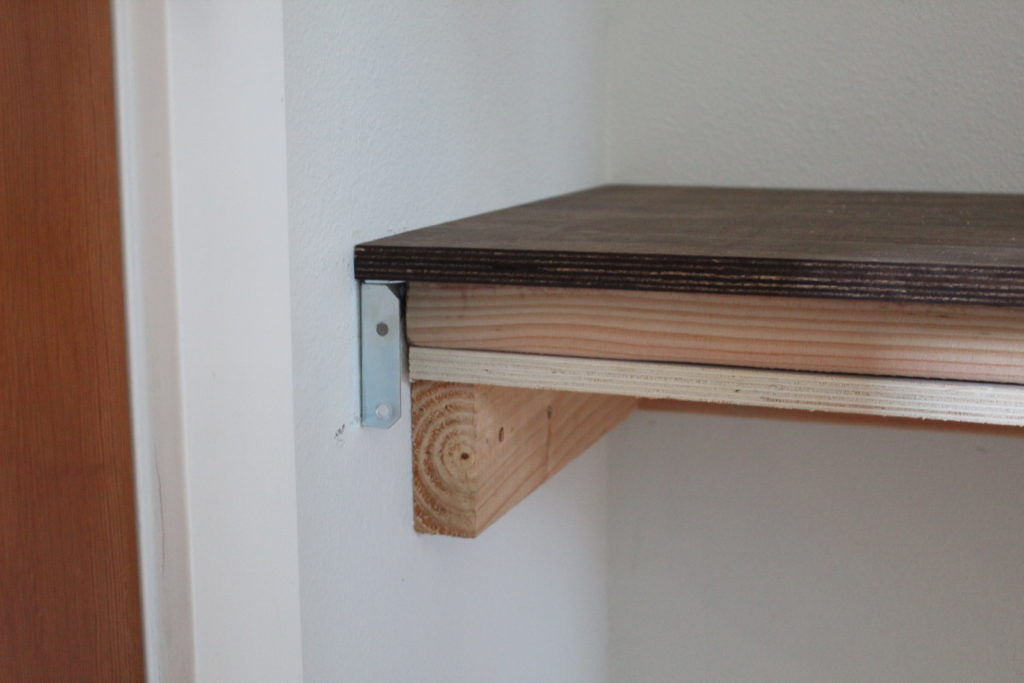
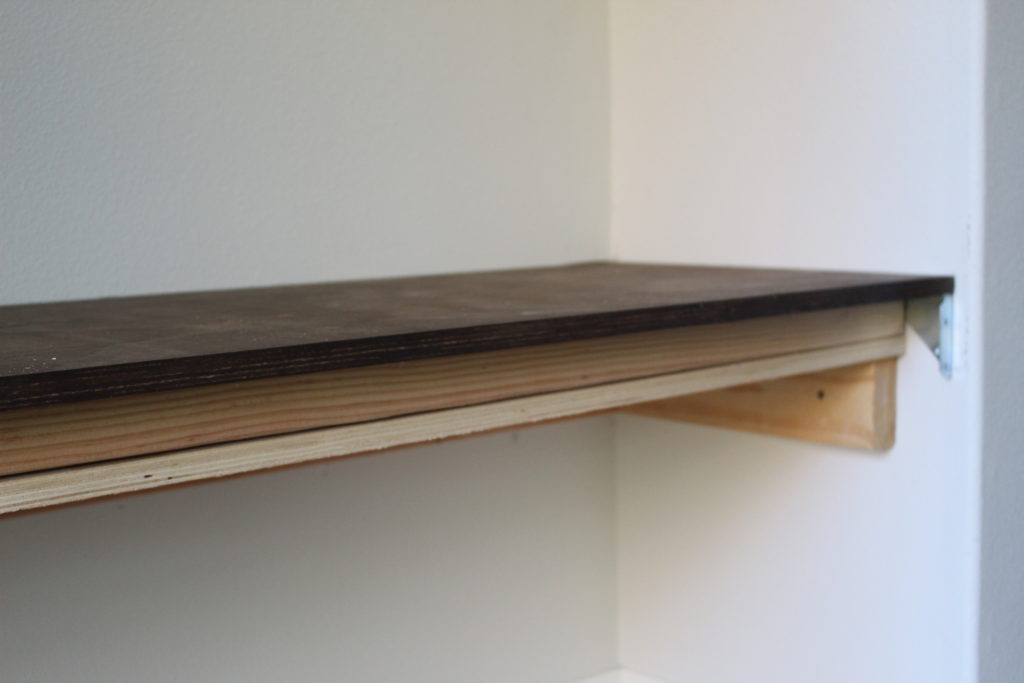
We screwed in the last piece from the back so there aren’t any visible screws from the front. After this step, we got the nail gun out and used finishing nails to secure the piece all the way across. After that, done!

To make the bench even more of a work horse for us, I added three baskets underneath, one for each kiddo. I have room for a fourth basket but for now, I left some space for some taller boots. The baskets have been a life saver to corral coats, backpacks and shoes. The hooks were a cheap amazon find and help to finish off the space. I bought a mirror from Target a while back and hung it up above the hooks.
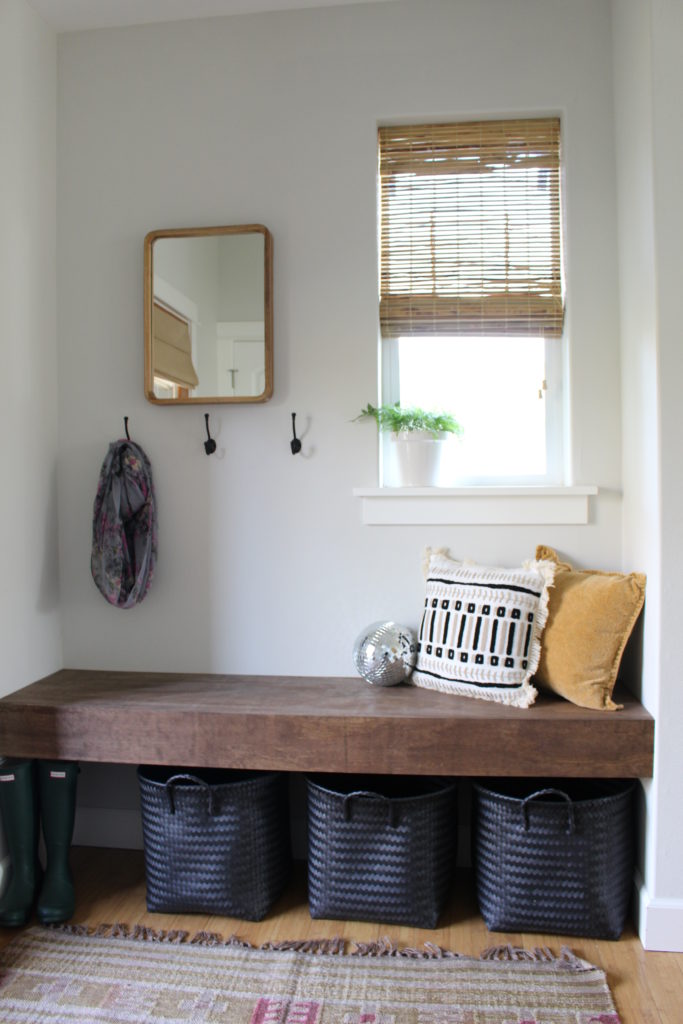
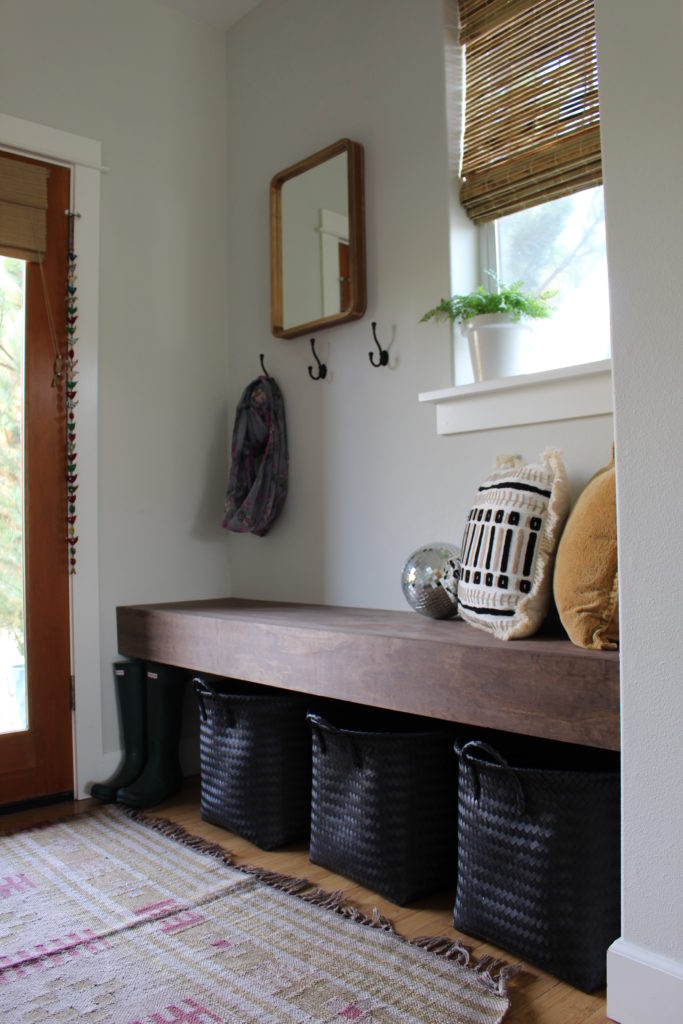
We love how this project turned out. Maybe love isn’t a strong enough word, maybe obsessed is more accurate. Now, we have the itch to get started on some other diy’s around here, so stay tuned!

6 comments
This is so cute! Do you have a list of the products you used? I’m wondering what bracket you used and what kind of wood you used in the very front. Thanks!
Thank you, Kaylee! We used clear cedar for the shelves and for the range hood cover. We found the brackets on Amazon and they are called the BATODA floating shelf brackets. XOXO
I saved your post months ago and am finally going to tackle this project in our front entry today. So excited! How deep is your bench? And can you help me understand why the top shelf extends beyond the lower shelf and by how much? Was it so you could screw the front board from the back? Thanks
Hi Melissa,
My apology for the delay! I hope that this went well for you if you decided to tackle it. This project is from our last house, so I can’t measure it for you. If I remember correctly I think it was about 24″ deep. The reason the top board extended out farther was to leave room for the brackets on the sides. Hope that helped! XOXO
Hi! I’m wanting to build this for our mud room , but I am confused as to how you secured the back of the top stained piece to the other long 2x4s so that the back of the piece nearest the wall won’t move. Does it totally stay in place once attached to the shelf brackets? And did the shelf brackets Witham stand the weight of people sitting in the bench over using bench or counter brackets? Thanks!!
Hi Kristen! How exciting, I’m glad to hear that you are going to build this. It’s actually a very simple process! The most important part is to find the studs in the wall. When you are building the framing for the bench, you’ll fasten it right to the wall studs. That way your entire bench will be supported by your extremely strong house framing. Actually, if we were to do this project over again, we would omit the brackets all together, and just bring the framing out three inches farther.
As far as the two stained pieces (top and front), you will just nail those right into the 2×4’s. If you wanted to use wood glue before nailing it will keep it from having any squeaks/creaks down the road. Thank you! XOXO