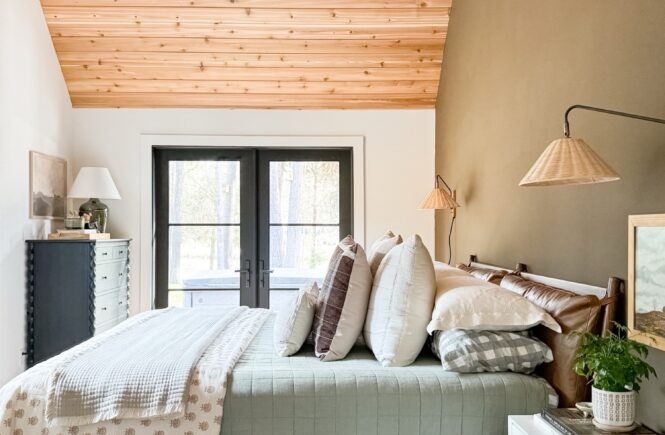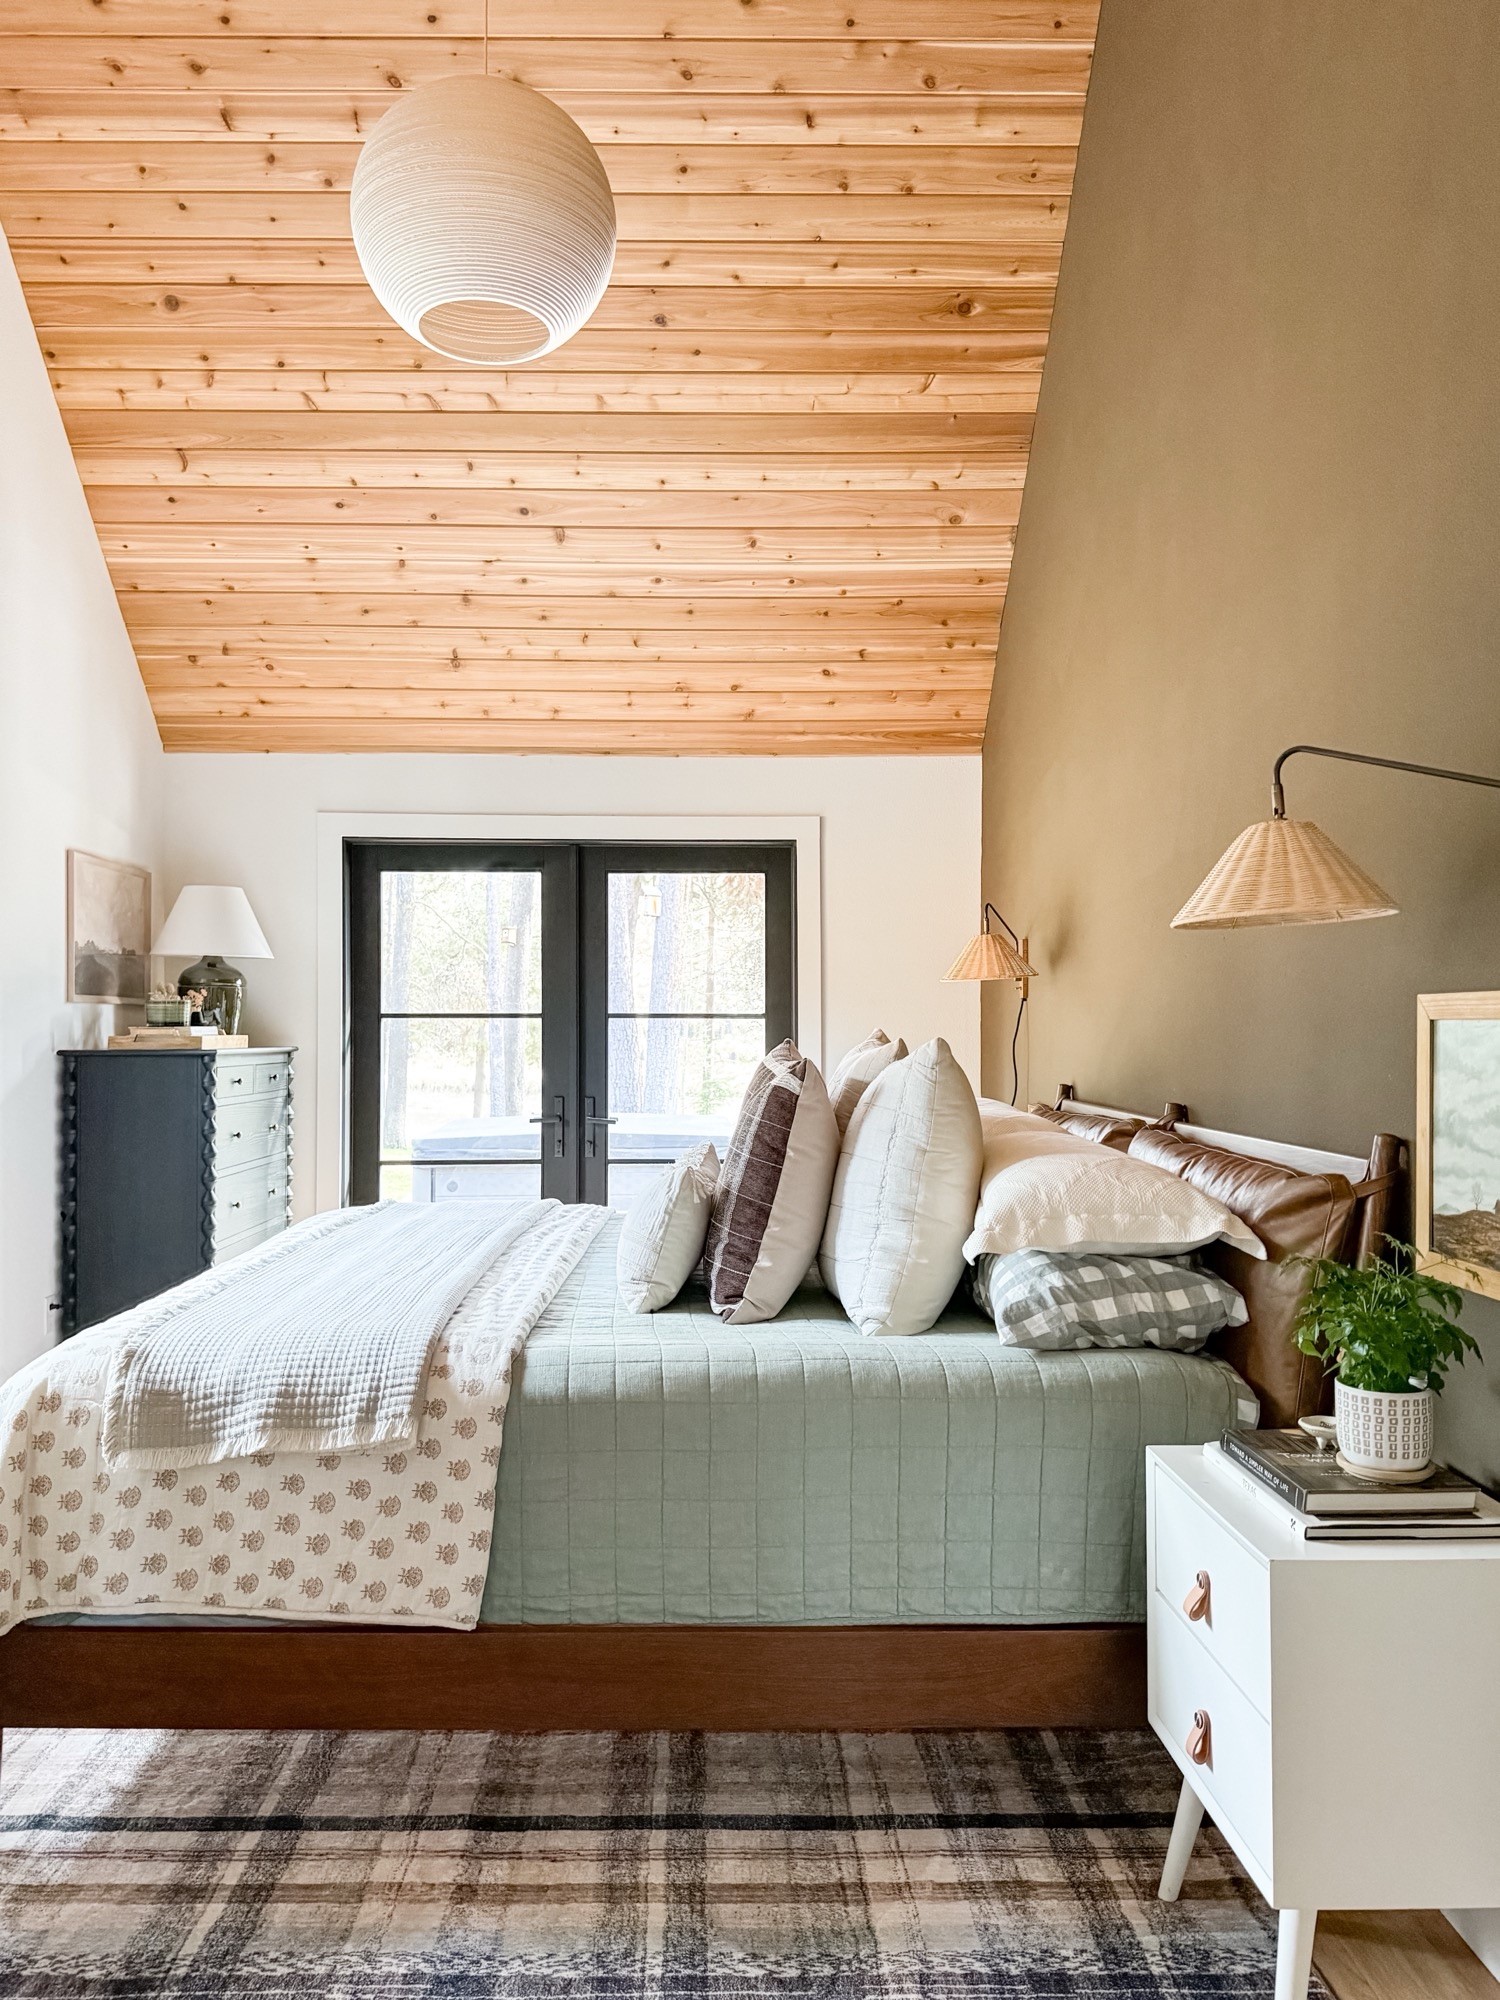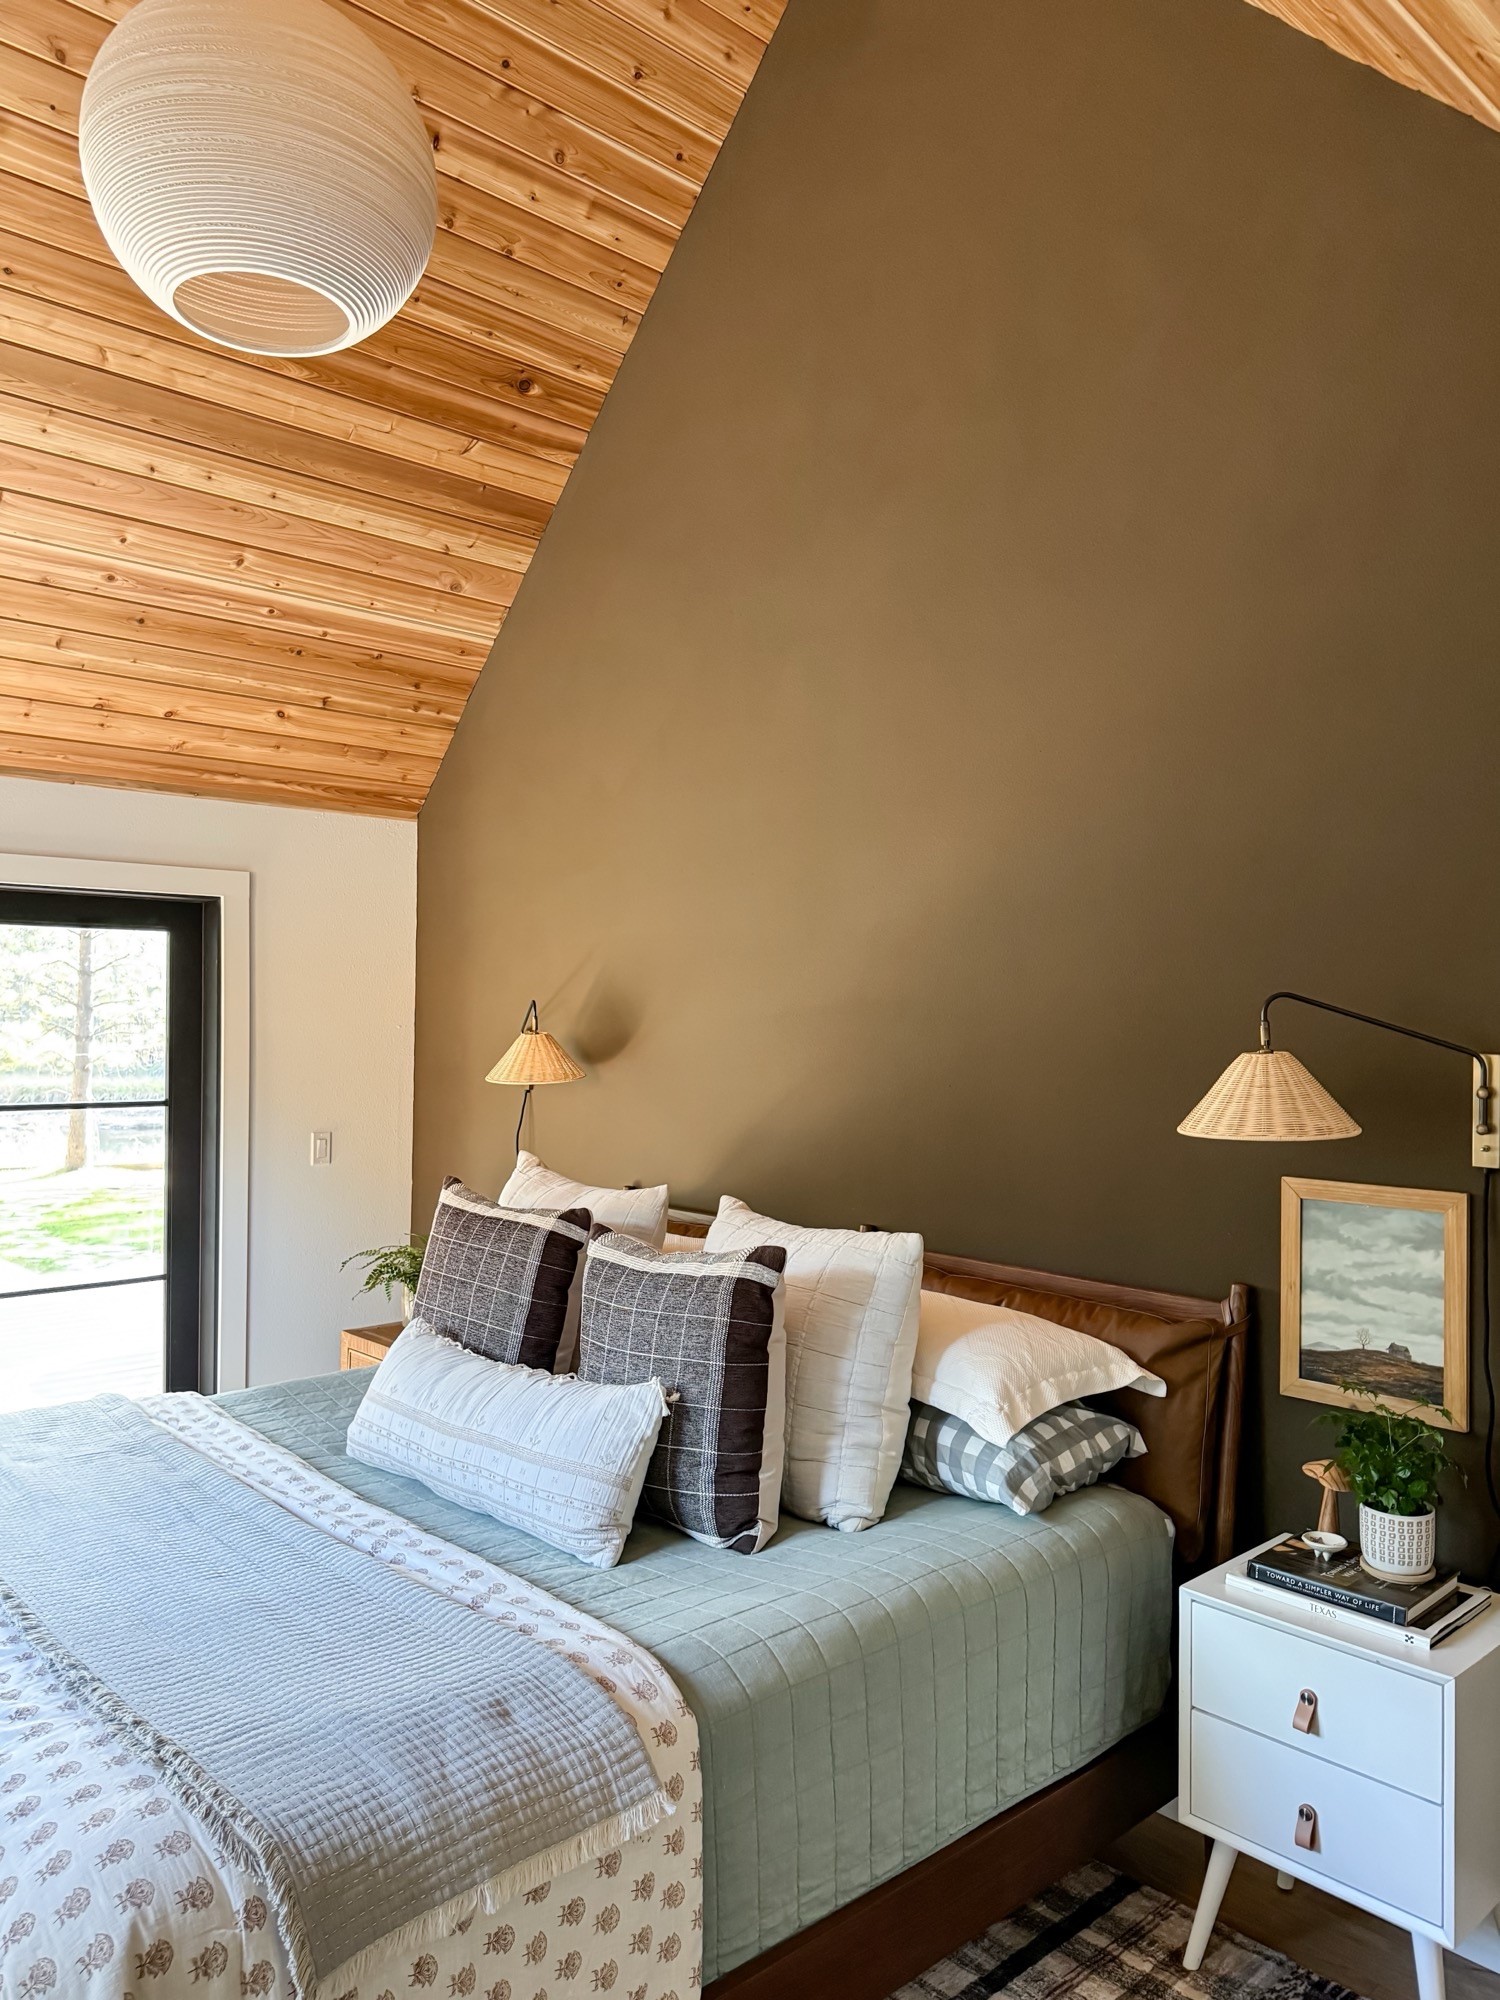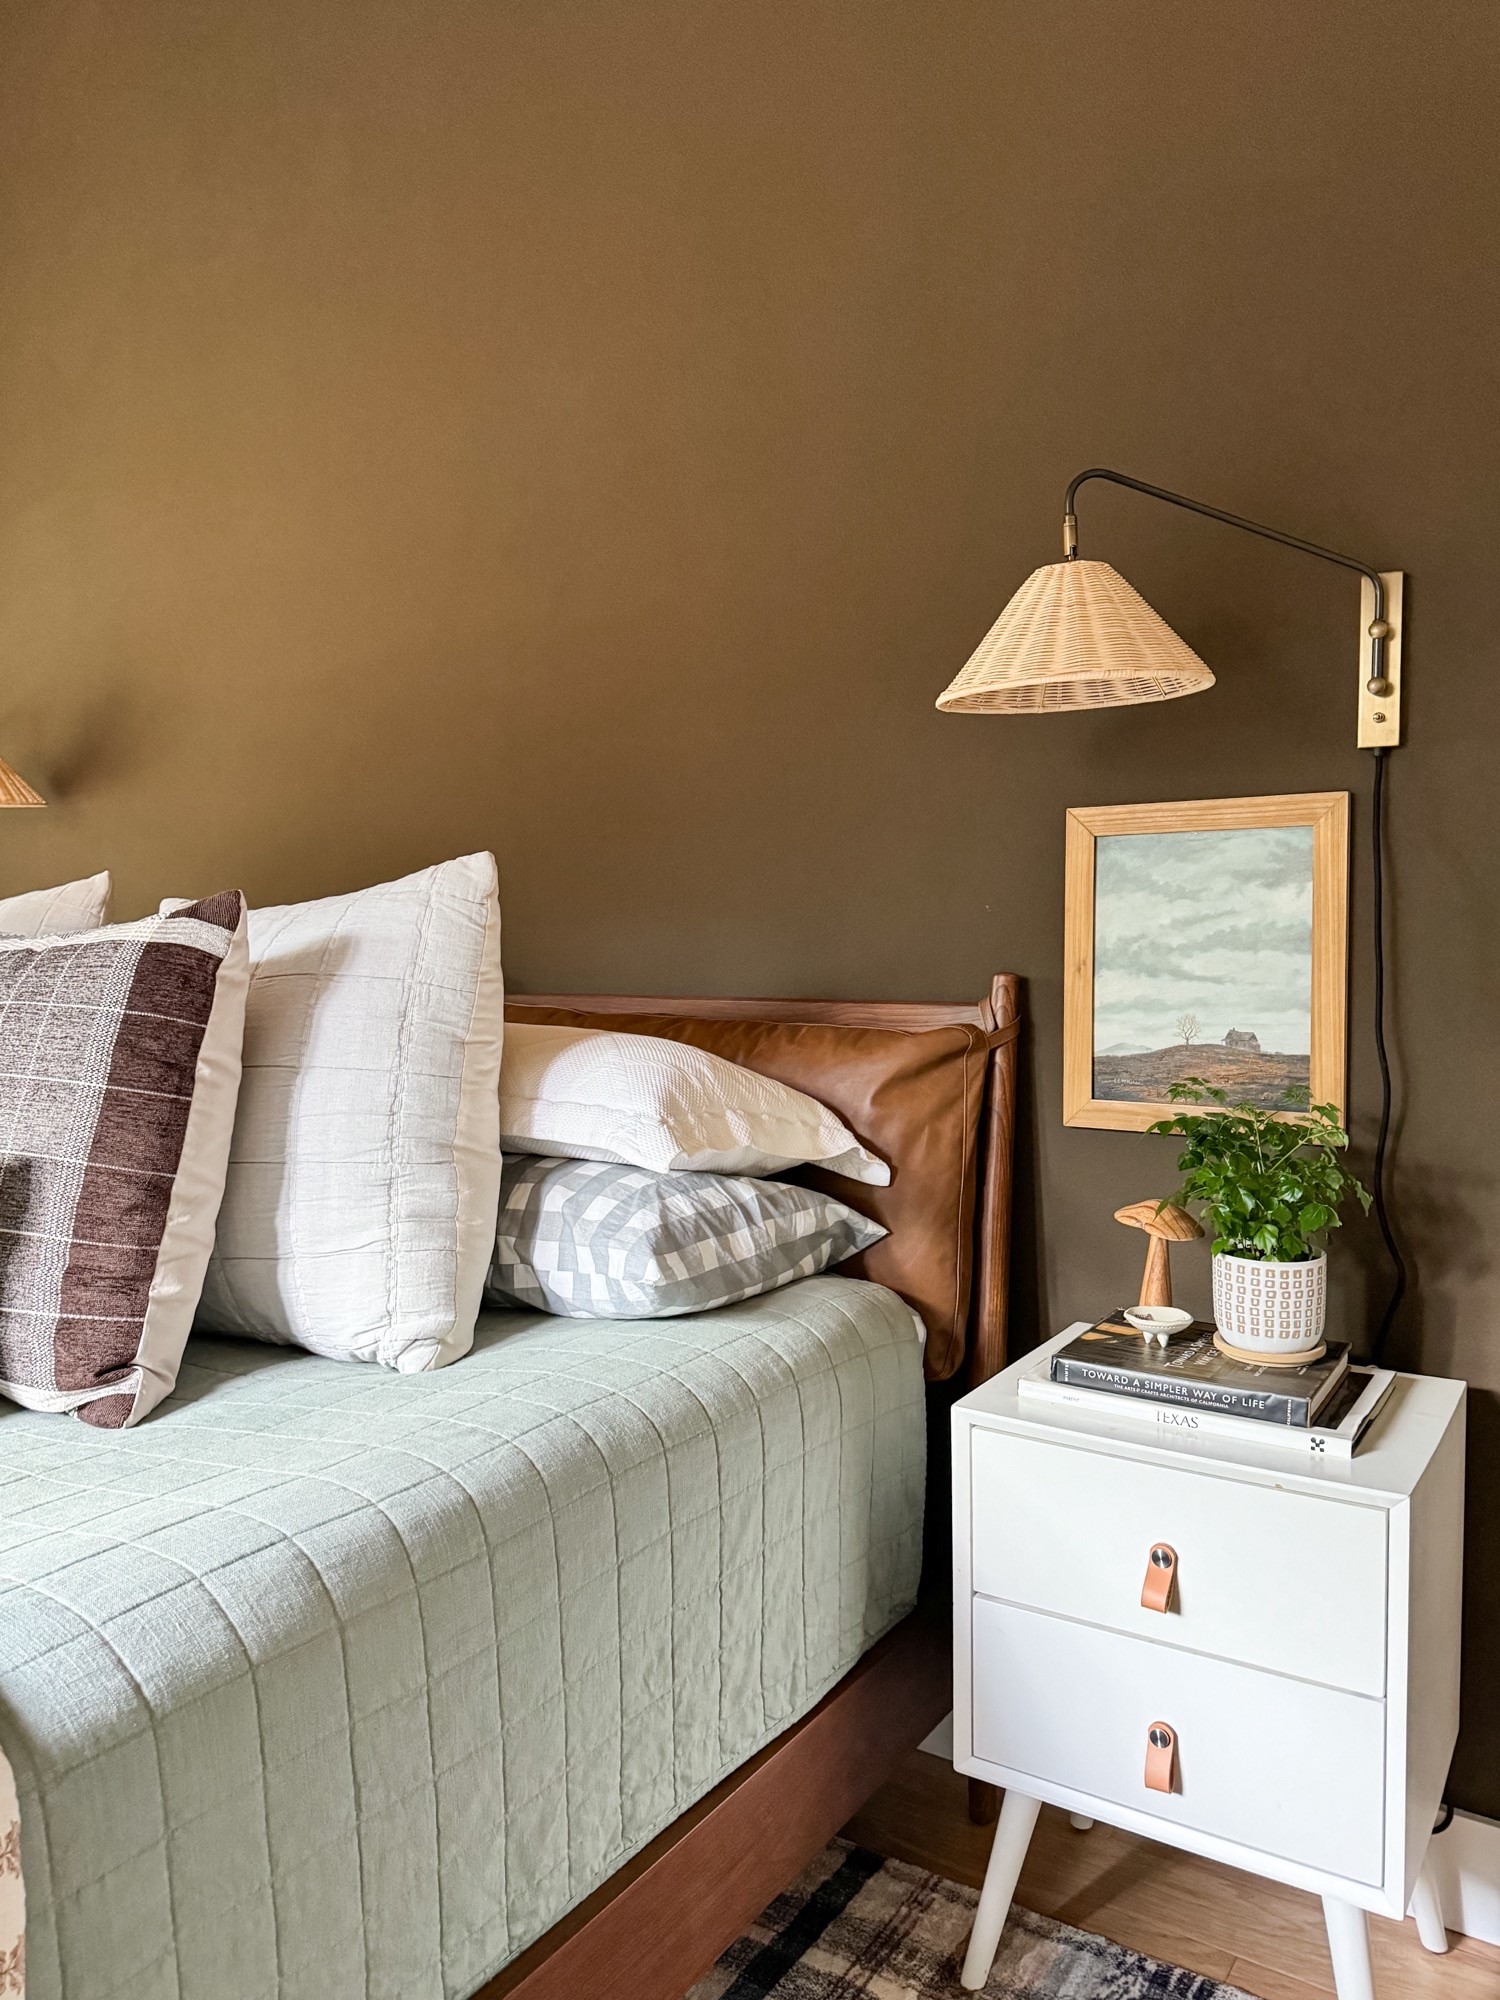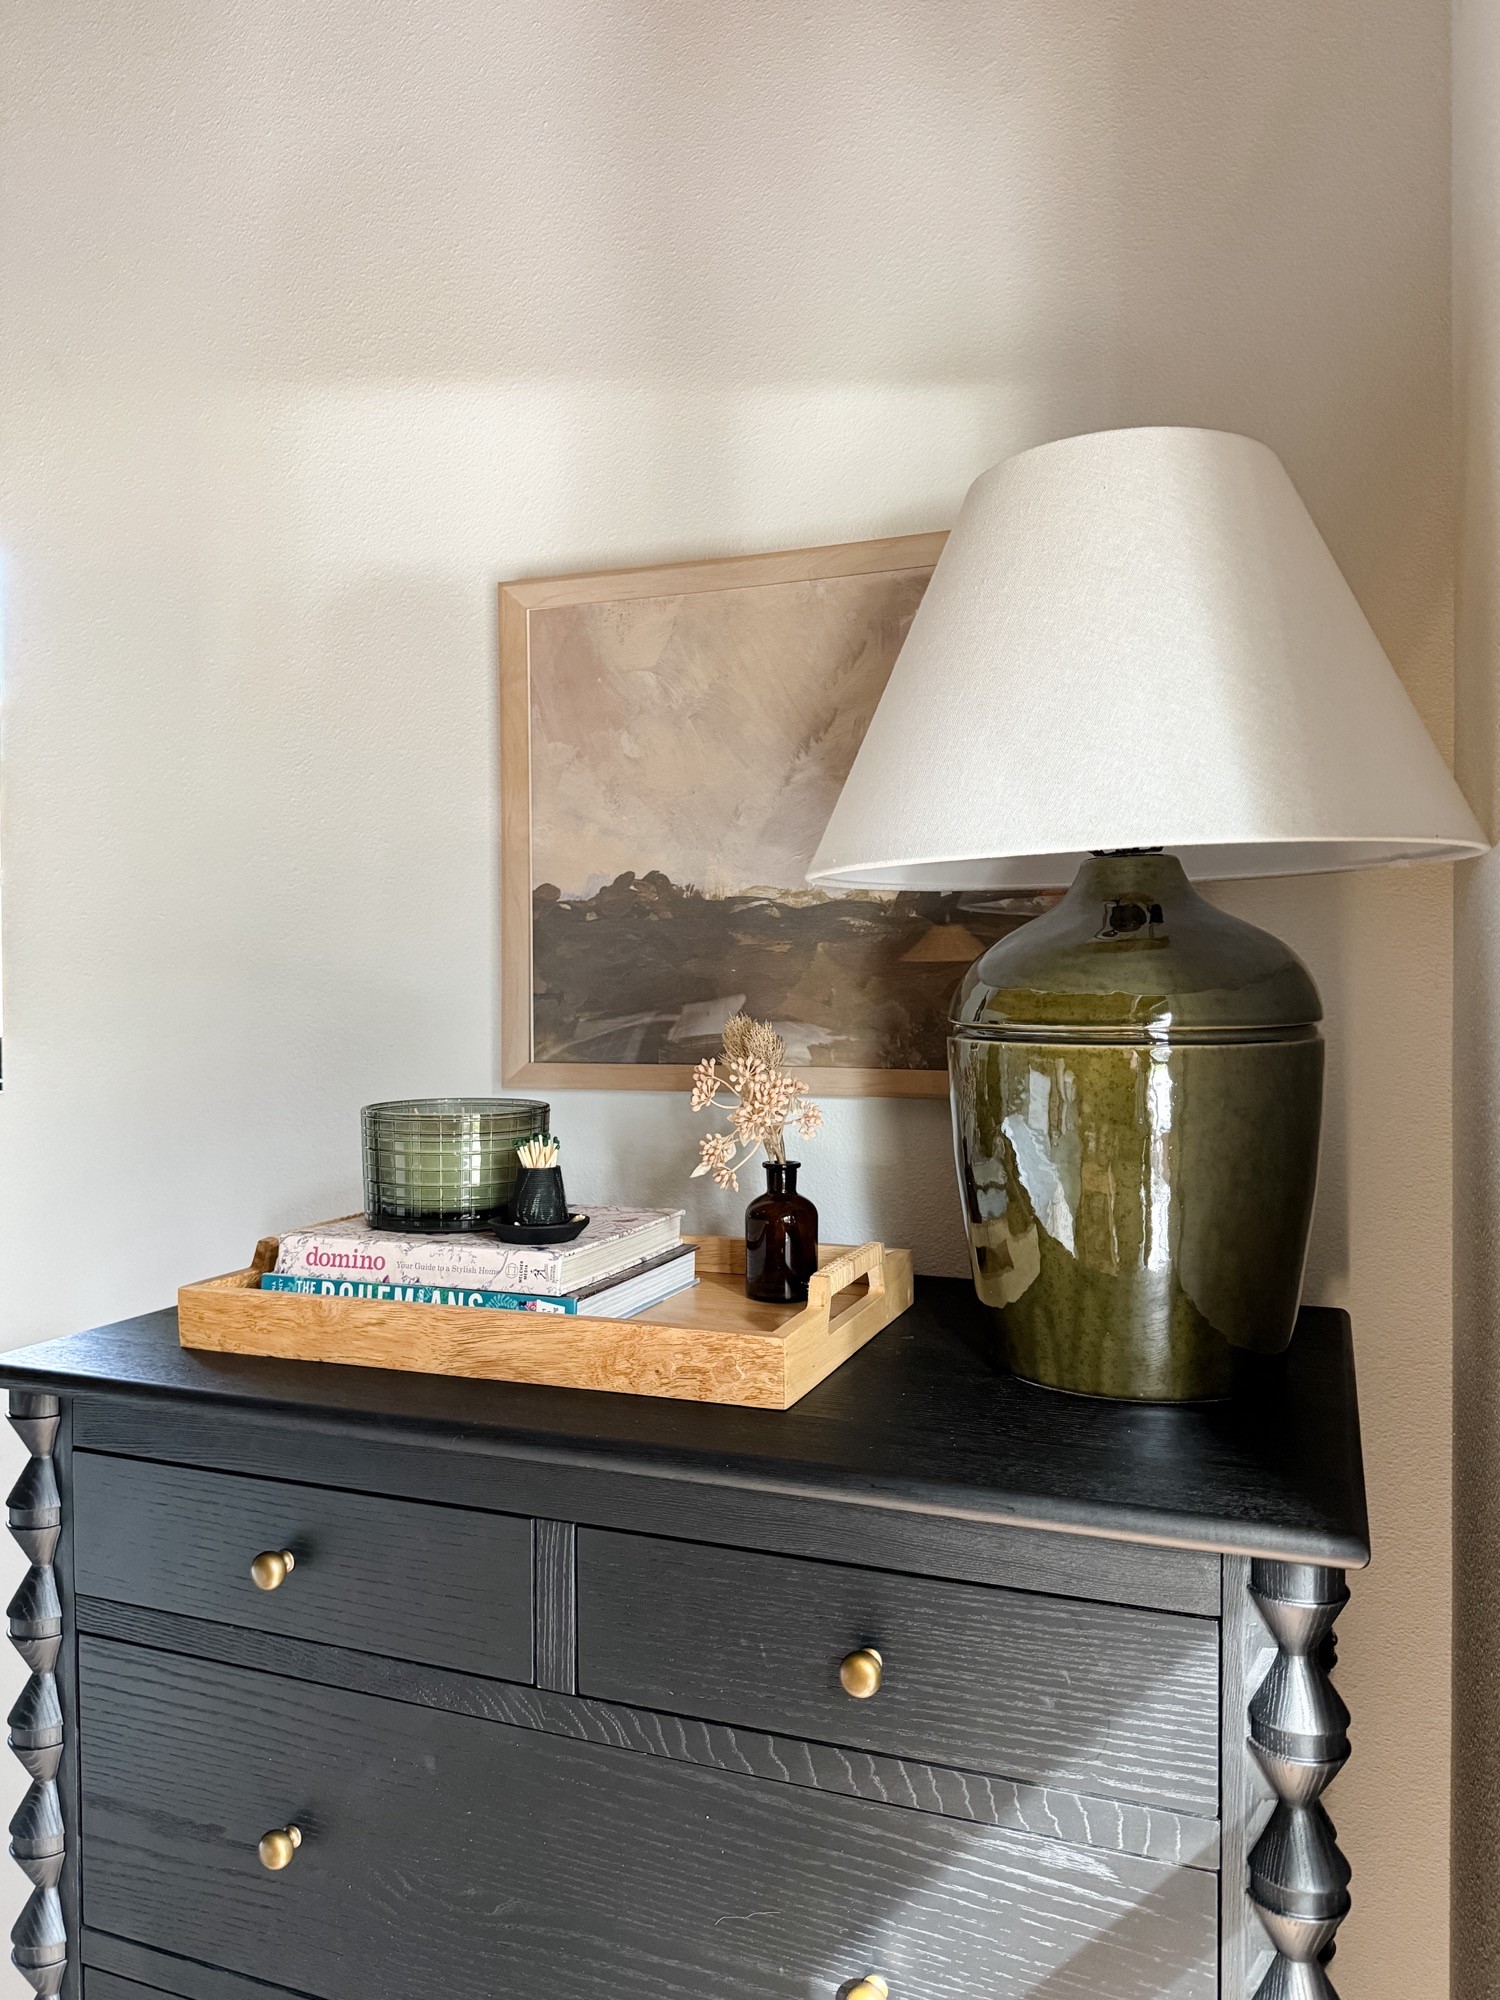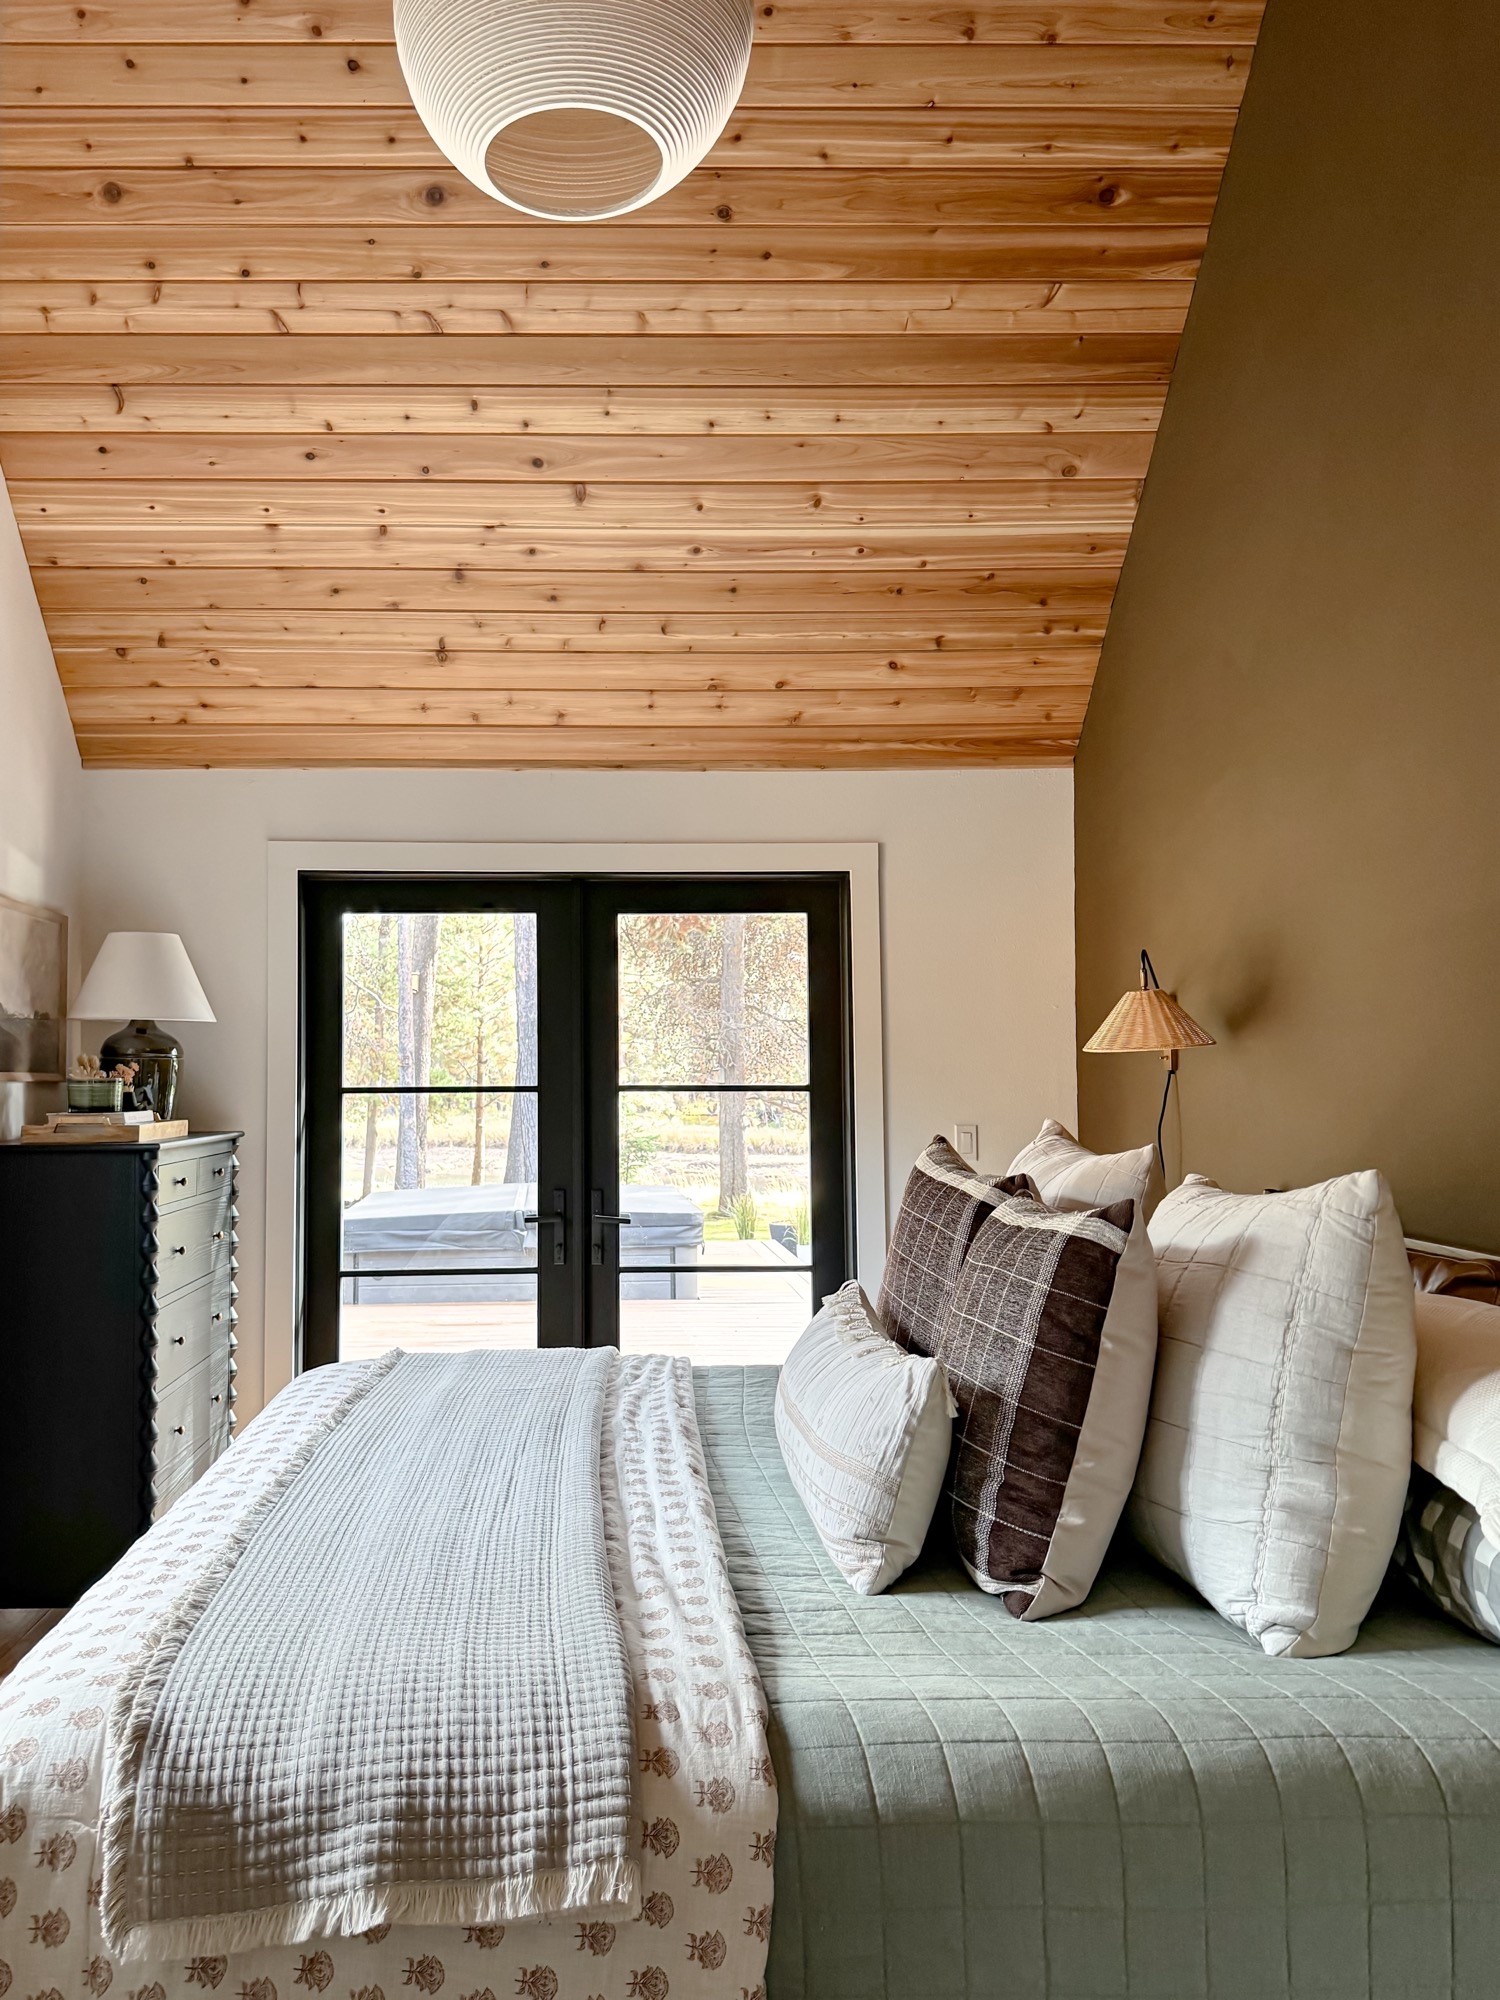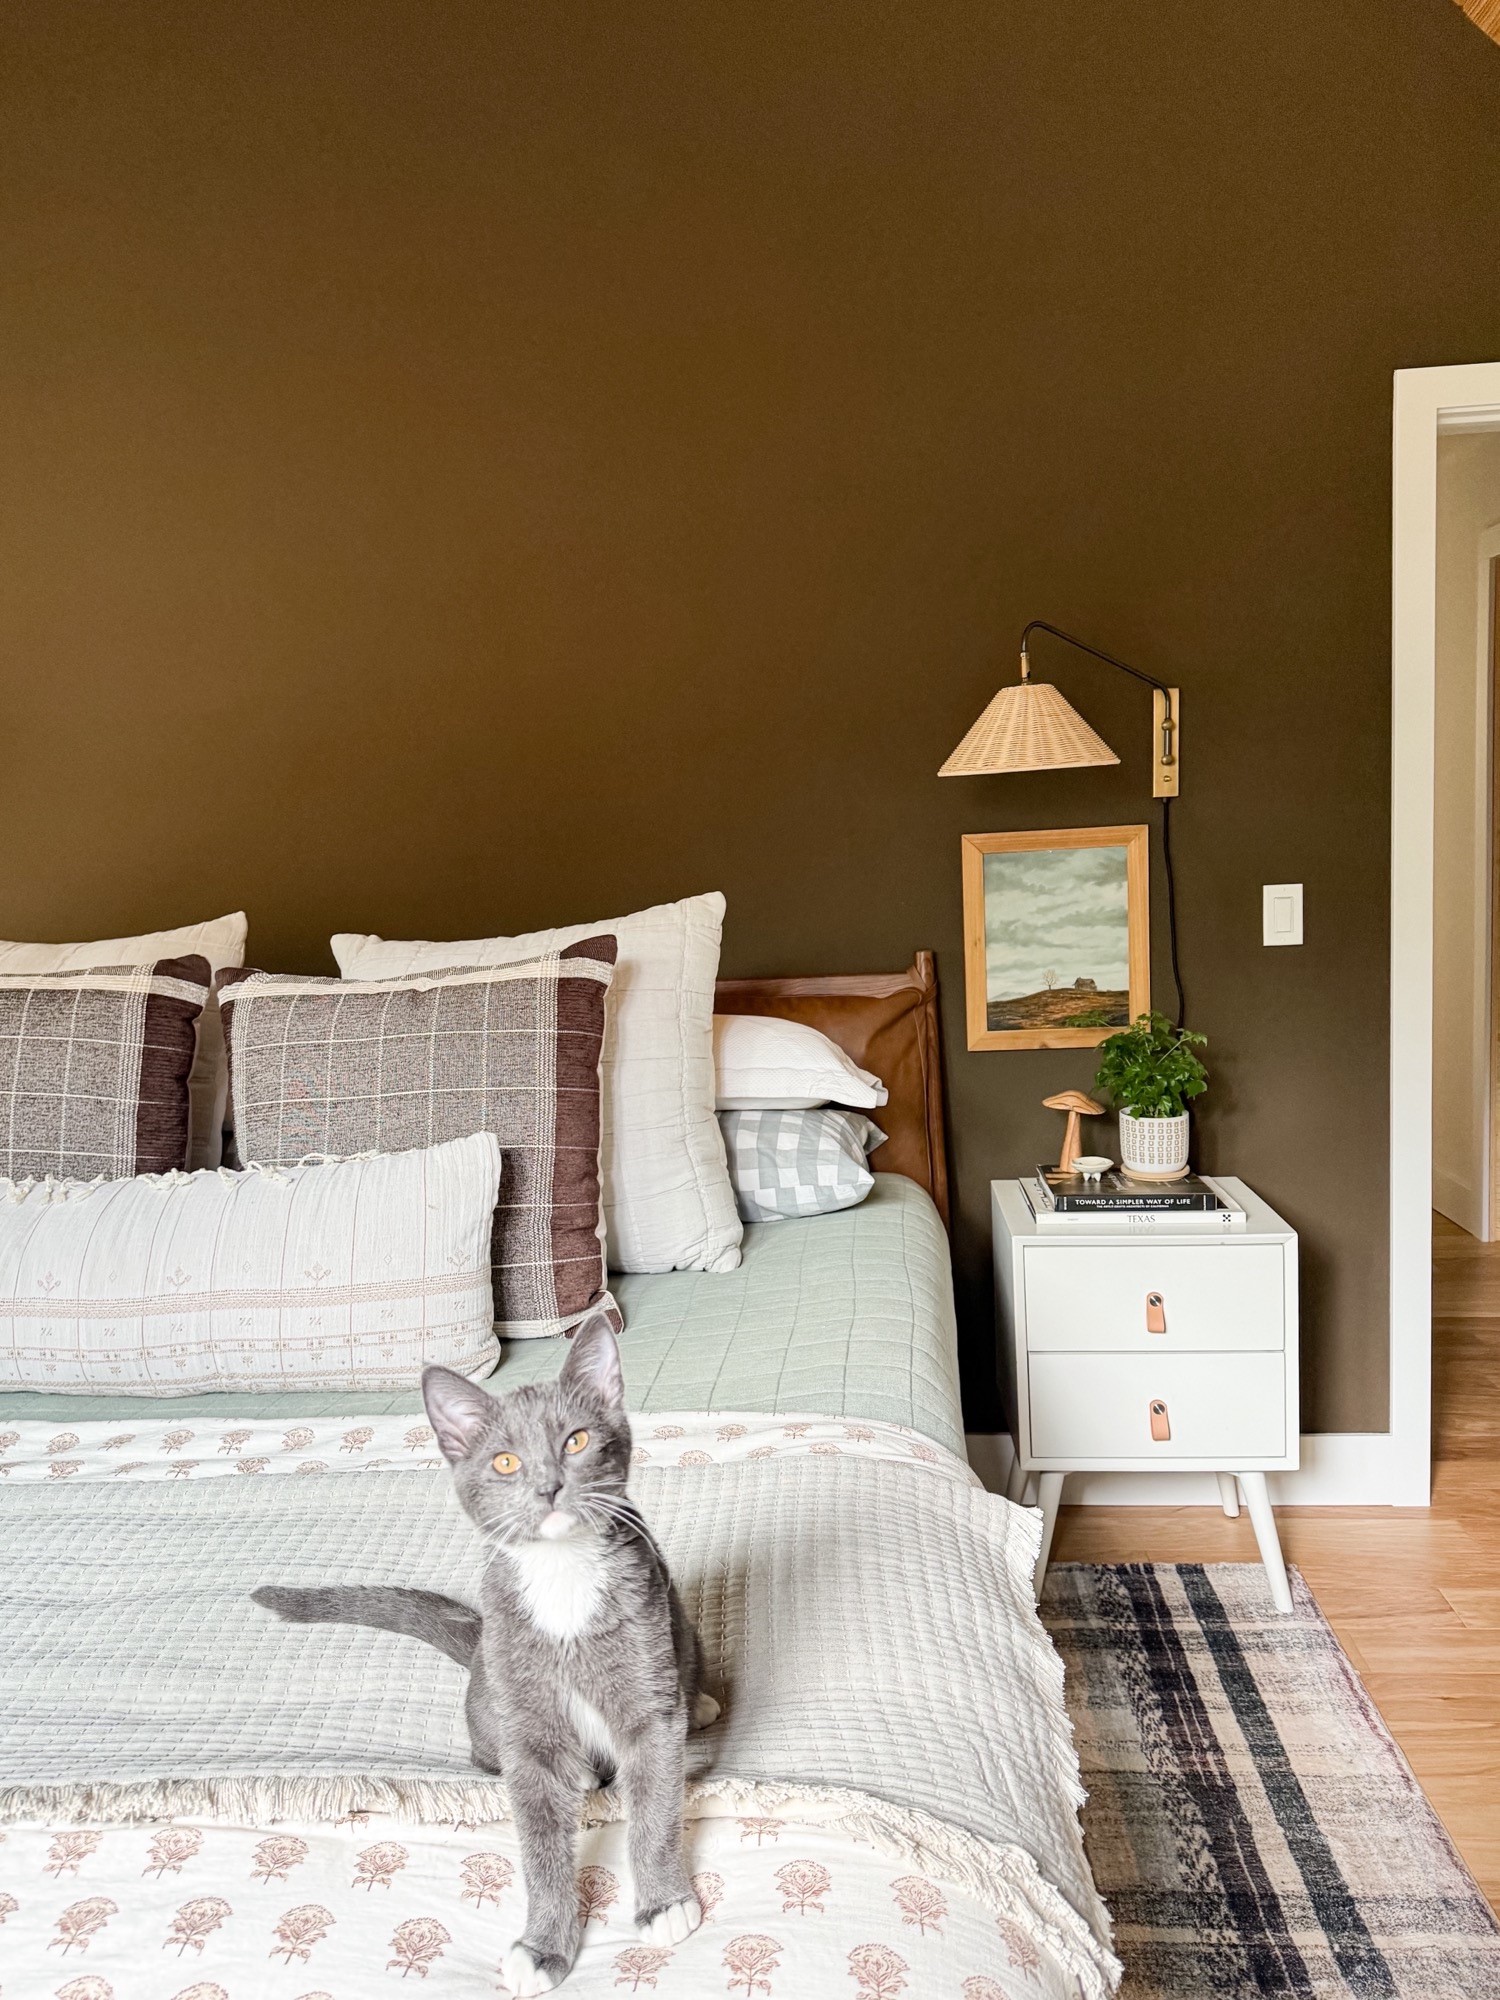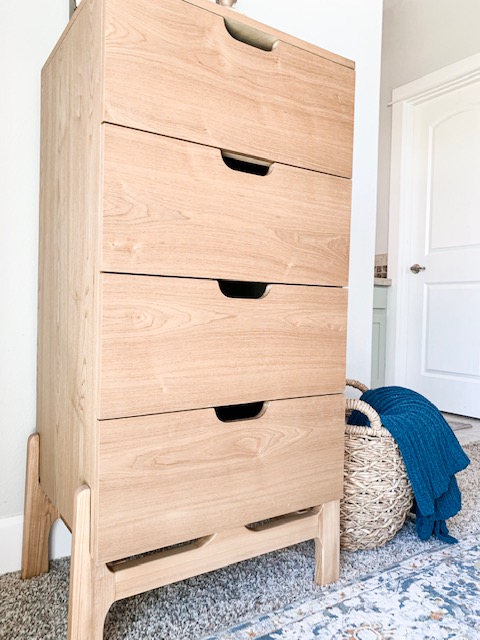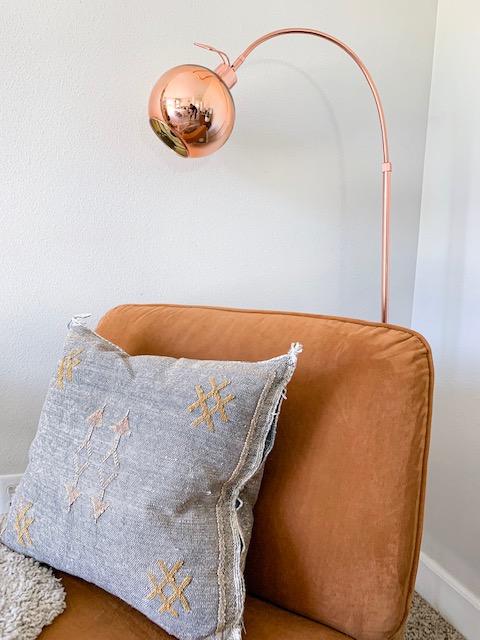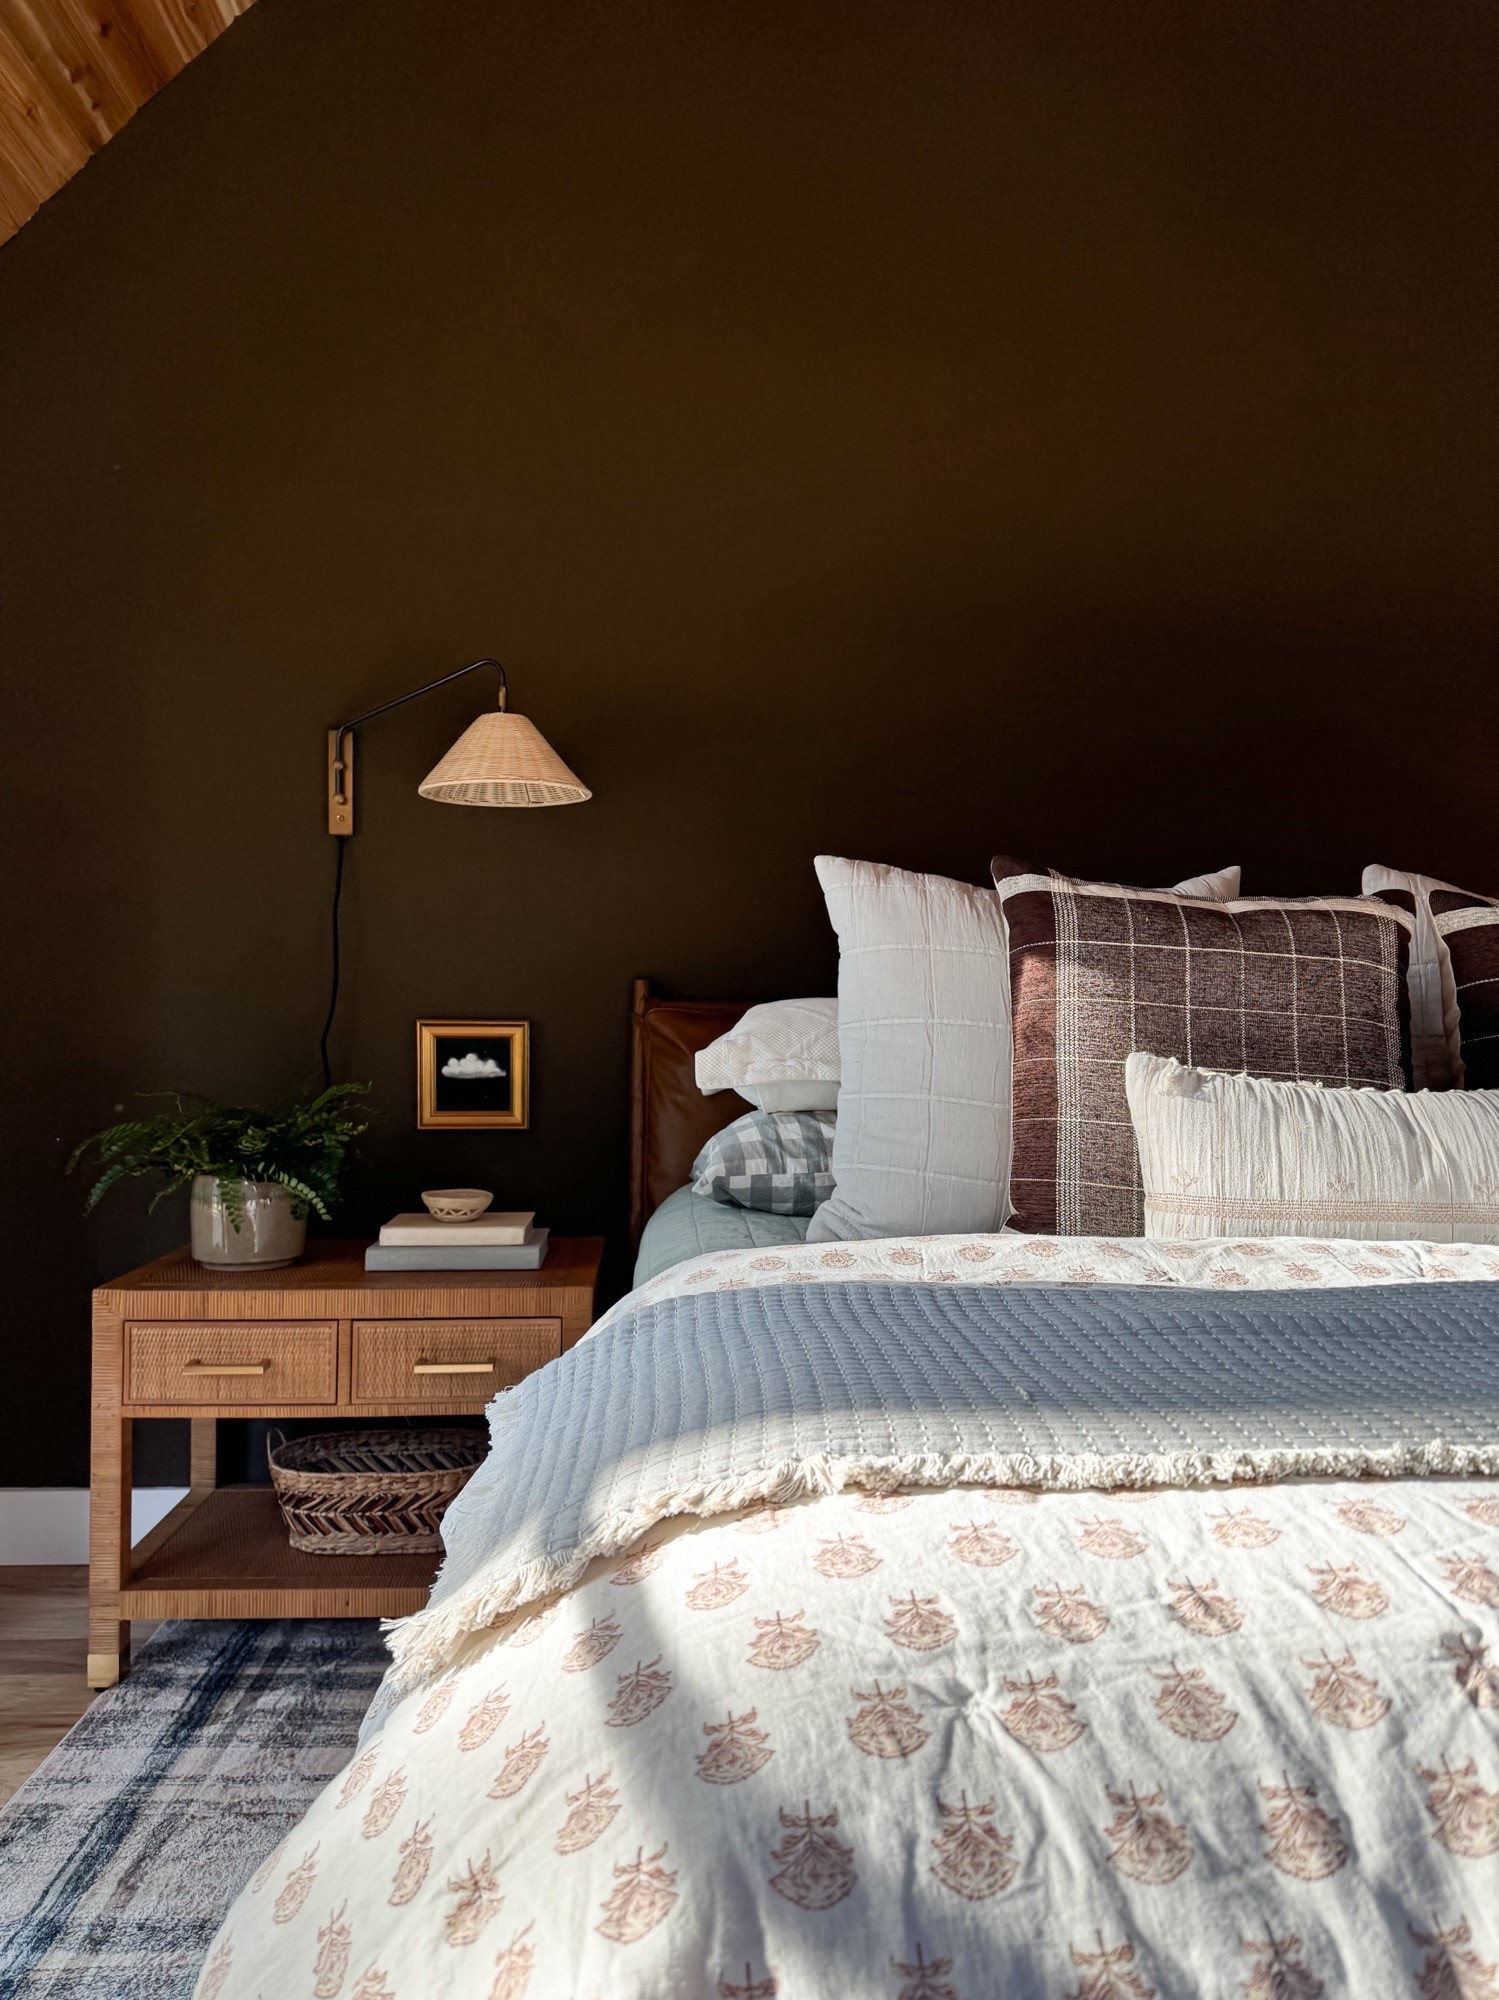
Balboa Nightstand | Flynn Wall Sconce
Have you heard the news? Serena & Lily is having their Sale of the Year and with only a few days left, I thought I’d do a round-up of all my current faves from the sale! You guys know I love me some Serena & Lily, and you KNOW I love a good sale, so this feels like a match made in heaven. Let’s start with some of the pieces that I currently own and love. Ready? Let’s goooooooo!
First things first, this nightstand (pictured above) has been MAJORLY marked down and is such a beaut. I love how casual the rattan feels, while adding a touch of glamour with it’s brass feet and hardware. I’m considering taking advantage of the sale and adding a second one to Nate’s side of the bed. It’s such a classic piece and complements so many different styles/pieces of furniture. Their Flynn wall sconce is such a charmer with it’s wicker shade. It offers the option of a brass or white base and casts the coziest light at night. It’s over 30% off right now!
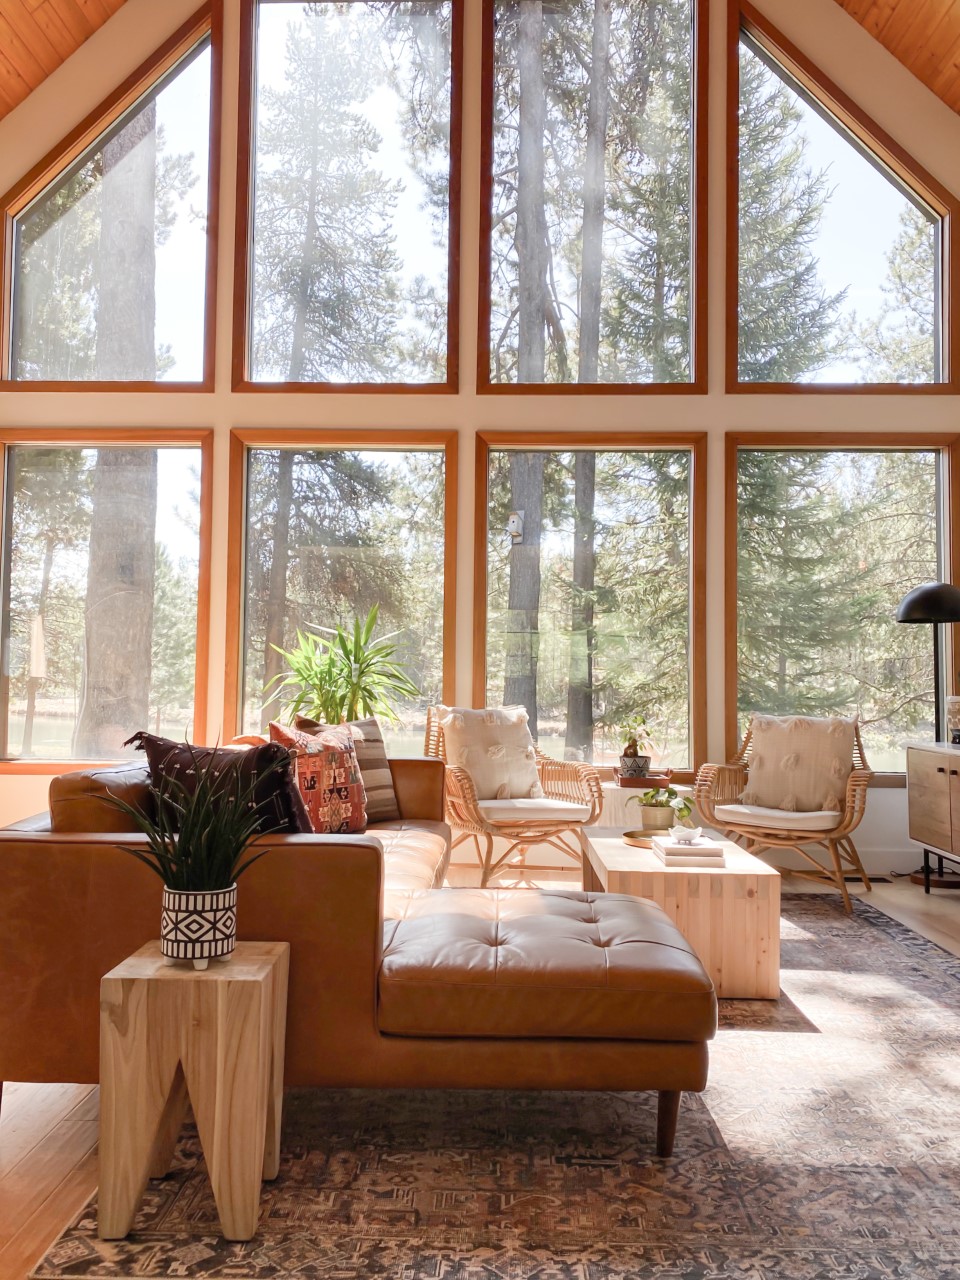
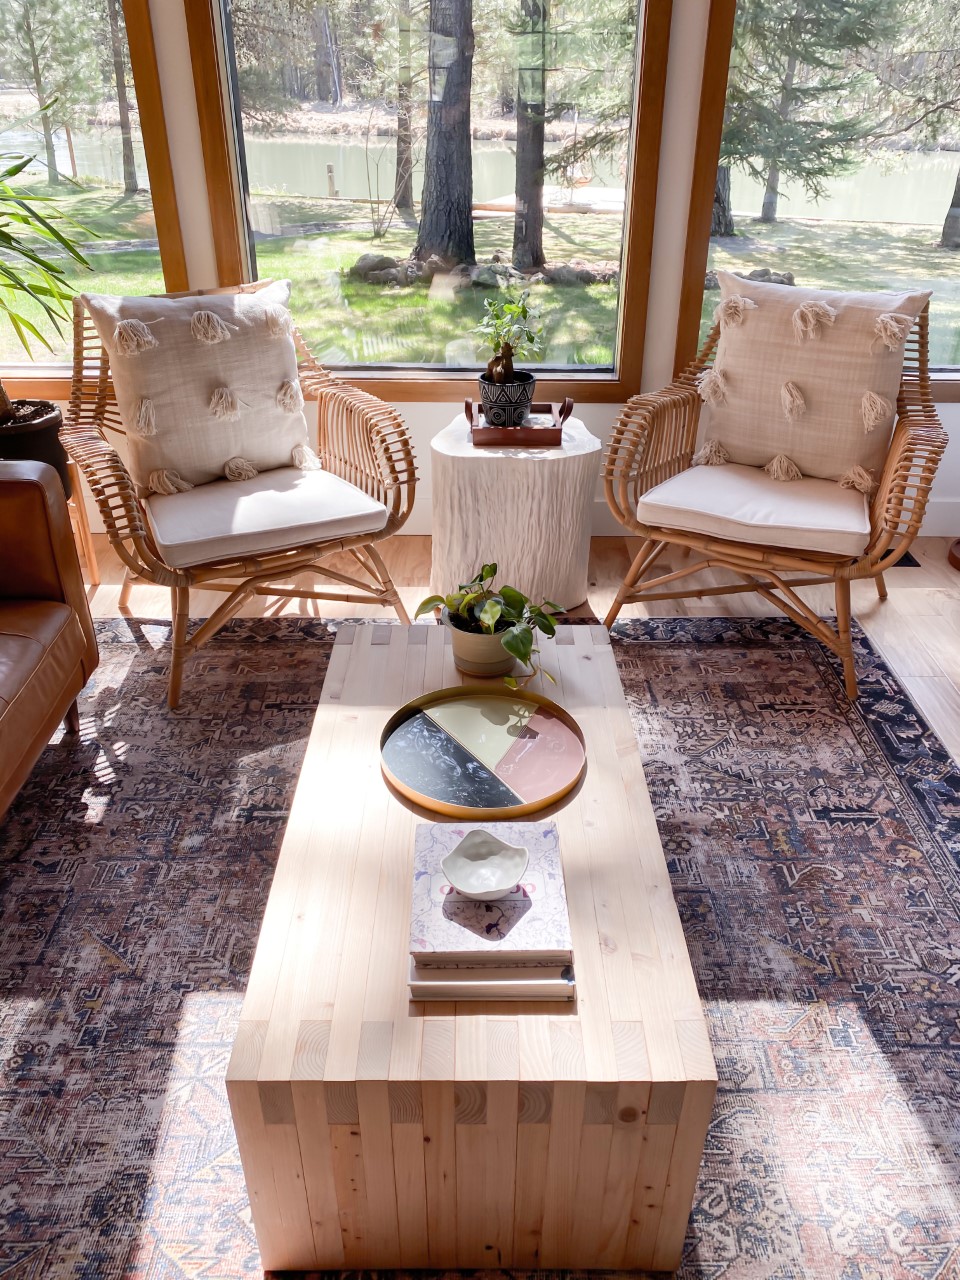
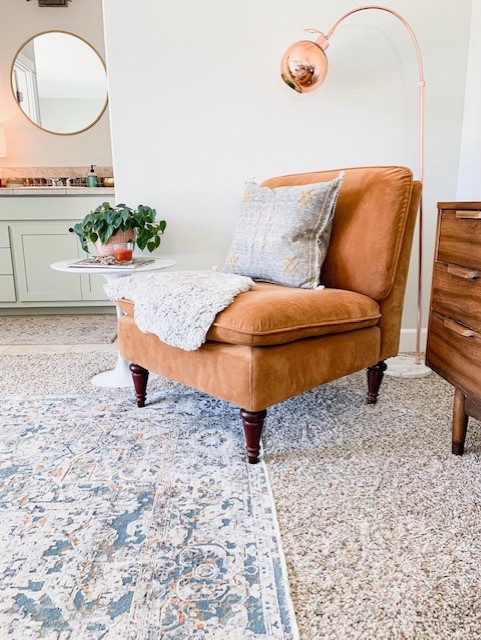
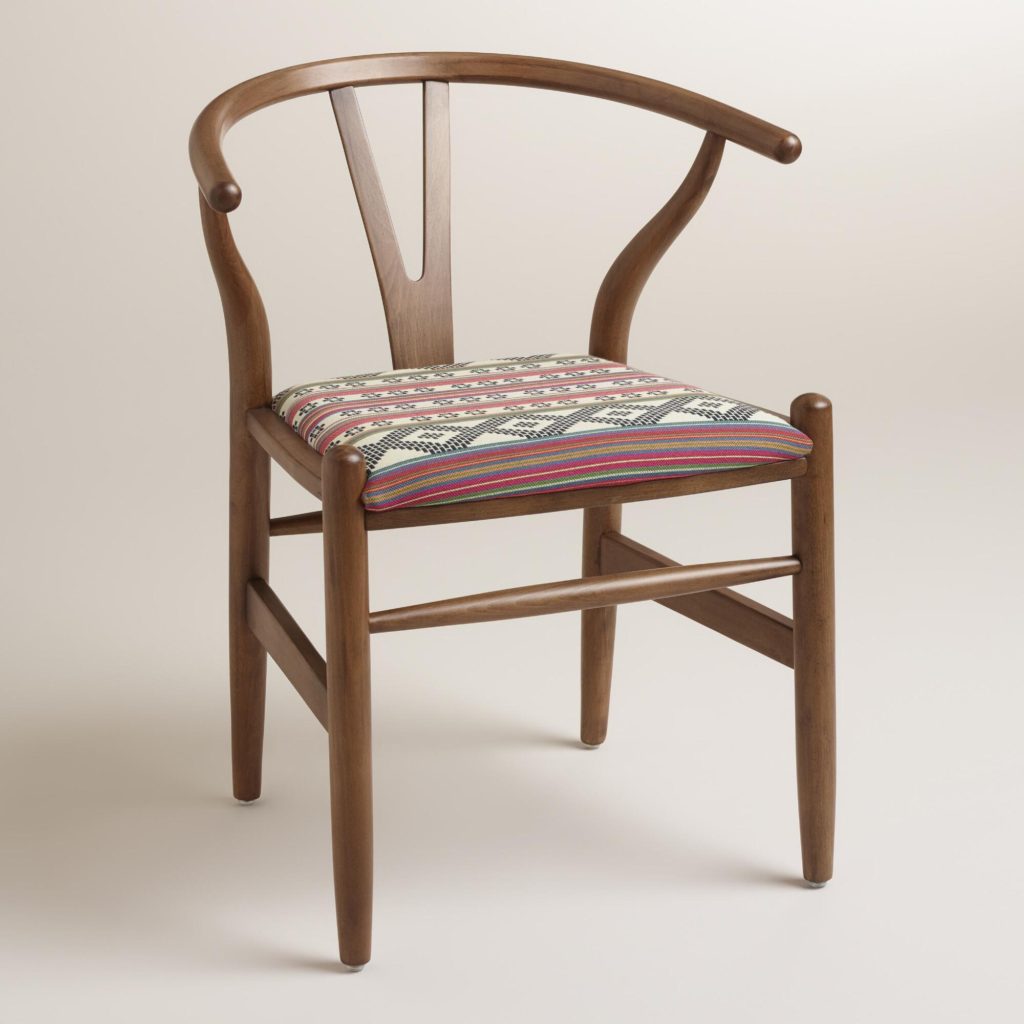
Venice Rattan Chair | Truro Side Table
These rattan chairs are oh so versatile and a favorite of mine! Over the years, I’ve used them in my living room to provide additional seating, on the front porch during the summer months, and even in a bedroom tucked in the corner for a cozy spot to put your shoes on. This cushion is an optional add-on but makes for a nice and plush spot to sit. Their Truro side table, pictured above, is such a unique piece that I always find our guests commenting on when they come to visit. The top of this table is so special and is made from polished fossilized clam shells. The attention to detail here is top notch and almost feels like a work of art!
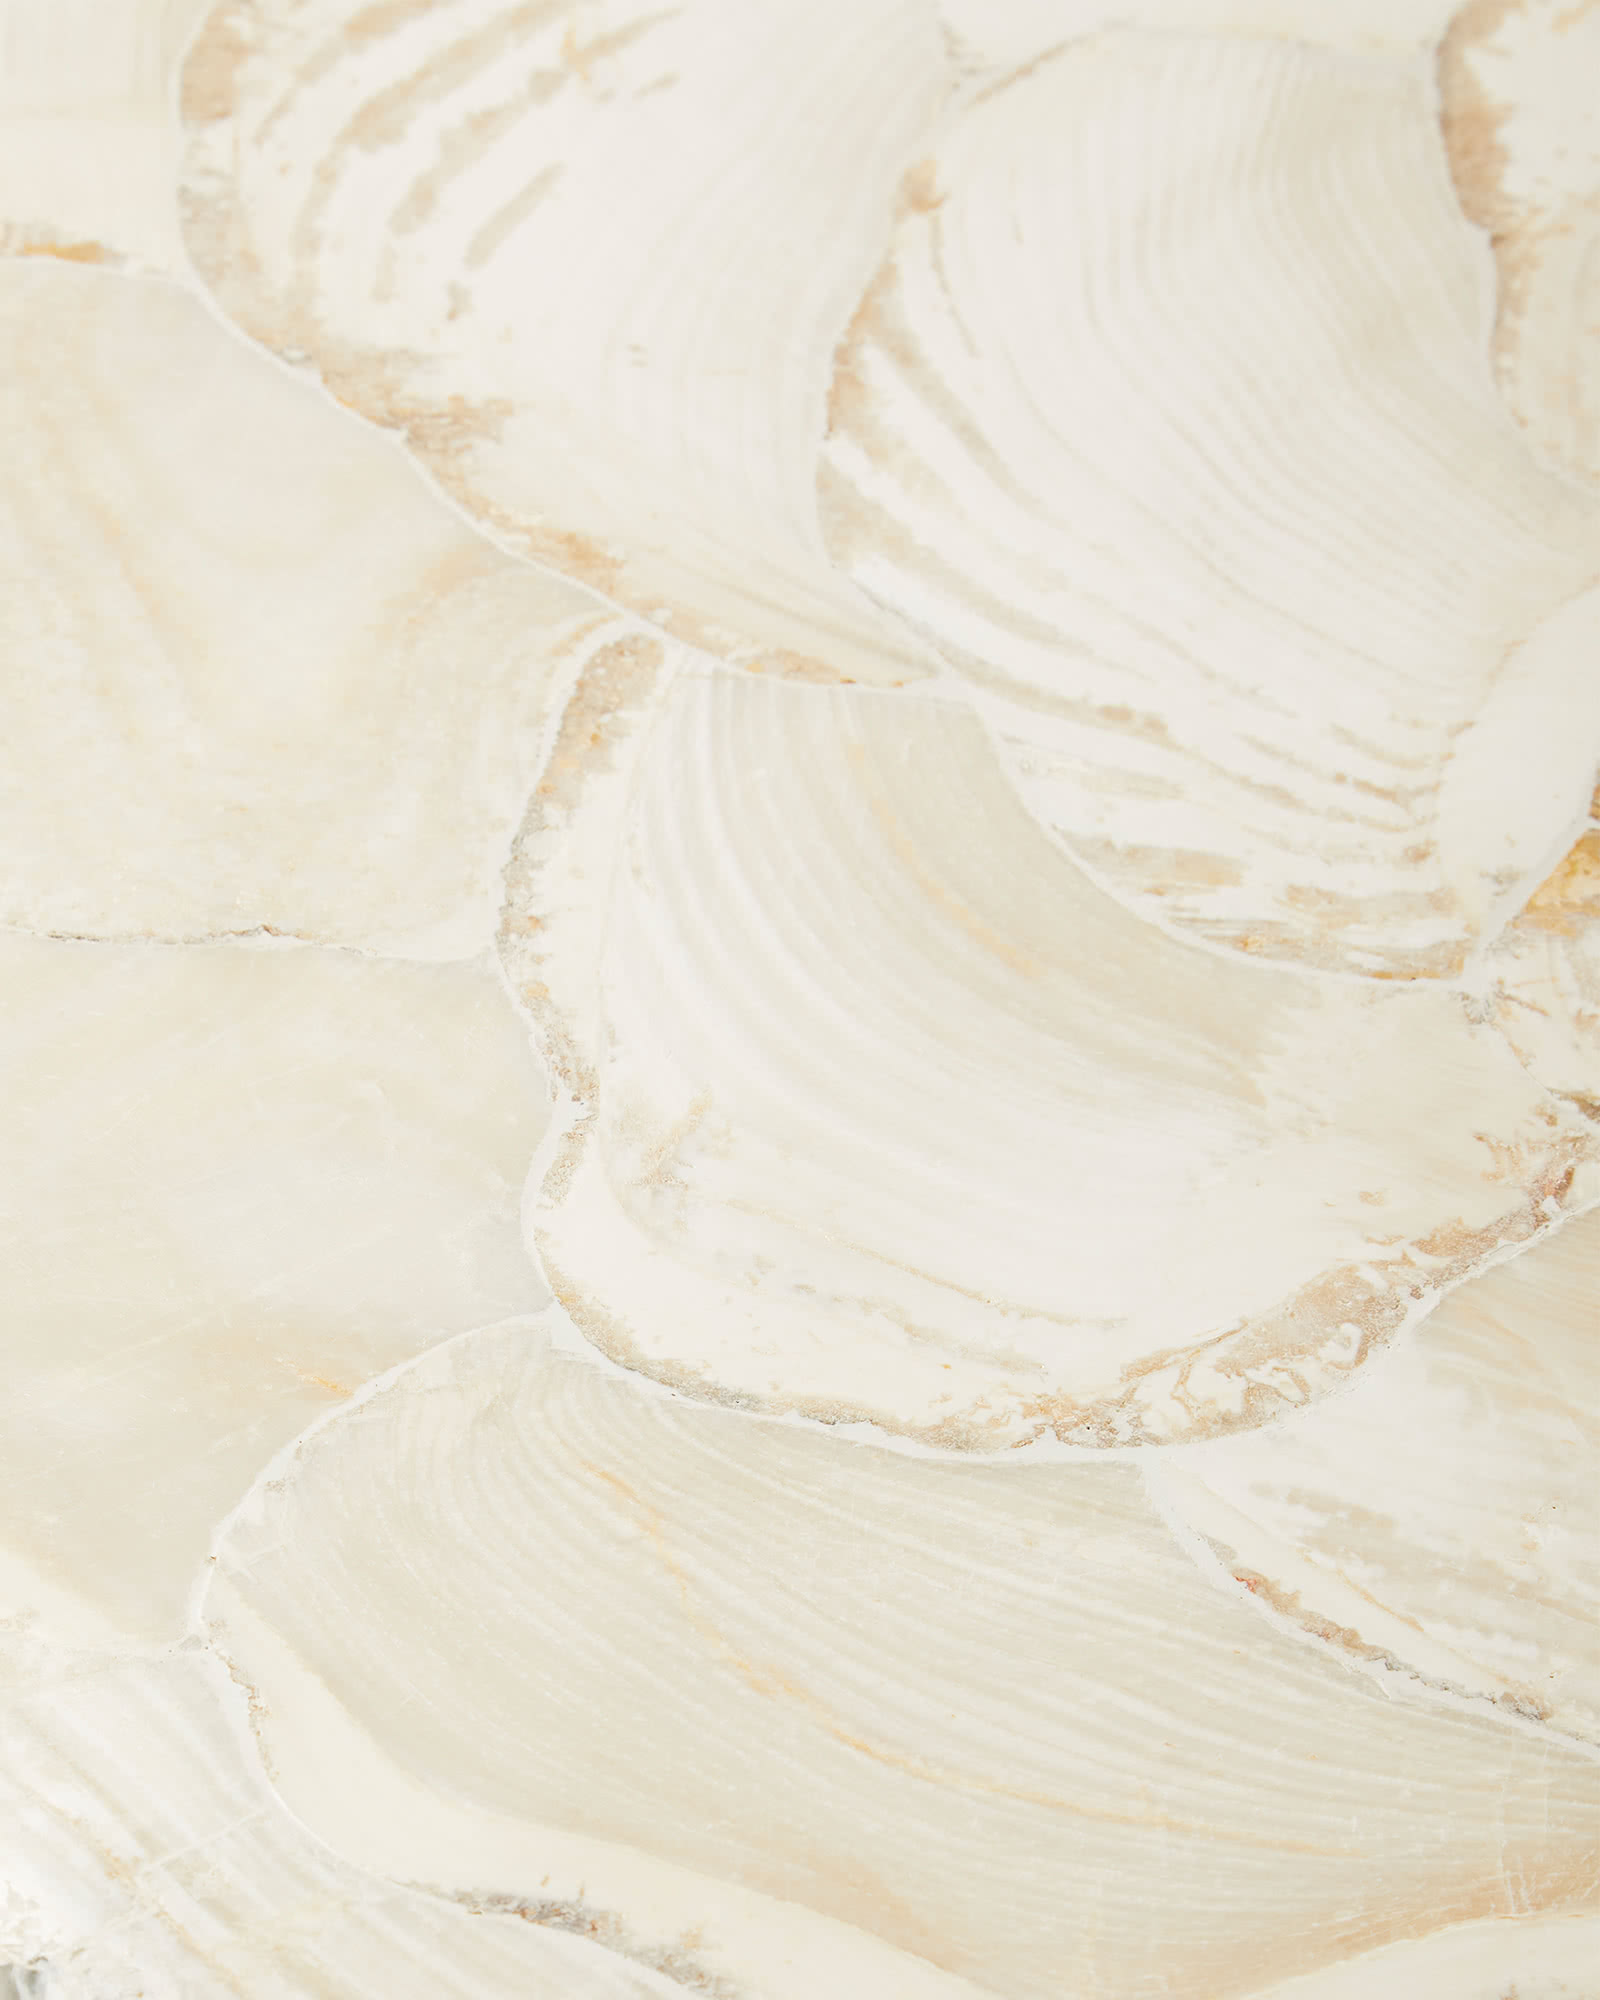
Pretty neat, huh? They also have this piece in a coffee table version and would be beautiful as the center piece to any living room.
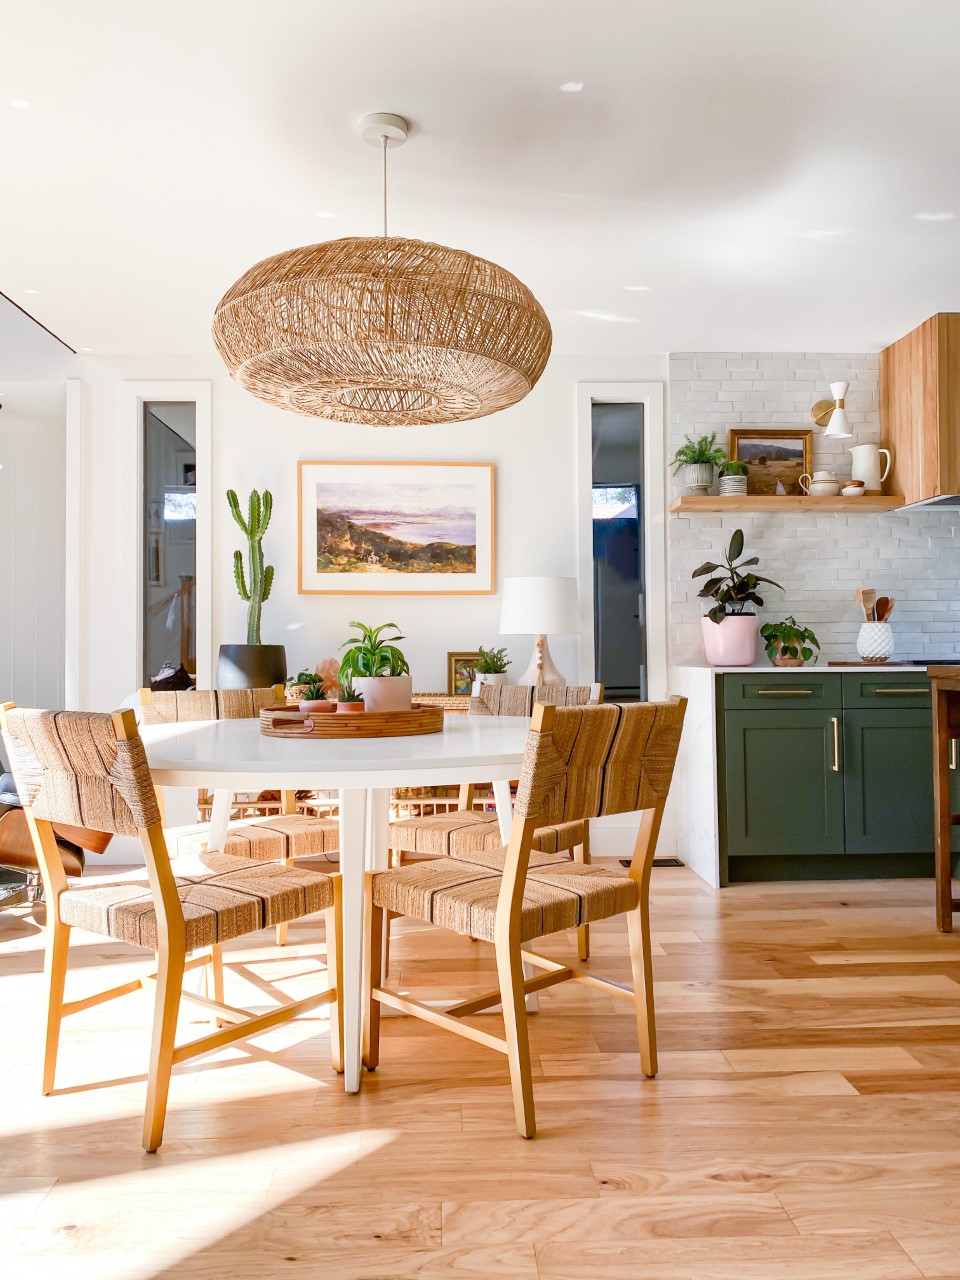
Downing Dining Table | Carson Dining Chair | Headlands Rattan Ring Pendant | Alona Rattan Tray | South Seas Rattan Console Table
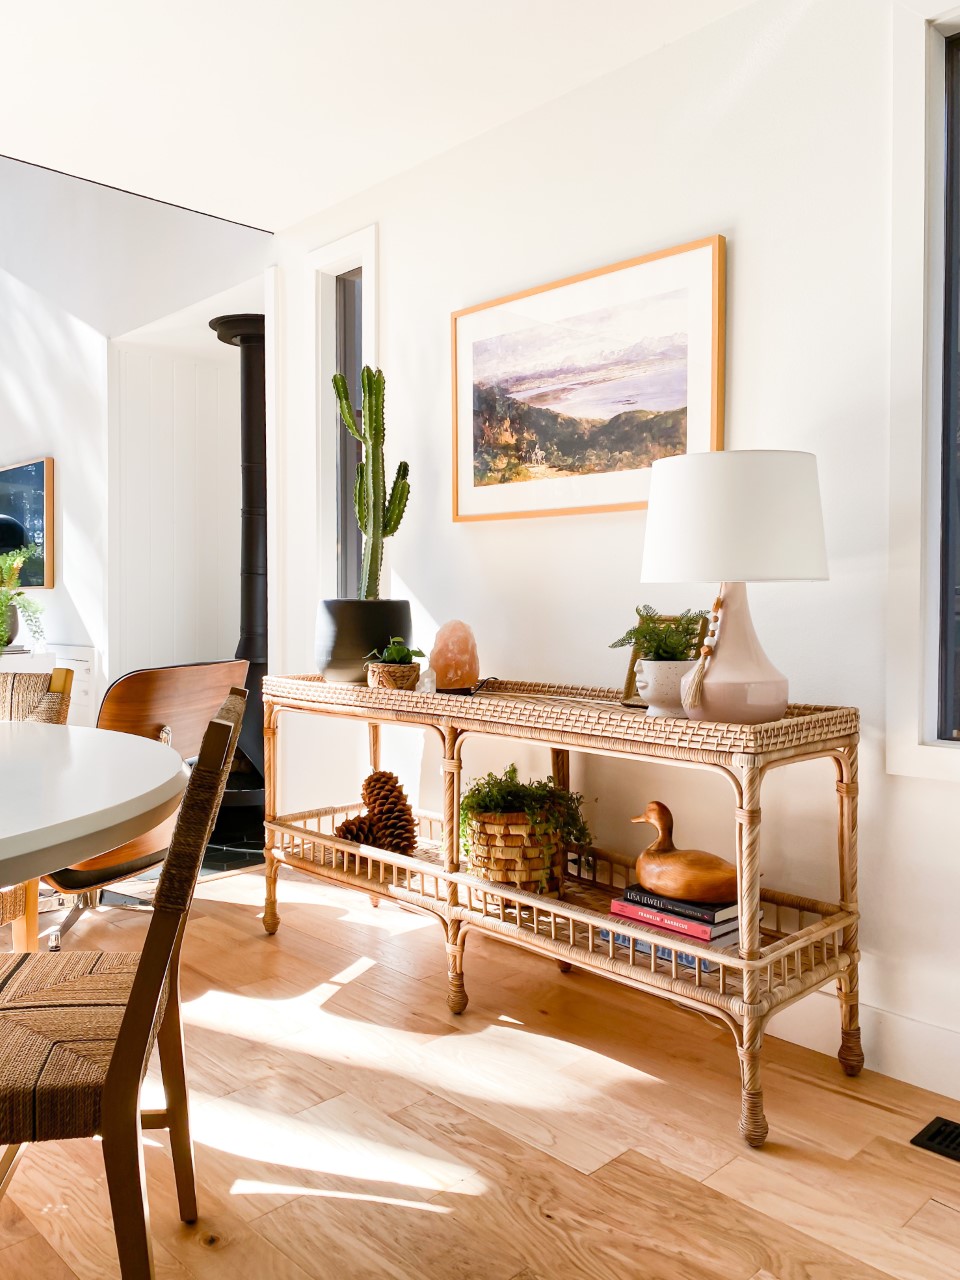
South Seas Rattan Console Table
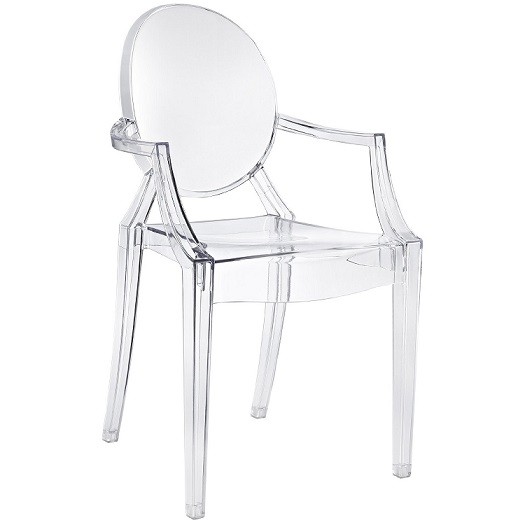
Told ya I love Serena & Lily! My entire dining room is made up of their pieces and I think it makes for a relaxed, but still beautiful vibe. The dining table is bright white with a see-through base, which I think works beautifully in a small dining space, like mine. The woven chairs are so comfortable with their generous seat size and woven seat/back. They also come in black, white, and natural color options.

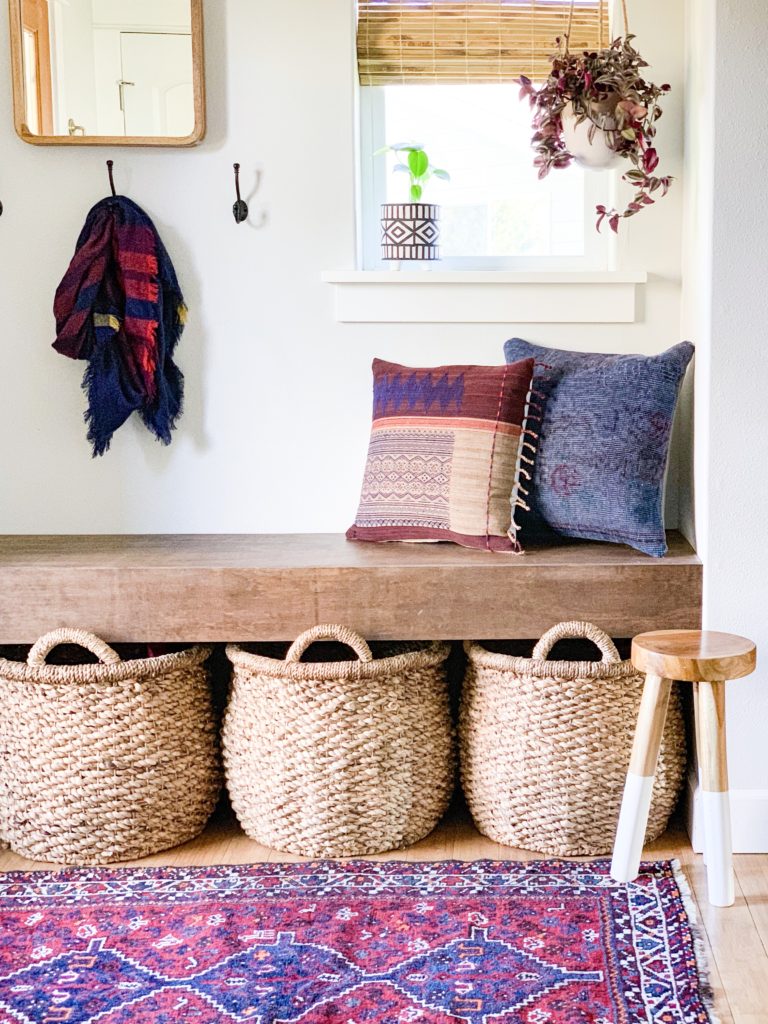
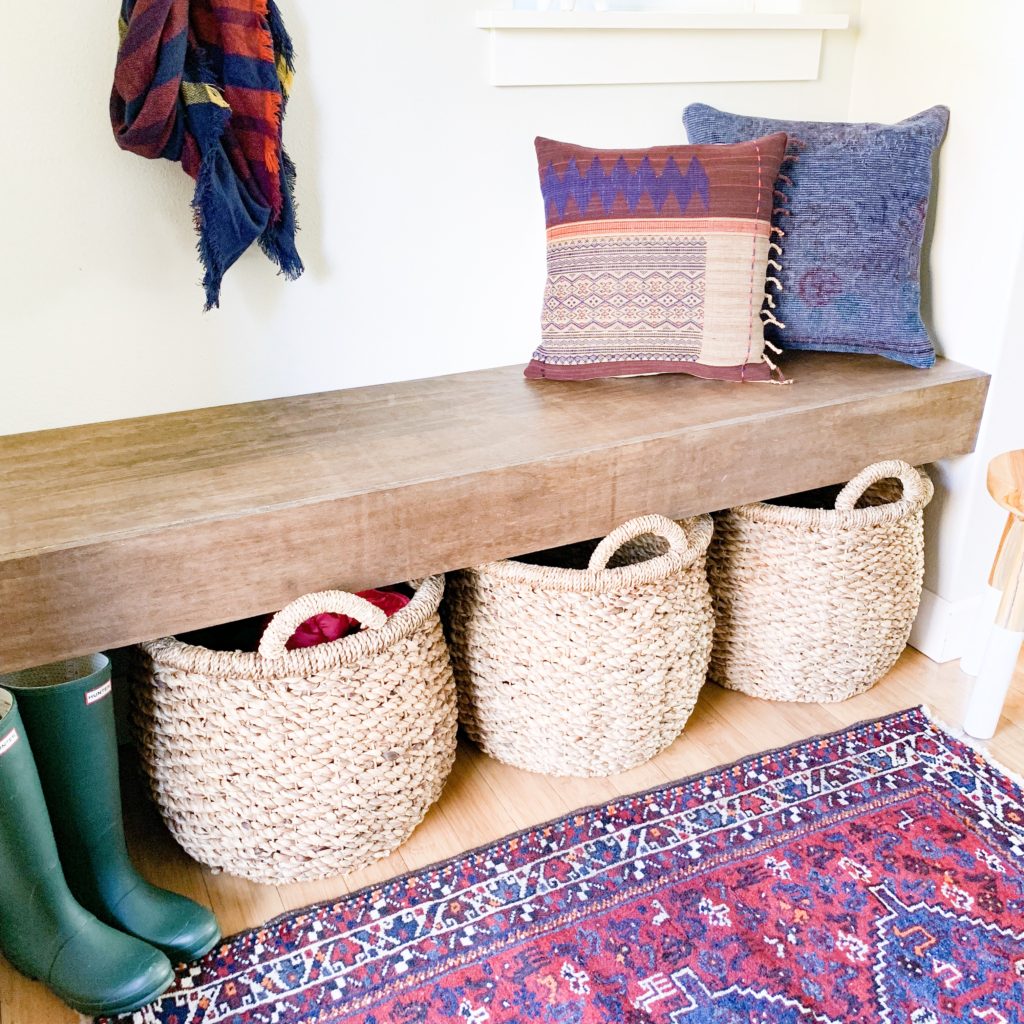
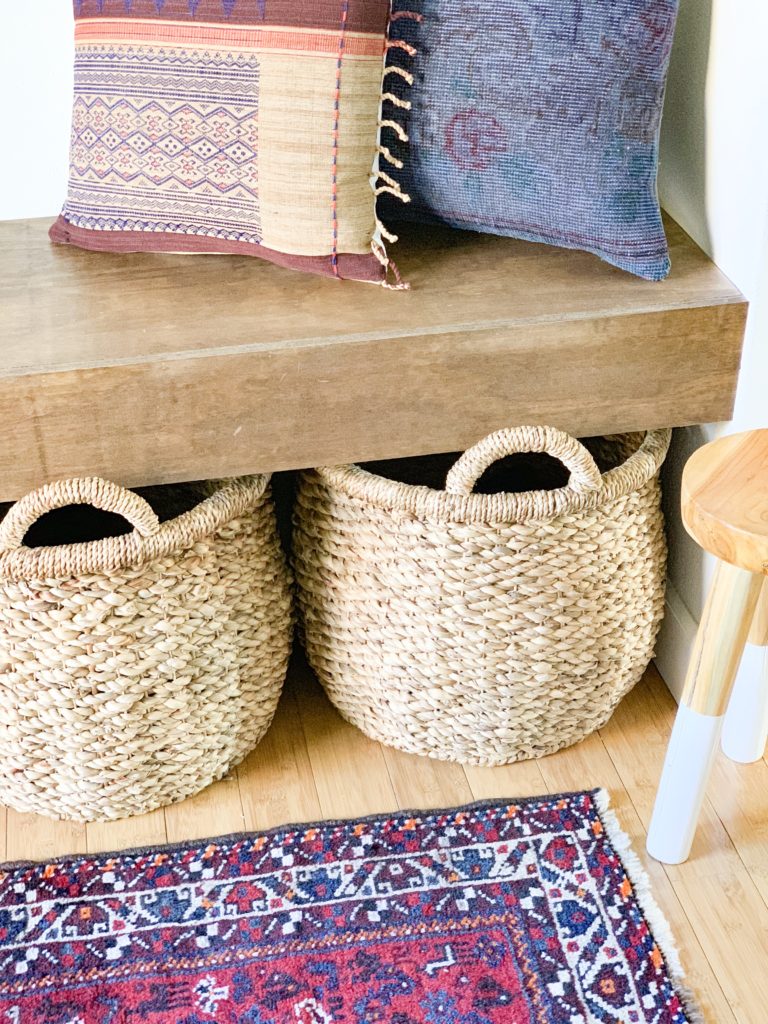
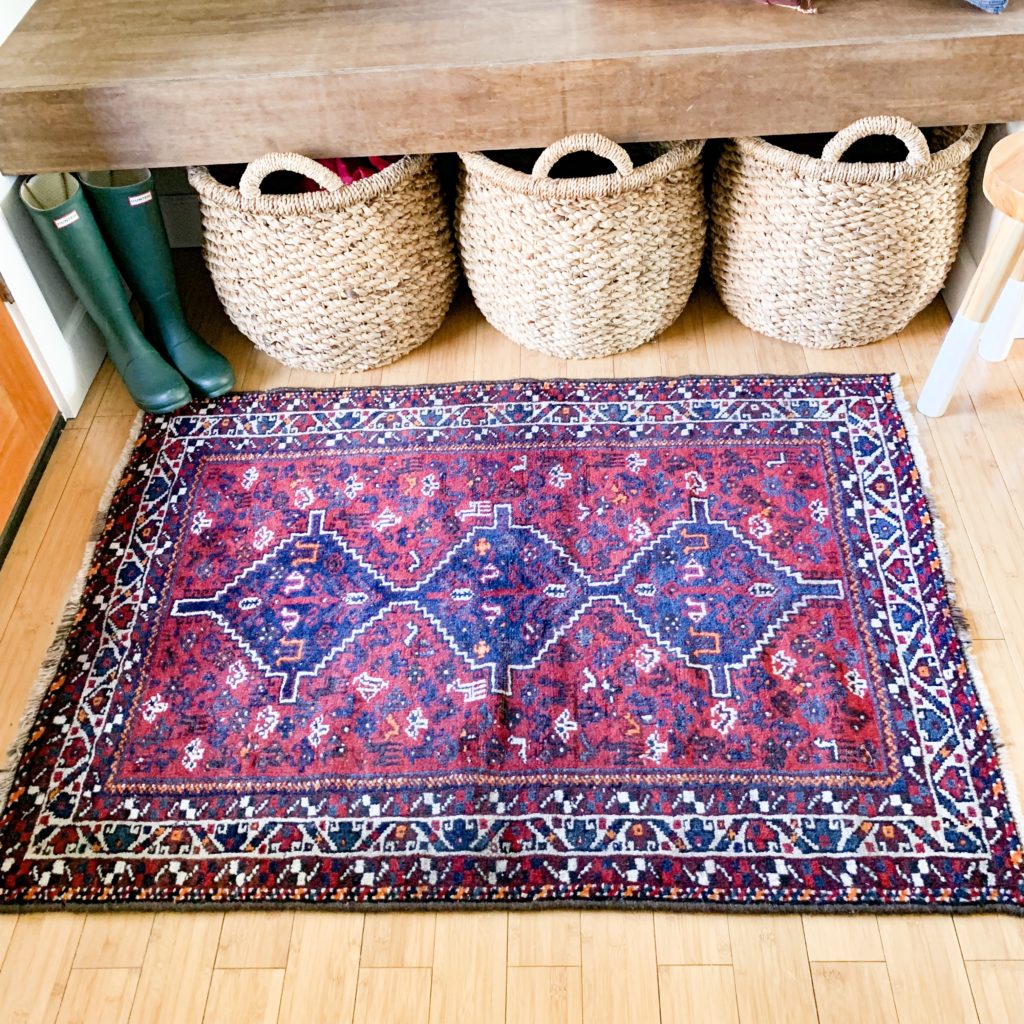
I’ve had the La Jolla baskets for years and this is another one of those ultra-versatile pieces that can be used in a thousand different places around the house. I have them in my entryway to gather up those loose shoes, socks, hats, scarves, etc etc etc. They also would make for the cutest toy baskets in a kids room!
Finally, because Christmas is right around the corner, here’s a few other items that I wouldn’t mind seeing under the Christmas tree for me this year! And ALL on sale too! Nate, are you reading this?! Hint…hint…Ahem.
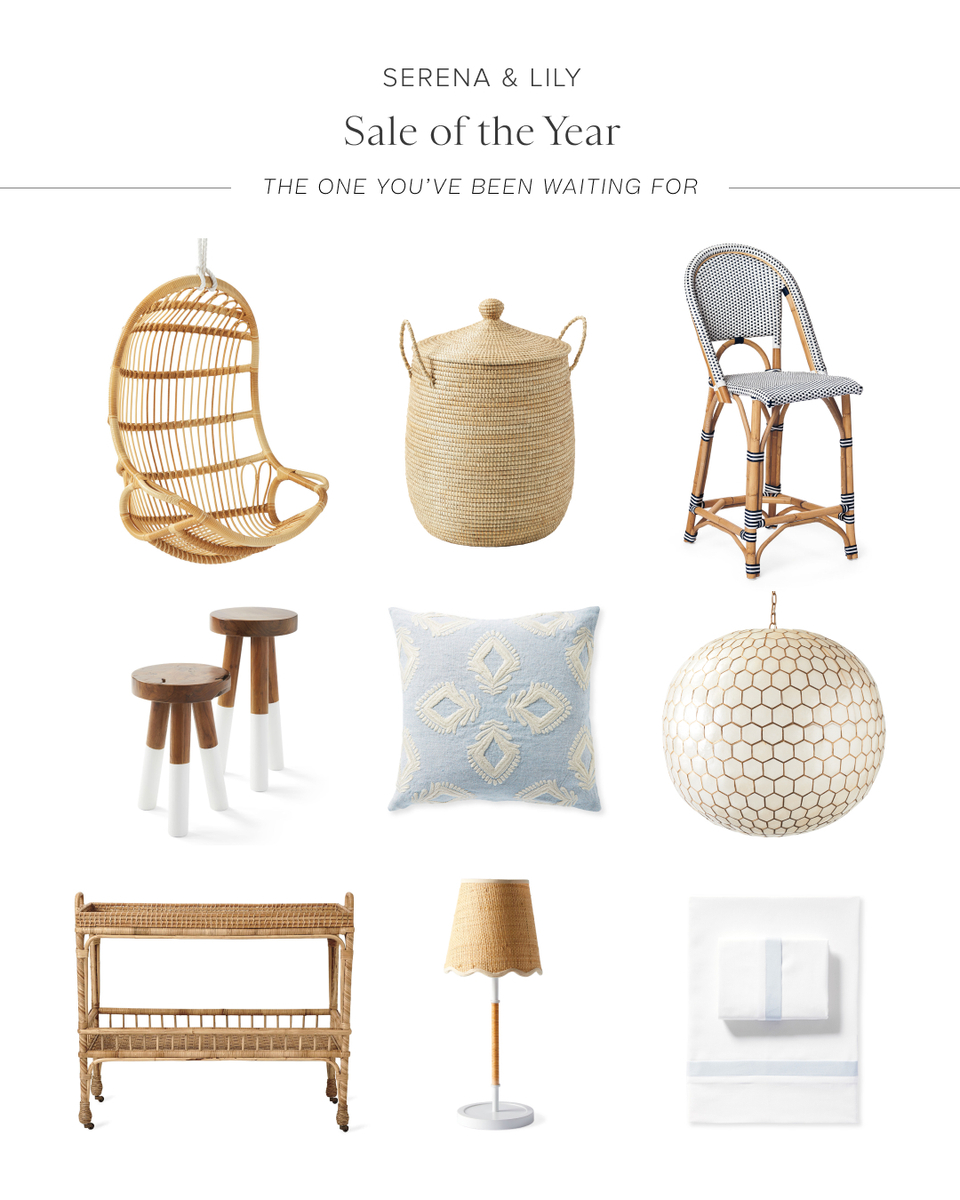
Hanging Rattan Chair | La Jolla Basket in Natural | Riviera Rattan Bar and Counter Stool | Dip-Dyed Stools | Leighton Pillow Cover | Capiz Honeycomb Pendant | South Seas Rattan Bar Cart | Larkspur Petite Table Lamp | Border Frame Sateen Sheet Set
The hanging rattan chair would be so fun in a teen room. My daughter has been eyeing this one for a while now. I have the La Jolla baskets in white, but am thinking the natural ones would be great for our boys’ bathroom to collect all the dirty laundry. So. Much. Laundry. Like, how? These counter stools would be a fun addition to any kitchen and I love that they have a back – makes island roosting so comfy. These dip-dyed stools is another piece that you could use in so many places. I like them in the bathroom! This pillow would be beautiful on a bed or sofa, and comes in a few different sizes! I’ve had a crush on this pendant ever since Chris Loves Julia used it in their entryway a few houses ago. I always thought it was the perfect choice! This bar cart would be so fun, especially for the holidays. I love how it makes the ritual of mixing a cocktail a little more special. The sweet little scalloped detail on this lamp would make for a beautiful bed-side lamp. Finally, these sheets are just so lovley. And sateen? Yes, please.
Happy Shopping, you guys!! Let me know below in the comments if you scored anything from the sale!