One Room Challenge – Modern Mountain Kitchen and Family Room – Week Four

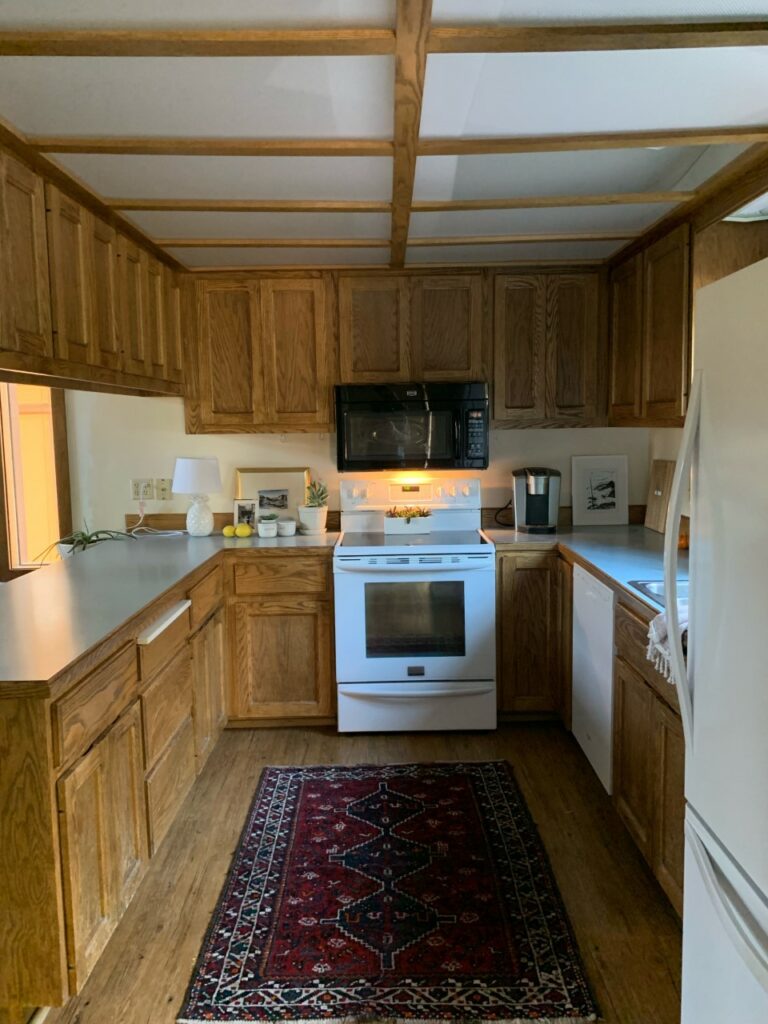
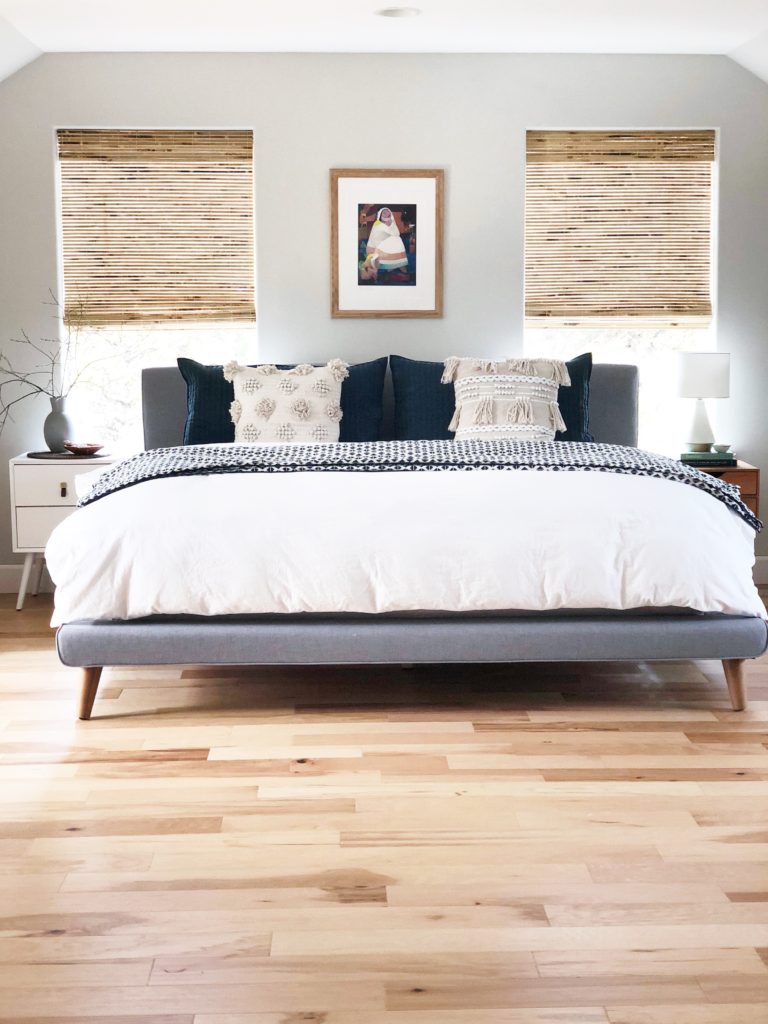
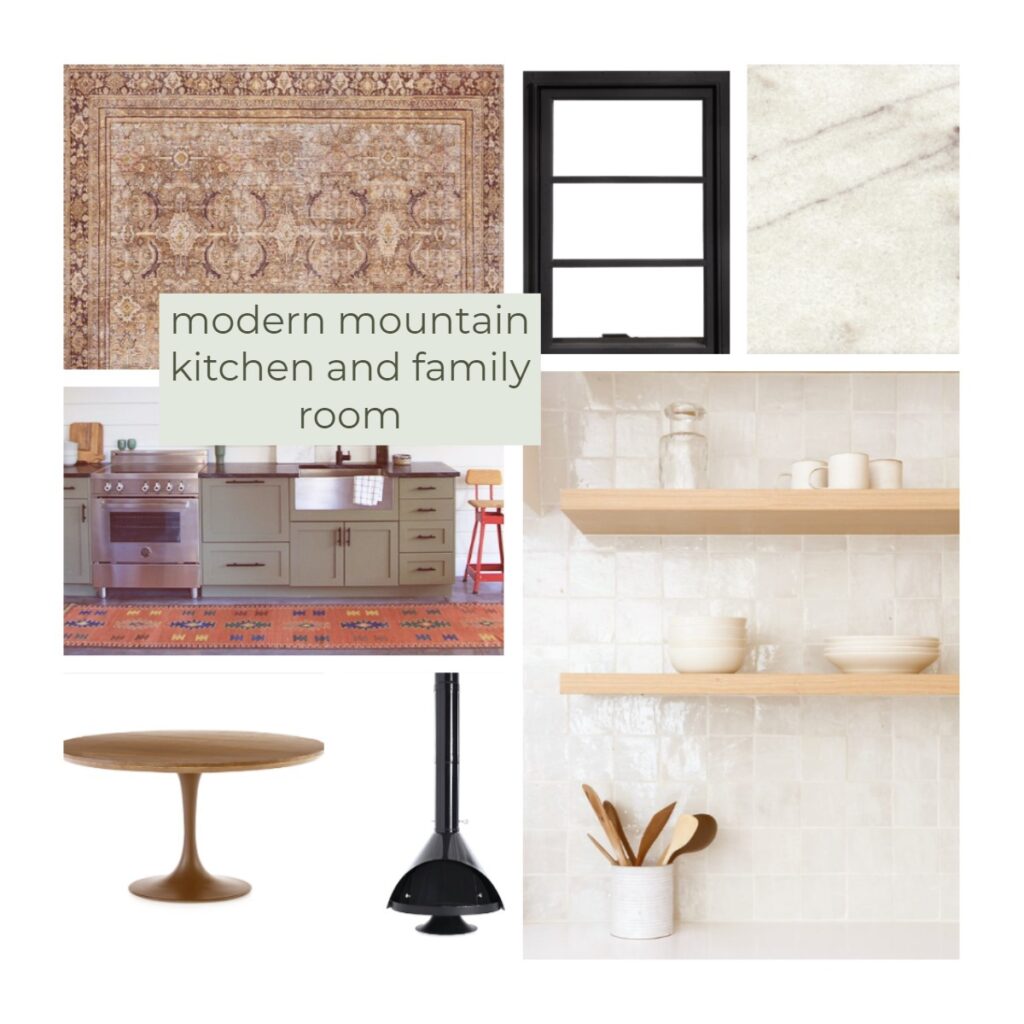
Hi friends! Welcome to week four of the One Room Challenge. This week we’ve been all over the place, and I mean that it in a very literal way. One day I’m painting a wall, the next I’m tiling and the next, I’m off to hunt down slabs of wood for our shelving. I’m all over the place, but It’s finally feeling so bright and fresh in here, and I’m loving it. For weeks, all we did was tear this place apart so it’s nice to see it finally coming back together and starting (just barely) to shine! As always, lets have a look at the vision for the space.

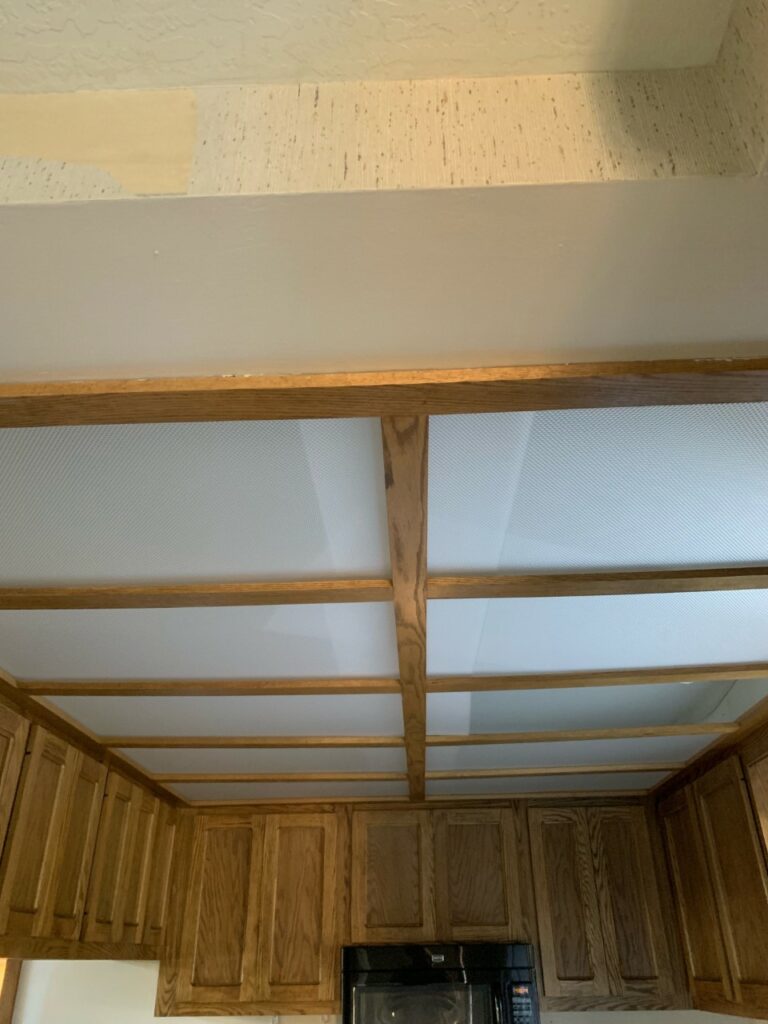
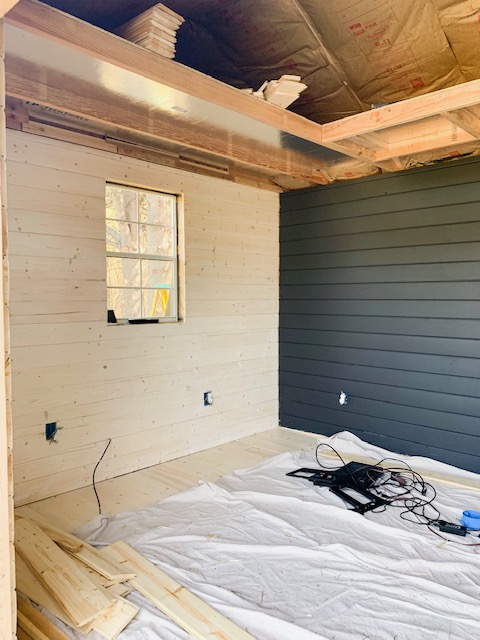
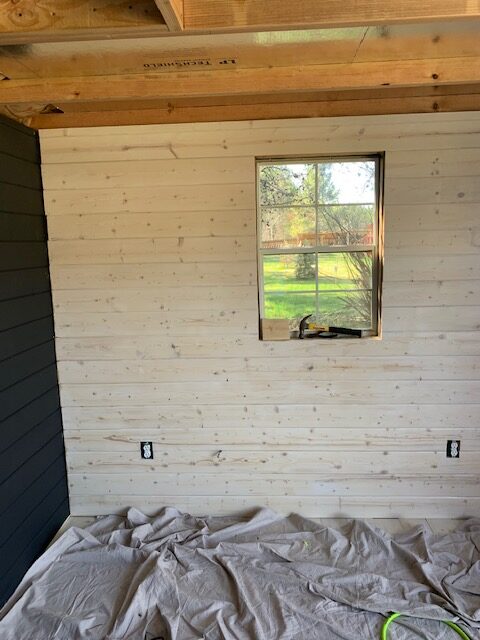
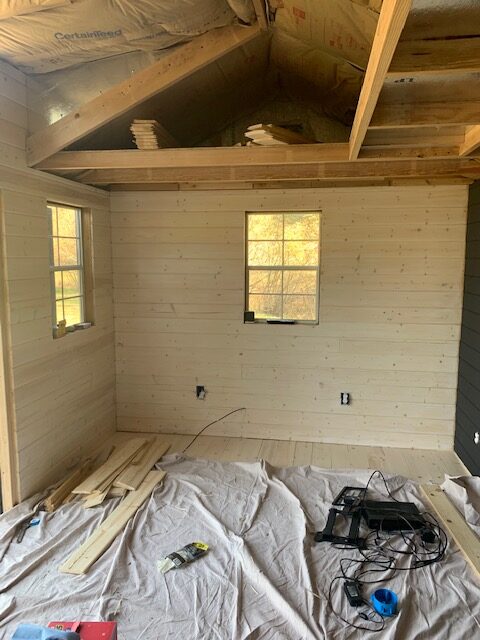
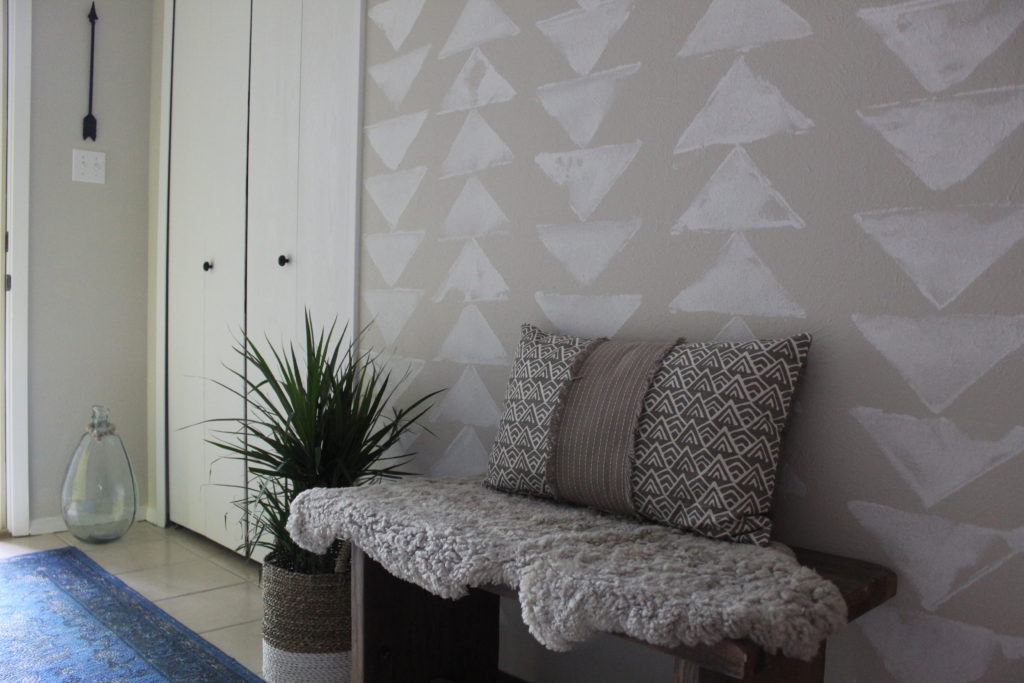
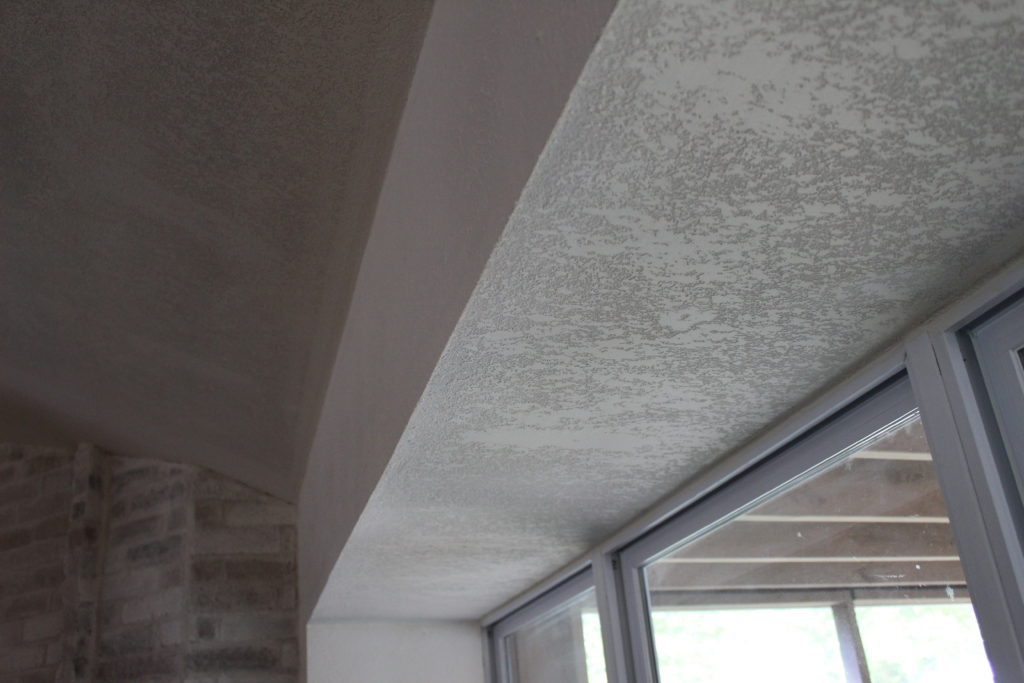
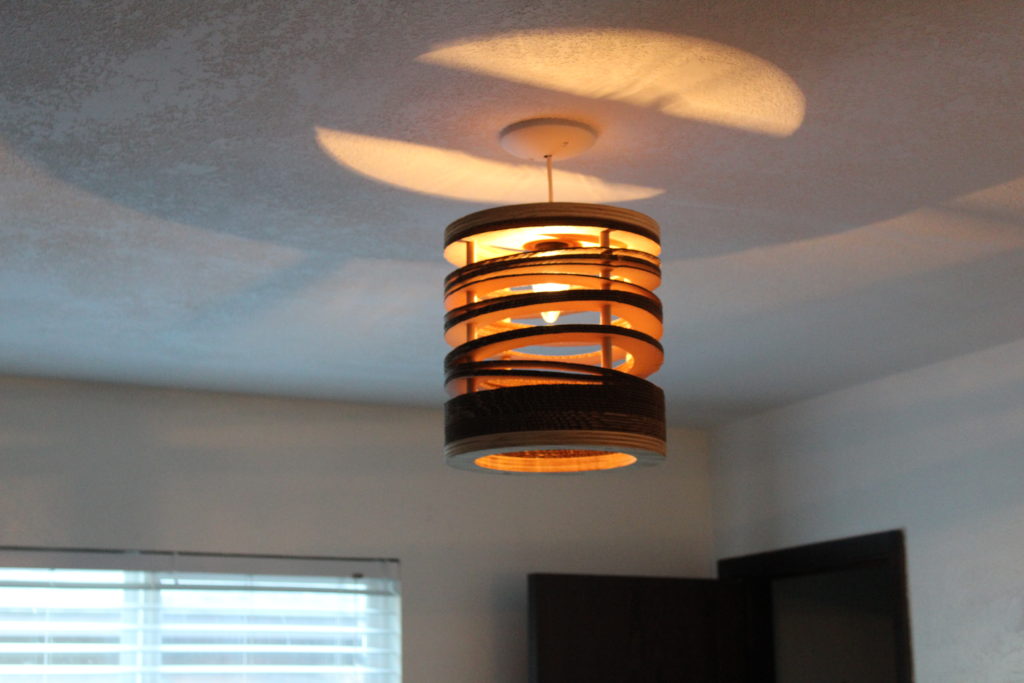
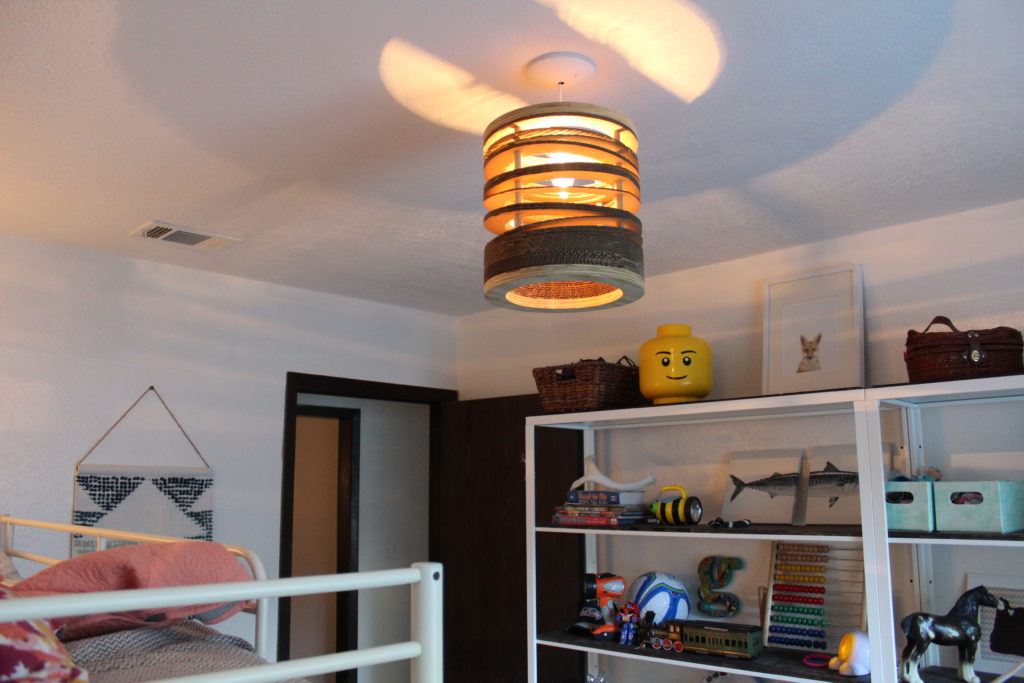
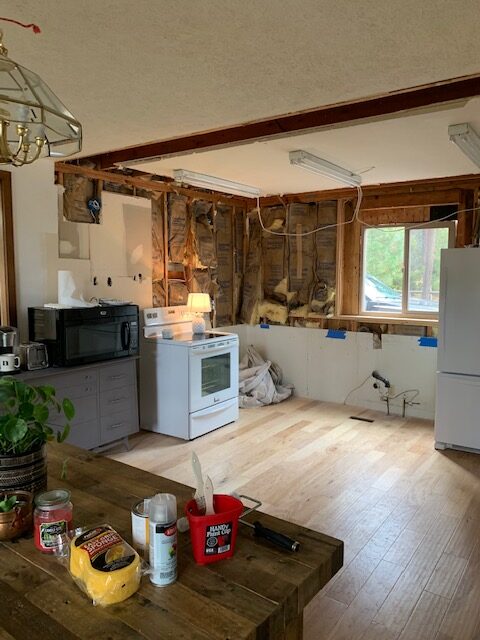
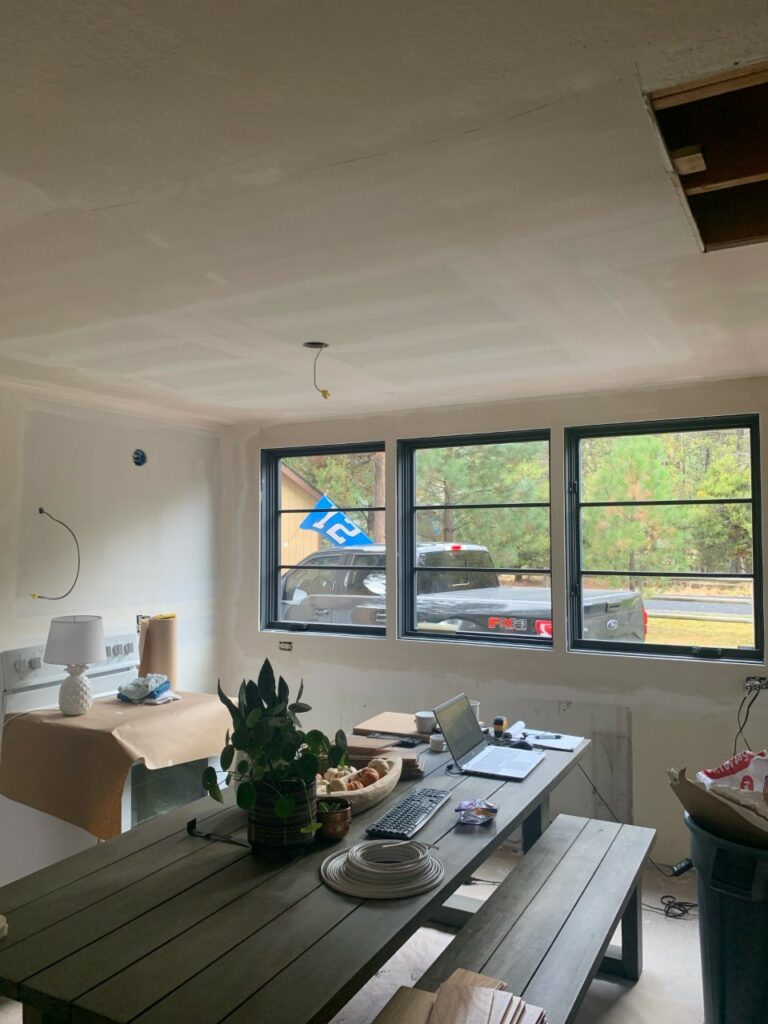
First up, we made the decision last week to hire out our drywall work out, and I’m quite sure that is one of the best decisions I’ve ever made! Jordan from Summit Drywall of Bend (message me if you would like his contact info. I can’t recommend him enough!) came and transformed this shell of a space into a real house complete with beautifully textured walls and ceilings. He finished everything in just a few days which would have taken Nate and I at least a week to complete and I KNOW our work wouldn’t have the professional look that Jordan delivered.
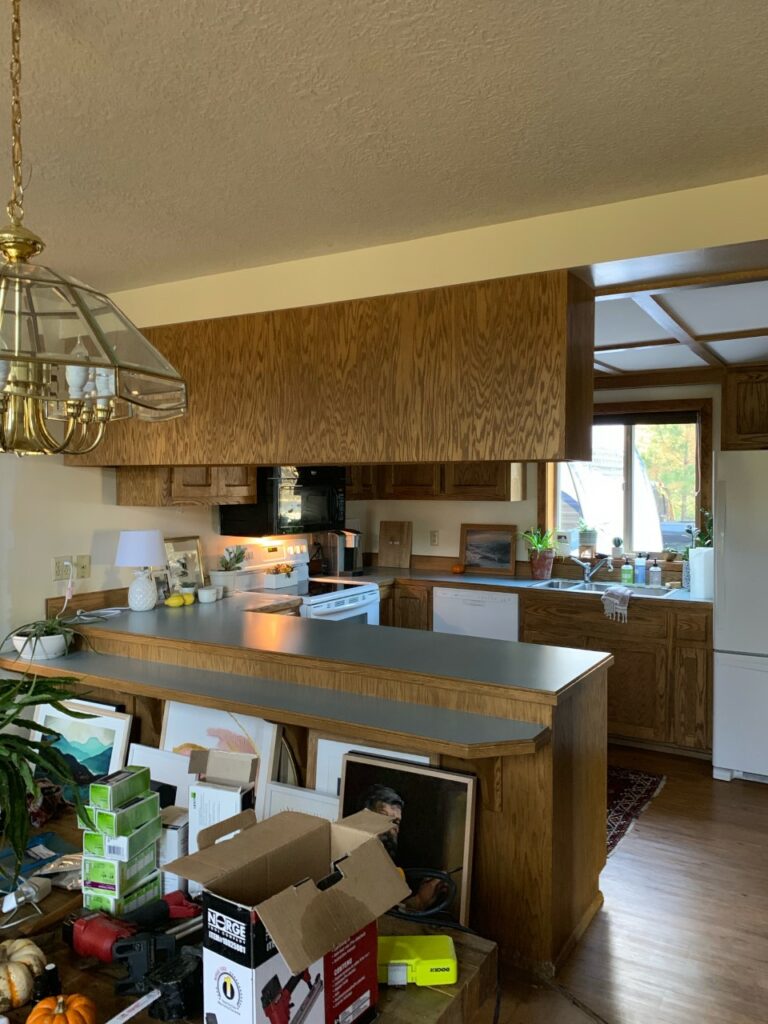
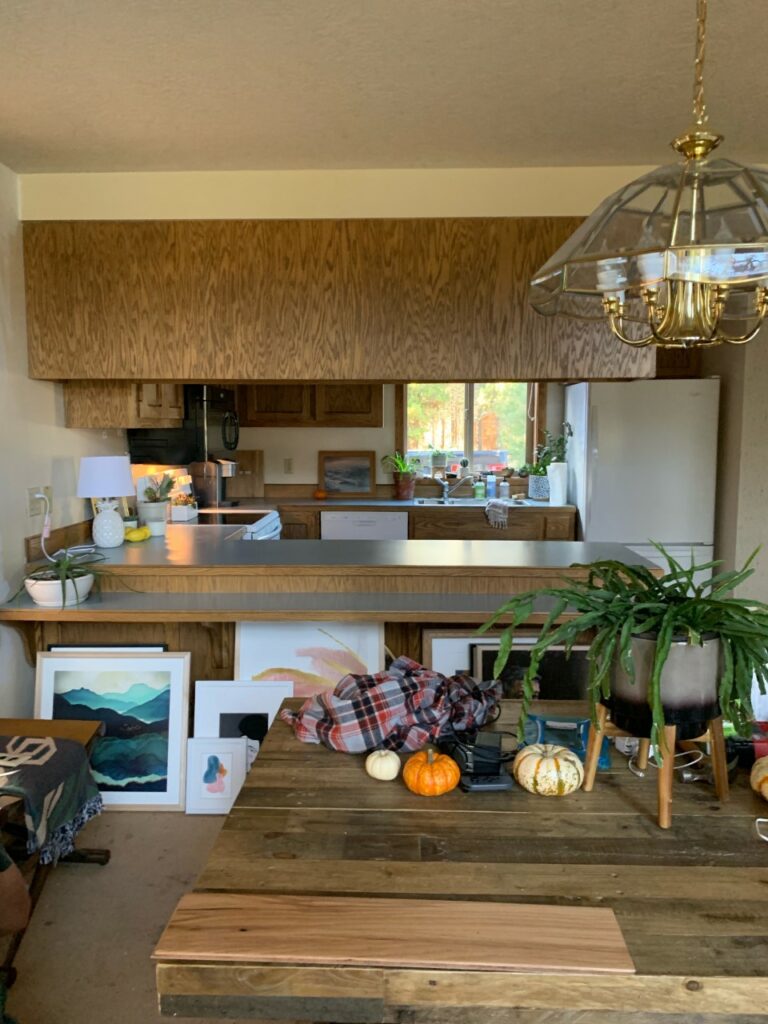
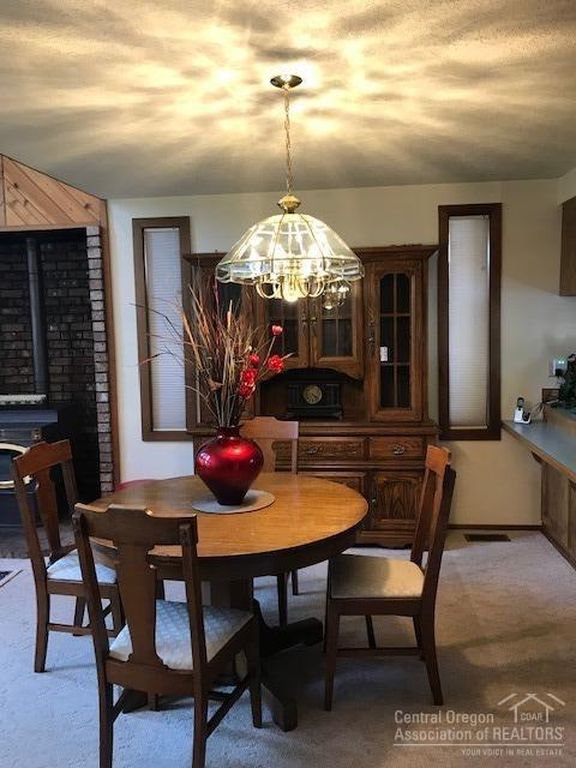
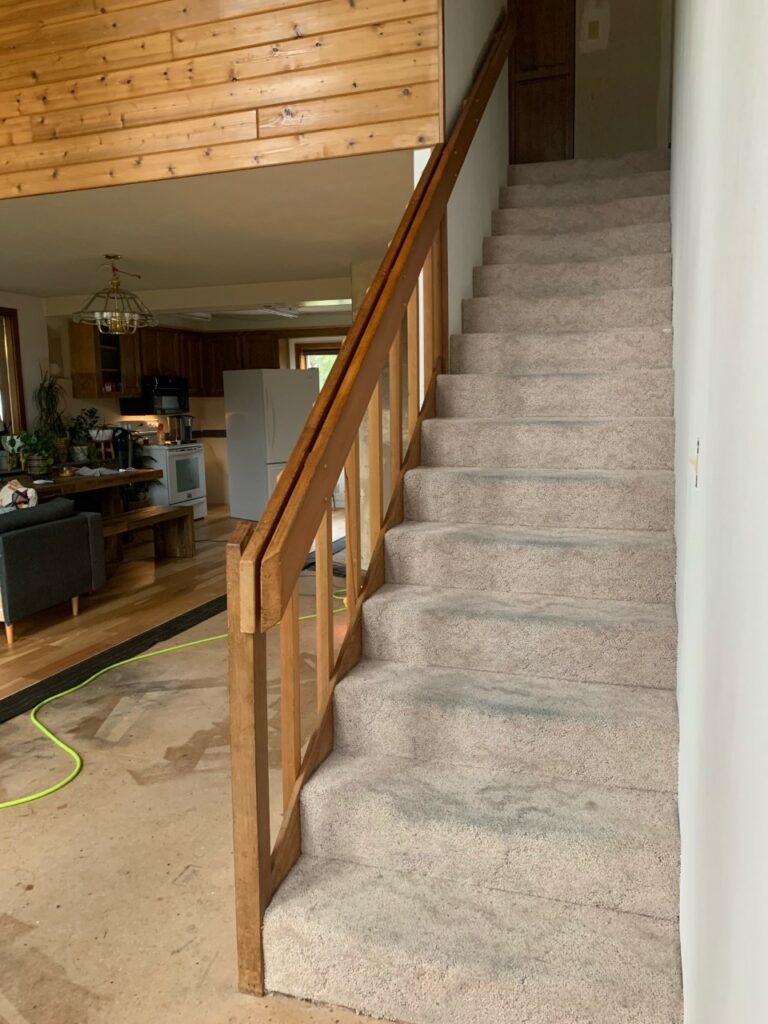
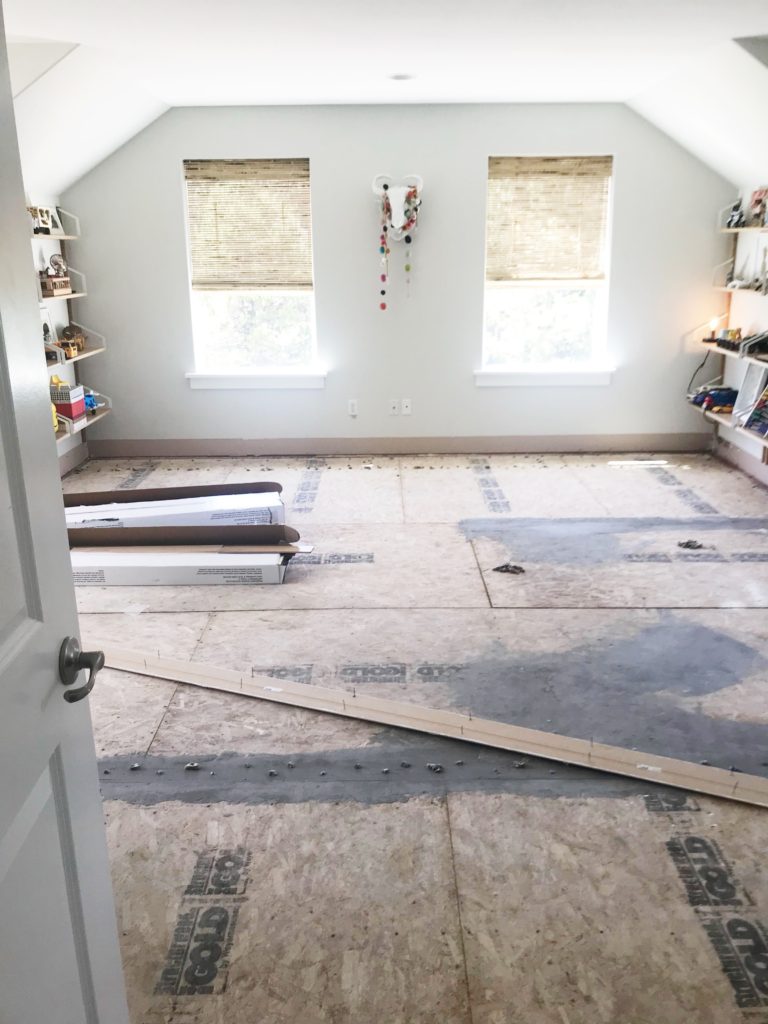
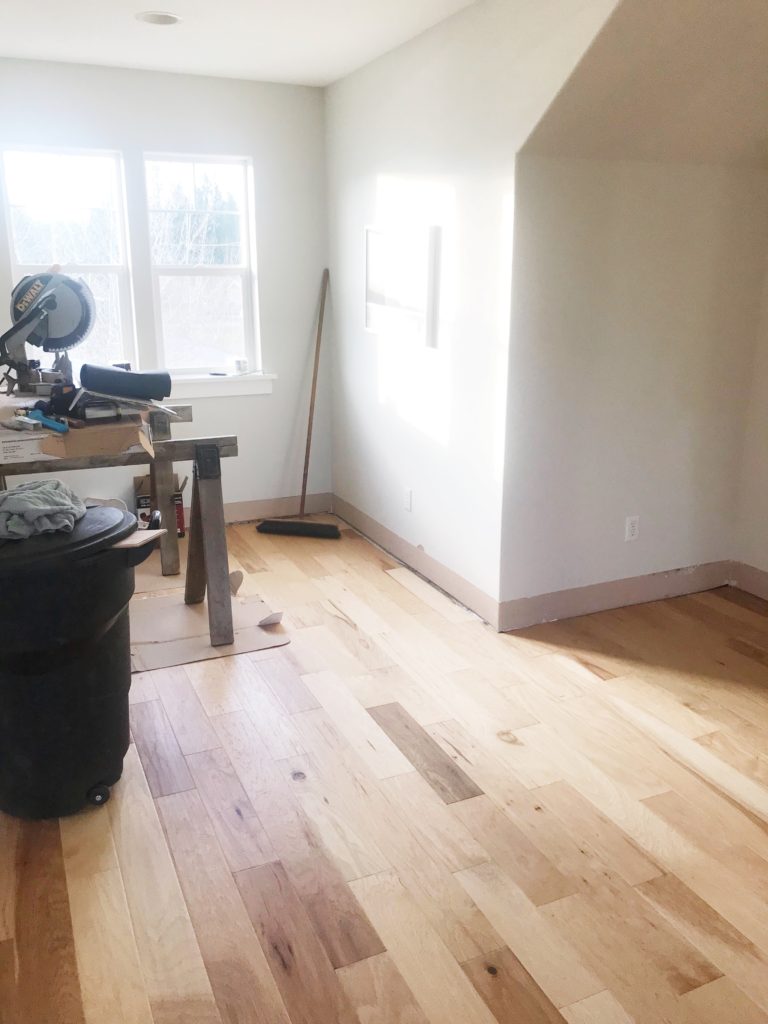
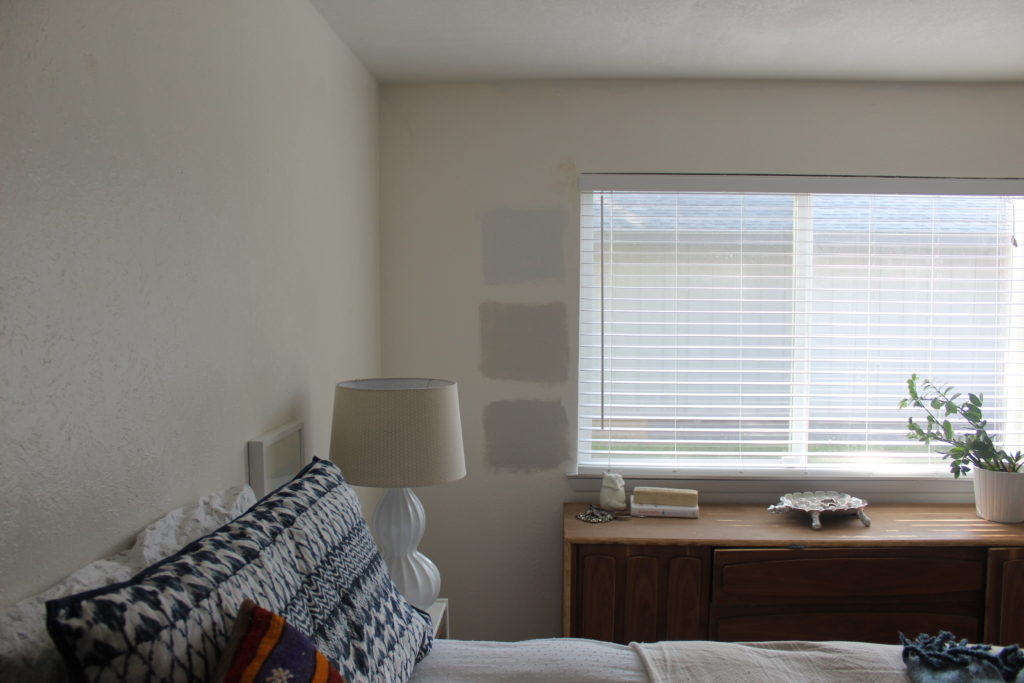
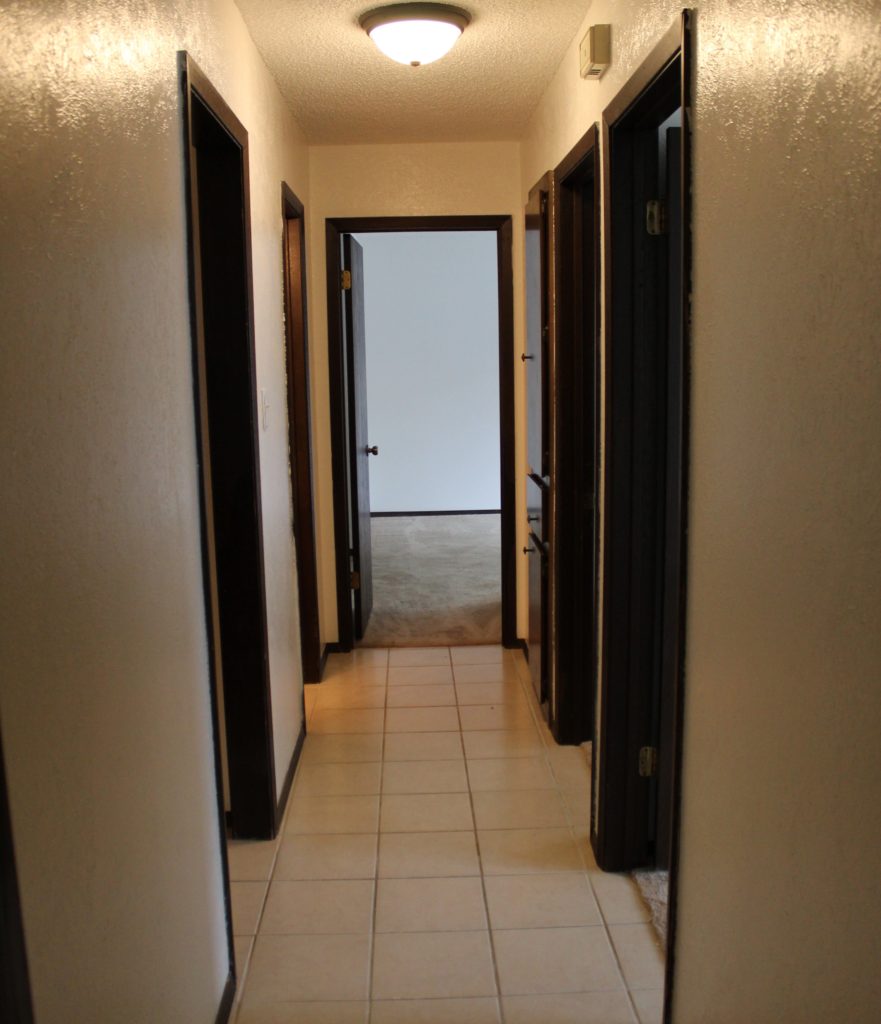
Before Jordan came

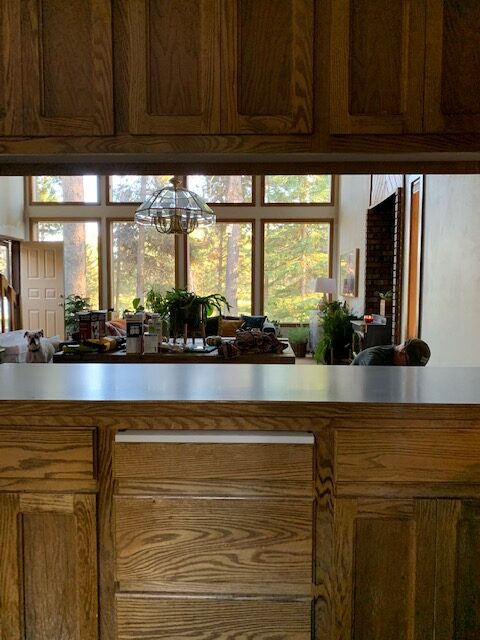
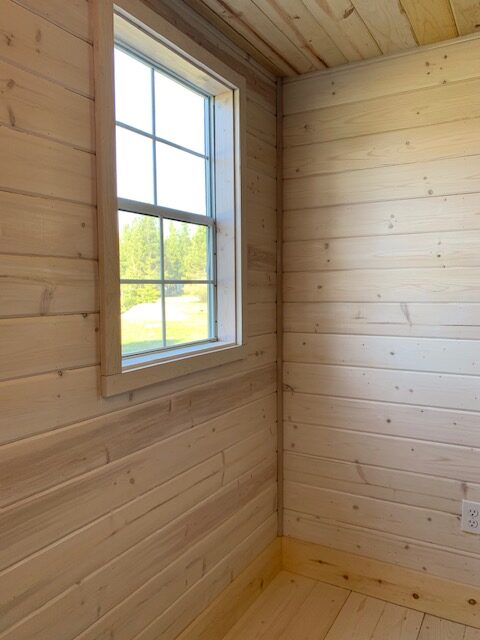
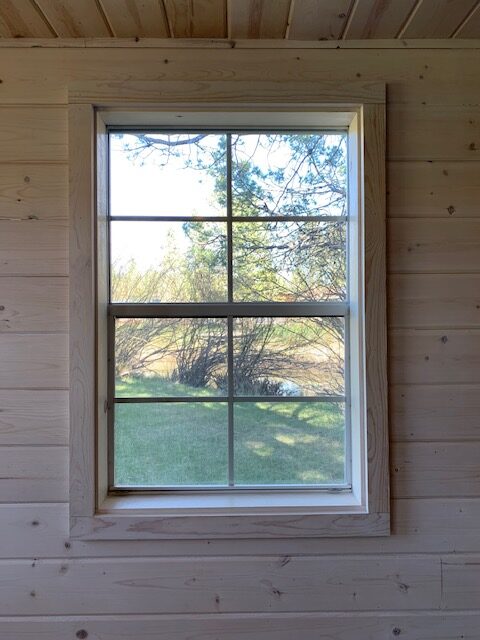
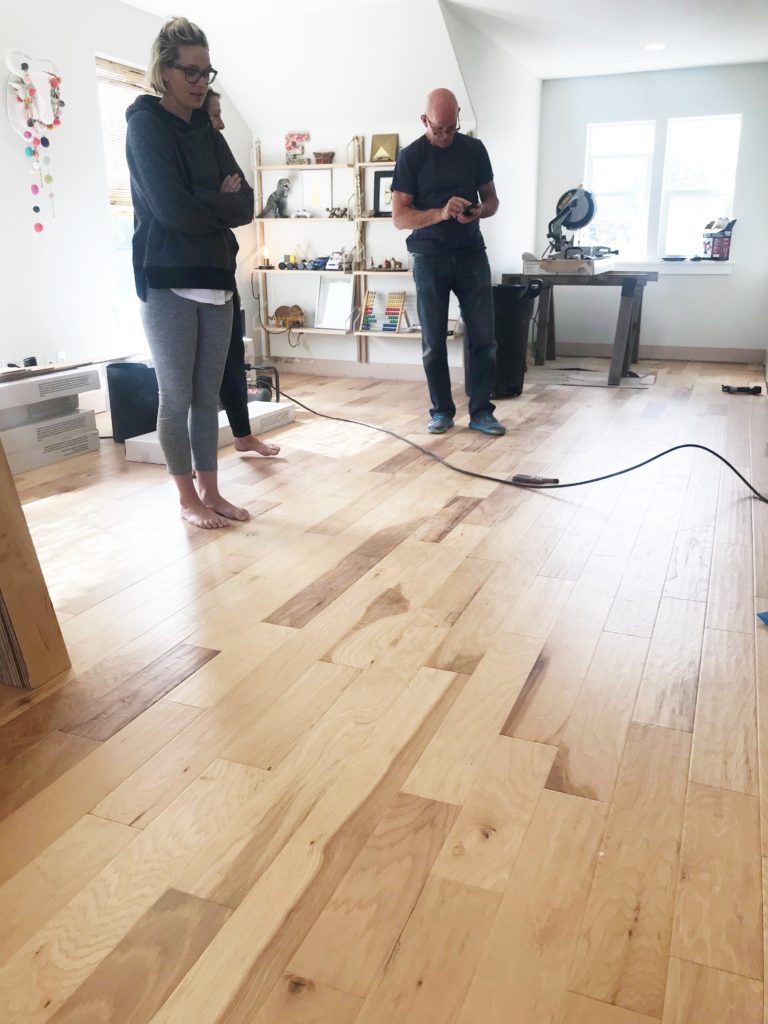
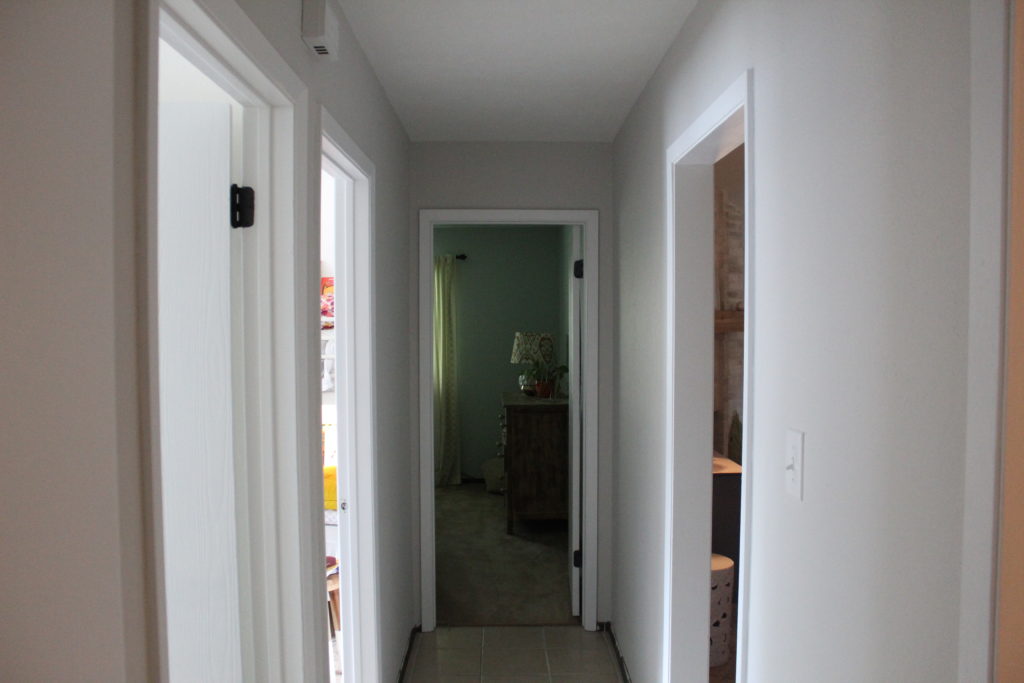
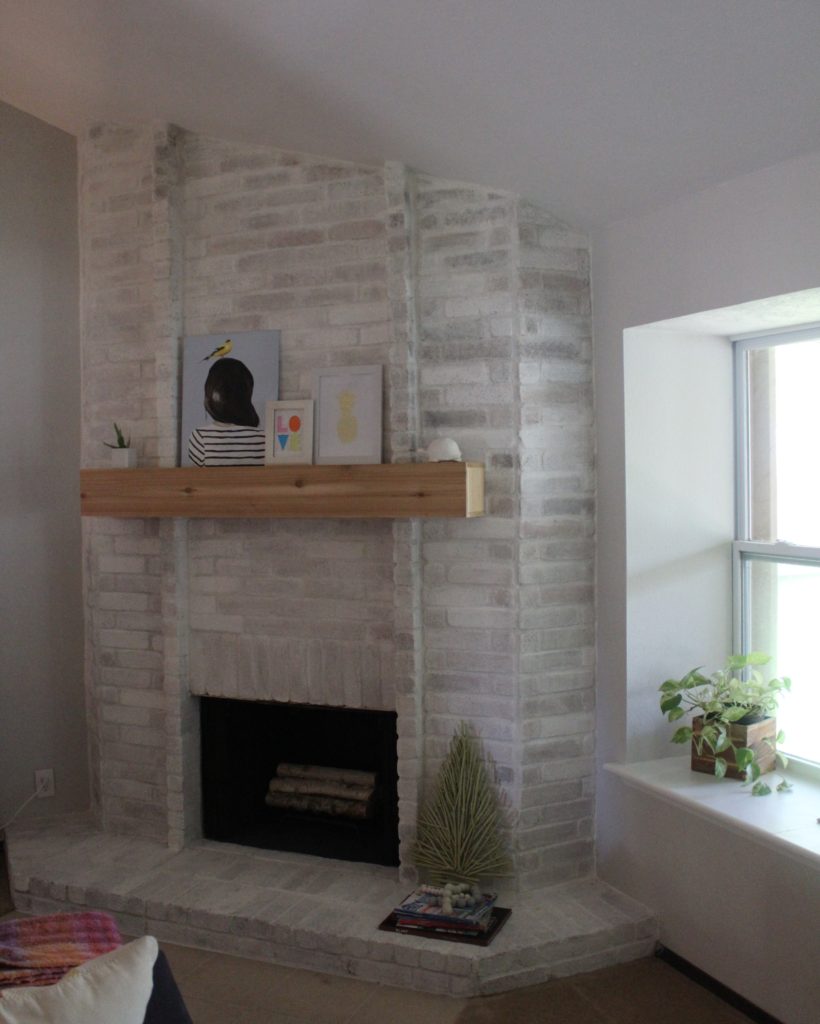
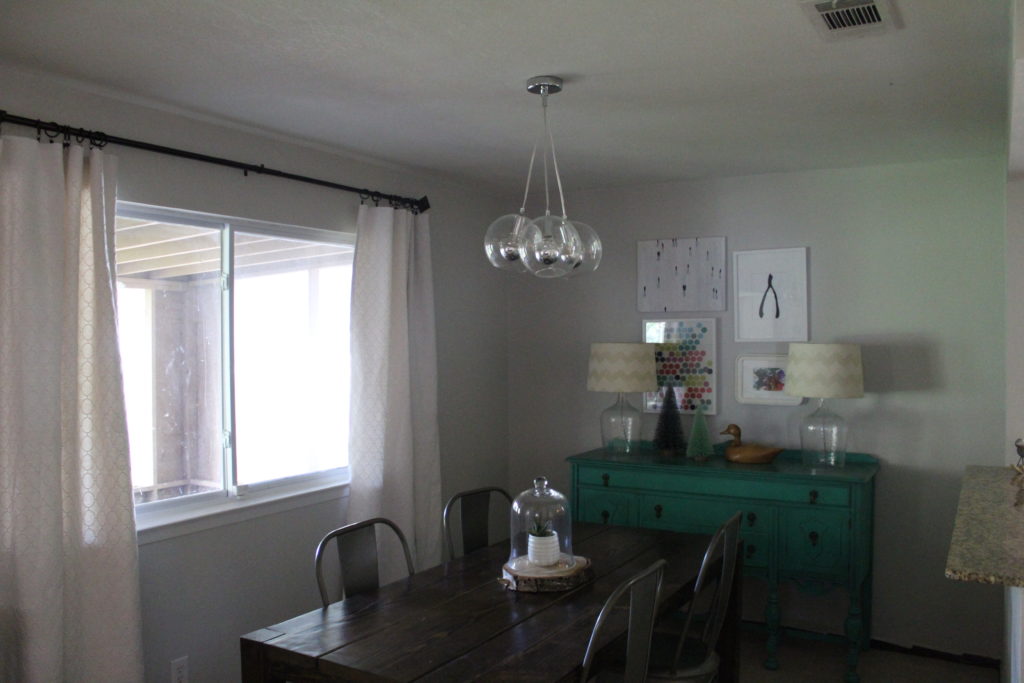
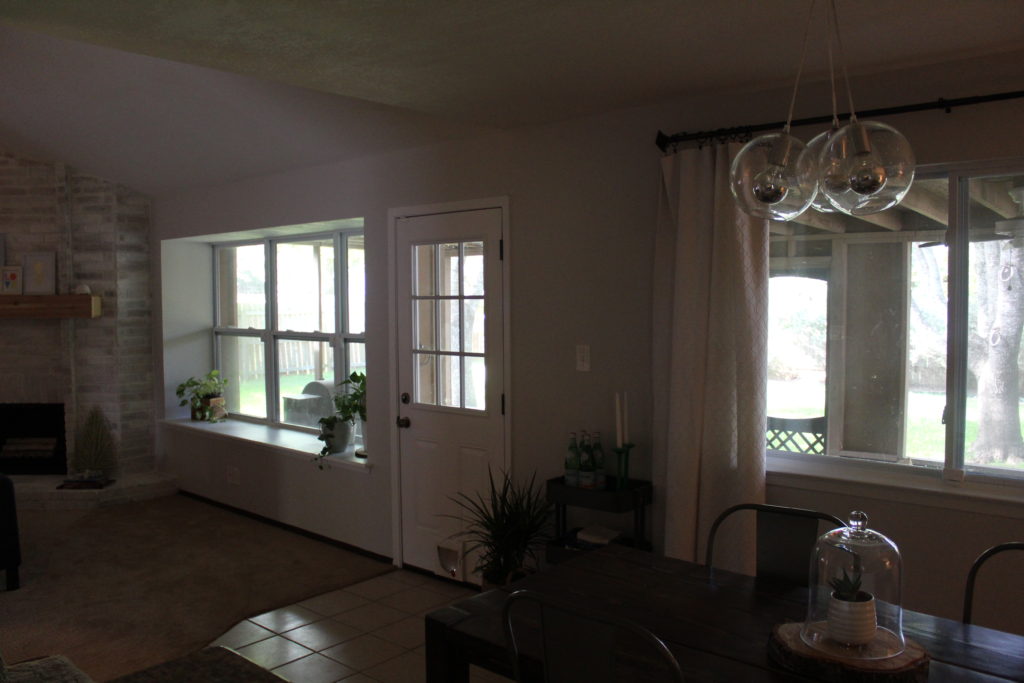
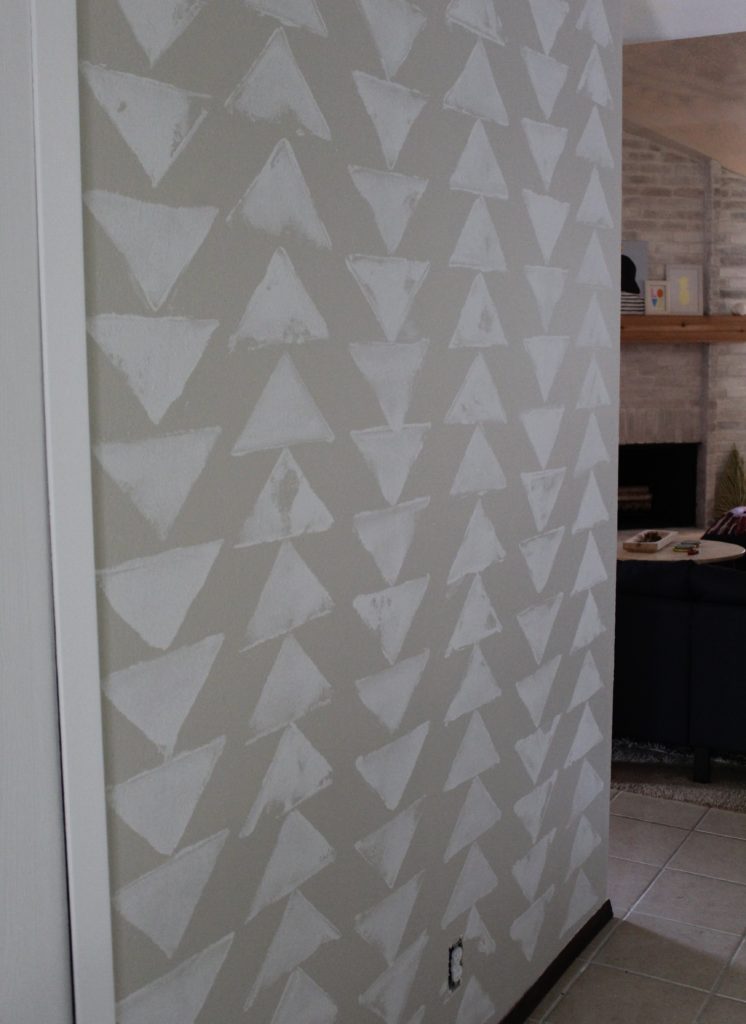
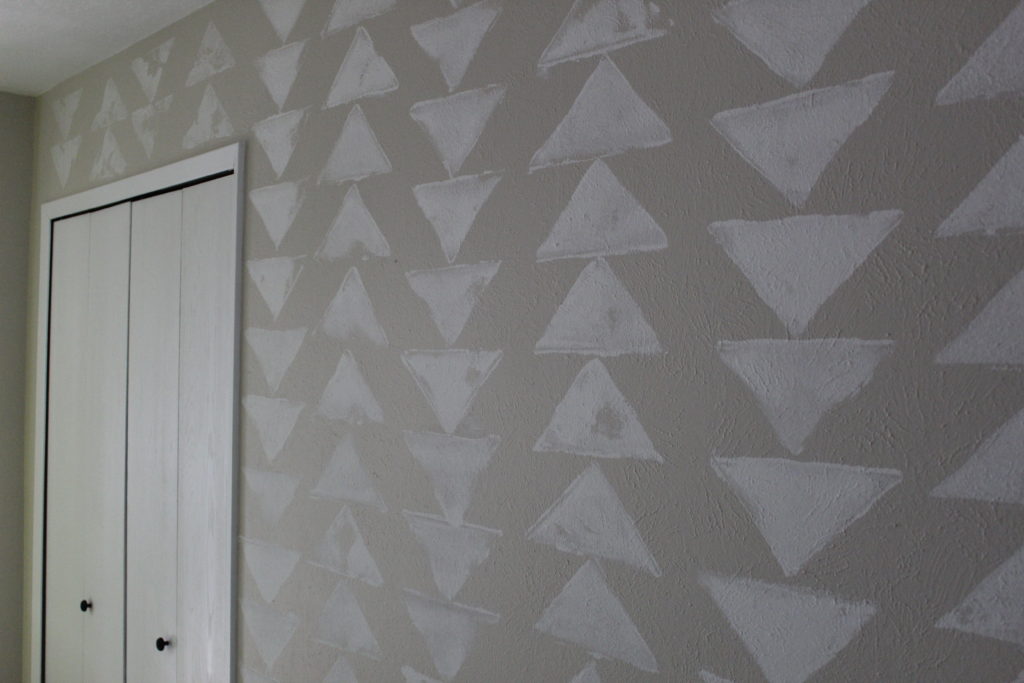
After Jordan worked his magic

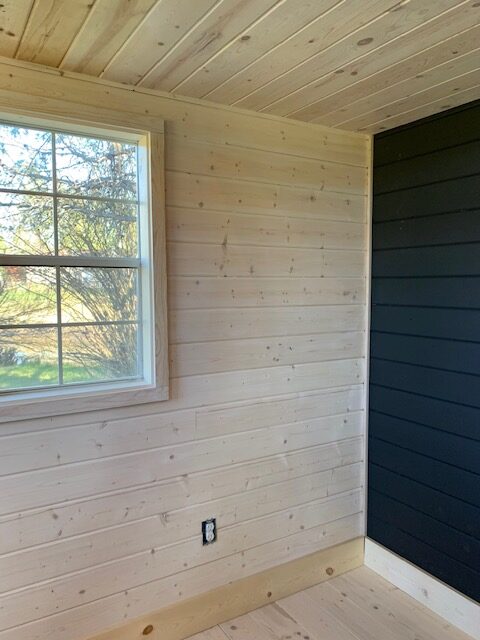
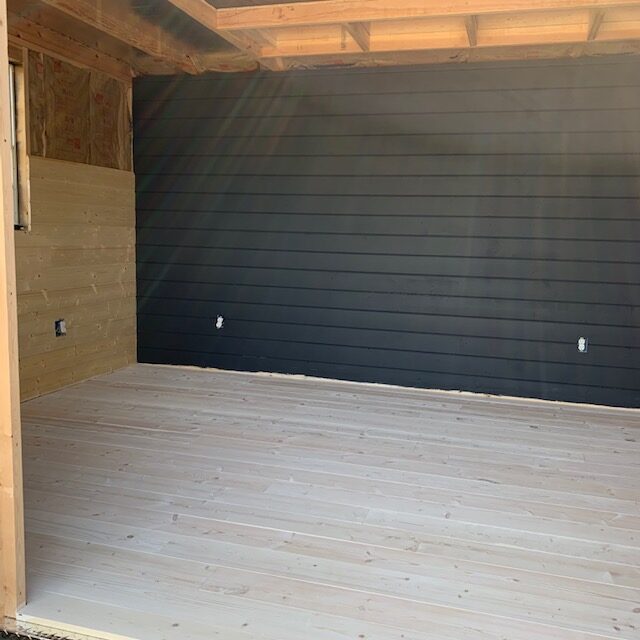
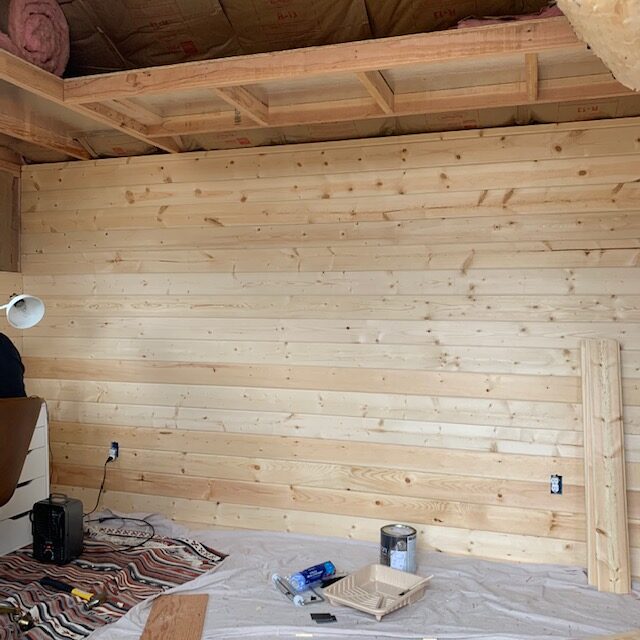
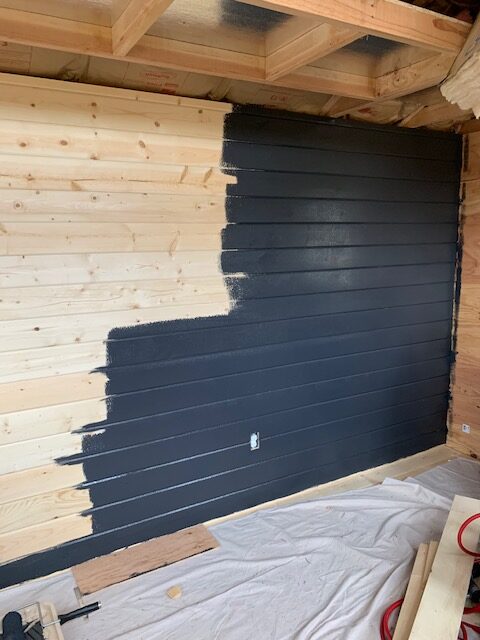
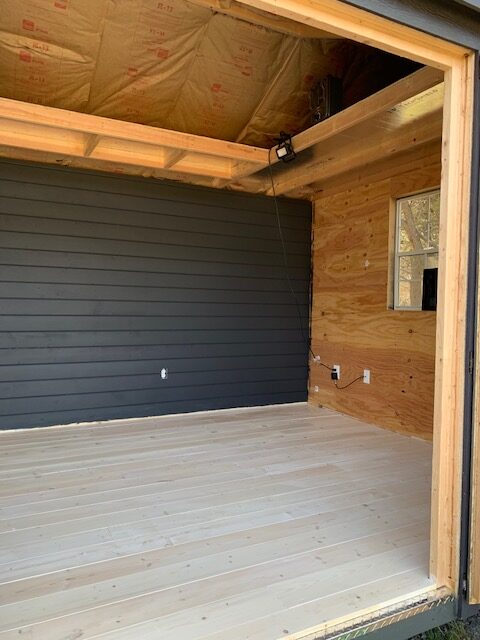
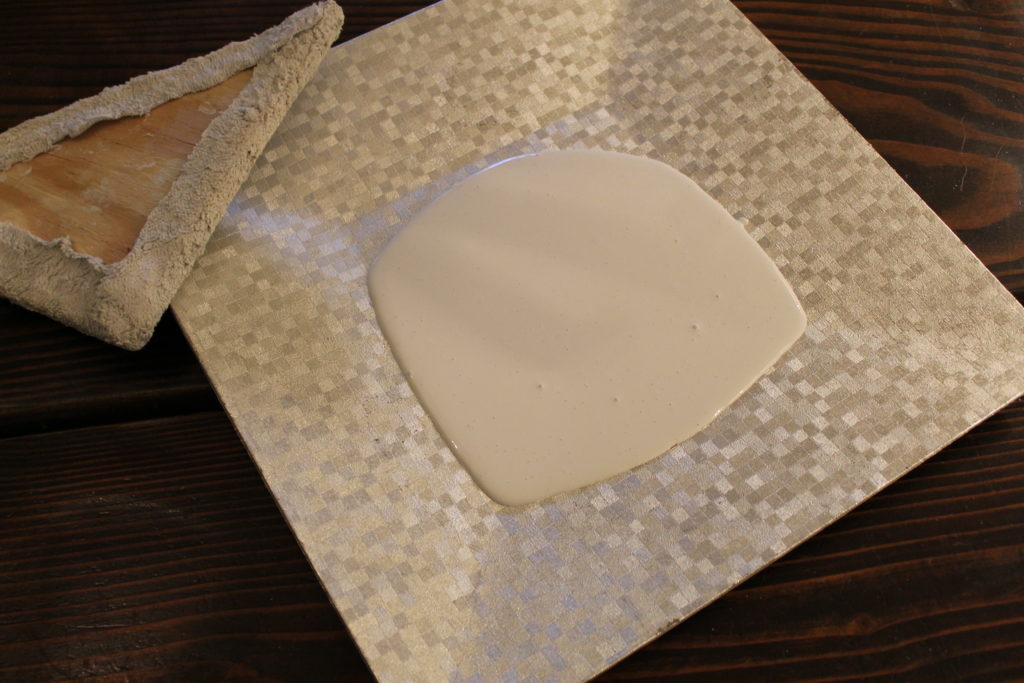
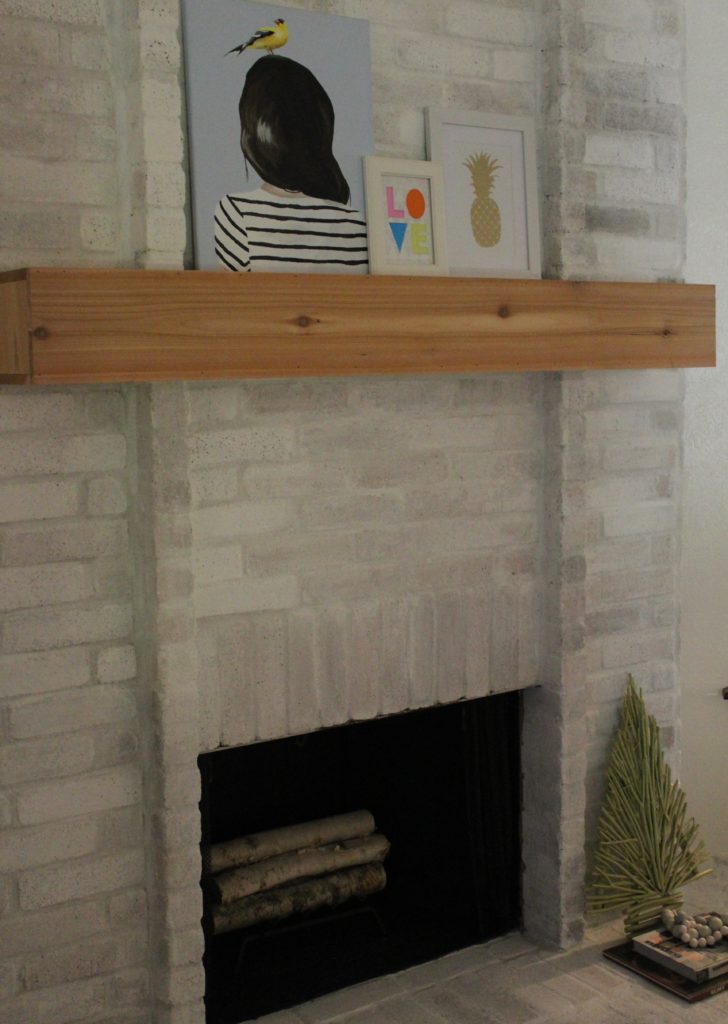
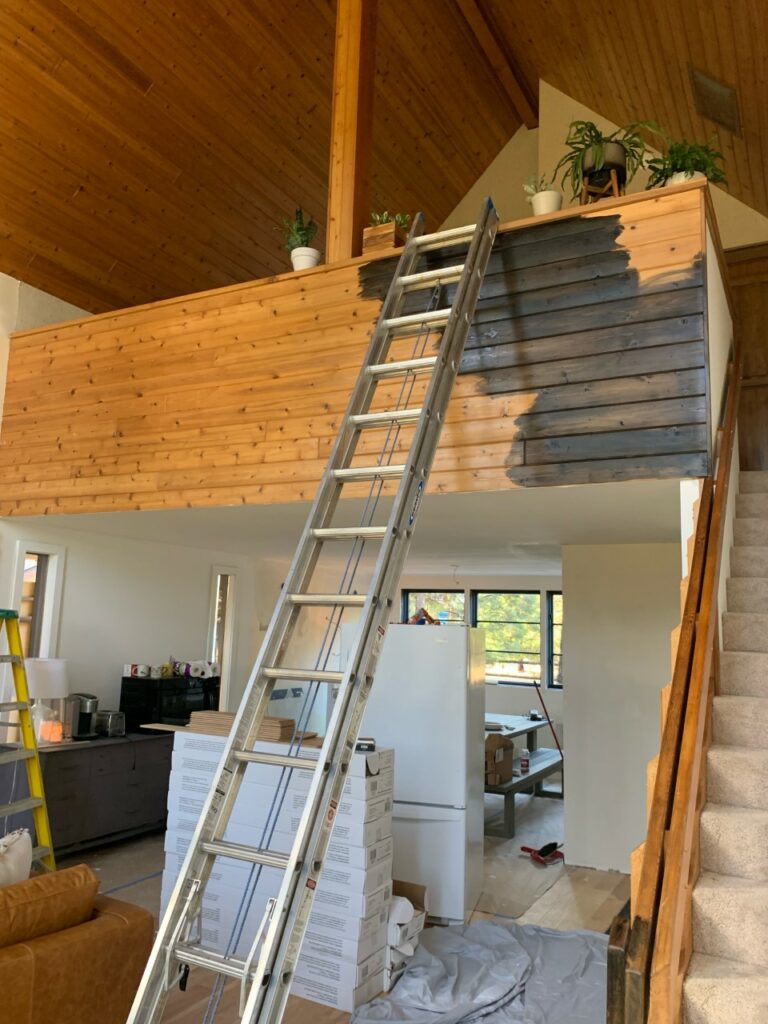
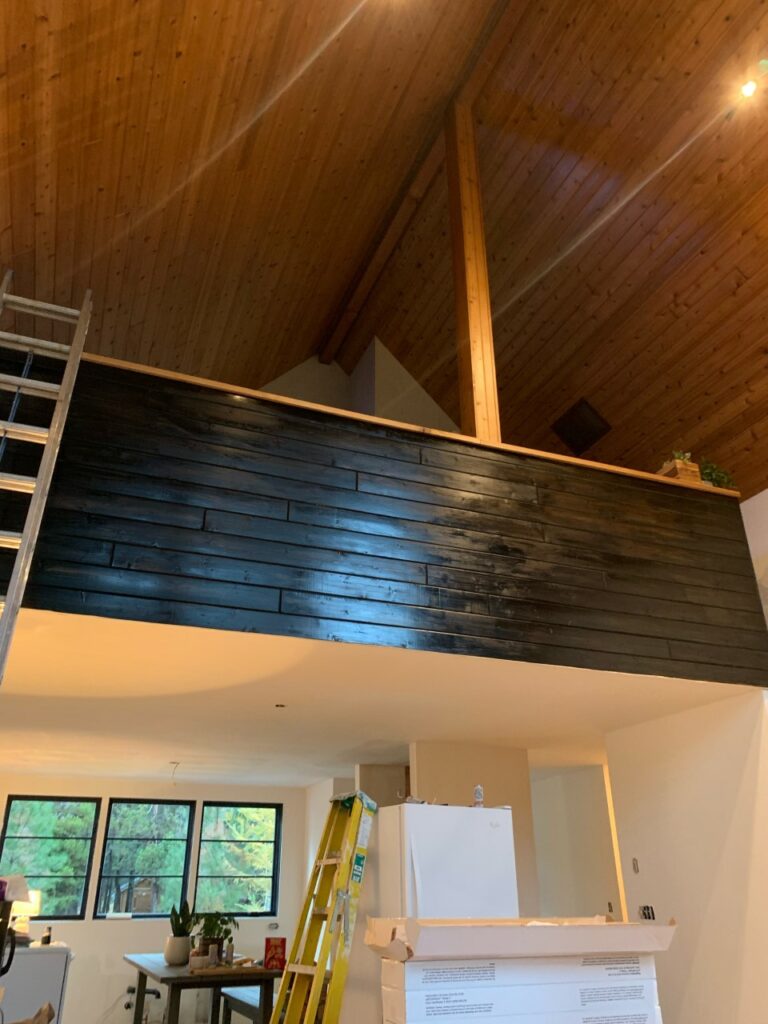
Another project that I tackled this week was staining the wood on the half wall that surrounds the loft. It was the same knotty pine that is on the ceiling, and because there is so much of it between the two spaces, I knew this loft wall needed a face lift. My mom suggested that I paint it black and after talking it over in Insta stories, I decided that staining it black would be a better option. It would show the wood grain while masking some of those orange tones. Win Win! I couldn’t be happier with how this one came out!

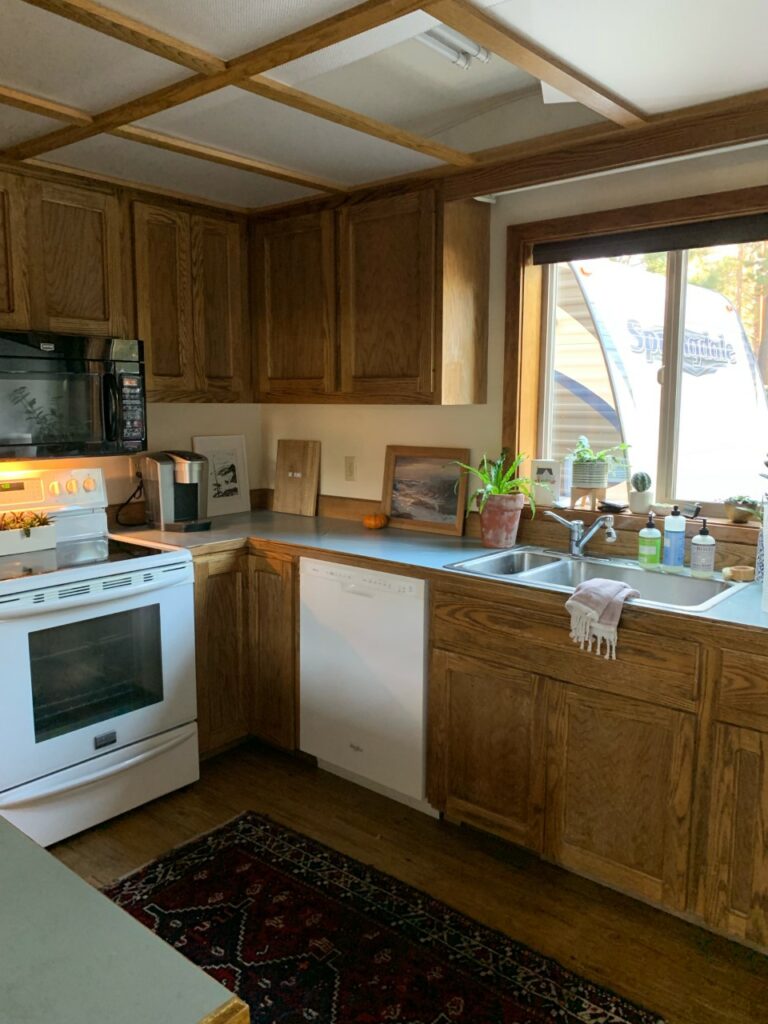
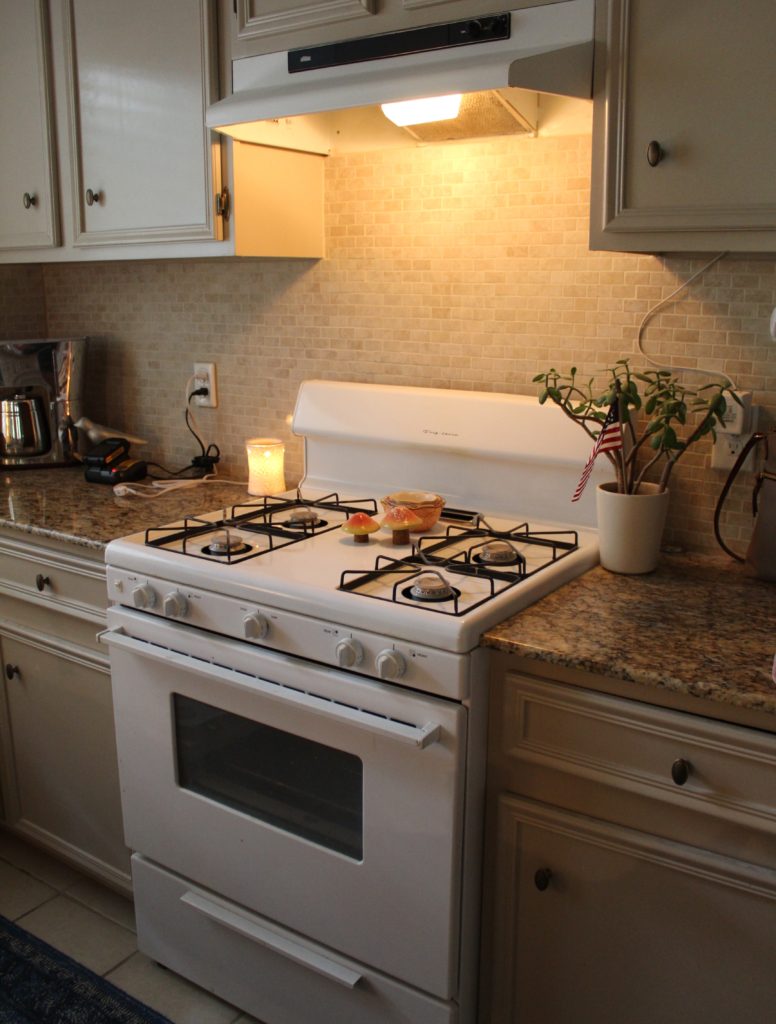
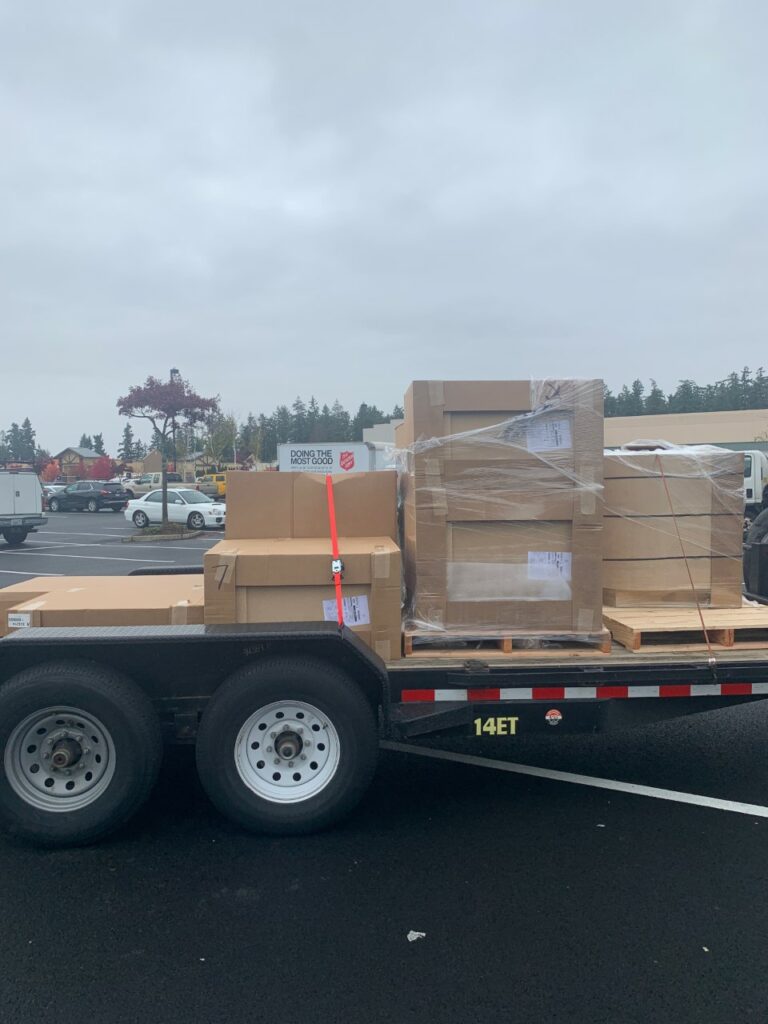
The other major thing that happened this week was we road tripped up to Sumner, WA to pick up our kitchen cabinets! After going over delivery options with the cabinet company, we discovered that we could have our cabinets 10 to 14 days sooner if we picked them up, vs. having them shipped to our door. So off we went! It was a fun trip and felt so good to get out of the house for a couple of days because it’s been nothing but craziness since we started our big reno, so this mini break was a welcome one. However, we drove into crazy rain (welcome to Oregon) which nearly put me into a catatonic state of panic and despair. After trying our best to cover them with tarps, on a whim, we decided to rent an enclosed u-haul, and spent an extra night at my sisters house in Portland. Actually, it turned out to be quite the fun evening while they calmed my rattled nerves and all the cousins camped out together in sleeping bags.

These next two weeks are going to be crazy as we get down to crunch time! Here’s a list so you can see how much is left –

  1. Cabinet install
  2. Countertop/sink install
  3. Tile – backsplash and fireplace hearth(i know i know…I STILL haven’t tiled the hearth)
  4. Fresh paint for all the newly textured walls and ceilings
  5. Stair demo and install new railing and treads/risers
  6. Open shelving install
  7. Range hood installed
  8. New kitchen appliances installation
  9. New lighting EVERYWHERE
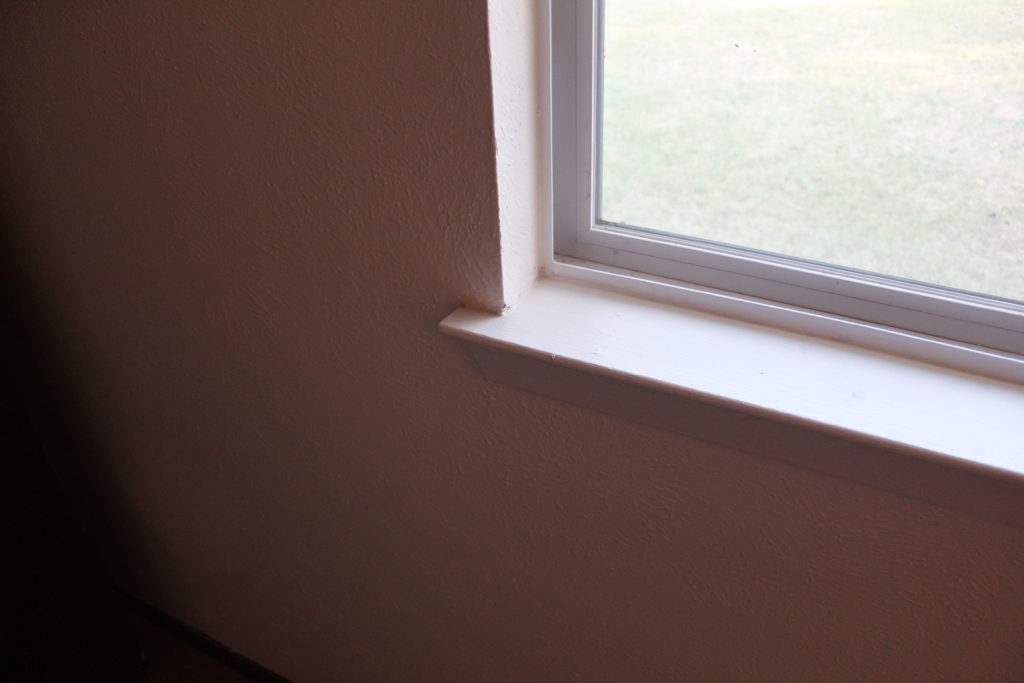
  10. Paint window trim black on the skinny windows in dining room

Ok…here we go! There’s a lot to do, but I’m feeling good at the moment! I better get busy so I’ll be back next week for week five…how is it going so fast?!

Ps…Don’t forget to check out what’s been going this week with the other designers! Things are starting to come together!!!!

At Charlotte’s House | Design Addict Mom | Erika Ward Interiors | Erin Kestenbaum | Girl & Grey

Gray Malin | Hommeboys | I Spy DIY | Jewel Marlowe | The Learner Observer | Making it Lovely

 Nicole White Designs | Old Brand New | Oscar Bravo Home | Place of My Taste | The Rath Project

Room for Tuesday | SG Style | Undecorated Home | Veronica Solomon | Media BH&G | TM by ORC

One Room Challenge – Modern Mountain Kitchen and Family Room – Week One

OMG TODAY IS THE DAY! It’s the first day of the first week of the One Room Challenge! I’m back at it, but this time, as a Featured Designer (still pinching myself that my name is among the list of amazing designers) and I couldn’t be more excited about it! I have been planning this space for months now, and it’s been nearly impossible to keep all of this a secret from you guys! This is my third crack at the challenge, and if you’ve been following along for a while now then you might have seen my powder room transformation from Fall of 2018, or my shack turned office project from the Spring of 2019. If you don’t know what I’m talking about…then go and check them out! Now lets get down to biz. Here’s a visual of what I’m thinking!


1./2./3./4./5./6./7.

Many of you already know that the hubs and I sold our house over the summer and moved into a fixer upper. And when I say fixer upper…I mean it. For reals, guys. This new house of ours is in serious need of some love. When I was trying to decide which room I would be tackling for the ORC, I thought about doing a smaller project like a bathroom or a bedroom because it felt like a safer choice. But, my hubs gave me the pep talk of all pep talks and convinced me to “go big, or go home.” So, that’s been my motto as I’ve been planning and we are def going BIG with a complete kitchen remodel as well as the attached family room. Am I crazy? Have I lost it? Maybe. But I’ve had three cups of coffee and full of nervous energy so I’m gonna do my best to pull this thing off!

THE BEFORE

Here’s how the kitchen looked last month on move in day.

What do you guys think? Are you scared for me? You can see we have a lot of work ahead of us! The goal is to transform this sad space into a living/dining/and kitchen that we love. This house needs to be brought back to life again and I am up to the task! That’s all for now!

See ya next week!

Ps…don’t forget to check out the other fabulous featured designers! I’m just giddy about all the inspo that’s going to be floating around over the next six weeks!

At Charlotte’s House | Design Addict Mom | Erika Ward Interiors | Erin Kestenbaum | Girl & Grey

Gray Malin | Hommeboys | I Spy DIY | Jewel Marlowe | The Learner Observer | Making it Lovely

 Nicole White Designs | Old Brand New | Oscar Bravo Home | Place of My Taste | The Rath Project

Room for Tuesday | SG Style | Undecorated Home | Veronica Solomon Media BH&G | TM by ORC

One Room Challenge – Modern Rustic Office – Week Five

GUYS! We have one week left to finish this office space! Cross your fingers for me, say a prayer, wish me luck, or anything else you can think of because we have a lot of details to check off the ol’to-do list. Like always, if you’re new here, I am participating in the One Room Challenge, a biannual, six week challenge in which you document the process of re-imagining a space from top to bottom! If you would like to catch up, here are links to week one, week two, week three, and week four. And as just another quick refresher, here is the mood board from which I am using as a visual guide for the space.

So here we are in week five, and I am still talking about walls, floors, and ceilings. But, if you start without any of those, they become your focus. And we have been focusing on these three features throughout these last five weeks. I’m happy to finally report that we do in fact, have walls, floors and ceilings as of today! We are working on all the details now, trimming out the windows, baseboards and adding some corner trim.

If you’ve been following along in my instagram stories, then you know that I started out staining the floor and said I would stop there. My original plan was to leave the rest of the wood in its natural state. Well, since then, I have stained every piece of wood that has been installed. I just don’t want this knotty pine to darken and turn yellow over time so I’m hoping that this stain will do the trick. So far, I have stained the floor, three walls, and the entire ceiling. Staining a ceiling is no joke….hoping that this will be a job that I won’t be doing again any time soon.

Big things are happening on the exterior of this lil’ shed as well! I decided that I loved the color that I used on the accent wall so much that I bought more and painted the outside with the same color! Goodbye green and blue and hello to solid black! Have no fear though, I have some plans for some pops of color though.

Next time you all see this space, it’s going to look like a proper office! This is going to be the most fun week of them all because I finally get to make the space beautiful. My head is totally in the clouds thinking about furniture, lighting, art and accessories galore! What do you guys think? Think I can pull it off? I think I might surprise you! See you next week for the BIG reveal! XOXO

One Room Challenge – Modern Rustic Office – Week Four

When I woke up this morning, I somehow convinced myself that it was week five instead of week four and almost started hyperventilating. So, instead of feeling panicking about only having two weeks left, I’m feeling good about these last two weeks…even though we have LOTS left to do. For those of you who are new here, I signed up for the One Room Challenge, a biannual, six week challenge in which you document the process of re-imagining a space from top to bottom. It’s hosted by Better Homes and Gardens and is loads of fun! If you would like to catch up, here are links to week one, week two, and week three.

Here is the mood board that I put together to help me visualize the space better. Although, lots has been happening this week, and some tweaks have been made to the original plan. But, I think I’m going to keep those changes a secret until the big reveal. A girl needs to keep a surprise or two up her sleeve, ya know?

The biggest accomplishment this week is that we HAVE FOUR WALLS! Yes, four walls! And I decided to stain those walls. I wanted to get some of the yellow and orange tones out of the wood and hopefully, keep it from darkening into a big orange mess. Here is what the walls were looking like before the stain.

And after the stain…

It might be hard to tell from these photos, but IRL this wood is looking WAY whiter, and WAY brighter! I’m really happy that it matches the floors now so it doesn’t feel visually overwhelming with multiple wood tones all happening in a small space.

Ok…so now down to business. Here is the to-do list so we can finish this sucker on time!

TO-DO

  1. Ceiling finished
  2. Install baseboards
  3. Install lighting – interior/exterior
  4. Paint touching up – interior/exterior
  5. Window boxes
  6. Install blinds
  7. Furniture install and figure out layout
  8. Decide on a coffee table

These are the big items but there are a few other odds and ends that I need to figure out as well. Lots of little details left! So that’s it for now! Until next week! And as always, if you have any questions, leave them below! XOXO


One Room Challenge – Rustic Modern Office Space – Week Three

OK! Here we are again…week three is already upon us! If you’re new here, let me fill you in on what’s going on! I am totally redesigning an office space/outdoor shed for my husband, who works from home, as part of the One Room Challenge. If you would like to catch up in order, here’s a link to Week One and Week Two. Once again, here’s a looky at my vision or plan for the space.

So this week was all about paints and stains. I needed to make a choice for a treatment for the floors ( 1×6 pine boards) and I have been planning on a moody accent wall since we began envisioning the space. I needed a rich, dark color and after looking at 975,873,489 black(ish) paint swatches, I landed on Black Jack by Benjamin Moore. Here’s the wall for which the paint was intended.

The sofa that is going to be sitting against this wall is a butterscotch color and I’m so excited to see it just POP against this moody color. In fact, I just recieved word today that the sofa is shipping out in the next few days….someone pinch me!

I have painted lots of walls during the course of my diy adventures, but painting wood paneling is no joke. Getting the paint between the boards is a time sucker. Also, a tip that I thought I would share would be, that if you’re planning on painting paneling a dark color, paint the wall behind in a dark shade before you install the wood. This way, any cracks that are visible when you finish installing, are already dark in color. Mmmmmmkay??  Out of the three previous photos, the third one most accurately represents the color in real life. And of course, I went with a matte finish because I just can’t ever get enough of that velvety finish.

Next up was choosing the stain and polyurethane for the floors. I mentioned this in my last post but a very wise reader wrote and warned me that if I didn’t use some kind of stain, then the floors would eventually darken and yellow. A look that I am trying to avoid.

When I found this antique white by Varathane, I knew I had found what I was looking for. It gave the floors a very bright white look but didn’t cover any of the wood grain or knots.

I applied the first coat of polyurethane just this afternoon and am still undecided about how many coats I should do. I will probably do at least one more for good measure. It is pine which means it’s a very soft wood, so we need maximum protection.

Finally, I liked the color that I used on the accent wall inside so much, that I may just use it for the exterior too. I tested a spot and me likey…

But we’ll save that discussion for next week! See ya in a week! Oh…and if you have any questions for me….don’t be shy! Leave me a comment below! XO

Carpet’s out, wood’s in

Hi guys! It’s been a million years since I’ve posted on here! Lately, it just seems more convenient to keep everybody updated with all of our house projects on Instagram versus writing out a long blog post. But I’ve been feeling guilty about ignoring my blog because it’s such a great, creative outlet for me and I love documenting our house projects. So I’m going to do a better job. The good news is that we have endless amounts of projects going on around the house which equals tons of content. House projects have been plentiful, blog posts not so much.

It would make sense for me to start with giving you guys a full house tour so you can see where we are at in terms of progress. And I will do that, but for now, we are just gonna skip ahead to the most exciting project ever! Wood floors! If you follow me on Instagram, then you already know that we started installing our new floors. We started upstairs, and the plan is to divide the house into three sections because we are doing the install ourselves and tackling one section at a time feels less daunting. So upstairs goes first, next is the stairs and its two landings, and lastly, the main level.

In our last house, we had our wood floors installed and that was great. But there is something to be said for doing the work yourselves and the most obvious bonus of all is that you don’t have to shell out the extra money to pay for the labor, which we learned was the most expensive part of replacing flooring. If you have been following along since we did our Texas renovation, we loved our wood floors from that house so much that we went ahead and ordered the same ones for this house. I know, I know, we like to live on the edge.

Even though this is a big project and tons of work, the work itself isn’t terribly complicated. So I’m confident saying that, if we can figure this out, anybody can do this! Isn’t that so exciting?

My brother and his family came to help for the weekend along with my mom and dad. We were so grateful for the help and are all set to return the favor and spend a weekend at my brothers house when his wood floors are ready to go down. Thank you Aaron and Audra! Thank you mom and dad! Like I said above, we started upstairs and first thing we did was remove the baseboards and then out came the old, nasty, dirty, shag carpet. YUCK. I got the heebeejeebee’s when we started rolling up the old carpet and I could see just how dirty it was. I won’t go into details but there were some suspect looking stains that I would like to never think about again. K – moving on.


We ordered the flooring way back in November and had moved it upstairs in March so we didn’t have to worry about it acclimating but I think the rule is that the boxes of flooring should live in the space prior to installation for three to five days. Next up was rolling out some underlayment, which acts as a vapor barrier and prevents the squeaking of wood flooring against the plywood subfloor under it.

The first row is the most crucial row as it will ensure that you have a straight line going forward. Also, the wood needed to start with a 1/2” gap from the wall since that is the thickness of our wood planks. This gap allows the wood to expand and contract with changes in temperature and humidity. But once those two things were done and right, we picked up the pace and even started to find a rhythm.

This is the biggest room upstairs so I’m so happy to have this beast of a room checked off the list. Moving forward, Nate and I will be doing piece by piece(see what I did there?) as time allows so we are hoping to be done with the upstairs sometime in the year 2021…just kidding…kind of.

Now that the new floors are going down, I started thinking about rug pads for my area rugs. I’m bad about choosing the pretty and forgoing the things that are practical, but aren’t seen. In the past, I tried those cheap waffle-like pads with a chemical smell and my rugs still slide around. So when RugPadUSA asked if I wanted to partner up, I was so excited! If my new floors could thank them, I think they would.

I chose their Contour Lock style because it’s well-suited to flat-woven rugs and my vintage rugs with a low pile. If you love vintage rugs like I do, then you know that they almost always come in an unusual, wonky size. RugPadUSA cuts their pads to fit any rug size, so no size is too weird!

I love how they make our rugs feel so cushy and comfortable now. The pads are thick and feel soft underfoot. As a mom with a baby who just learned how to walk, I appreciate the extra cushion.

RugPadUSA uses recycled felt and a natural rubber to make their pads so there is no toxic smell and that makes me feel good about bringing it into our home with our kids. On the reverse side is a natural rubber bottom that keep your rugs in place and they seriously do not budge, even with rowdy kids and toddling babies. I love these pads and am going to need more in the future! A big thanks to RugPadUSA for introducing me to these. I’m hooked.

This post is sponsored by RugPadUSA Opinions expressed are 100% my own


Crushed Ice

img_0790

Oh my goodness. It’s been crazy at our house the last few weeks. We have been busy adjusting to our new school schedule. Hello 6:15am! This is not a natural time for anyone in our family to get up in the morning. We fall more into the night owl category, for sure. In addition to our new school schedule, Grey started fall football and Nolan is finishing up her swimming classes and gearing up for tryouts for swim team. Nate has also been recruited as head coach for Grey’s football team…gulp. Nate is competitive. He is so competitive that we have “no board-game” rule in our house for the general well being/happiness for everyone who lives here. But, I’m sure he will be able to keep his competitive nature in check for these cute little football players, right?

Things have been really busy at home as well. We have my C-section officially scheduled for November 11 so I have to get busy and get some projects done around the house before baby boy is here and the holidays soon thereafter. So, in an effort to keep this train moving, I finally chose a paint color for the interior of the house. I knew I wanted something in the greige family, i.e. a warm gray color. I also decided that this color is going to be pretty much everywhere. This means the living room, dining room, kitchen, entryway, hallway, etc. You get the idea. I’m thinking this will bring a nice flowing and cohesive look to the inside of the house.

A few weeks ago, I went and picked quite a few swatches of paint that I brought home to study. I quickly narrowed down my options as so many of these colors looked too dark in our house. The lighting is super tricky in here with the screened porch on the back of the house that blocks a lot of natural light. I quickly had three favorites for which I went and grabbed test pots at Lowe’s.

img_0795

All three colors are Sherwin Williams. The top was Nebulous White, the middle swatch was Crushed Ice and the bottom was On the Rocks. I painted these swatches in several different places around the house all in different lighting situations. Dark, darker, and barely visible to the human eye. In the end, I went with the middle swatch because I felt it brought the most warmth to the game. And that’s what this place needs. A warm and fresh pallet.

img_0796

This is a shot of the hallway with a fresh coat of Crushed Ice. I especially love the way it pops against the trim. I also just finished painting ALL the trim in the whole house. I was able to leave the baseboards because we will be replacing them when we have our new floors installed, but more on that in a minute. Remember what our hall used to look like on move in day? Wow. I feel bad for THAT Courtney. She had a lot of work ahead of her.

Main Hall

The walls were super shiny and it drove me crazy. It made the texture on the wall stand out as well. This particular texture has so much texture with sharp-ish peaks that it looks like it might scratch you if you rubbed against it. So, while I know most people do not recommend painting their walls in a flat sheen, I went ahead and did it anyways. It seems to tone down our crazy texture and doesn’t draw your eye to the texture, the way it did when the walls were a satin sheen. I hear the warnings against flat paint as it isn’t as washable as some of the more shiny sheens and to this I say, if our walls are so dirty that I am constantly needing to wash them, I suppose I will be repainting anyways. Also, I think that the paint formulas have come a long ways. All of the sheens seem to be washable these days. Anyways, that wraps up my mini-rant and now, more pretty pictures!

img_0801

img_0787-edited

img_0797

Did you spot our new light fixture in the dining room? I have been hunting for something for this space for a while now. We have had an IKEA one above our table for several years but I have been wanting something a little more special. The lightbulbs are dipped in silver which is really fun.

img_0790

img_0802

Remember before how I mentioned floors? Well, we finally made a decision and ordered our wood floors! So, they will be coming in over the next few weeks and then demo and installation should be at the end of this month. They will go down everywhere except the bathrooms and bedrooms. I am so excited/nervous. Here is a little sneak peek of what will soon be our new floors.

img_0481-1

So that’s the dish in our house. I can’t believe we are going to have new floors soon! Picture me with a serious case of perma-grin.


DIY tribal stamp

IMG_0600

Last week I shared a photo of my newly stamped entryway because I was trying to decide how I felt about the finished product. This week, I am feeling exactly the same! I STILL can’t decide if I am loving it or hating it. The good news is that this project cost $0 in materials and used just a little bit of paint that we already had so we aren’t talking about life altering issues here.

It is so much more fun to complete some “fluff” projects around here since we have finished the ceilings and can finally move on with our lives. This is a really fun one and I think with just a few tools, anyone could do this.

We had some scrap wood laying around the garage and I asked Nate if he wouldn’t mind using some of those spare pieces to make an isosceles triangle for me (whoa…isosceles…haven’t used that term in a while). After a strange look, he agreed and it took him less than five minutes. I grabbed an old terry cloth dish towel, wrapped it around the edges of the triangle and secured it with hot glue. HOT GLUE, what?!!! I know, I couldn’t find my staple gun. Simply stapling the cloth to the wood would make way more sense. But, if you’re like me and your garage is a black hole where you can’t find anything, go ahead and use hot glue. It stayed in place throughout the whole process so it actually didn’t turn out to be a problem. Except, I still don’t have any idea where my staple gun might be…

IMG_0617

IMG_0618

For the paint, I just used some of our flat, white ceiling paint for this job. I poured just a little bit onto a tray that was wide enough to press the stamp down into the paint. I found an old plastic charger from Christmas a few years back. Fancy shmancy, right?

IMG_0620

As for applying the pattern to the wall, it was pretty simple and I mostly just eyeballed where I wanted everything to fit. I didn’t want the pattern to look too perfect or planned out. I think that would take away from the “tribal” effect. I set up a laser level to help me keep my triangles in straight lines, vertically. However, I just used my fingers to measure how far apart each row went horizontally. Totally easy. Just make sure to not use too much paint so you start looking gloppy and runny.

IMG_0622 - Edited

IMG_0621

Notice the trim and closet doors?? They are white! Beautiful. Clean. White. I can’t get enough of it. Soon, I will have all the trim and doors painted white. I will post on that soon! Here is an after shot with the entry looking all pretty again.

IMG_0600

I will live with it for a while before I make up my mind. Originally, I was going to do all four walls with the stamp but after I finished the first wall, I thought maybe less was more. Well, we will see.

Knock me down…

So, I know that I said that I would be back to update the progress on the ceiling texturing. And nothing…well, the only excuse I can come up is that texturing your ceilings is hard. Hard and time consuming. The good news is, we are done. At this point, I only have a few rooms painted because after the super hard part is done and you have brand new texture, the last step is painting them. That’s your reward for your hard work. You’re welcome.

Right after we moved in, I started scraping the popcorn that covered every inch of our ceilings, even the ceilings in the closets. Oh, I was so enthusiastic about starting this project. I told Nate we could get this done over the course of a couple weekends. Now that we are nearing the actual end of the project with only painting left to do, I underestimated by about a month. Ha! Oops. Here is what we started with.

IMG_0246

IMG_0245

We did a lot of research about which new texture to go with and after asking our realtor what she sees in most houses in our area, we decided we would go with the knock down method. It’s pretty simple but after you spray on the texture with a hopper, you basically take a flat edge and knock down the peaks that leaves you with a smooth surface with little (and some not so little) islands, as we started calling them. After scraping the whole house, patching with joint compound, sanding, patching a second time, sanding a second time, spraying on the new texture with a hopper, and knocking the texture down, this is what we are left with.

IMG_0567

Once it is painted, it basically looks the same, but has a more finished or polished look.

IMG_0564

For all of that work and for such a long process, I wish it was more exciting than that. But, it is making a big difference in the house and I swear everything feels brighter and less dark. I think it will be one of those things that will make a overall big difference once we start updating some of the cosmetics in the house, like wood flooring, painting our trim white, and painting the walls. Popcorn ceilings are no joke people.

There have been lots of other smaller updates going on around here too. Since the ceilings are wrapping up, I have the luxury of focusing on some prettier things. Like lighting! Nate hung the fixture in the kids’ room yesterday and it looks so good. For the last month, there has been a vacant hole in the ceiling with wires hanging out so this is a big improvement.

IMG_0552

I scored this guy at Anthropologie a few years ago when I was wandering through the home section (you mean they actually have clothes???? What?!) and noticed this light fixture that someone had ordered online and returned it to the store so they marked it down like 3000%. It casts a very warm light that feels super cozy and Grey told Nate it was his “party light.” Five year old minds are the best.

IMG_0554

In other parts of the house I have a little experiment with spray paint happening. You see, the hardware on our doors is just ugly. On a scale of 1 to 10 in ugliness, 1 being beautiful, and 10 being the worst of the worst – ours are a 10. So, since it looks like we will making a little investment in door hardware, (which I have come to learn is NOT cheap) I thought I would try and give it a coat of paint to see if it holds up. If it doesn’t, we haven’t lost anything because we are planning on replacing them anyways. I have seen other bloggers use Oil Rubbed Bronze on door hardware before with a top coat with positive results so I thought I would give this a whirl and see how it goes. This is our hardware before paint and top coat.

IMG_0526

Geesh. After a couple of coats of paint and top coat, they are looking more like this. I probably should have also mentioned that I started painting all of the doors and trim around the house too. I know, I have a million things going at the same time. F.O.C.U.S. I have been feeling good lately with lots of energy so I am taking advantage of this momentum before baby boy comes in November. Too much to do, too little time. But the doorknobs are looking better, no? I will keep you posted if the paint holds up through every day use.

IMG_0559

Here are a few more shots of the trim around the house that needs to be painted. I believe they used a very deep chocolate brown and just painted the trim. From far away, it appears to just be a very dark, stained wood. But it is not. It’s shiny too and reminds me of milk chocolate if you melted it on the stove top. Yum. On our trim though, yuck.

IMG_0542

And once again, white paint for the win.

IMG_0558

The last update that we made to the house this last week isn’t diy related but I thought I would mention it because Nate is in love and it is a house update. We bought a new range for the kitchen! This was a fun one because it’s functional and looks so pretty. The range that came with the house worked just fine but we are eventually going to upgrade all of the appliances to stainless steel so we thought the range was as good of a place to start as any. We listed it on Craiglist and it sold the next day so we were even able to recoup some of our investment.

IMG_0529 - Edited

And here is the new one.

IMG_0531 - Edited

So, I think that about wraps up everything going on around our house for the week. Sorry about the brain dump but we’ve been busy. Really busy.

Ps. I updated my house tour with some progress pictures so you can see where we started when we moved in and where we are at today. It’s starting to look better…I hope!

Details, details, details

Happy happy Friday! This week flew by after having Monday off for a holiday. But I wanted to do a quick update on the fireplace since I am loving my new little additions. I have been having too much fun trying out new art and decor on the mantel but I also had some birch logs arrive from Wisconsin that I am loving. They are so pretty I just want to pet them. Some people would call this a problem…I don’t.

IMG_0525 - Edited

On another (less weird) note, I am hoping that I will have pictures on Monday of our ceilings done! Or at least, a good chunk of them done. We are renting a hopper tomorrow morning and getting this project buttoned up once and for all. Also, we are going to sneak in a trip to the movies to see Finding Dory. Should be a fun weekend. Wish us luck! We are going to need it!