This post is sponsored by Magic Rugs
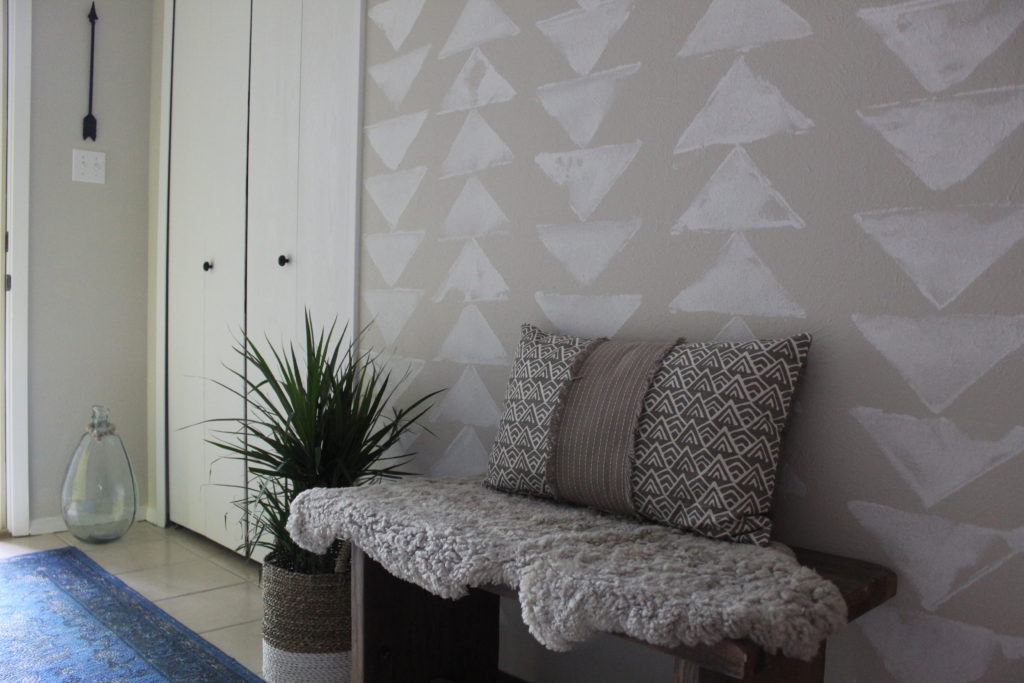
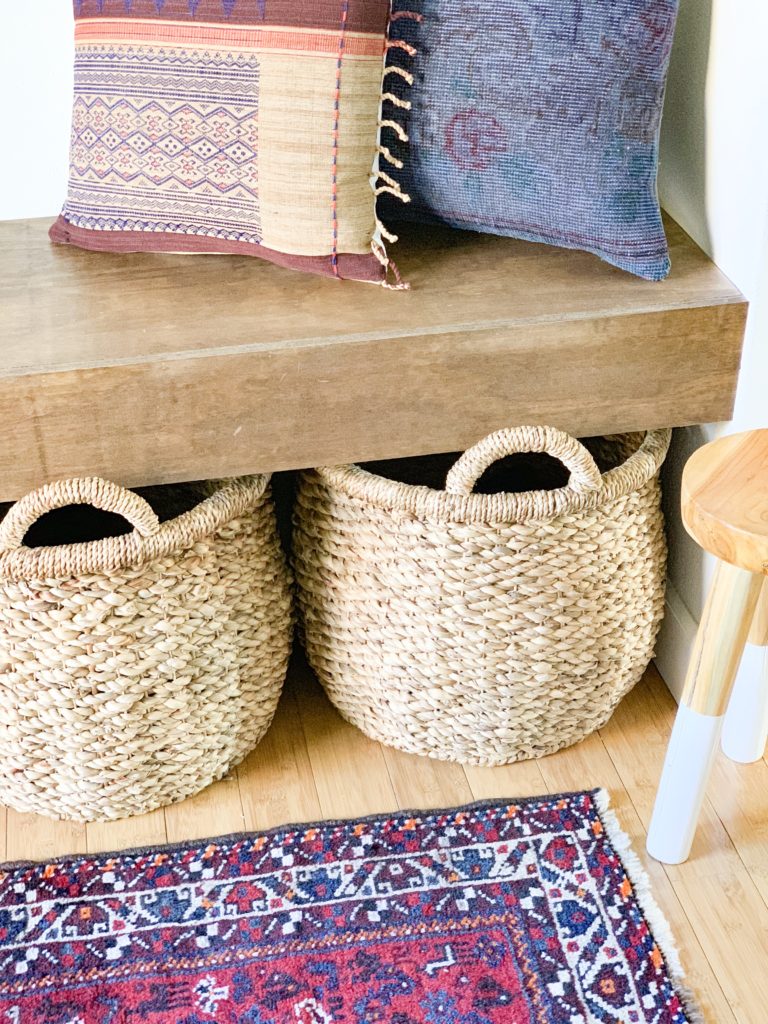
Hi guys! It’s Monday and the sun is out in Oregon! Seems like the perfect time to show you a little refresh that I’ve been working on to give my house some more fall vibes. First of all, does anyone else decorate for the Holidays? I’ve been hearing a lot of buzz about decorating in a more subtle way (i.e. introducing rich colors with pillows and layering up cozy throws for added texture) rather than flooding your house with pumpkins, ghosts, and goblins. I’m kind of riding the fence on this because I love a good excuse to add a pillow or a throw, but I also enjoy the occasional corny decoration. All in moderation, right? And why not? Anyways…feast your eyes on my fall entryway!
I have been searching and searching for the right vintage rug and I finally found her, ain’t she a beaut? I was sold on a vintage rug for this space as its a high traffic zone and vintage rugs are made to LAST. I have purchased many a rug from big box stores and always found myself replacing them once a year (or even a couple times a year). WHAAAAAA? Eventually, I began to realize that with all the money I was spending on disposable rugs, I could buy a better quality rug and clean them myself or take them to have them cleaned when needed. With all this being said, I am not opposed to buying a rug from a big box store, but I really appreciate a rug that’s made with materials that are meant to last, year after year.
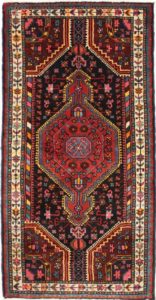
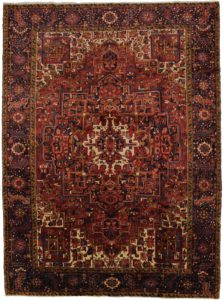
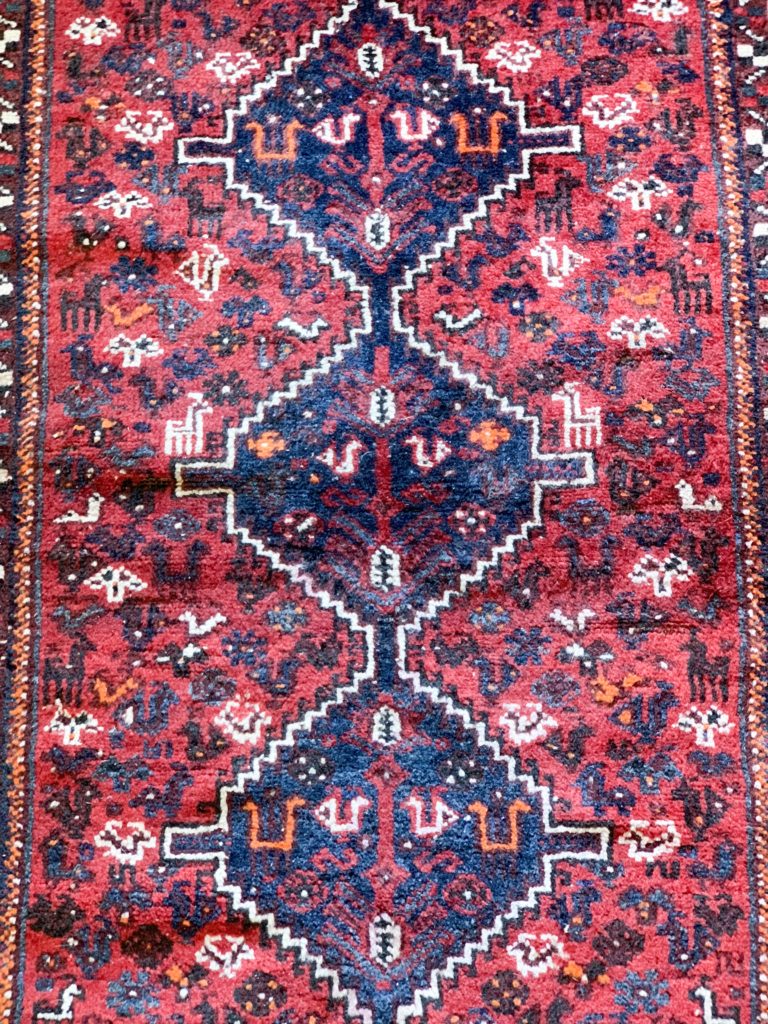
For my entryway, I was lucky enough to work with Magic Rugs and am so excited to share this source with all of you because if you are like me, and cannot resist the charms of a vintage rug, I gotcha covered. Magic Rugs has over four thousand rugs in stock and you can call them any time with questions that they will be happy to answer for you. And….wanna know the best part? Their prices are actually affordable! So let’s go shopping! I thought I would share a few of my favorites that I found on their site. The first and second rugs would be perfect in a kitchen or a bathroom (adds tons of patina and warmth to a room full of hard surfaces) and I like the third one for a living/family room type situation…maybe layered on top of a jute rug if you’re feeling fancy. Ps. If you like any of these rugs, just click the images for links to see each rug in closer detail.

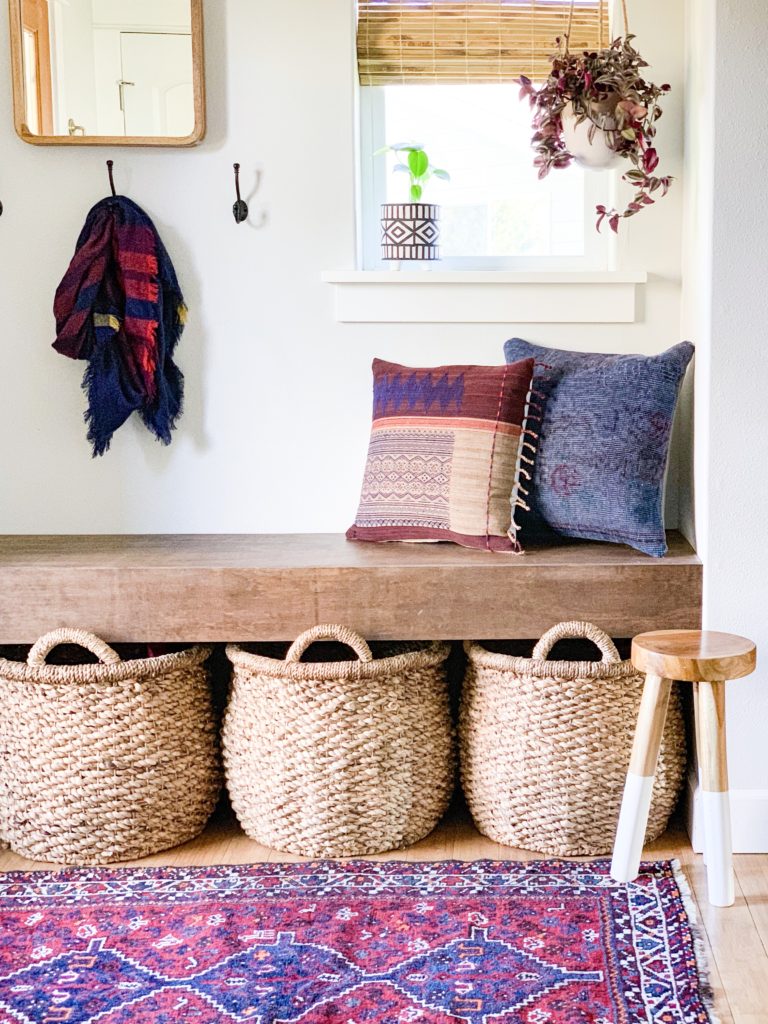
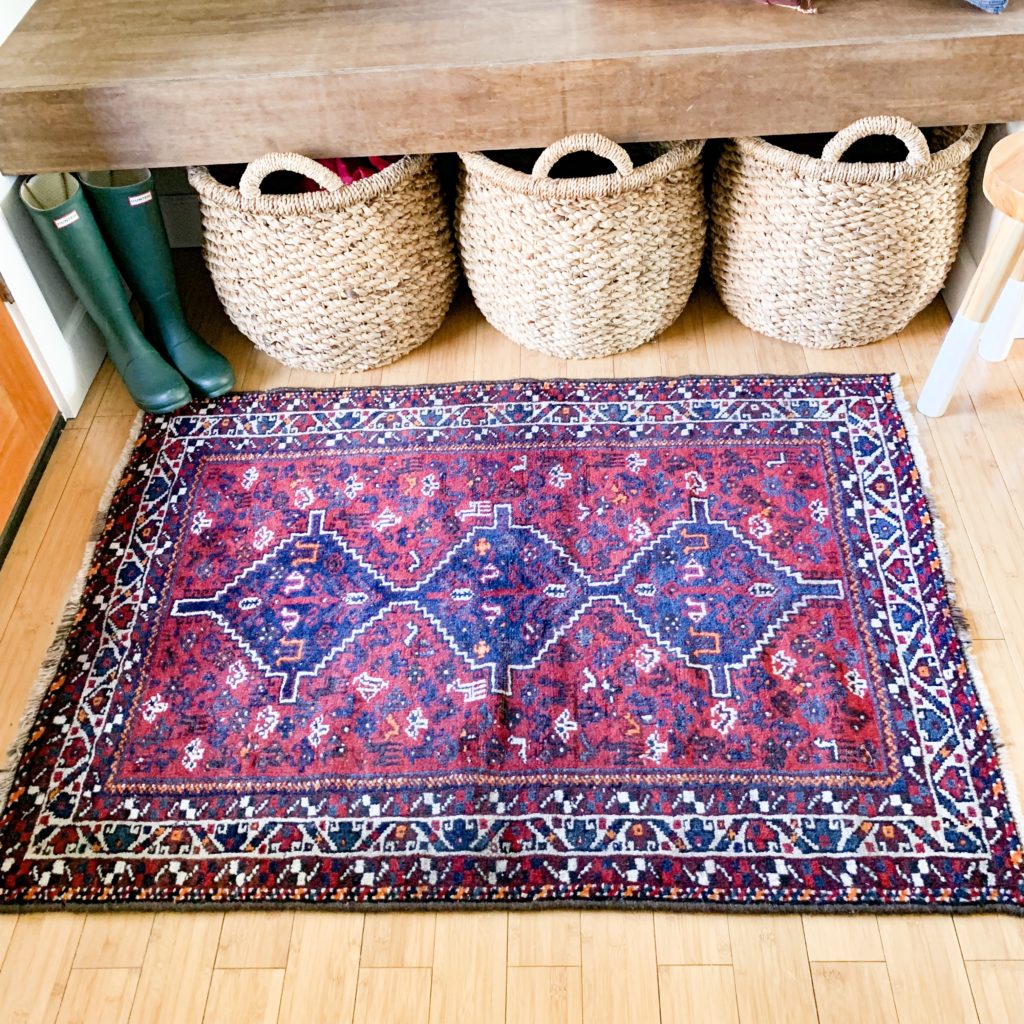
The rug that I chose for my entryway is so beautiful and I am SO happy with the quality. It is soft underfoot and fits my entryway like a glove. It was exactly as pictured on their website which I think is really important. There’s nothing worse than ordering something online, only to be disappointed that the pictures didn’t accurately represent what you thought you were buying. amiright? The colors are perfect for my house with deep reds (I can’t seem to stop using reds lately. Who am I???), blues, and pops of orange. I’m in love!
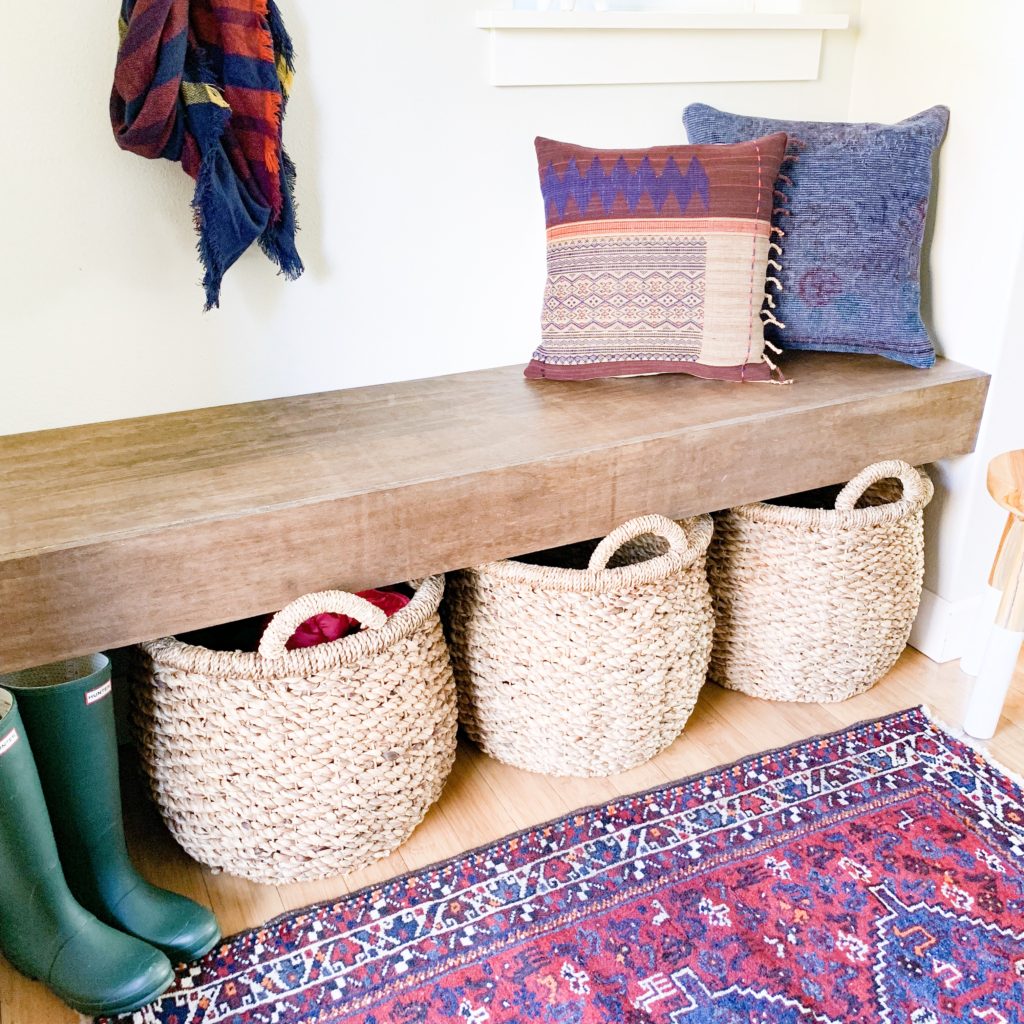
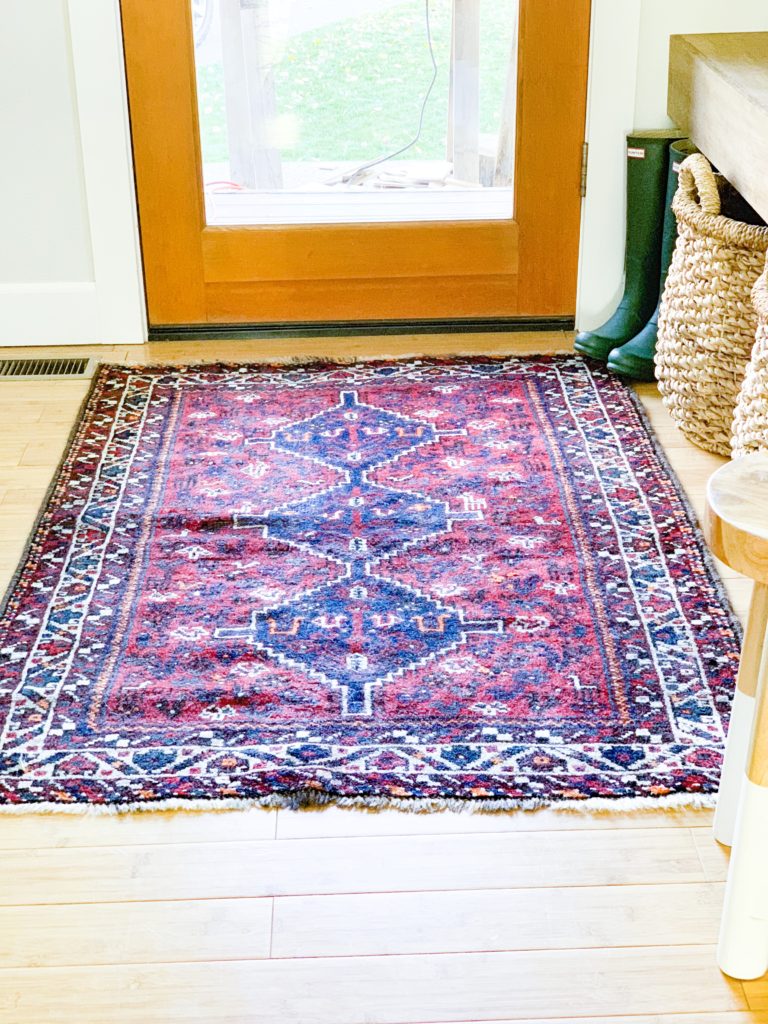
I think it really makes a big impact to my entryway while adding lots of texture. And I am getting all the cozy vibes now!
So there you have it! My entryway is looking all Fall-y and cozy with its beautiful new rug! We are busy planning Halloween costumes over here and as of right now, I have a zombie, a vampire, and a bumblebee! Hope you all have a wonderful week!
Oh and I’ll be back on Wednesday with my One Room Challenge update for week three…gulp.