One Room Challenge – Rustic Modern Office Space – Week Three

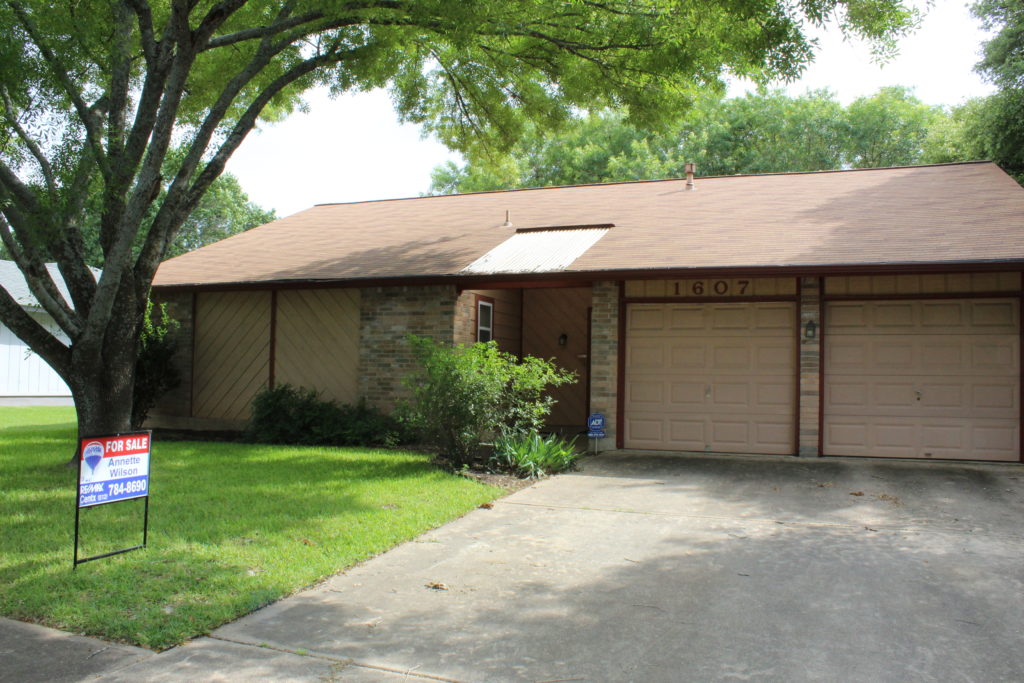
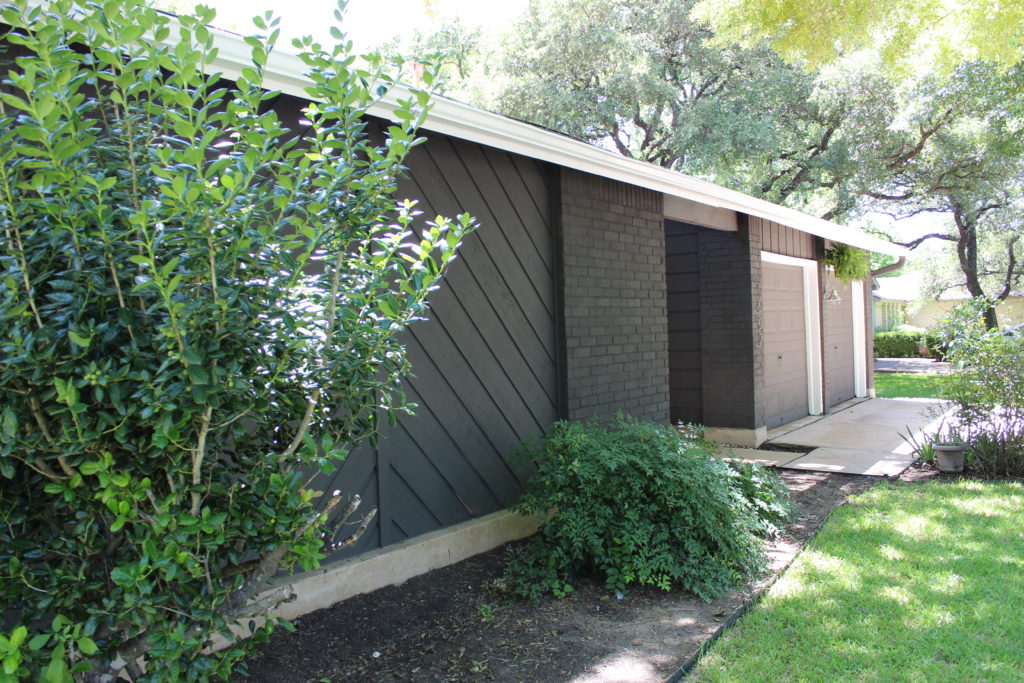
OK! Here we are again…week three is already upon us! If you’re new here, let me fill you in on what’s going on! I am totally redesigning an office space/outdoor shed for my husband, who works from home, as part of the One Room Challenge. If you would like to catch up in order, here’s a link to Week One and Week Two. Once again, here’s a looky at my vision or plan for the space.

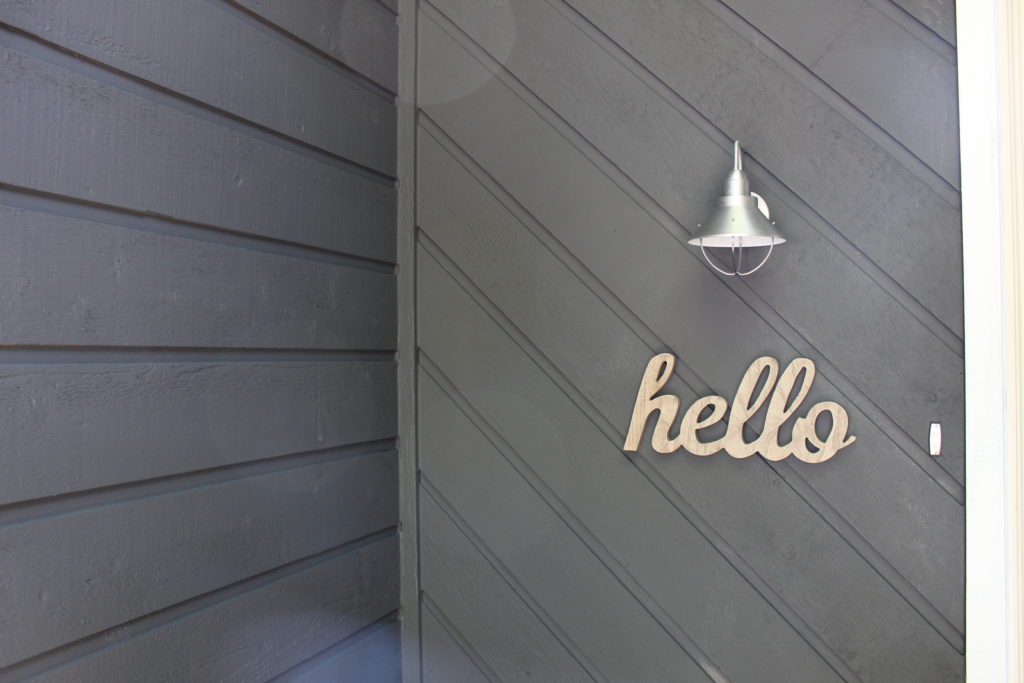
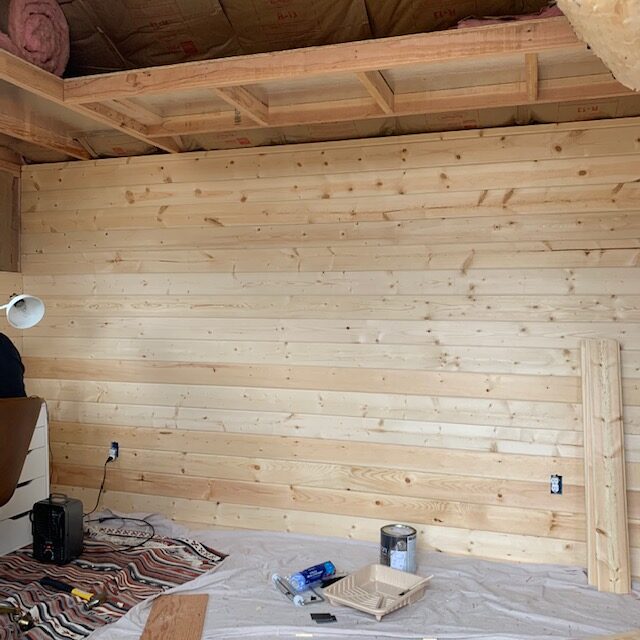
So this week was all about paints and stains. I needed to make a choice for a treatment for the floors ( 1×6 pine boards) and I have been planning on a moody accent wall since we began envisioning the space. I needed a rich, dark color and after looking at 975,873,489 black(ish) paint swatches, I landed on Black Jack by Benjamin Moore. Here’s the wall for which the paint was intended.

The sofa that is going to be sitting against this wall is a butterscotch color and I’m so excited to see it just POP against this moody color. In fact, I just recieved word today that the sofa is shipping out in the next few days….someone pinch me!

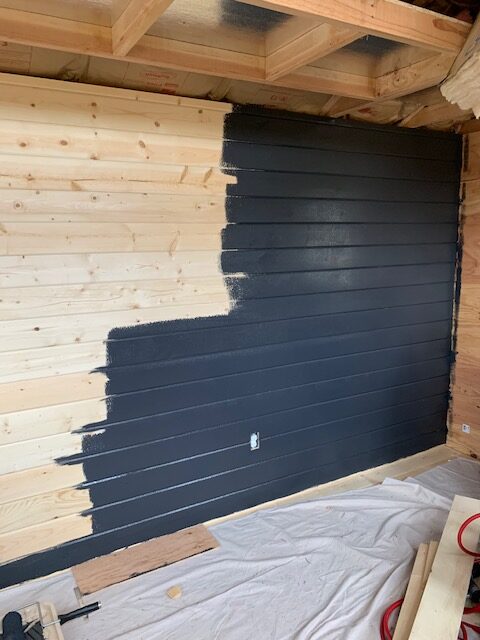
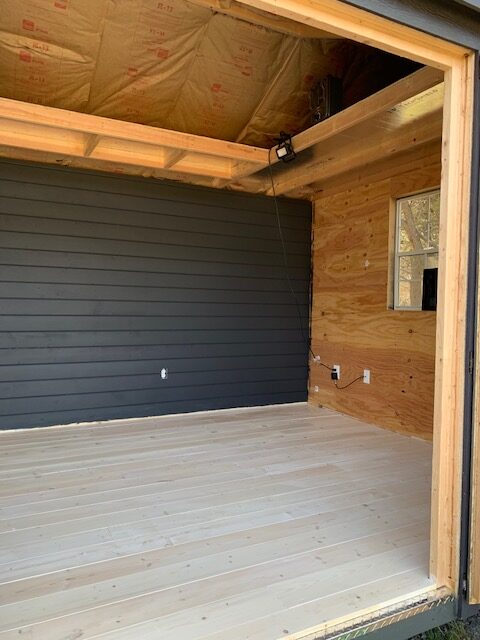
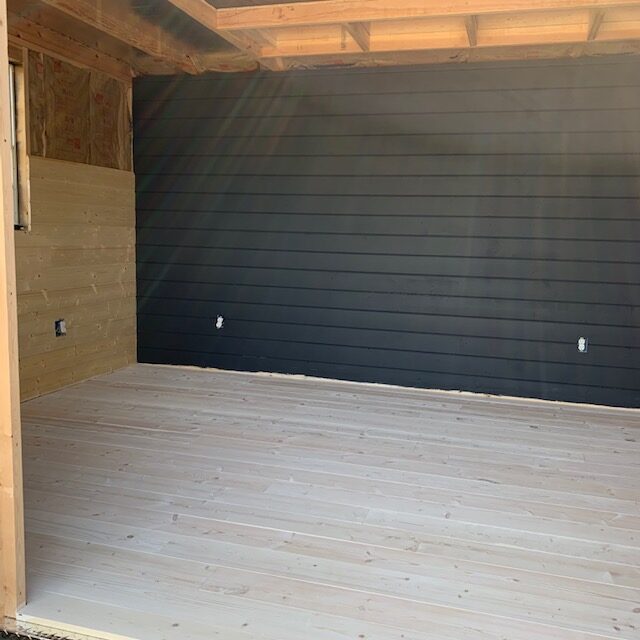
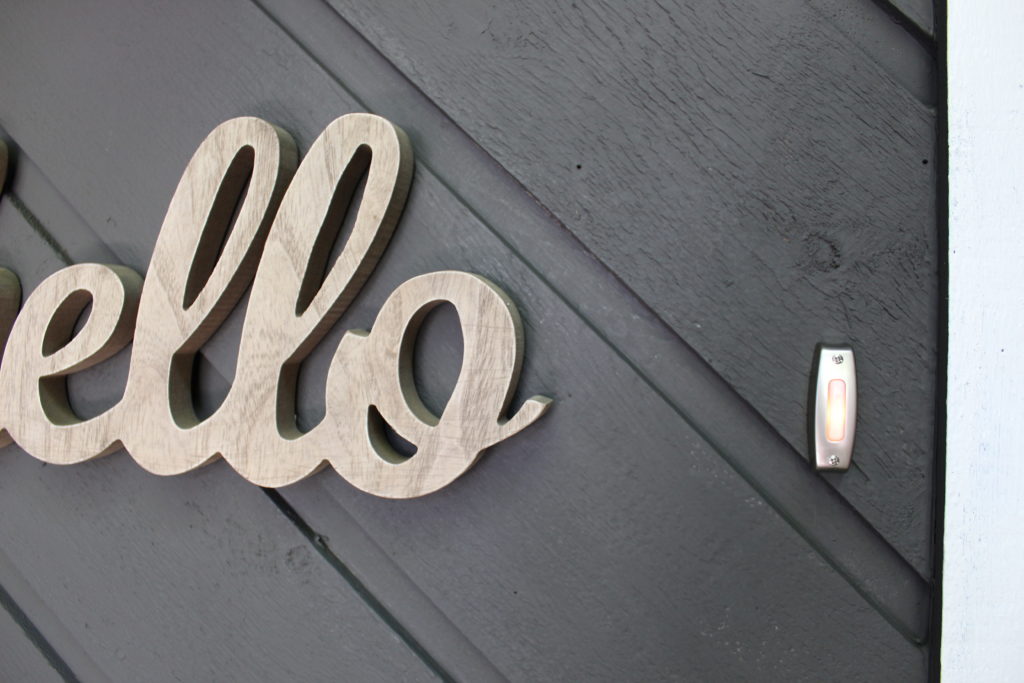
I have painted lots of walls during the course of my diy adventures, but painting wood paneling is no joke. Getting the paint between the boards is a time sucker. Also, a tip that I thought I would share would be, that if you’re planning on painting paneling a dark color, paint the wall behind in a dark shade before you install the wood. This way, any cracks that are visible when you finish installing, are already dark in color. Mmmmmmkay??  Out of the three previous photos, the third one most accurately represents the color in real life. And of course, I went with a matte finish because I just can’t ever get enough of that velvety finish.

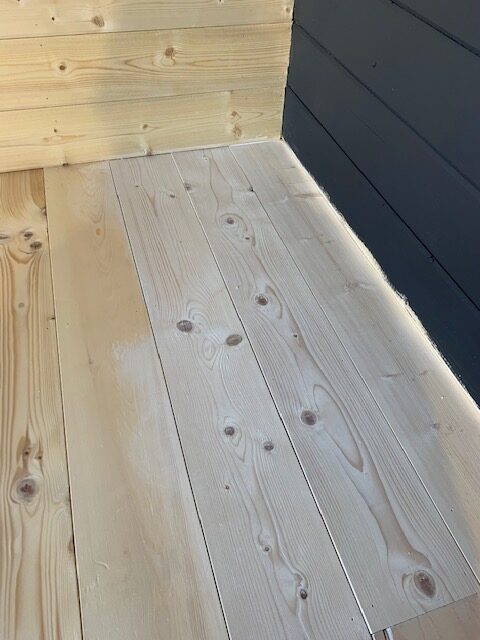
Next up was choosing the stain and polyurethane for the floors. I mentioned this in my last post but a very wise reader wrote and warned me that if I didn’t use some kind of stain, then the floors would eventually darken and yellow. A look that I am trying to avoid.

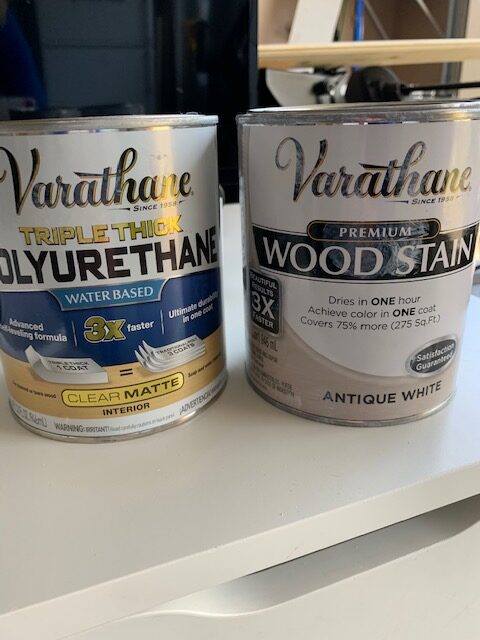
When I found this antique white by Varathane, I knew I had found what I was looking for. It gave the floors a very bright white look but didn’t cover any of the wood grain or knots.

I applied the first coat of polyurethane just this afternoon and am still undecided about how many coats I should do. I will probably do at least one more for good measure. It is pine which means it’s a very soft wood, so we need maximum protection.

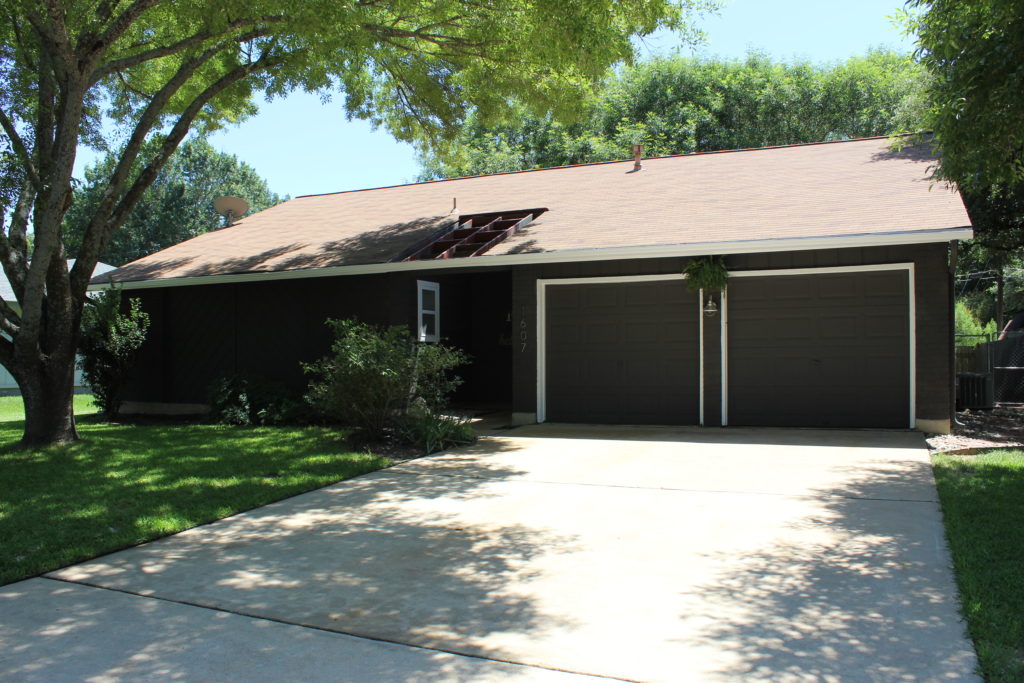
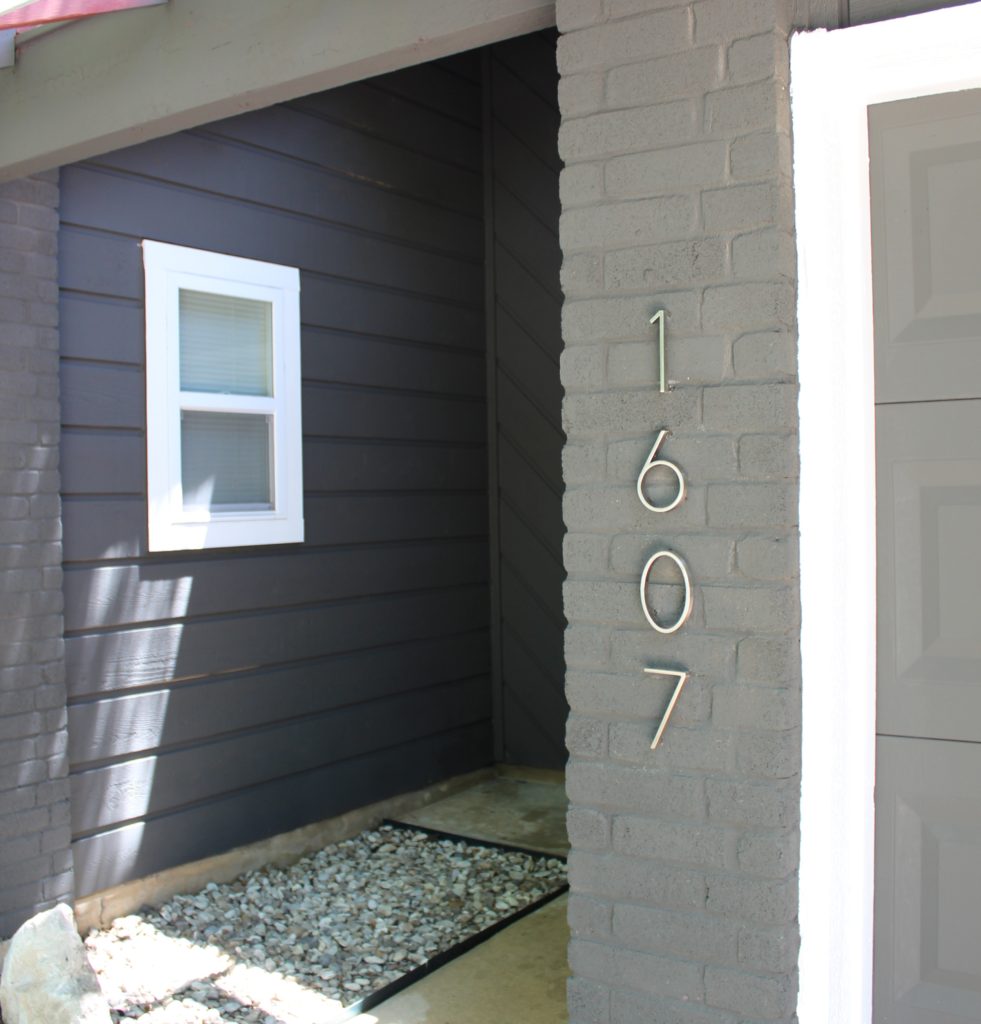
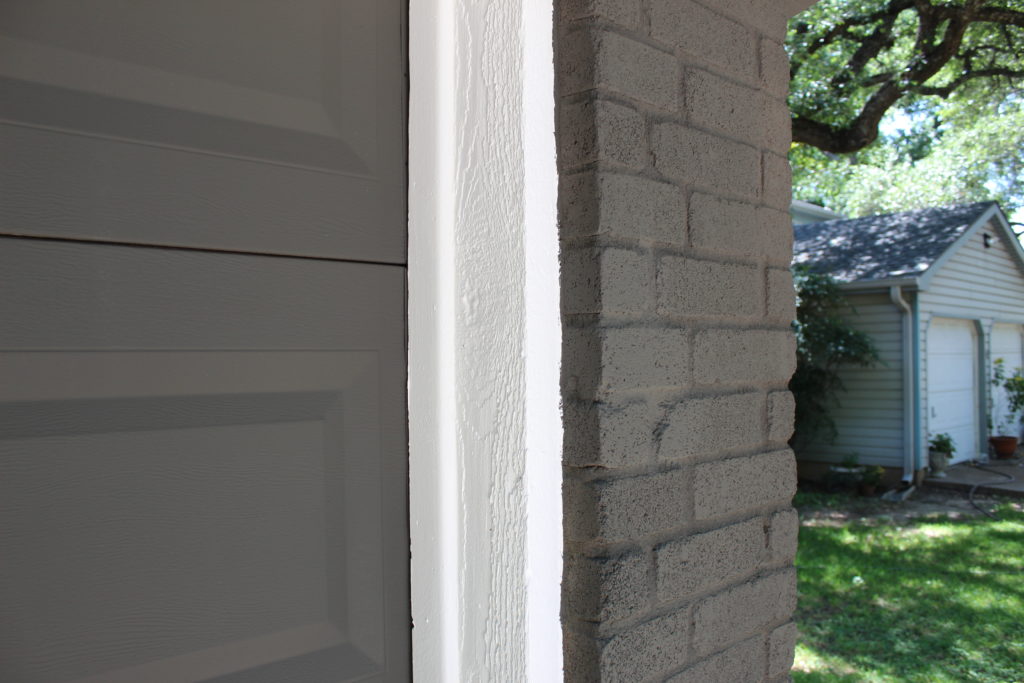
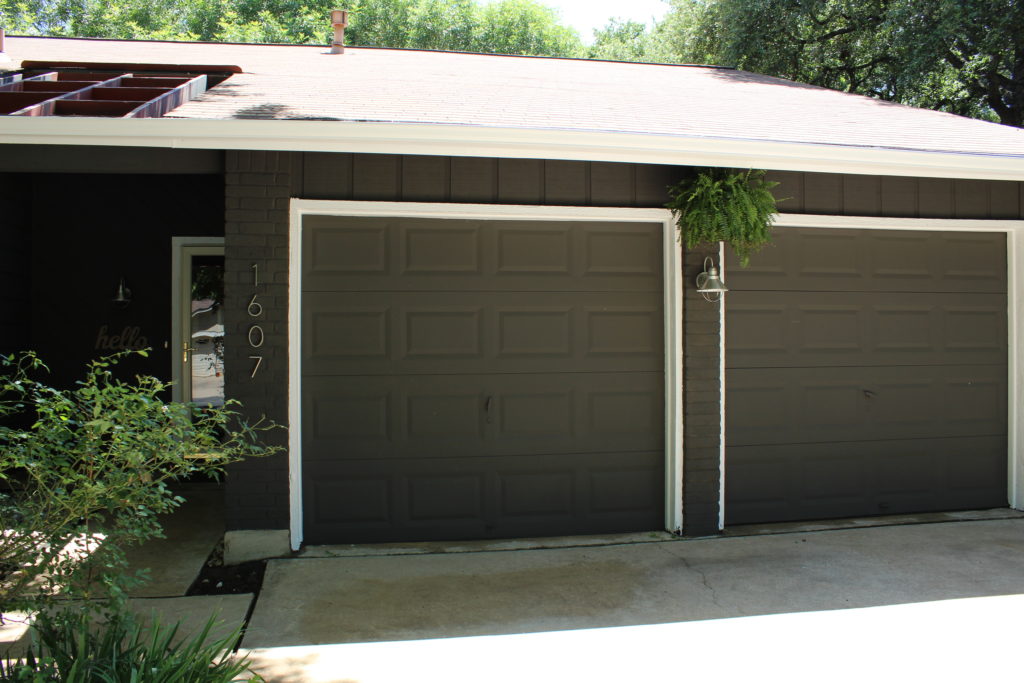
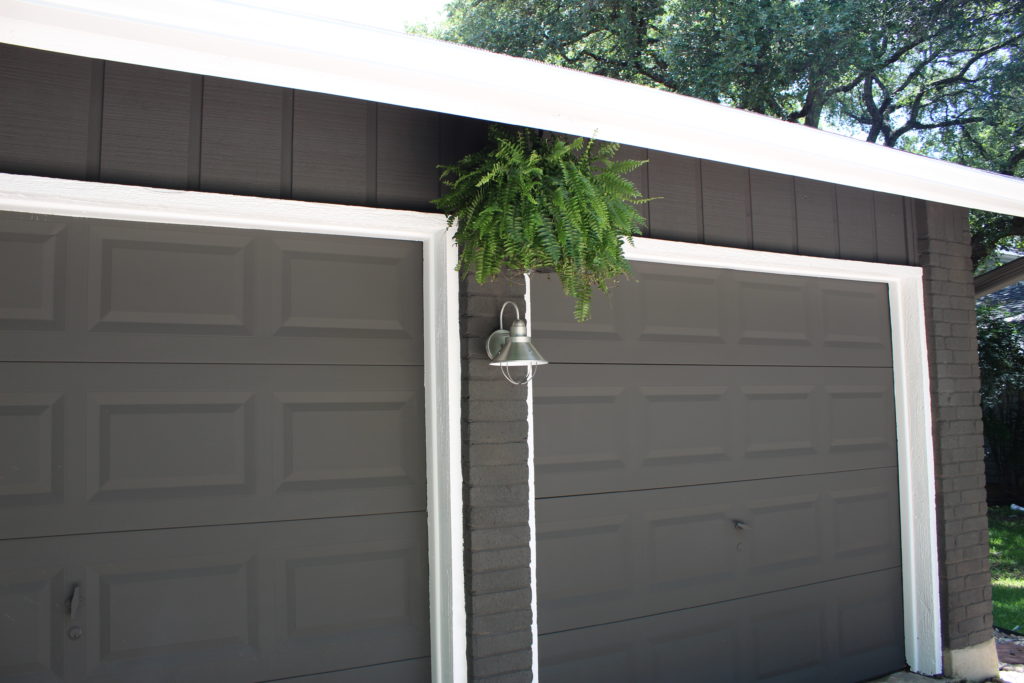
Finally, I liked the color that I used on the accent wall inside so much, that I may just use it for the exterior too. I tested a spot and me likey…

But we’ll save that discussion for next week! See ya in a week! Oh…and if you have any questions for me….don’t be shy! Leave me a comment below! XO

The house is painted!

Well, we did it! The house is painted and we are so happy with how it looks. The weather was kind of tricky here to plan this project around because we knew we wanted to paint before it was too hot but also didn’t want to have to combat the rain that we have been getting here in Central Texas. So, finding that sweet spot right in between the two was tricky, but I think we did it. It was still pretty hot for a couple of Northwest peeps but we just kept reminding ourselves that this is just the beginning of the heat that is to come! Sounds like the name of a really bad movie about the apocolypse, The Heat that is to Come. I’d probably go and see it. Anyways, we are hoping that, in August, we’ll be glad that we did it in June.

We rented a paint sprayer from Home Depot and Nate picked it up first thing in the morning. He has used this same sprayer a couple of times before so it was helpful that he was familiar with how it worked. But, it’s pretty simple to figure out even if you haven’t used one. A little trial and error and you should be good to go. The biggest problem you can run into with using these sprayers is spraying on your coats too thick. Think light coverage with multiple coats and you should avoid those pesky drips. Here is yet another reminder of what our house looked like when we moved in.

IMG_0087

Here’s where we are at today.

IMG_0395

Love this. There is actually still a lot of work to do and touch ups all over the house. The open beams in the entrance still need to be painted to match the body of the house and close up, there are many spots that still need some attention.

We also went ahead and updated our exterior lights, doorbell and house numbers. When Nate was hanging these for me, I kept thinking about how these details are like accessories. Like a good pair of earrings, but for the house. The house numbers used to look like this.

IMG_0370

 Now, look like this!

IMG_0389 - Edited

IMG_0392

We couldn’t be happier with how it turned out! Even some friendly folks from down the street have stopped by to tell us how much they like our colors.

IMG_0393

I love the contrast. It feels so fresh and with the new paint and accessories, the whole house is taking on a much more modern feel. Before we painted, the house didn’t really have any particular style or category that it fit into besides 80’s ranch style. Now, it has some much needed personality.

IMG_0390

IMG_0391

IMG_0387

IMG_0397

IMG_0388

While we still have some touching up to do, we can check this off our list of to-do’s. And this was a biggie. But, it feels really good that we did this ourselves. Back inside I go to get back to mudding and texturing the ceilings. No more excuses!