
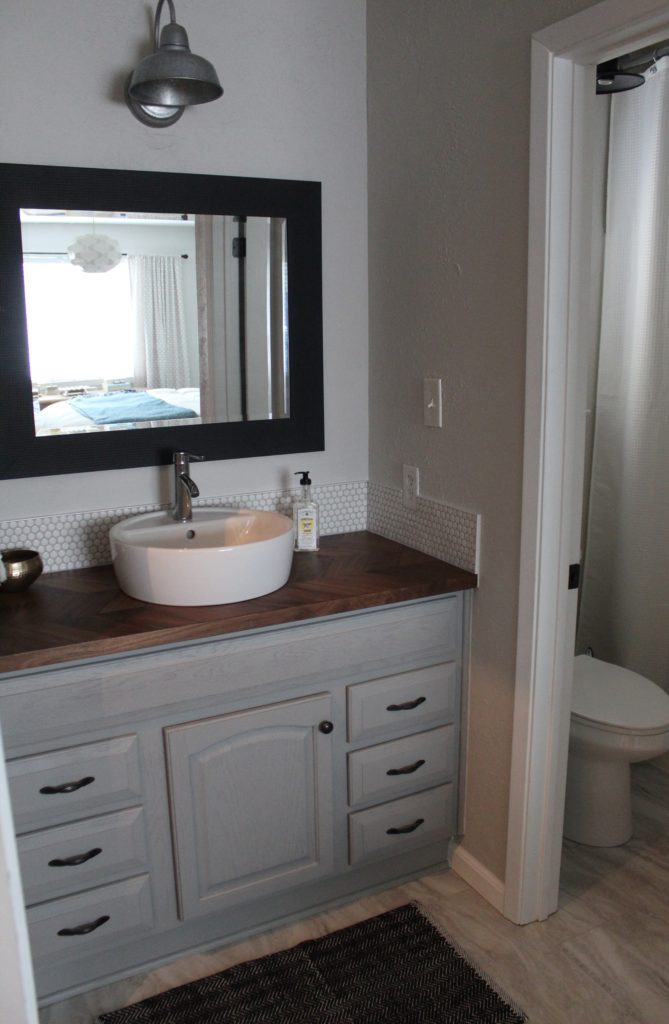
A few weeks ago, I shared our finished bathroom with the promise that I would be back with some pictures of the space with all the accessories and art. So today, I will honor my promise (even though technically, I think I’m a bit late on my delivery) and show all the fun details that make the bathroom feel complete. Drum roll please:
We are very pleased with the finished product. And I use the word finished loosely because it seems like I am never quite done tweaking things. Nate hates that, but I loooove it. Tomato tomahto. I have to say, this was my favorite part of revamping a space…all the little details.
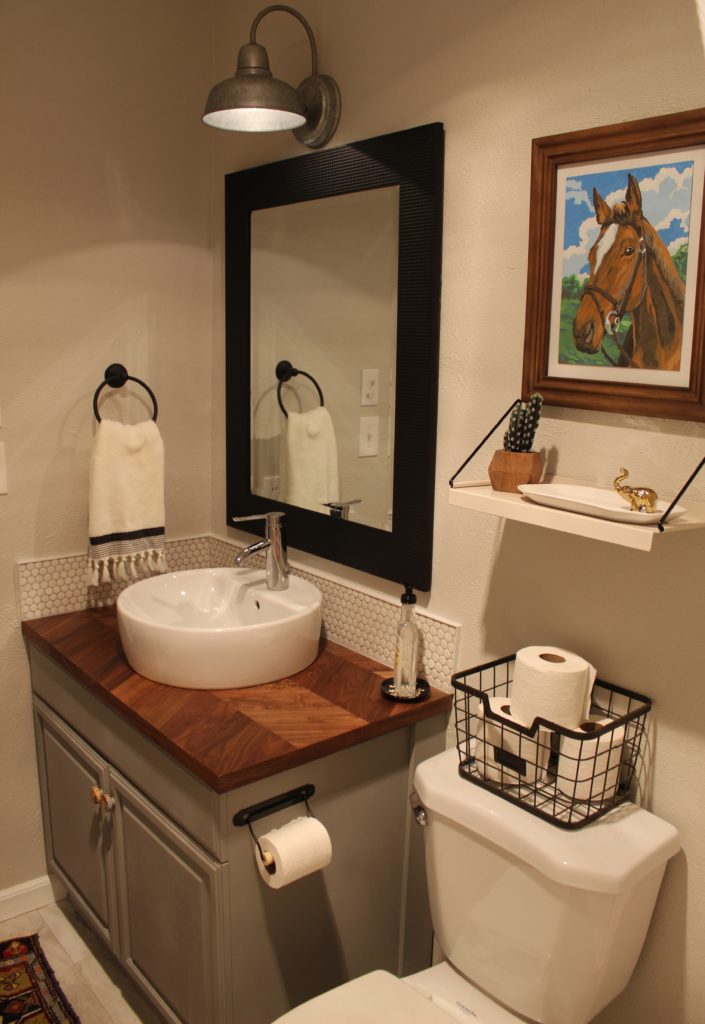
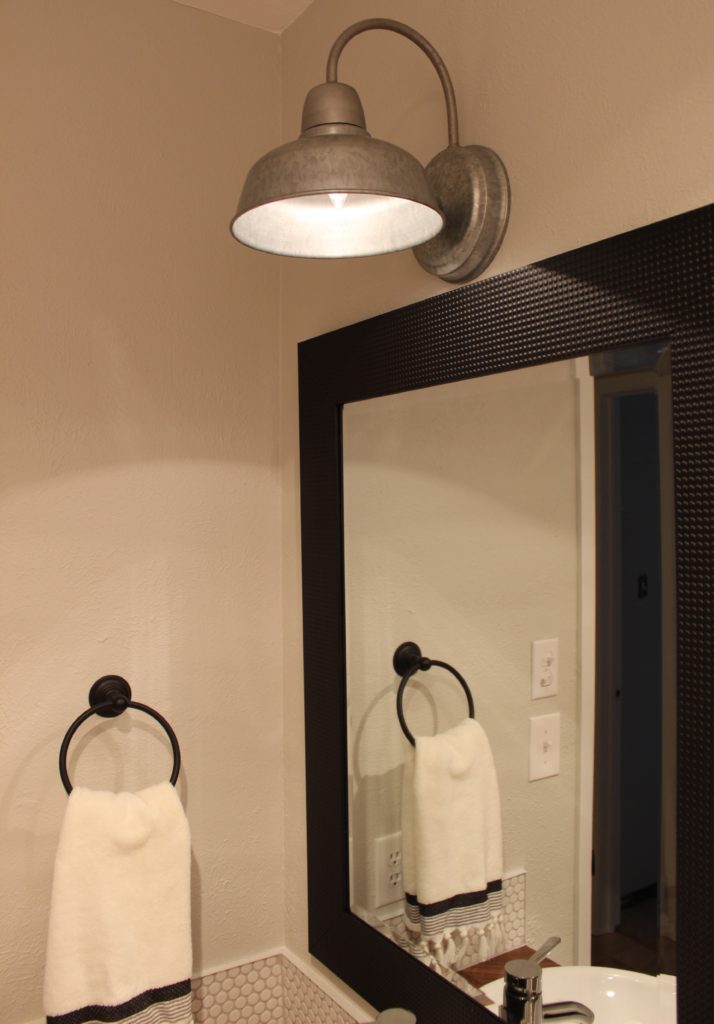
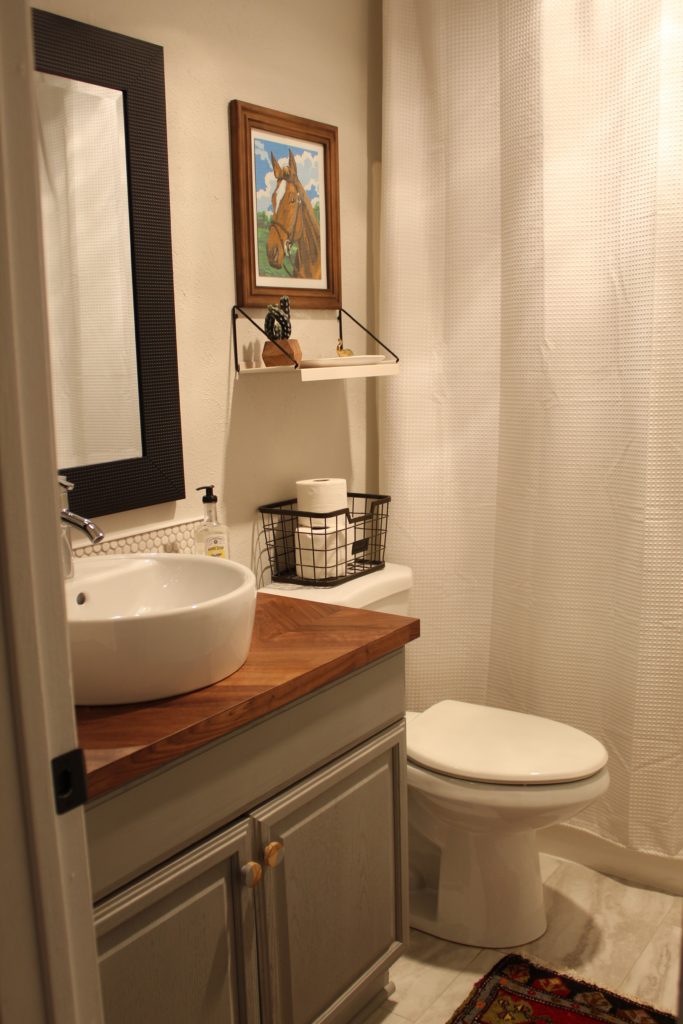
When the mirror was hung, I was nervous it was all wrong. And it would have been an annoying error to make because I had already painted the frame a flat black so there was no turning back and returning to the store. To remedy this, I brought in as many black elements as I could. All of the other pops of black help make the mirror feel less chunky. Now, it feels much more balanced to me and less like “look at this mirror with a giant black frame.” The basket on top of the toilet, the towel hooks, toilet paper holder, and hand towel ring are all black.
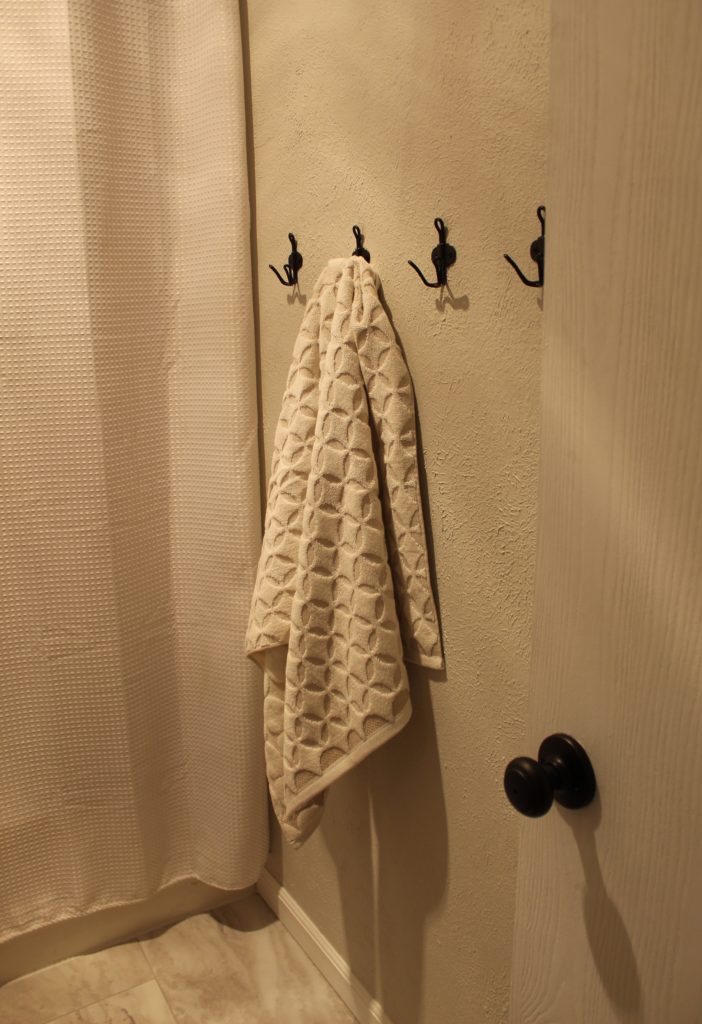
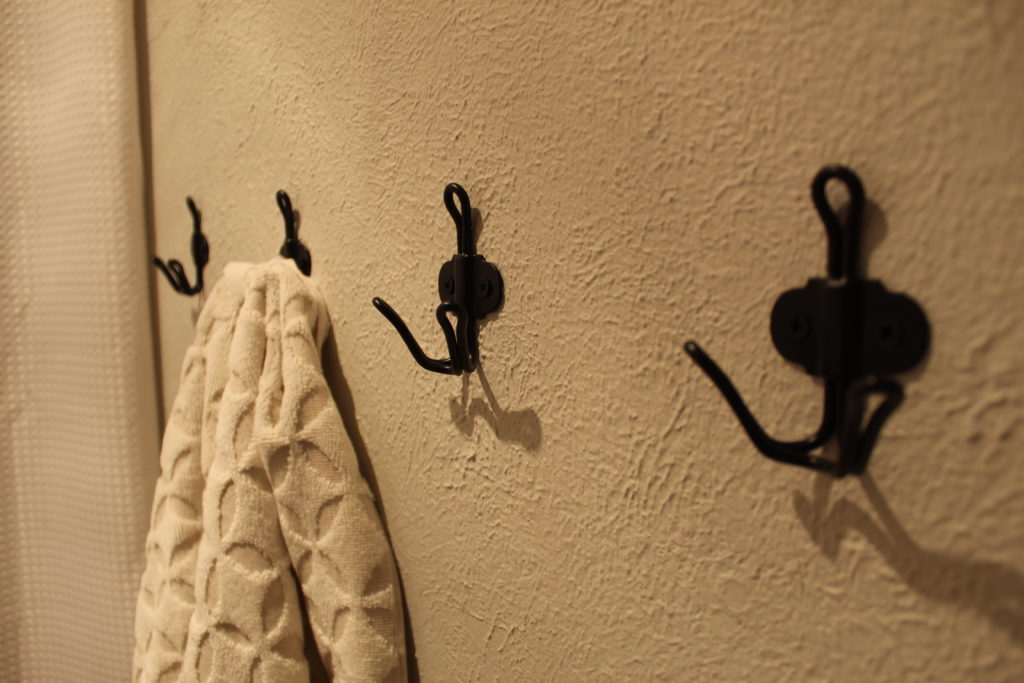
I thought that hooks for towels might be a fun change of pace from the old towel bar. And now that they’re up; our kids can actually hang their towel up on their chosen hook. When the old towel bar lived there, the kids would haphazardly throw their damp towels up on the bar. The messy towels drove me nuts because it looked sloppy and the towels couldn’t easily dry. Nobody likes a damp towel.
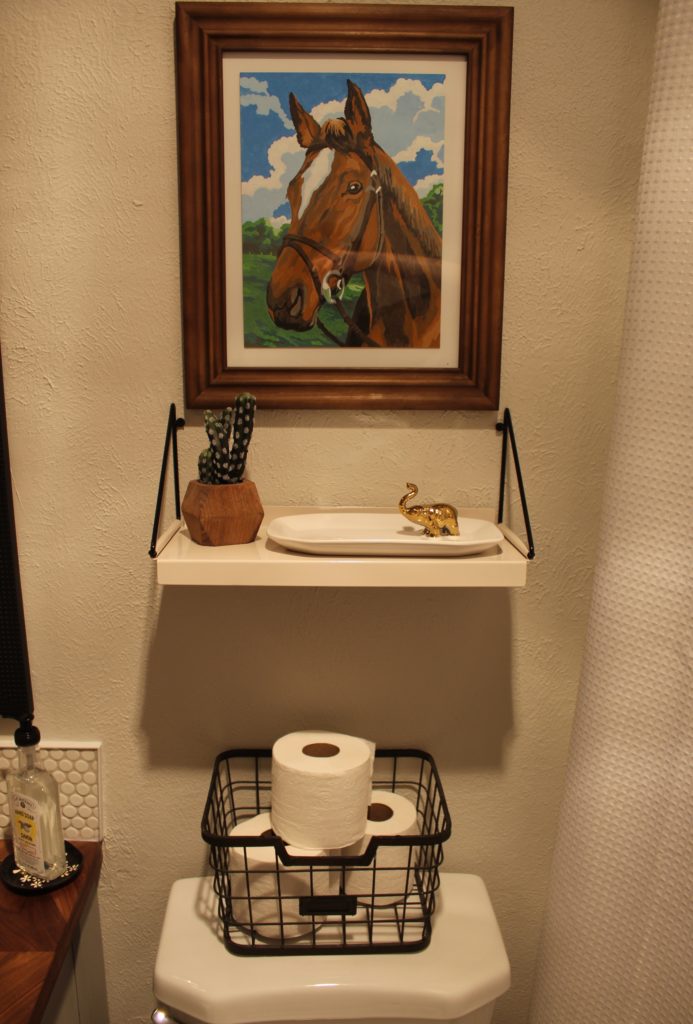
We installed a shelf above the toilet which is a nice spot for a few decorative pieces and a tray to wrangle bobby pins and Nolan’s hair barrettes. I had a lot of fun completing my first “paint by numbers” picture and framed it in an inexpensive wood frame from Target. Also, notice the black brackets on the shelf? I thought they complimented the mirror nicely.
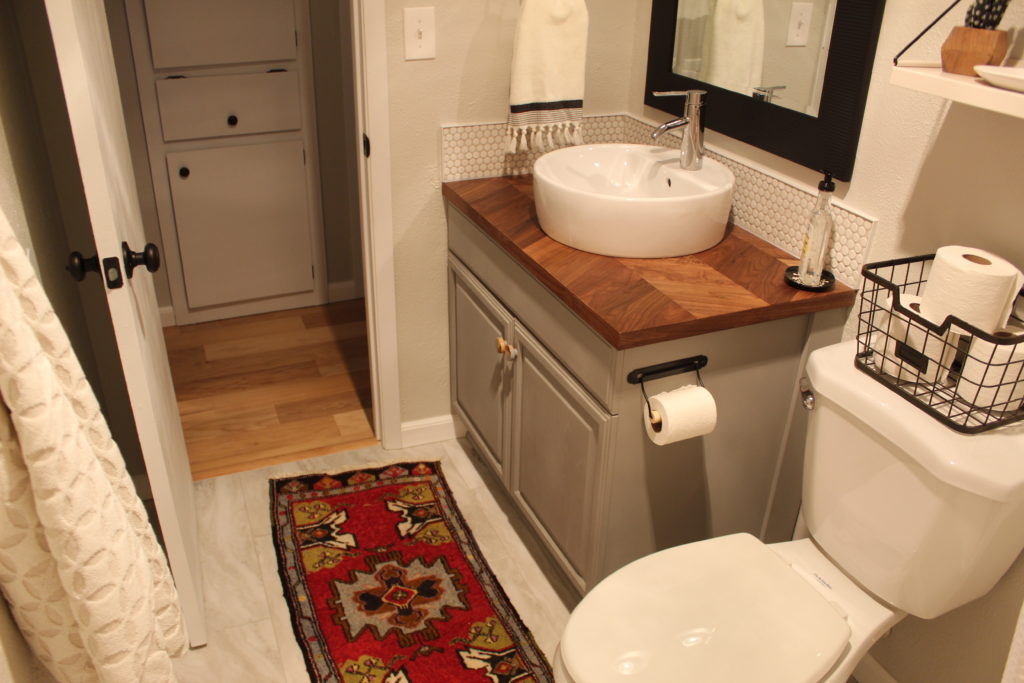
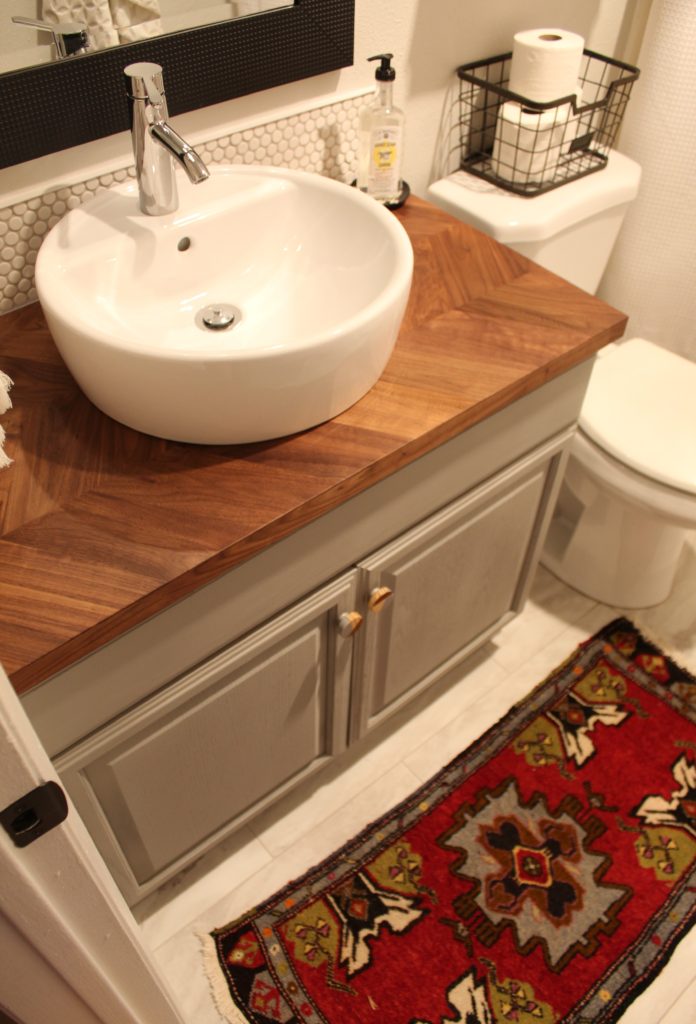
My little vintage rug that we found at Round Top last fall fits perfectly in our little bathroom and I think it makes the room feel special. It’s perfect for a bathroom because it adds some color and pattern. I also like that it’s low profile so the door can open and close over it but it’s heavy enough to not slide around.
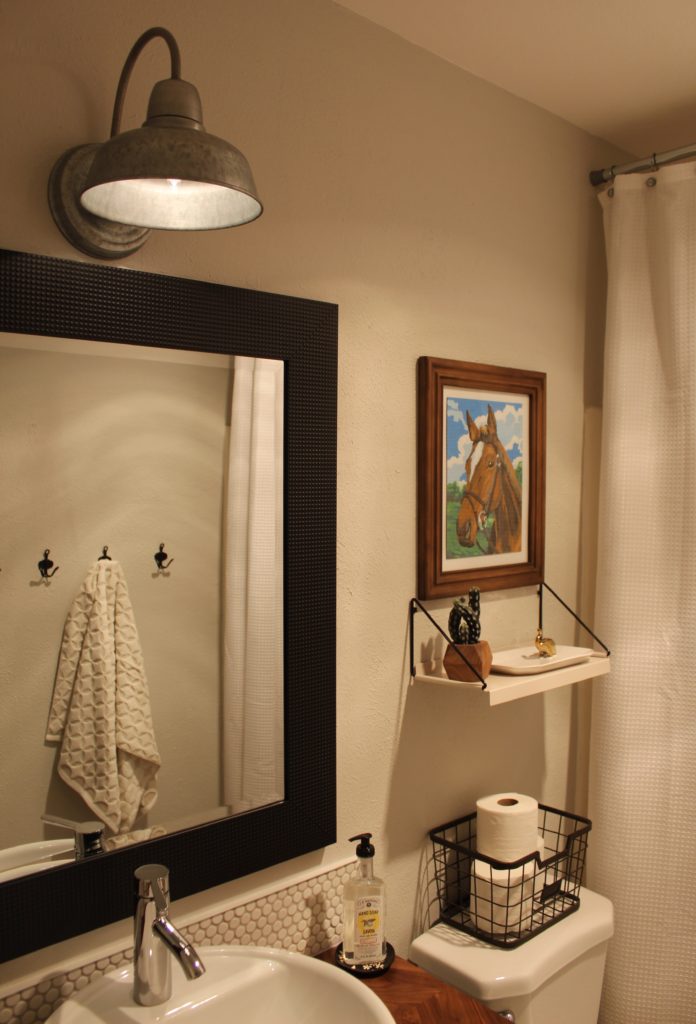
The light above the vanity is a galvanized steel finish and I like its casual feel. It is our preferred light for the bathroom as it casts a soft light directly onto the vanity.
That’s about it for our main bathroom. We can check this off our list and call this one done. One last time, let’s look back at where we started:
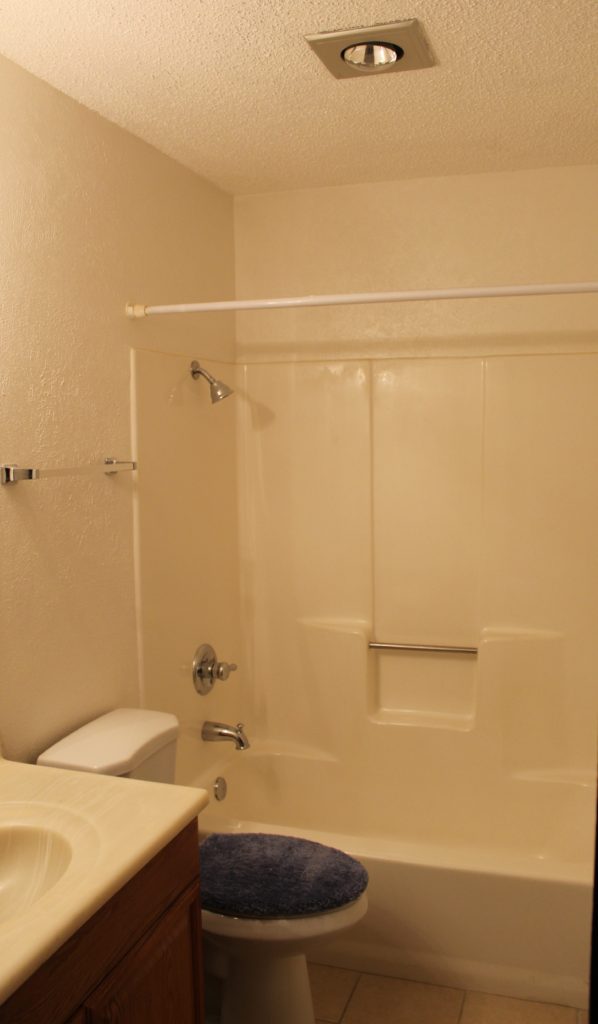
And now we look like this:
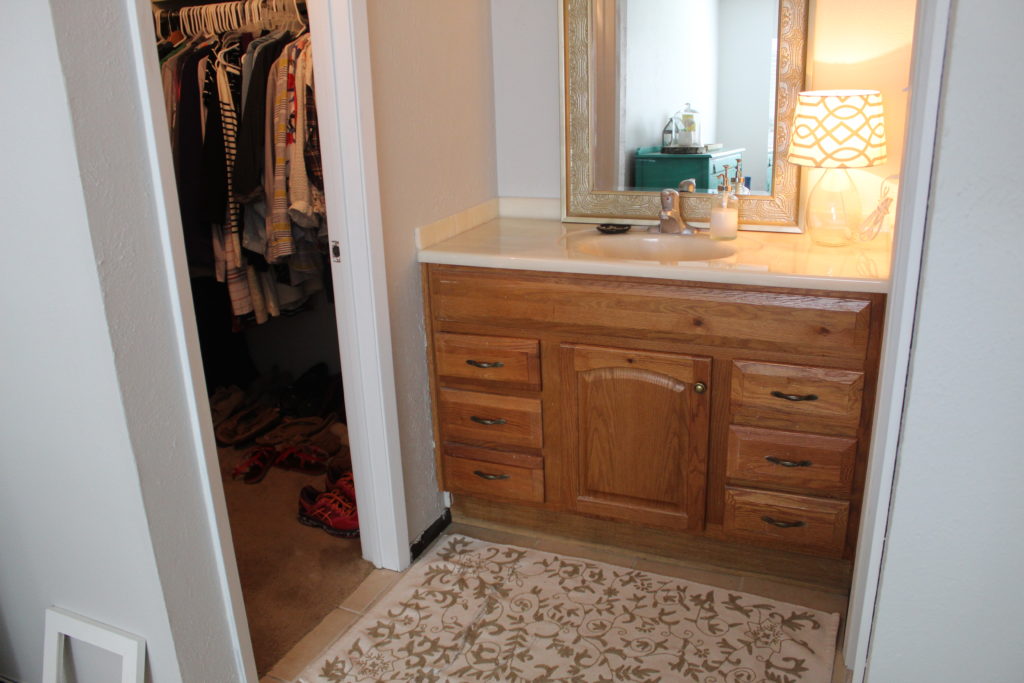
And speaking of making good progress, our master bathroom is looking a lot like our main bathroom these days. We have two bathrooms in our house and they are located right around the corner from one another. When we started planning to update them, we decided early on that they should have the same look and feel since they are so close. It seemed odd to give them each a completely different design. They aren’t quite twins but maybe they could be sisters?
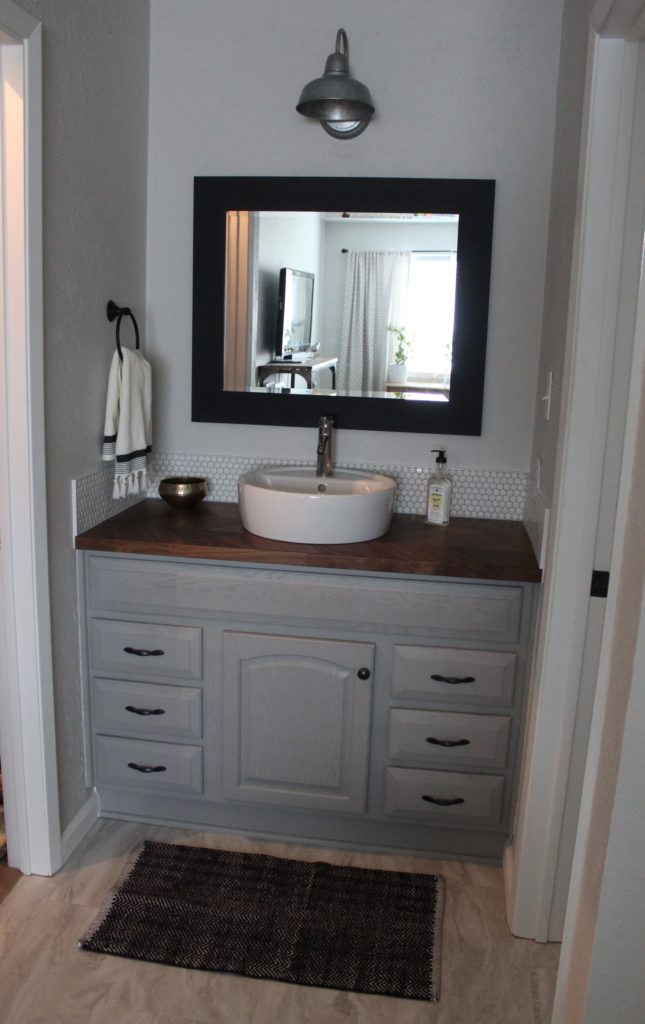
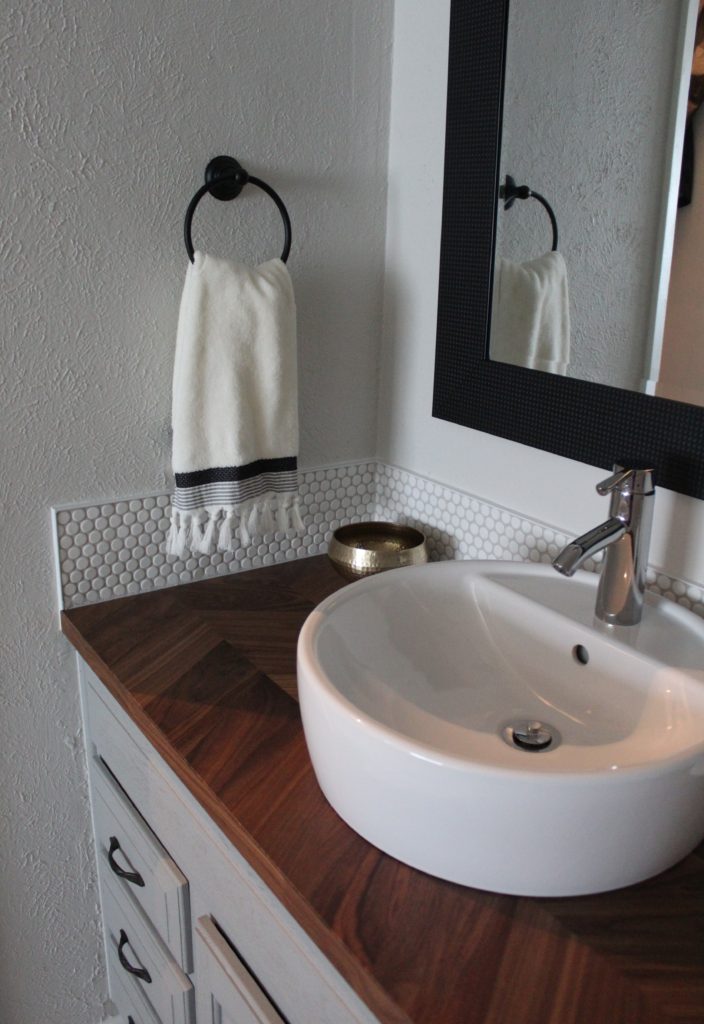
We used all the same materials that were used in our main bathroom. Same tiles on the floor, same countertop, same sink, you get the idea. Here’s an old shot I dug up of this same spot right after our move.
So what do you guys think? Is there anyone out there who recently took on a similar DIY bathroom project? Any first-time tilers who are contemplating getting started? Were you as nervous as we were? Really, once you dive in it’s not that scary. I’d love to hear from you so feel free to leave me a comment below:-)
3 comments
Hi! Do you have the source for the countertop and sink you used? Love it!
Yes! Both from Ikea! and thank you so much!
Hi! Do you have the source for your countertop and sink? Love it!