
When I decided that the kids would be sharing a room at this new house, I didn’t give much thought about the combining of the toys and books that each of them would be bringing from their respective bedrooms. Even though we have a “less is more” theory with toys, there still seem to be quite a lot of them floating around. If a kiddo hasn’t played with something in a while, out it goes. Nolan just started collecting Shopkins which I think is perfect because they are so small. Nate and I had to Google what Shopkins were…and we still have no idea. Grey likes cars, trucks, trains and just about anything with wheels. But I do try very hard to make sure that the toys don’t take over the whole house. Nate and I definitely don’t want to be living in a big play room.
I have been hunting for some toy storage solutions and found lots of ideas that I liked, but sadly, were not in the budget. I was especially in love with some open shelving from Serena and Lily. I am loving the wood+white look and always find myself attracted to the rustic/modern look in homes and furniture. The space in their room would have called for two of the taller shelves to take up the better portion of a wall. So this little purchase would have set me back $2,390 before taxes and shipping charges. Ummm…yikes.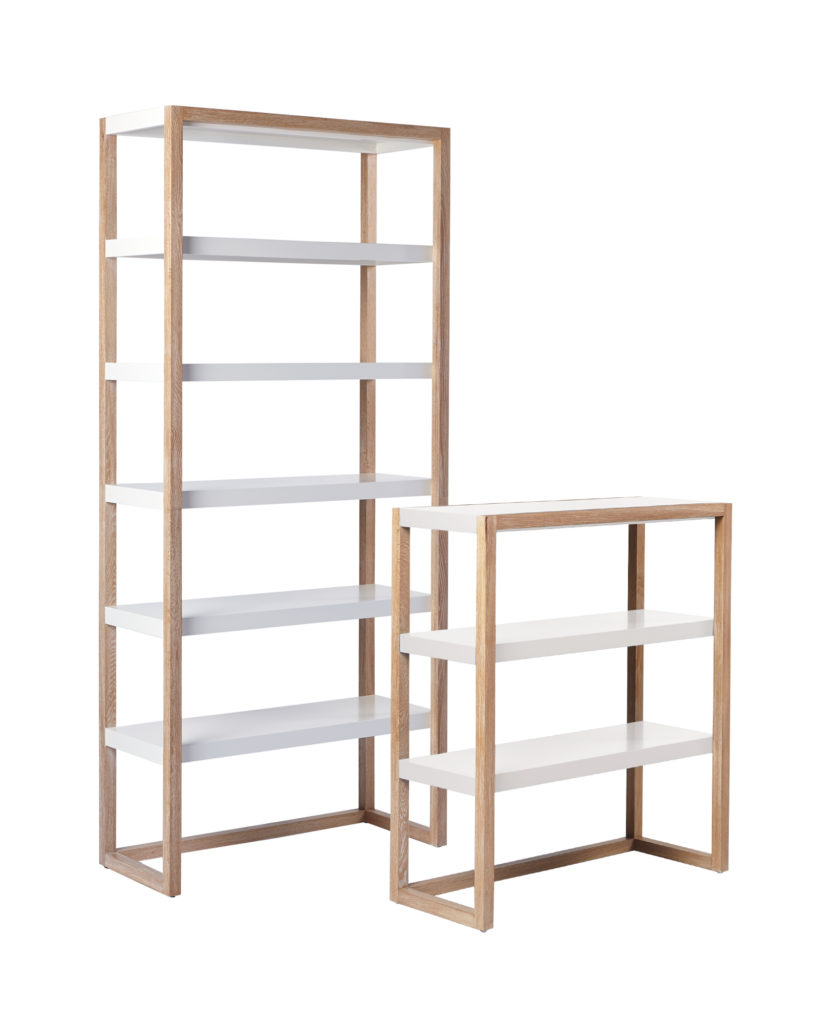
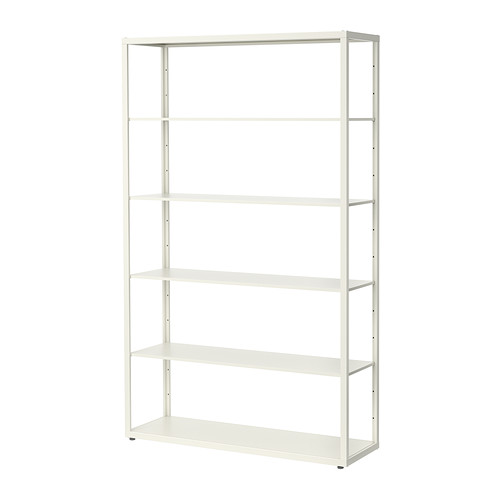
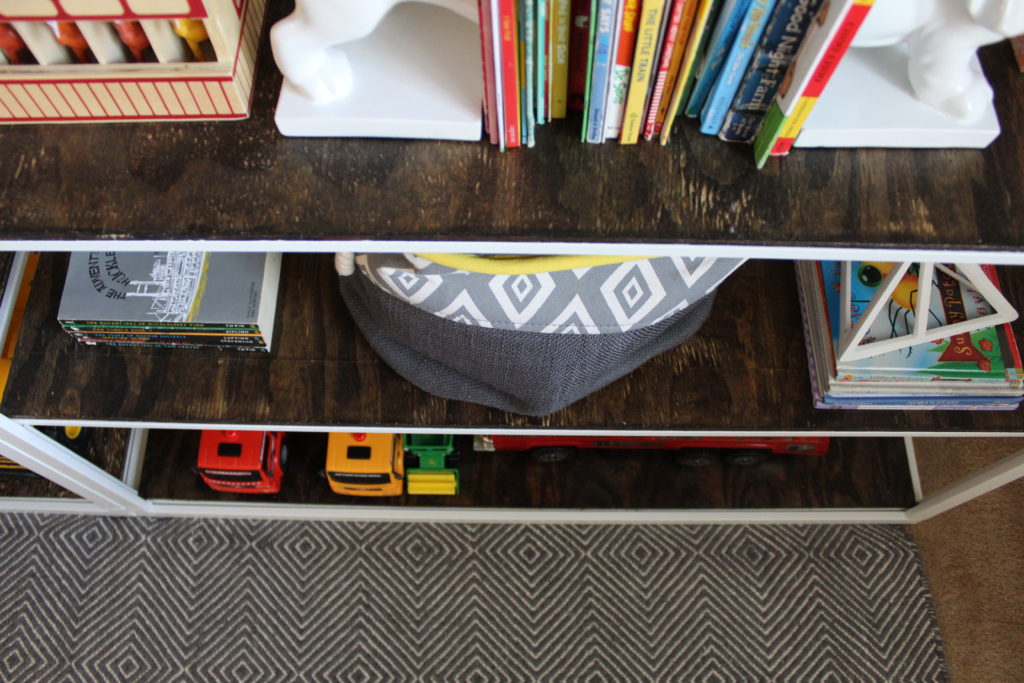
Somehow, I ended up at Ikea…again. But found the perfect shelf! I could buy two of them and they would easily fit into the space I had in mind. A couple of ideas popped into my head to modify them to satisfy my wood+white obsession. Meet Ikea’s Fjalkinge shelving unit.
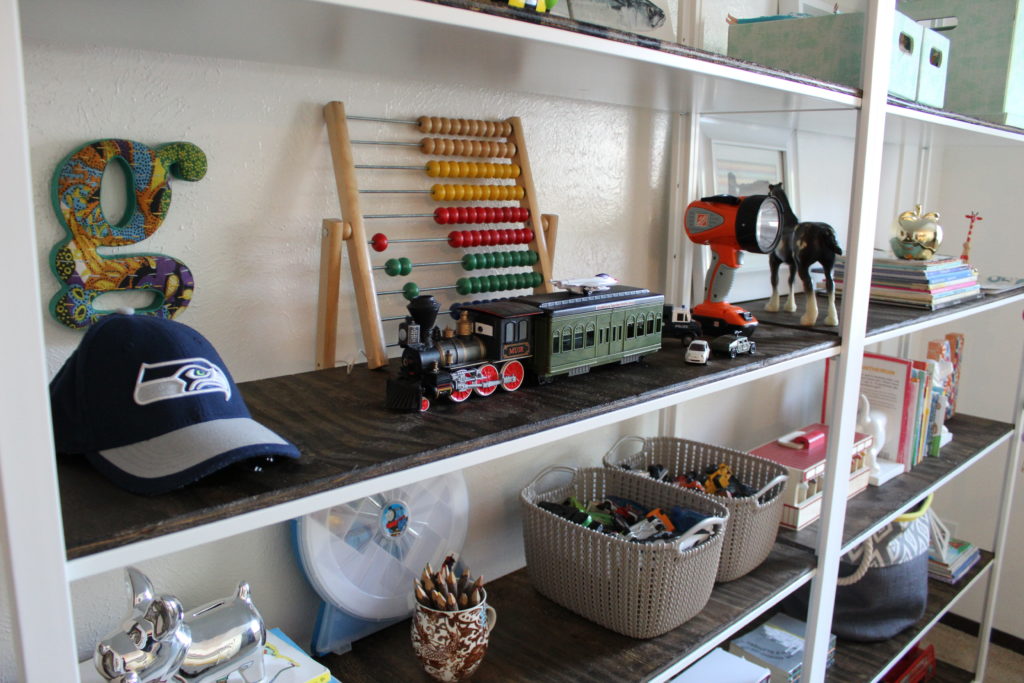
Nate and I ran to Lowe’s and grabbed two pieces of plywood and some dark walnut stain. We had a friendly fellow cut our pieces down to the size of each individual shelf right in the store for us so we didn’t have to rip any of the boards ourselves, which Nate loved. So all that was left to do was stain the wood and let it dry outside for a couple days. As far as Ikea assembly goes, (and we have had a lot of practice) these shelves were super simple. Once the plywood pieces were all dry and no longer smelly, we just slid right into place on top of the white shelf insert. My dad always says, measure twice, cut once. Well, we might have measured seven times, but no mistakes were made and the boards were just the right size.
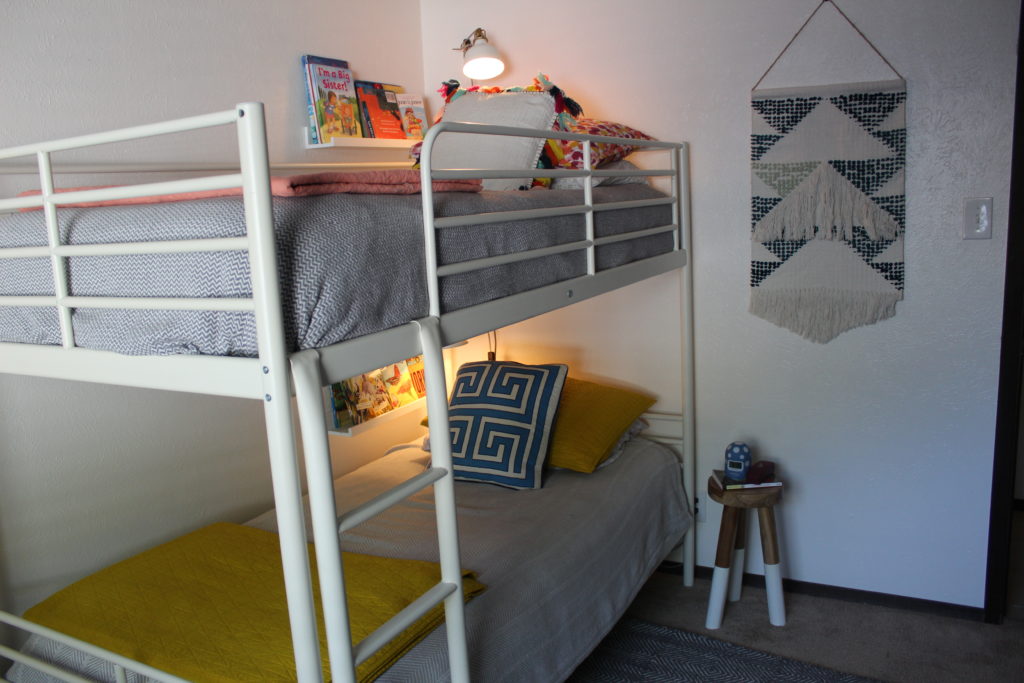
I also scored a little night stand and a rug too! Notice the wood and white theme? Points for consistency, no?

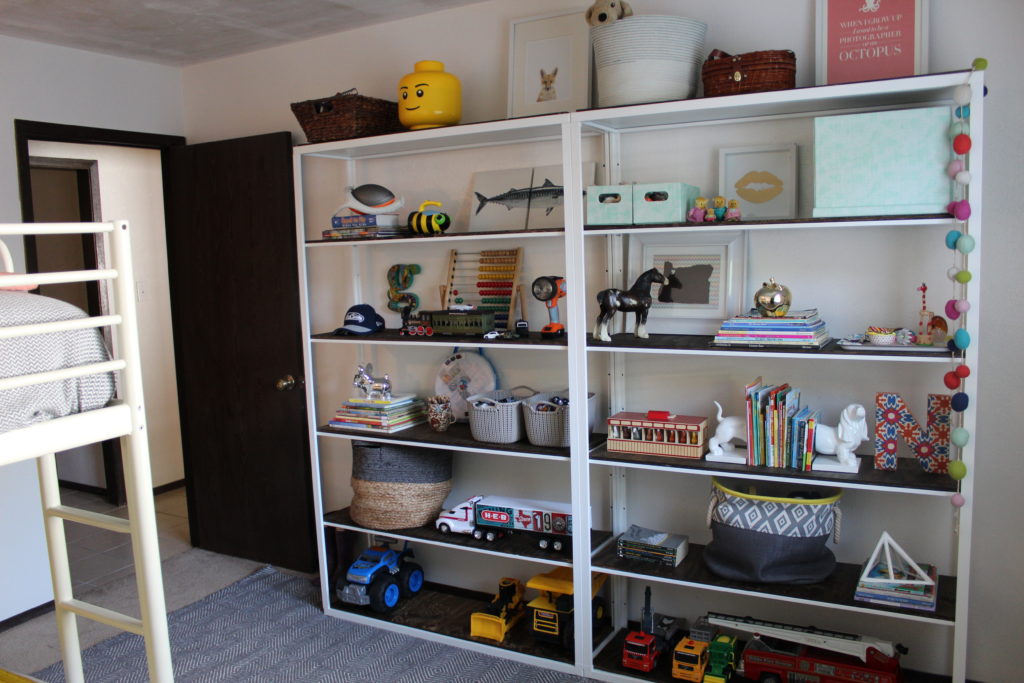
The best part is the kids toys look so super cute out on display on their new shelves. I kind of did a Grey side and a Nolan side, although there was no way his cars and trucks weren’t going to spill over onto her side. I will probably tweak the arrangement of everything as I add some better looking baskets and move everything around. I can’t help myself. Nate always laughs at me because objects are always moved, furniture is rearranged and nothing really stays the same in our house for very long.
The room is starting to really come together in such a fun way. I thought it was going to be really tough to decorate for a boy and a girl in the same space but as it turns out, I’m kind of a neutral kinda lady. Who knew?
3 comments
I’ve been eyeing these same shelves for a playroom remodel and I love the addition of the wood! Did you have the boards cut the same size as the shelves themselves? No problems with them sliding around?
Hello Amy!
Great question, and thanks for asking. We had them cut the exact same size as the shelves. We figured, if the shelves fit, the wood will fit. They don’t slide at all.
I appreciate your readership, let me know how it goes! Send me some pictures!
Courtney