Our DIY Entryway Bench

We built a bench in our entryway and it feels so good. Hehe, I just sort of jumped right in without any pleasantries or warning. I’m a tad excited about this project, can you tell? Behold, our refreshed entryway:
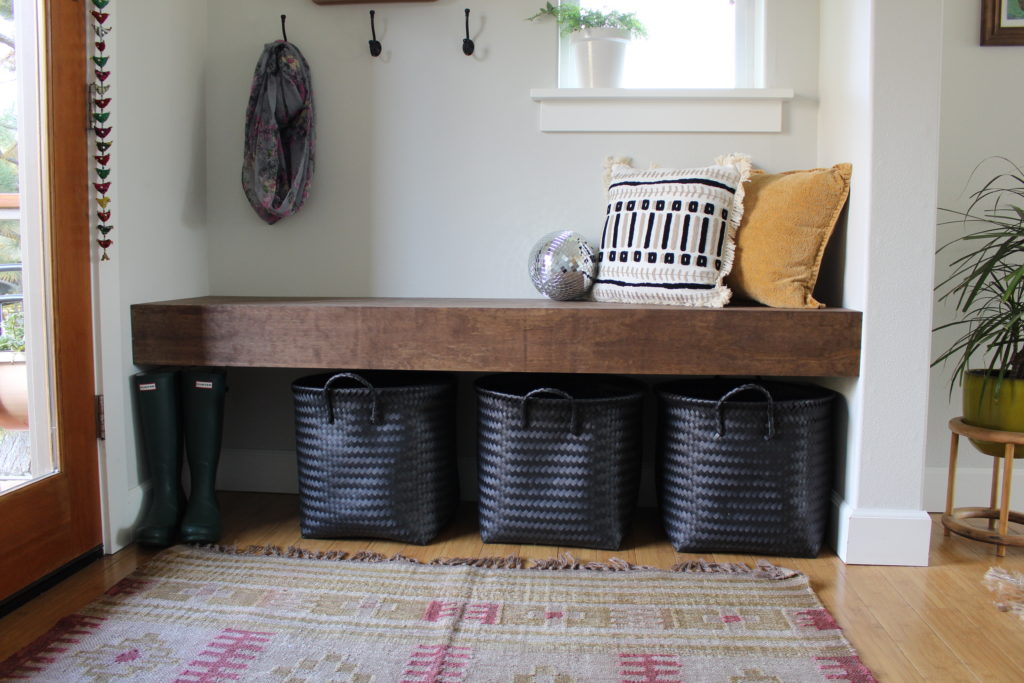
It feels like a whole new space. Ah, the power of diy.
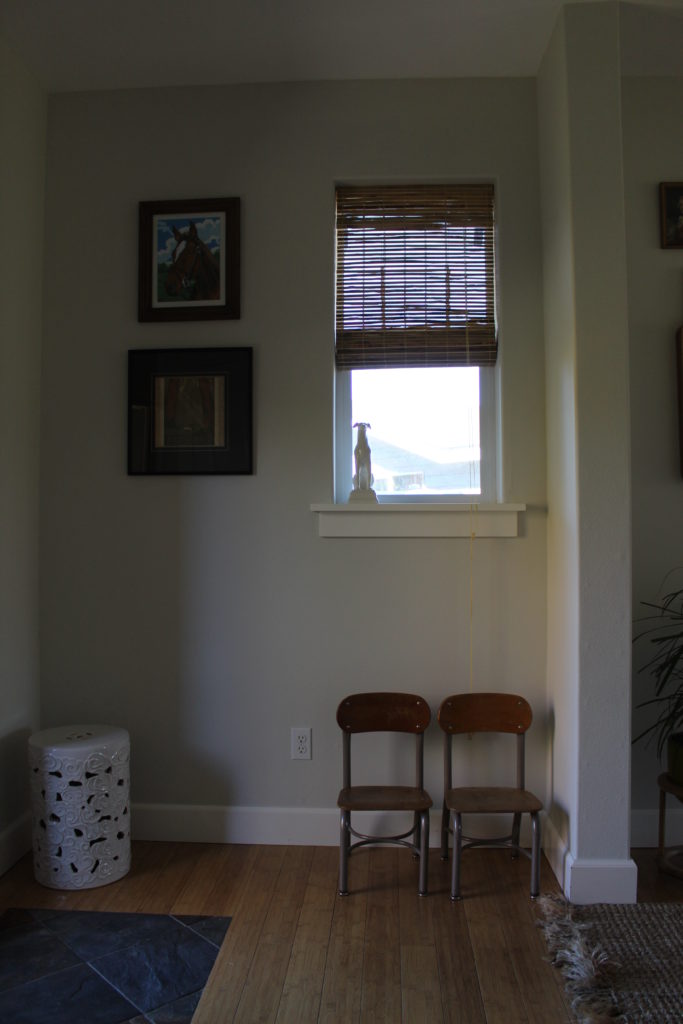
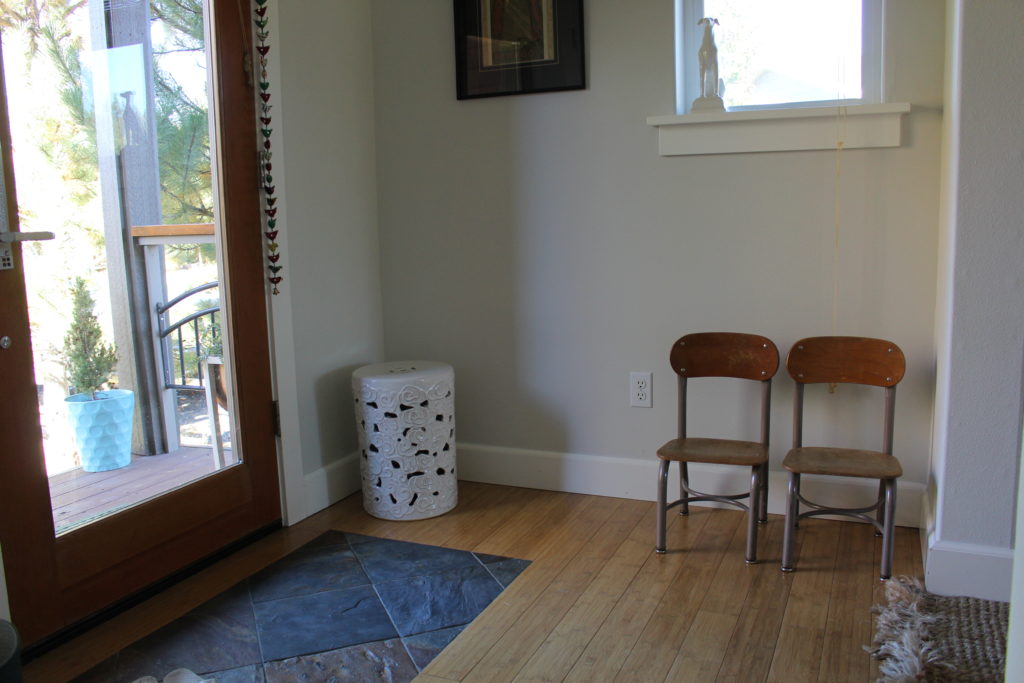
As you can see, we weren’t using this space in a functional way. Besides not being functional, it was so boring. Major snooze factor. There wasn’t any storage, no hooks for coats, and no mirror to check your hair when you leave. Doesn’t everyone do that? I knew it needed all these components, but I wasn’t sure how to implement them.
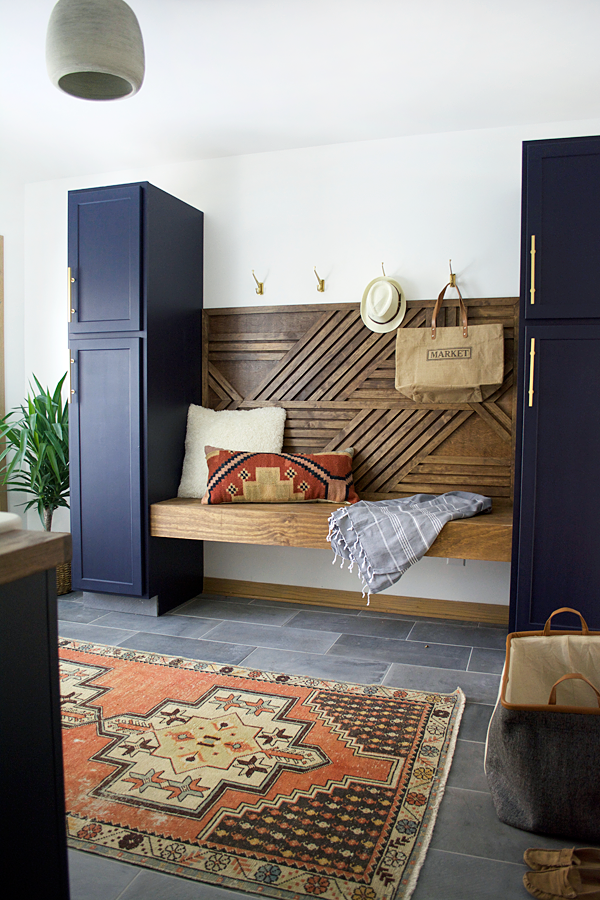
Via

So a couple weeks ago, I was on instagram one evening and came across this image from a favorite blogger of mine. Gorgeous, no? That floating, simple bench would be perfect for my blah entryway! This is why I love a good diy blog – so much good content to be shared for others to use.  She had a link to her blog with a genius set of instructions. I showed them to Nate and he thought we could handle the bench portion of the project – no problem.

We followed the instructions she provided without any problems. Her instructions were thorough and easy to follow. So, because I documented our steps and took photos along the way, I will include our step by step process. This is a great project that could be modified to fit a number of different spaces and homes.

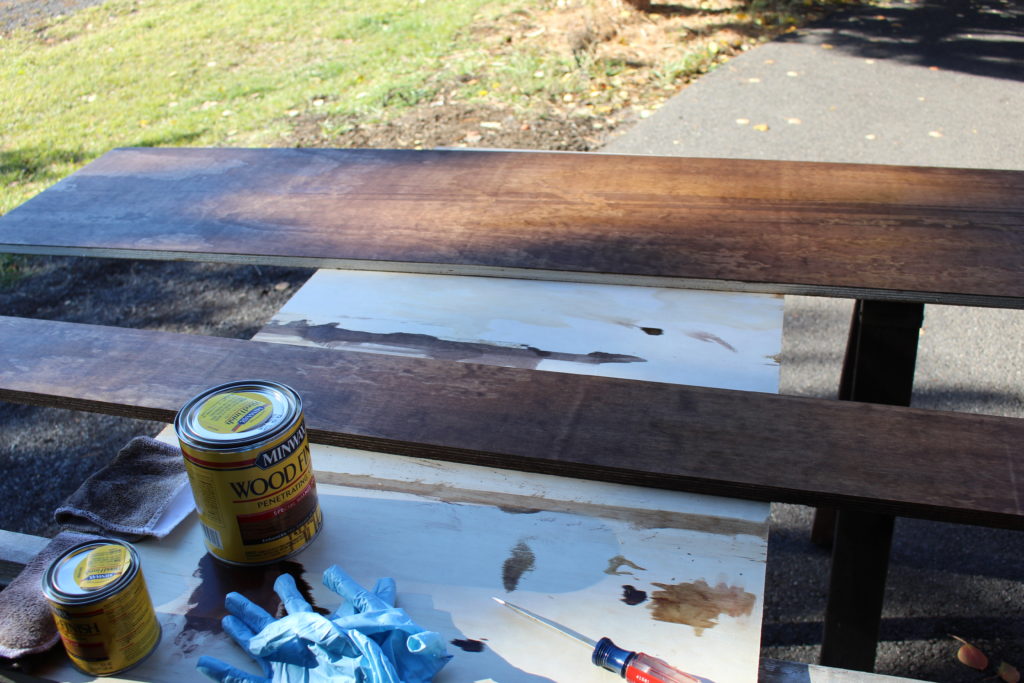
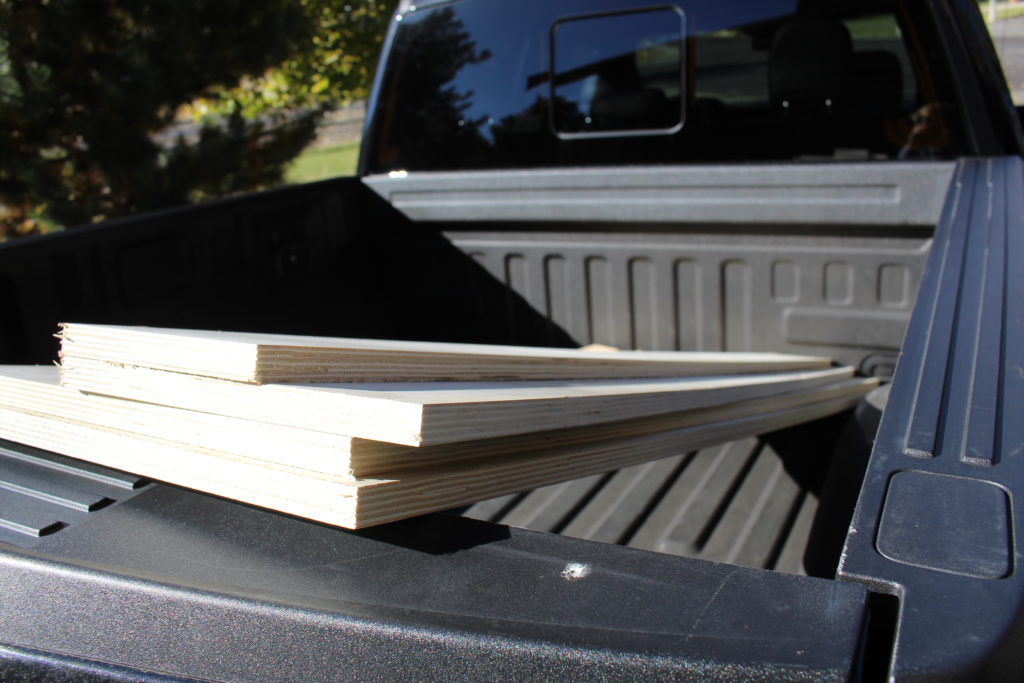
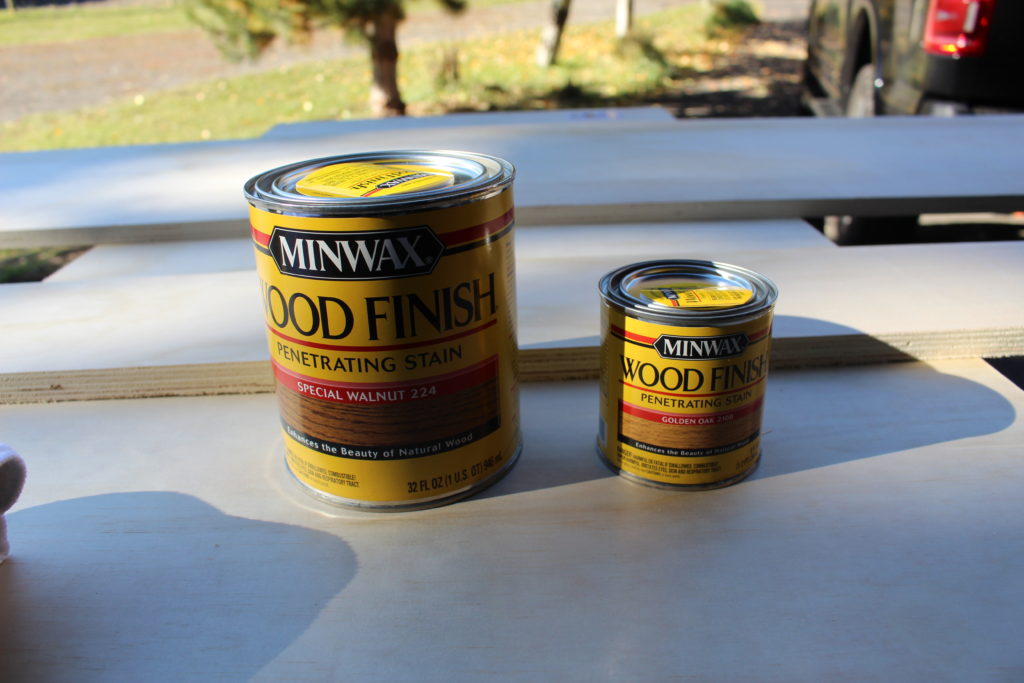
First, we picked up some project boards and had them cut to size right at Lowe’s. We also grabbed some stain, poly, a couple 2×4’s, and two brackets. For staining the boards, I followed the instructions from brepurposed.com and she swears that the perfect stain recipe is two coats of special walnut with one coat of golden oak in between. I don’t have very much experience with staining, so I thought I would give it a whirl. I stained the boards outside with a lint-free rag and let them dry overnight. After they were dry, I applied a couple coats of poly.
To decide how high we wanted the bench to be, we measured our dining table bench from West Elm. It seemed to be a good height and even moved it over in the entryway space to have a visual aid to help.

Next up, attaching the 2×4’s to studs in the wall for the framing of the bench.
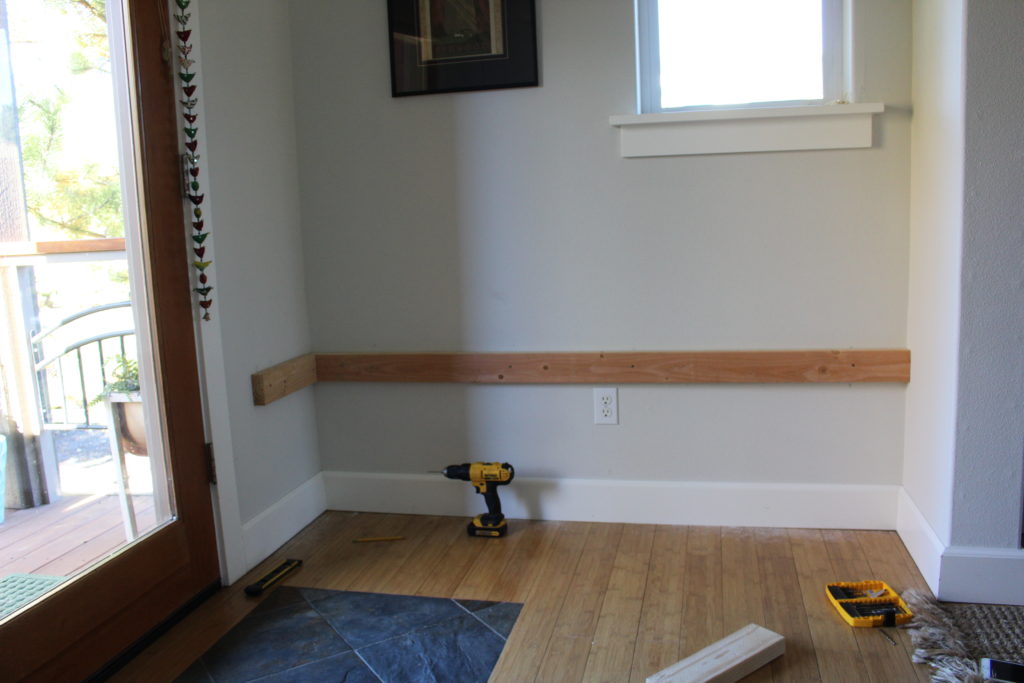
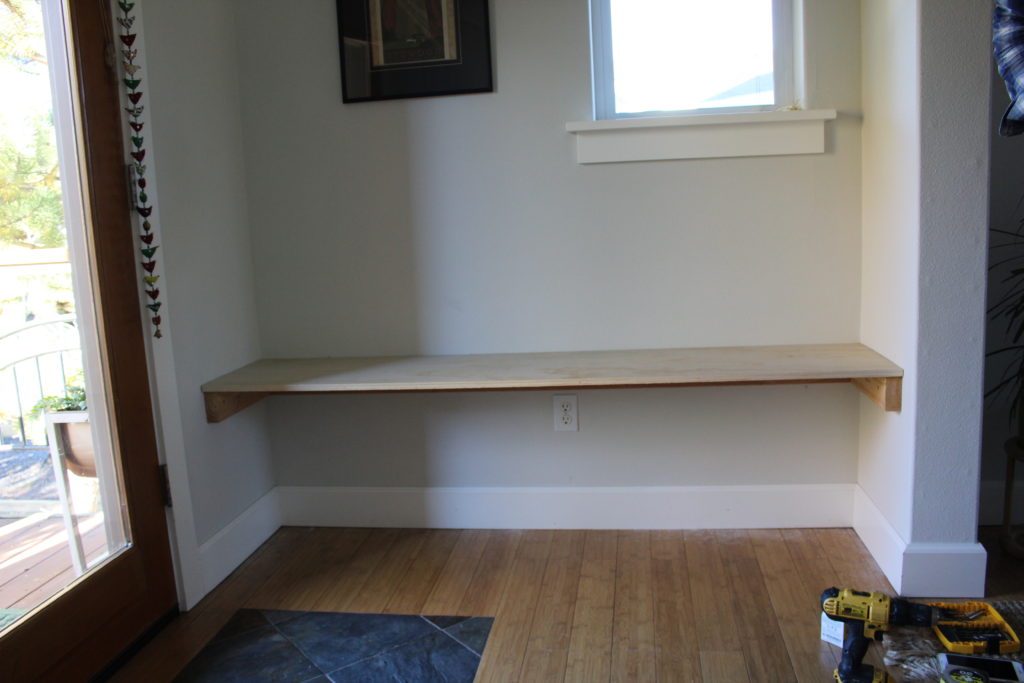
Then we attached a piece of the project board to the top of the framing.
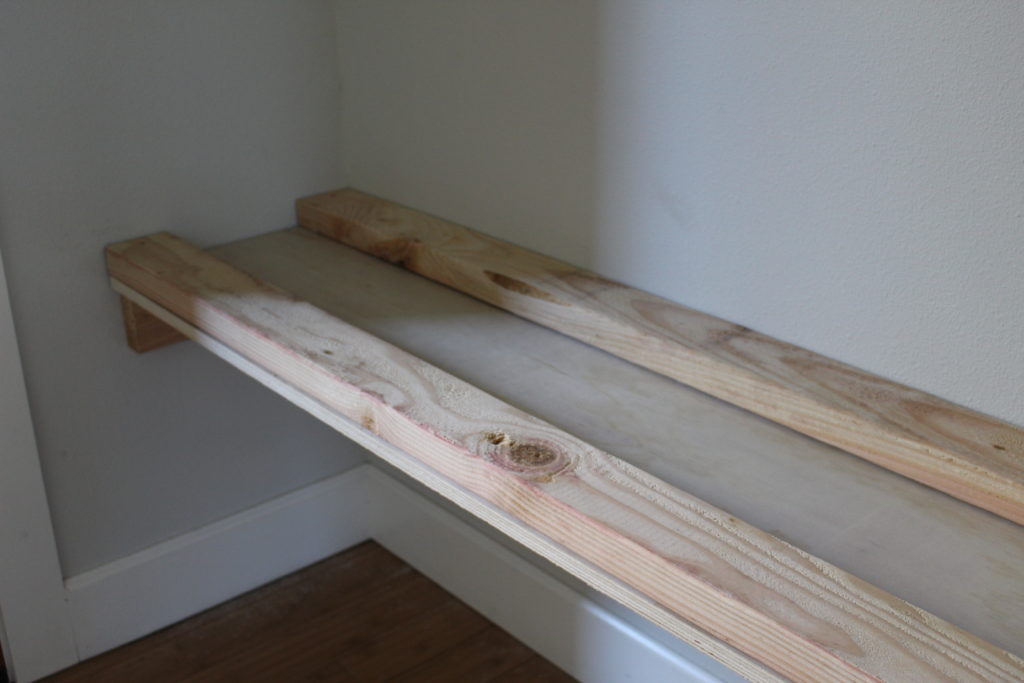
To make sure that the bench was sturdy and extra strong, our next step was adding two 2×4’s across the top of the project board.
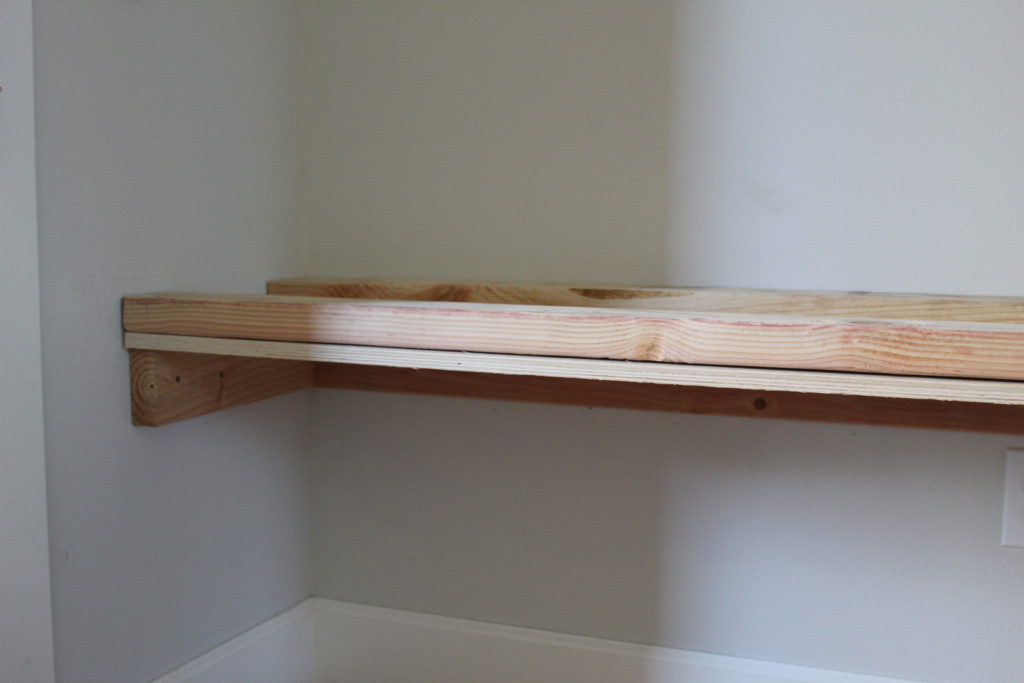
Finally, the top went on and we attached the brackets that the front piece would be screwed into.
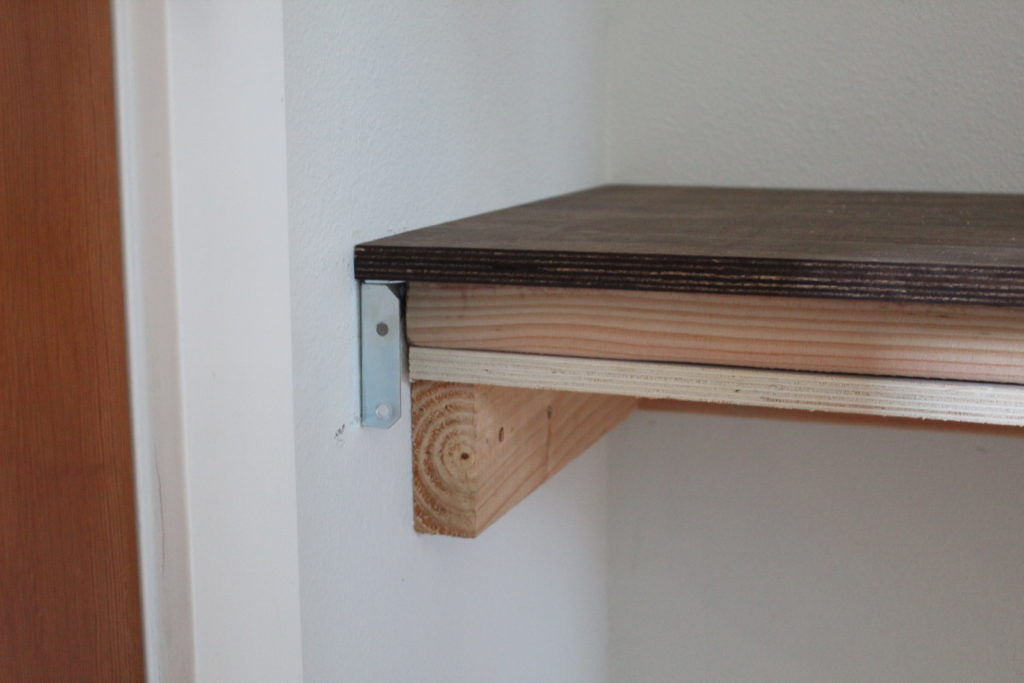
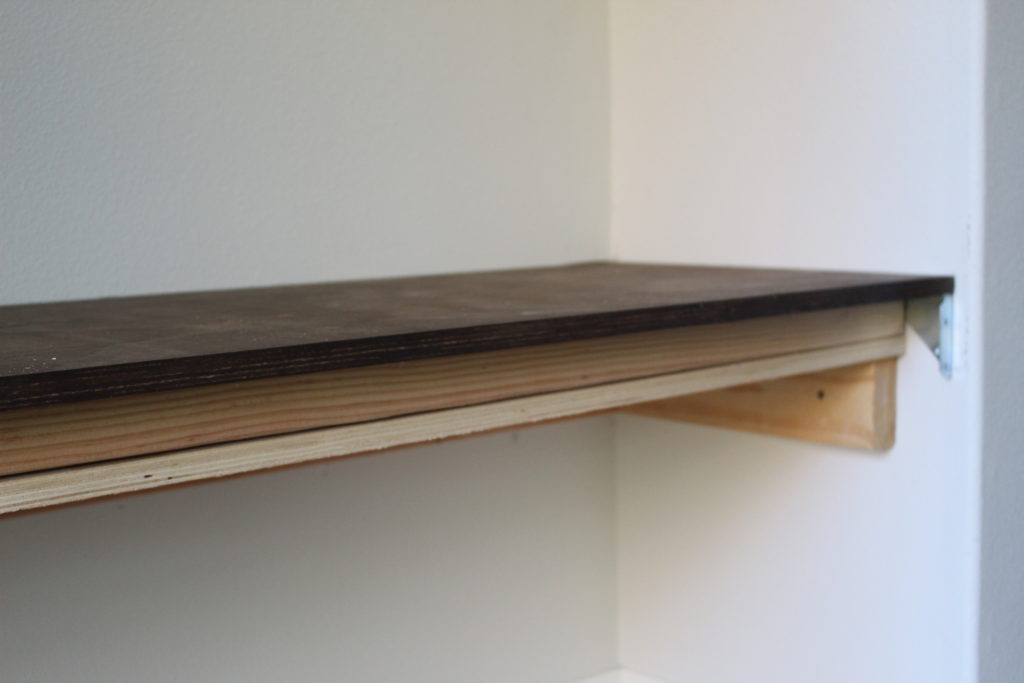
We screwed in the last piece from the back so there aren’t any visible screws from the front. After this step, we got the nail gun out and used finishing nails to secure the piece all the way across. After that, done!

To make the bench even more of a work horse for us, I added three baskets underneath, one for each kiddo. I have room for a fourth basket but for now, I left some space for some taller boots. The baskets have been a life saver to corral coats, backpacks and shoes. The hooks were a cheap amazon find and help to finish off the space. I bought a mirror from Target a while back and hung it up above the hooks.
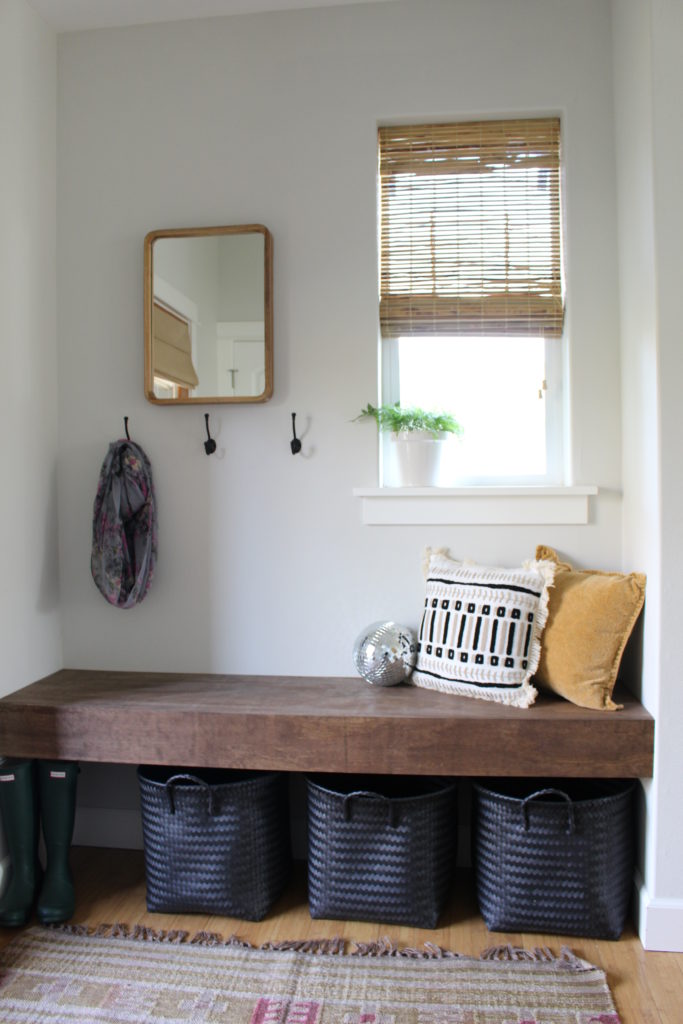
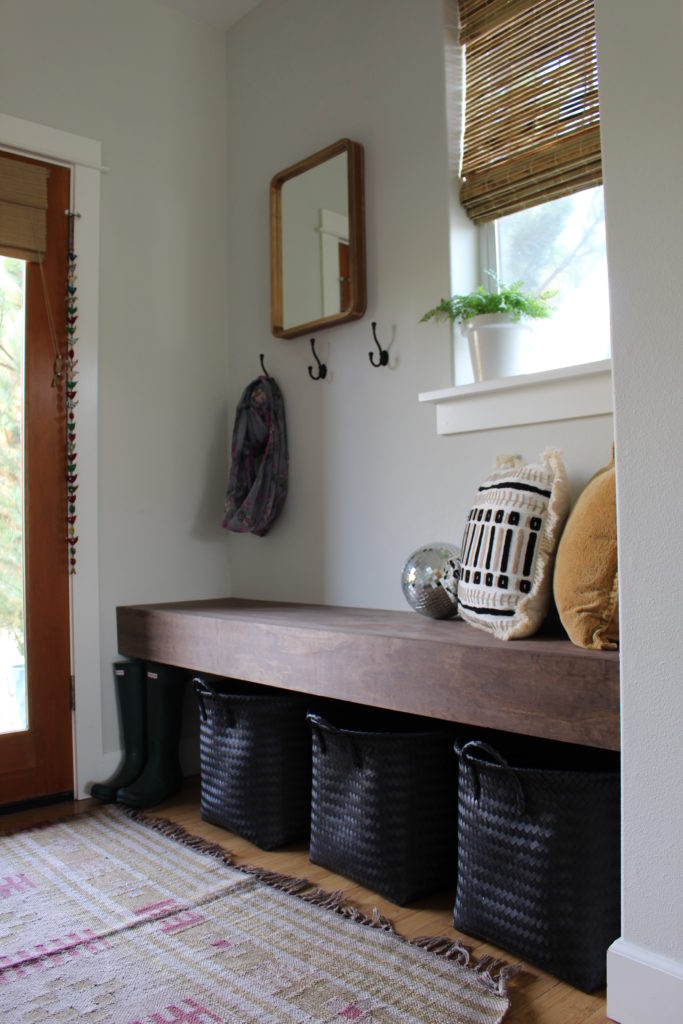
We love how this project turned out. Maybe love isn’t a strong enough word, maybe obsessed is more accurate. Now, we have the itch to get started on some other diy’s around here, so stay tuned!

Living room Updates

IMG_0648

I got lucky last weekend. Really lucky. I was perusing Craigslist on Friday (not unusual) and that’s when it happened. I found a mid-century dresser with beautiful lines for $200. I am always looking for mid-century furniture (especially credenzas and dressers) but usually can’t find them for under $1000 because they are wildly popular right now. They are beautiful and versatile and can be used just about anywhere in your home. I found a big modern dresser that lives in our bedroom a few years back that I have yet to fully strip so that I can restore the finish.

Usually, when I inquire about something on Craigslist, whether it is via text or email, I never hear anything back. I am pretty unlucky. So, when I saw this dresser, I thought I better have Nate try and reach them so we would have a better shot. He is the opposite of me, he can buy/sell just about anything on Craigslist. If I were a 93 year old man, I might say that Nate could sell a glass of water to a drowning man. Anyways, back to the dresser.

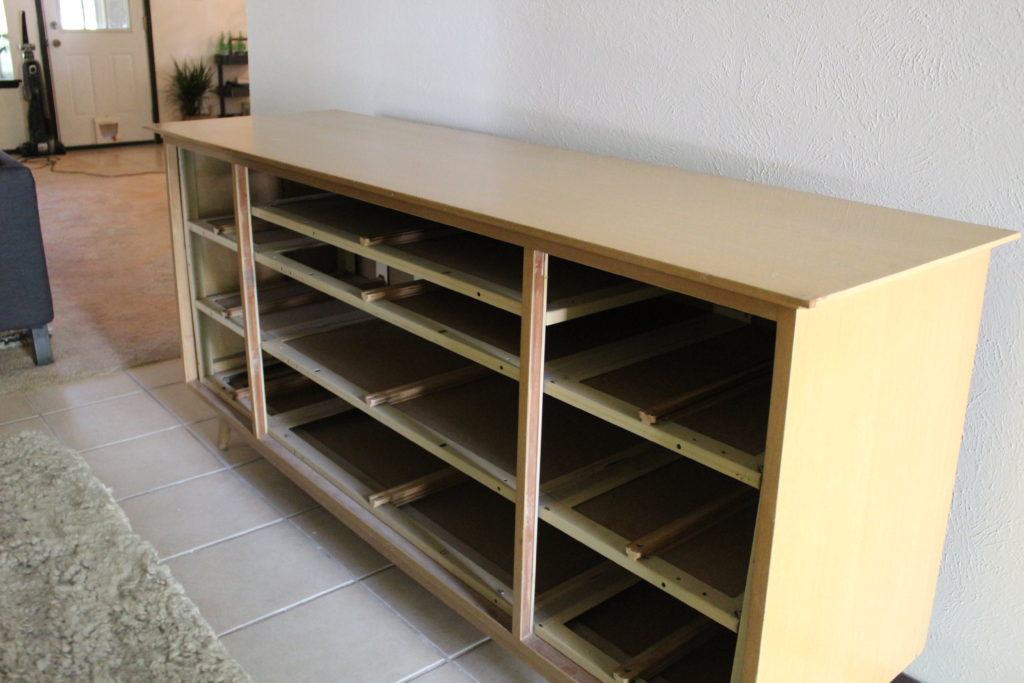
So he arranged for us to go and look at it the next morning and when we got there, we soon saw that it was in bad shape. Big chunks out of each side and the top had been torn off. Someone had attempted to fix these imperfections at some point by filling some of these holes with a material that I am thinking was wall patch and then covered that with a coat of light yellow paint. Yes, light yellow paint was their answer to matching the original finish of the dresser. Even with some major sanding and repairing the missing pieces with wood filler, this baby had lived a hard life. It was rough. So, I thought we would just pass and leave this poor beauty behind when Nate suggested that maybe we might paint it. YES! So we (ahem…Nate) negotiated the price down to $150 and we were on our way home with the new dresser.

I only took a few pictures of what the dresser looked like before because I was so excited about its impending paint job. Here, you can kind of see the finish. Although, this doesn’t really show how bad it was. Before anyone gets too mad at me for painting this beautiful dresser, please know that if I thought I could have saved the finish, I would have. I am a big fan of keeping furniture in its original state and love wood tones and use them often throughout our home.

IMG_0601

IMG_0602

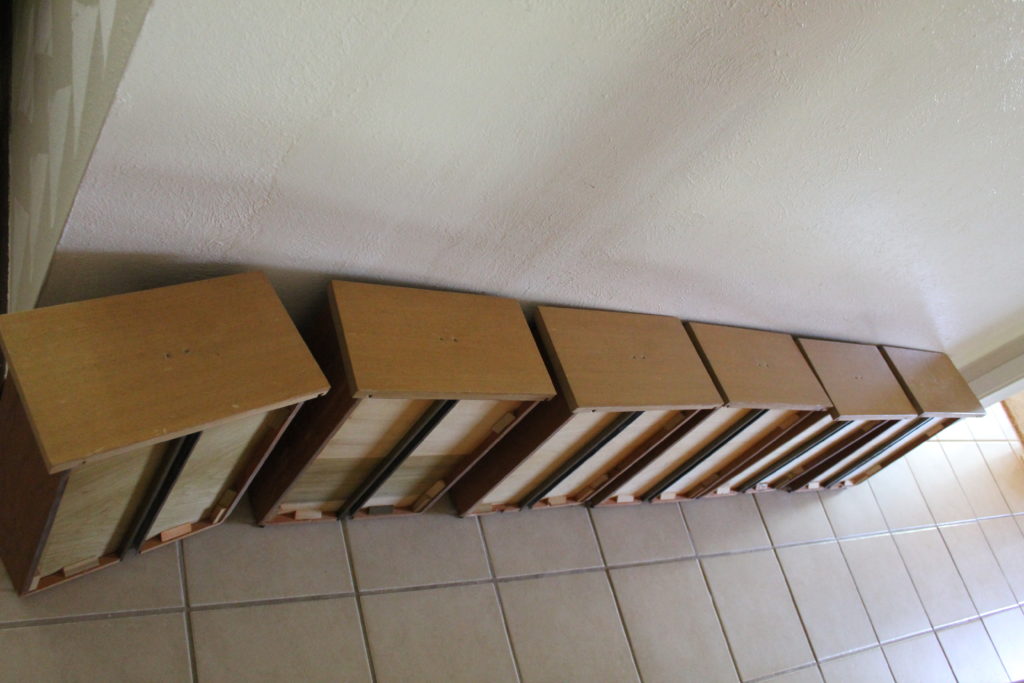
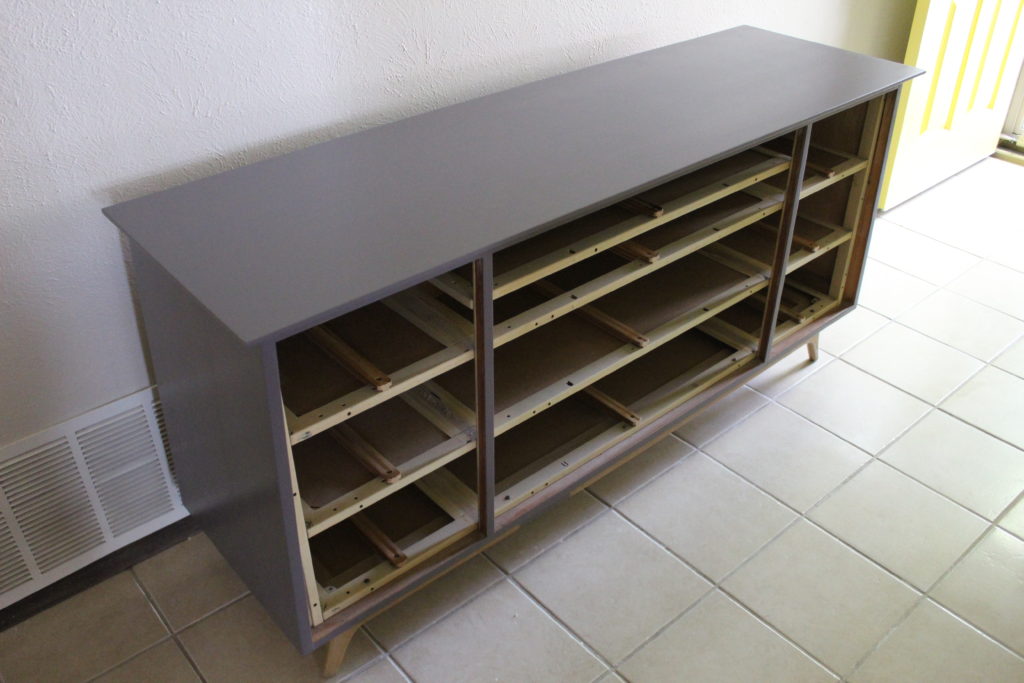
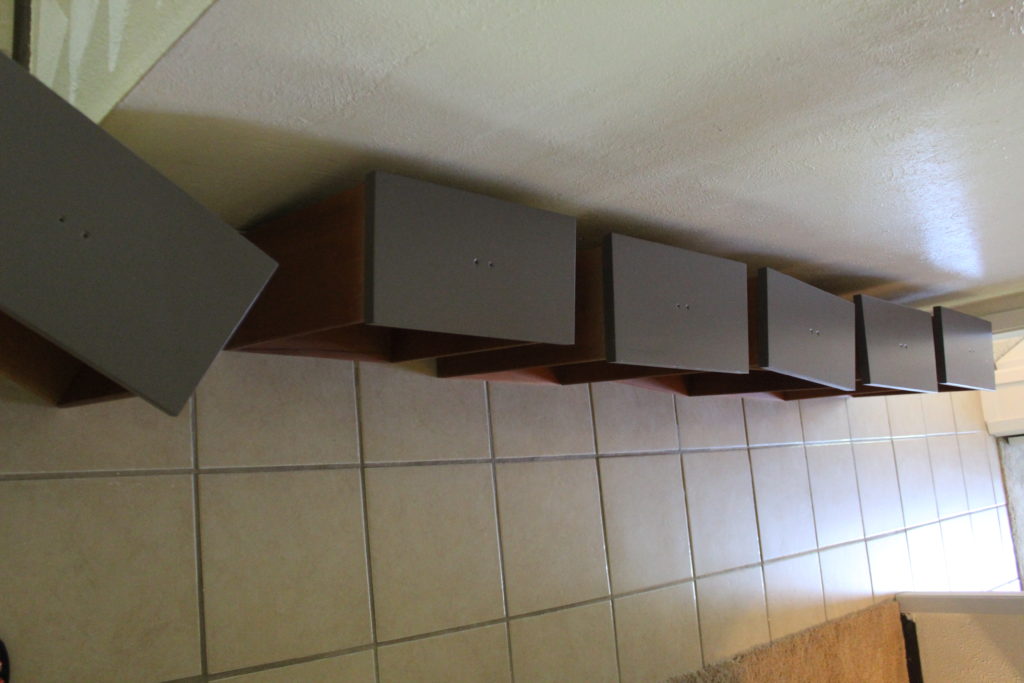
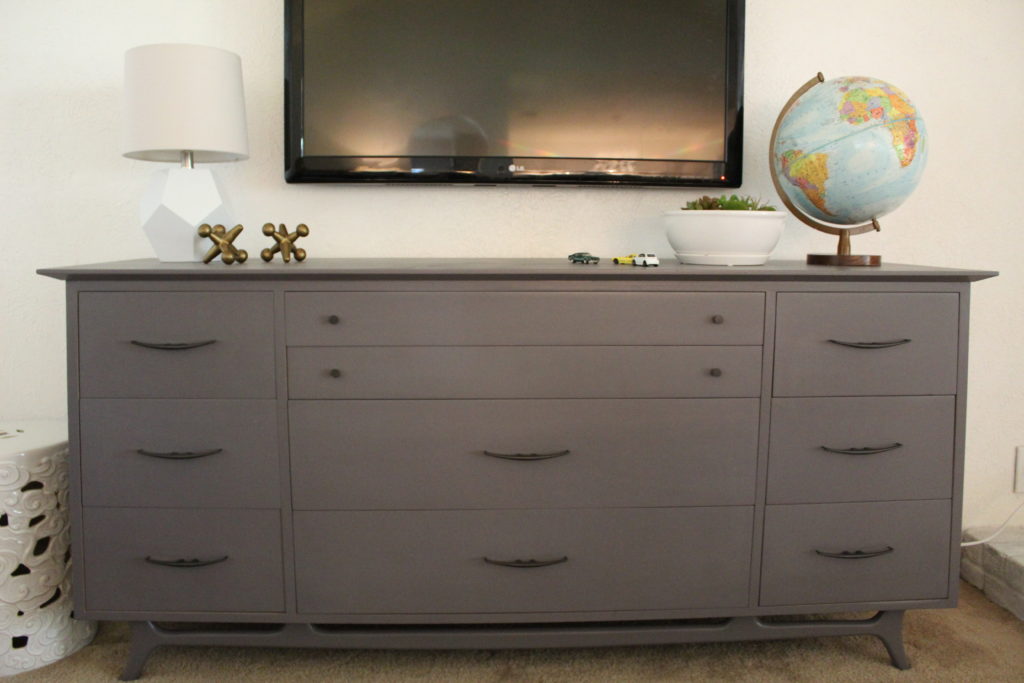
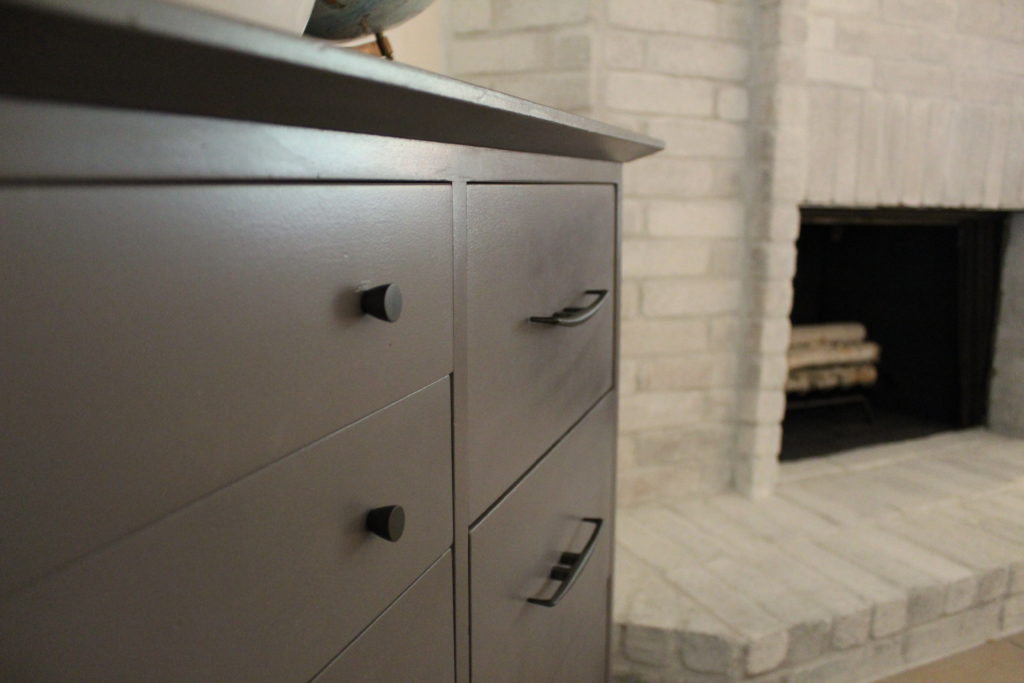
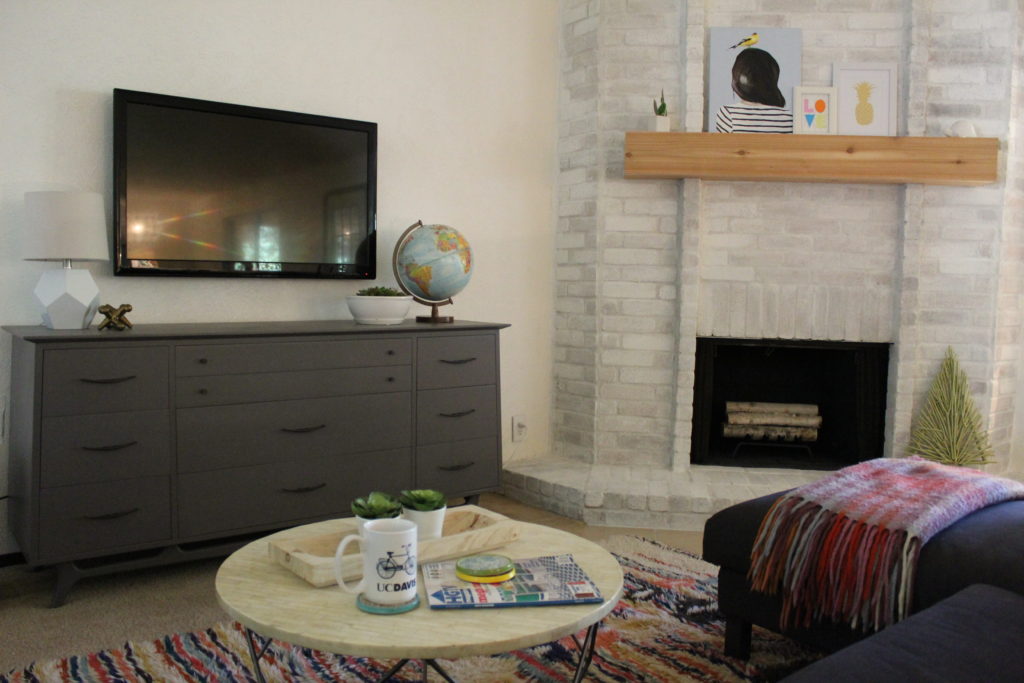
The only step I had to take to ready this dresser for paint was a good coating of liquid deglosser after I filled in all of the cracks, holes, and divots with wood filler. I chose Kendall Charcoal by Benjamin Moore for the paint color, a moody, dark gray that doesn’t have purple or blue undertones, which can be tricky to find with charcoals. Also, I removed the hardware and covered up the chipped and worn finish with a fresh coat of oil rubbed bronze spray paint. It looked brand new when I was finished.

IMG_0604

IMG_0605

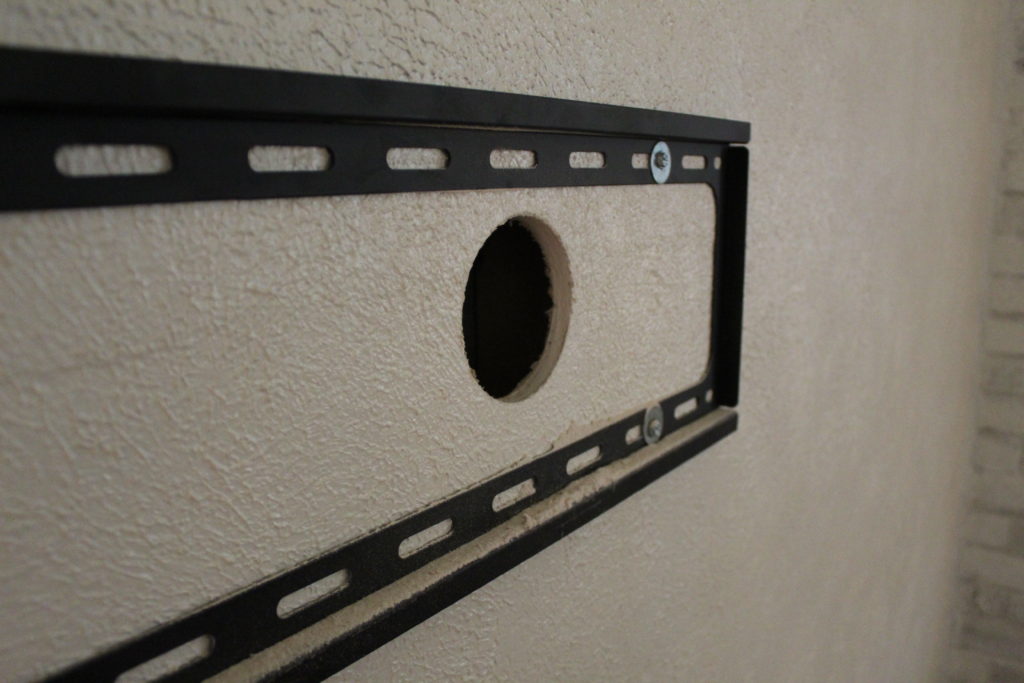
We have been talking about finally getting our TV mounted on the wall and this seemed like a good time to make that happen. Nate tracked down mounting brackets and a kit that enables you to run the wires through the wall instead of allowing them to show/hang underneath the TV. Here is a shot of this process midway through.

IMG_0606

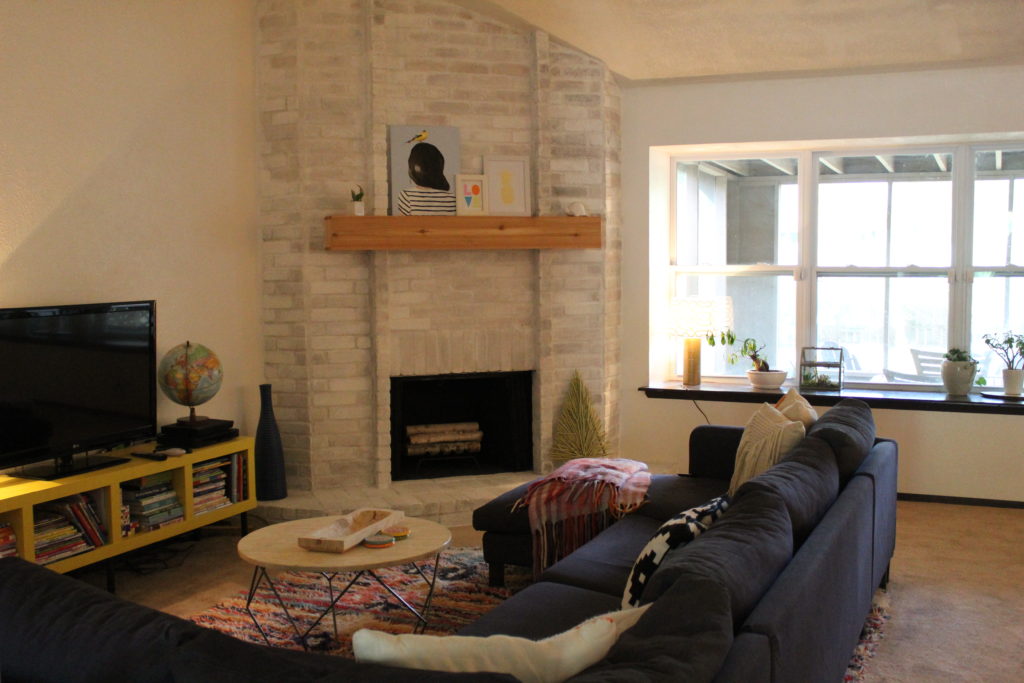
A few weeks ago, our living room looked like this. We had been sporting a flimsy IKEA shelf for the past five years that was AWFUL. This horrible shelf had been moved to too many houses, painted countless colors, and its legs were falling off. It was a mess.

IMG_0575

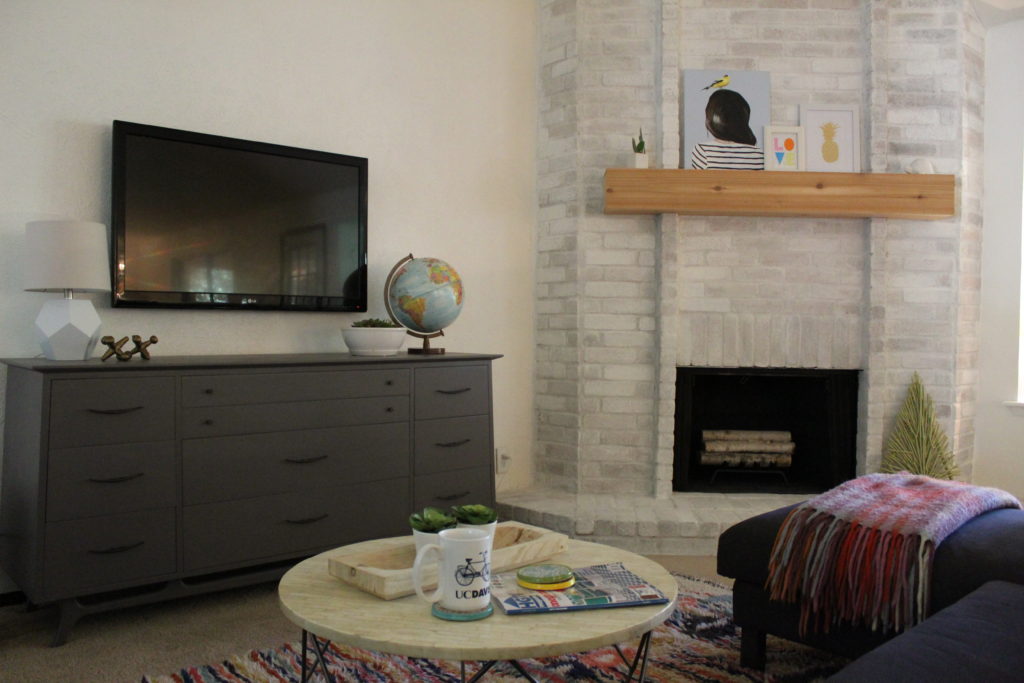
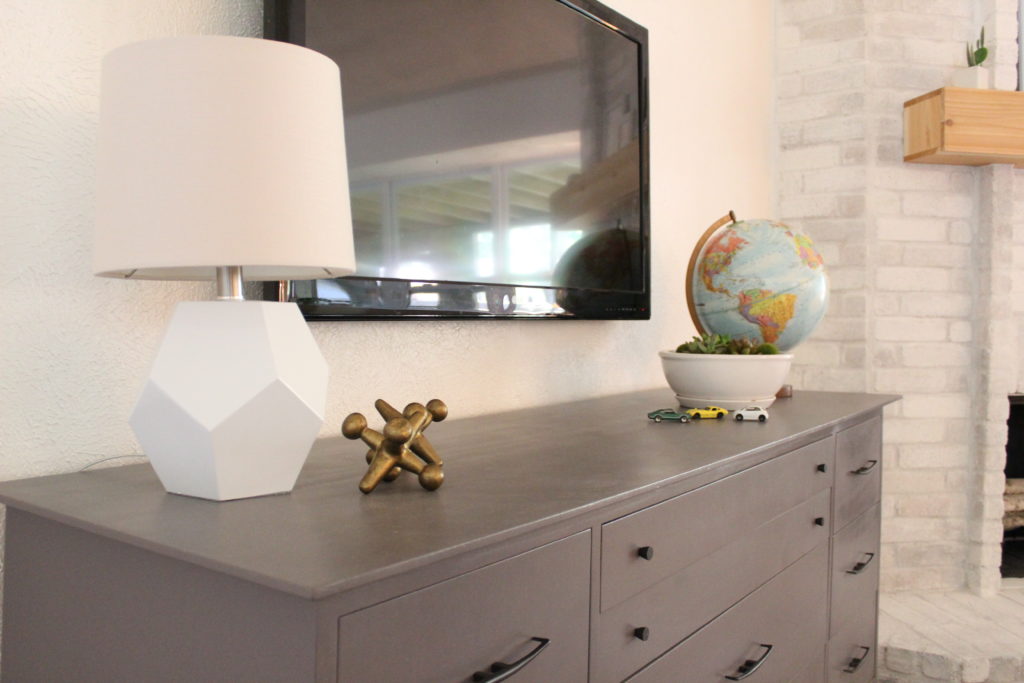
Now, this is how the living room looks today after we finished painting the new (new to us) dresser and mounted the TV on the wall.

IMG_0650

IMG_0662

IMG_0671

IMG_0643

So, that is our story about how an old dresser came home with us to live happily ever after. Did I mention the storage we gained??? Just look at all those glorious drawers. Now, I can store movies, books and toys out of sight!

My parents are arriving on Tuesday for two weeks and we are beyond excited! I have been having a lot of fun working away on the guest room to get it ready for them. I will be back next week with the details on some much needed tweaks in that space!