This post is sponsored by Inmod
I’m so excited to share our finished kitchen with you guys today! It was a long, long process and it feels BEYOND good to be all finished up! Our kitchen was a diy through and through and has me feeling some major pride. We were newbies to some of the projects (tiling) but also old hats at others (painting the kitchen cabs). But, this story has a happy ending and we are thrilled with how it came out!

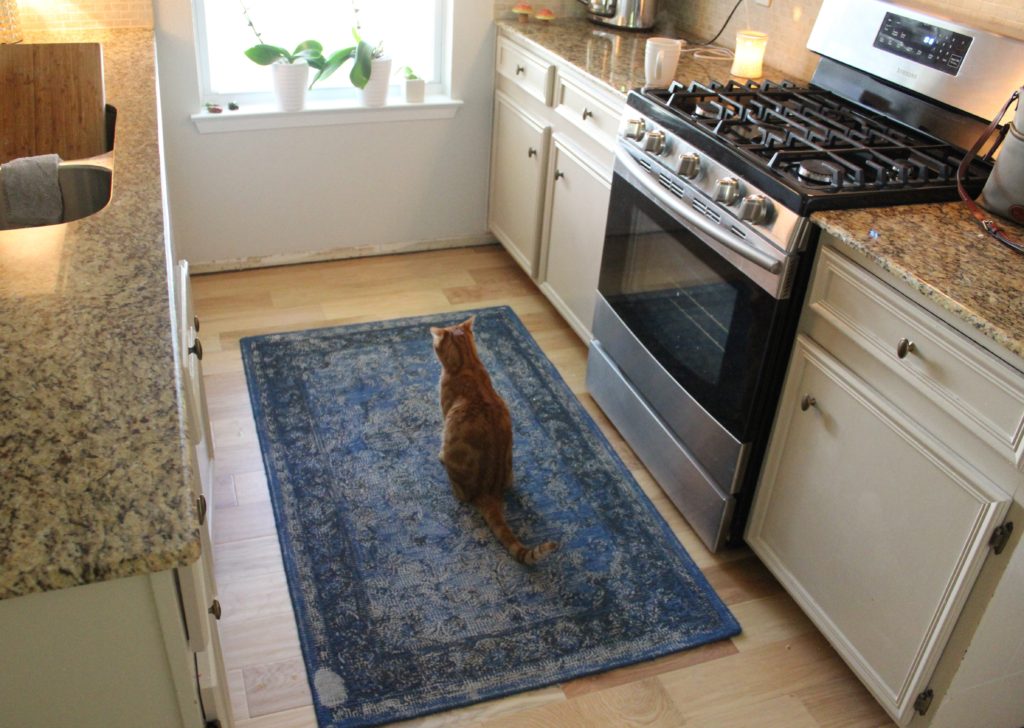
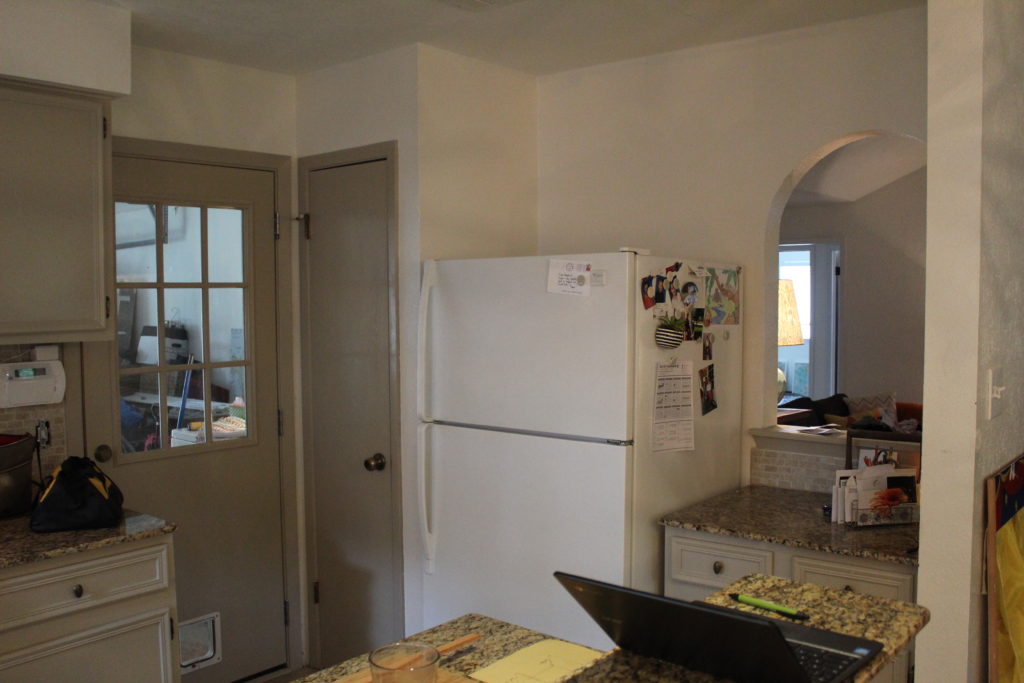
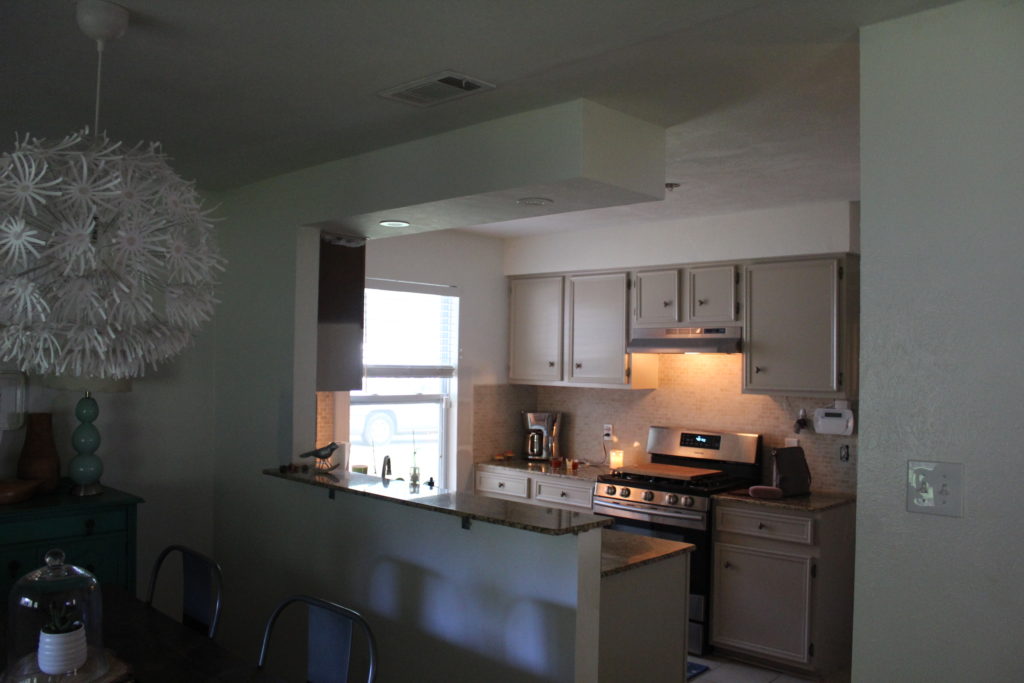
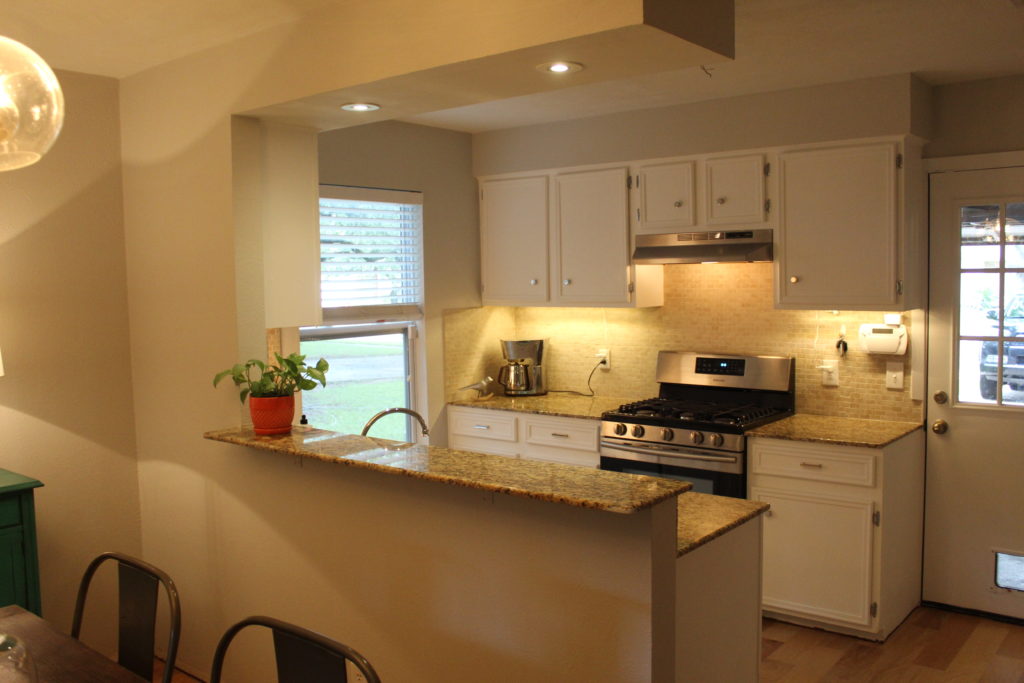
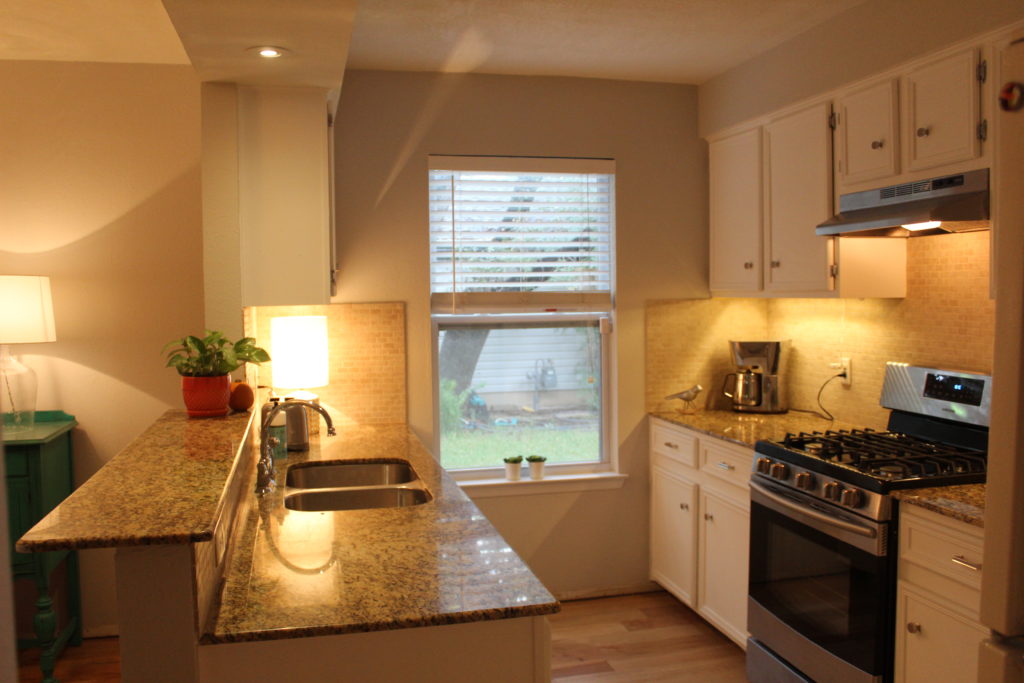
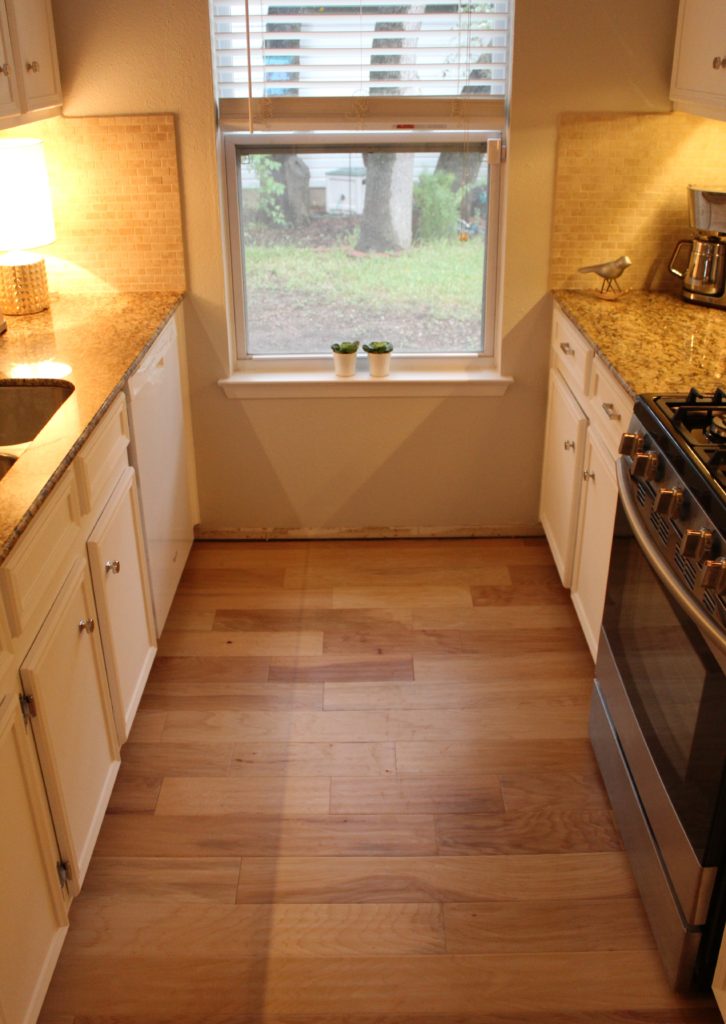
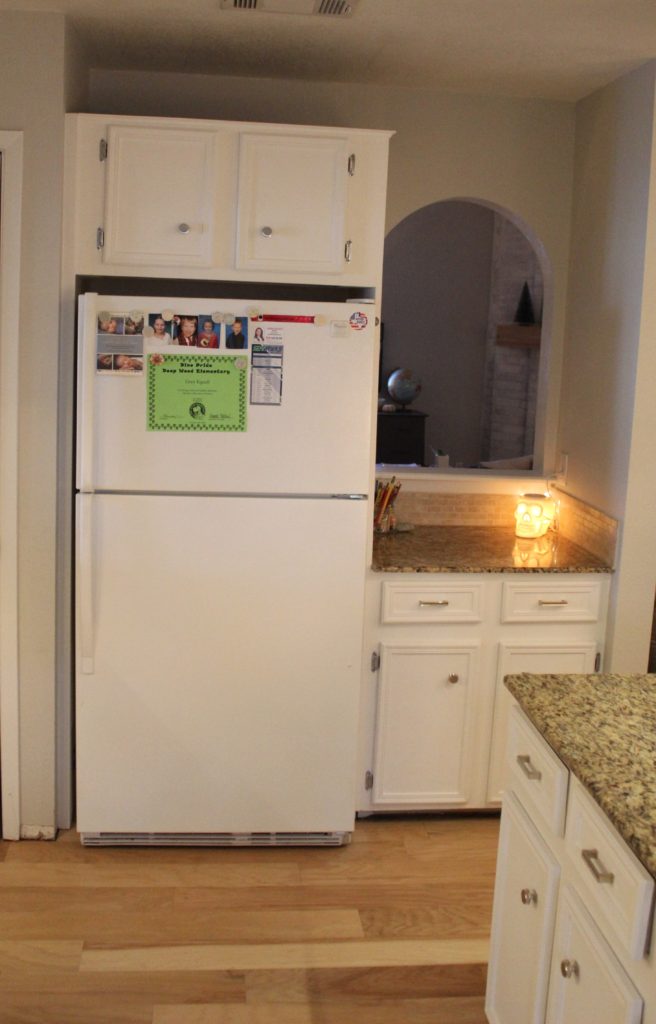
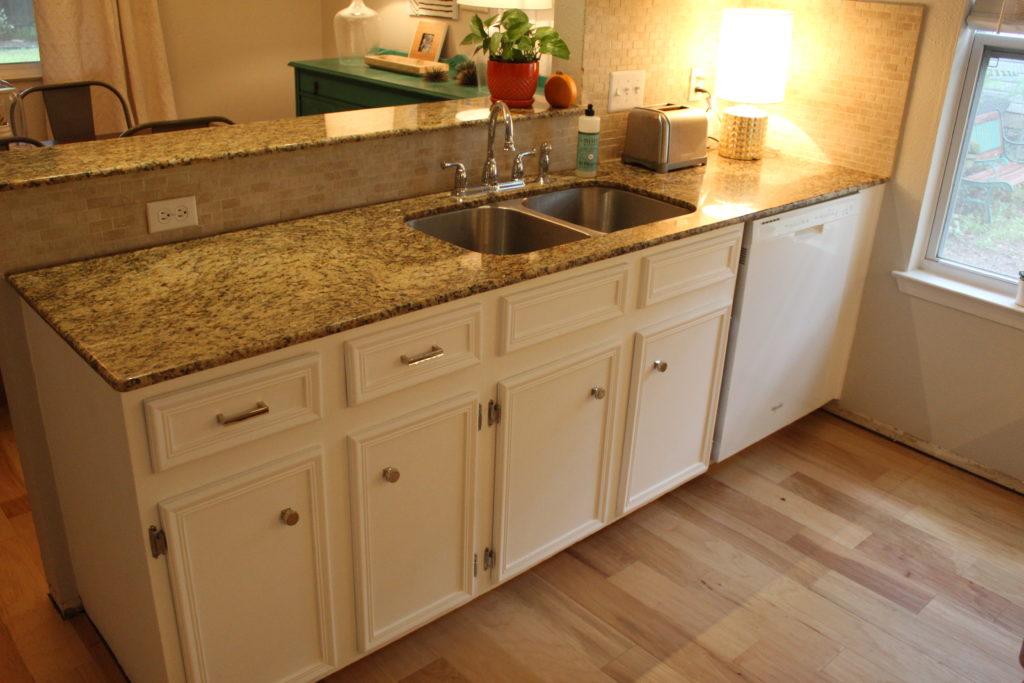
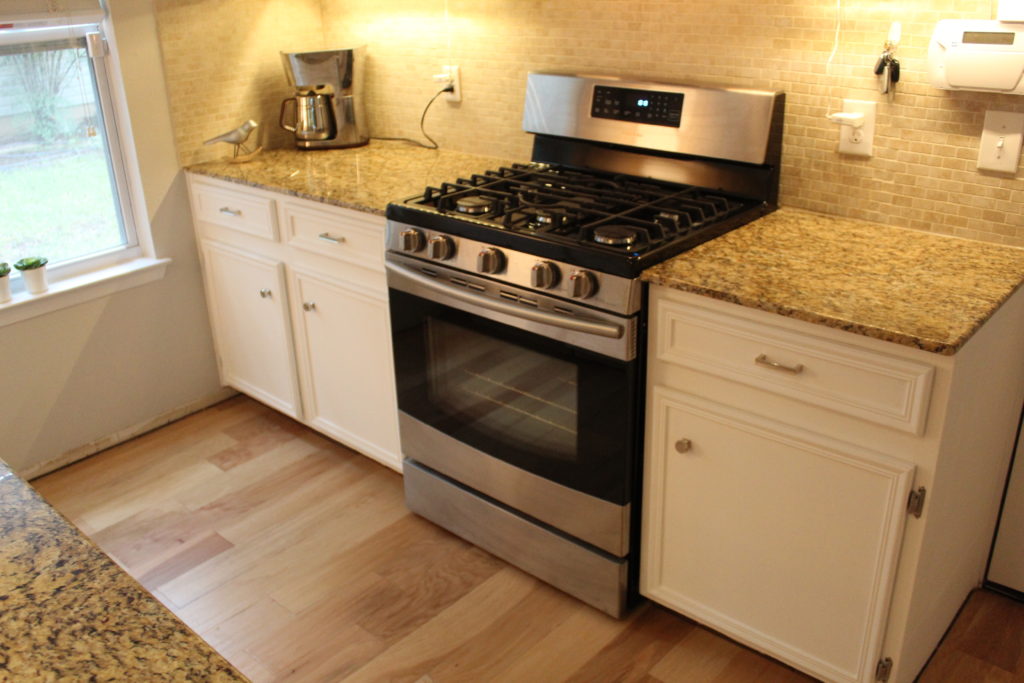
Let’s take a look back at where we began, shall we?
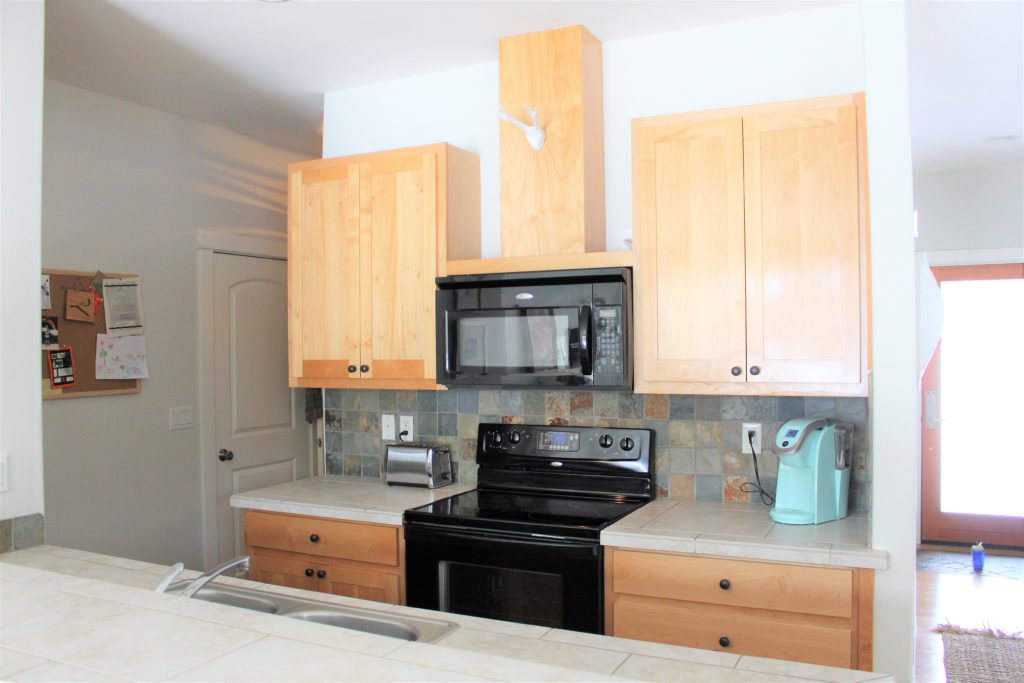
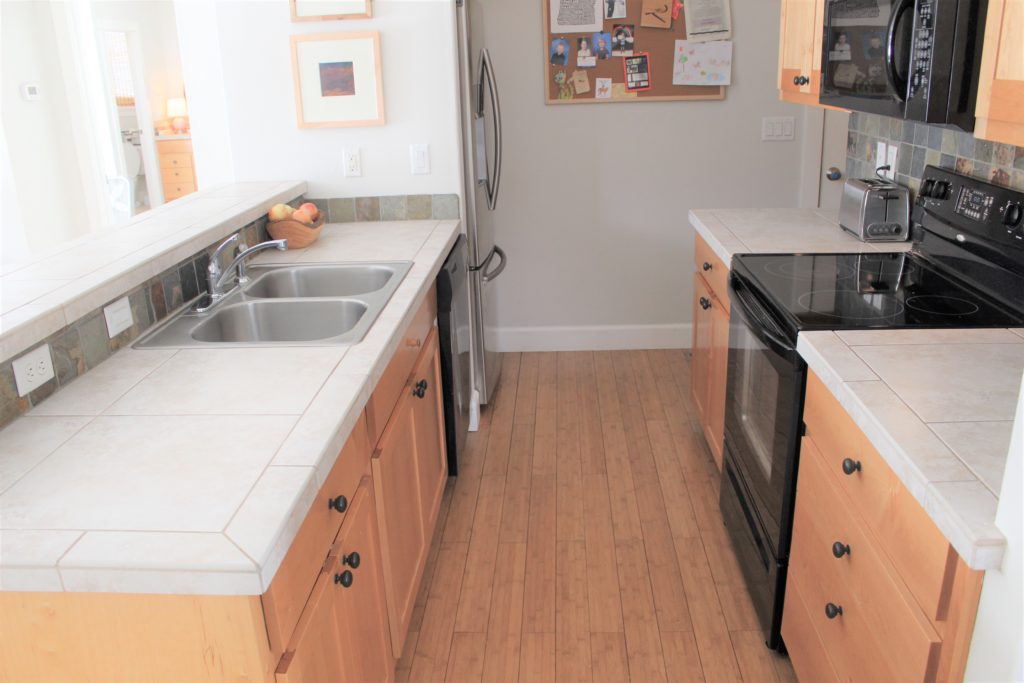
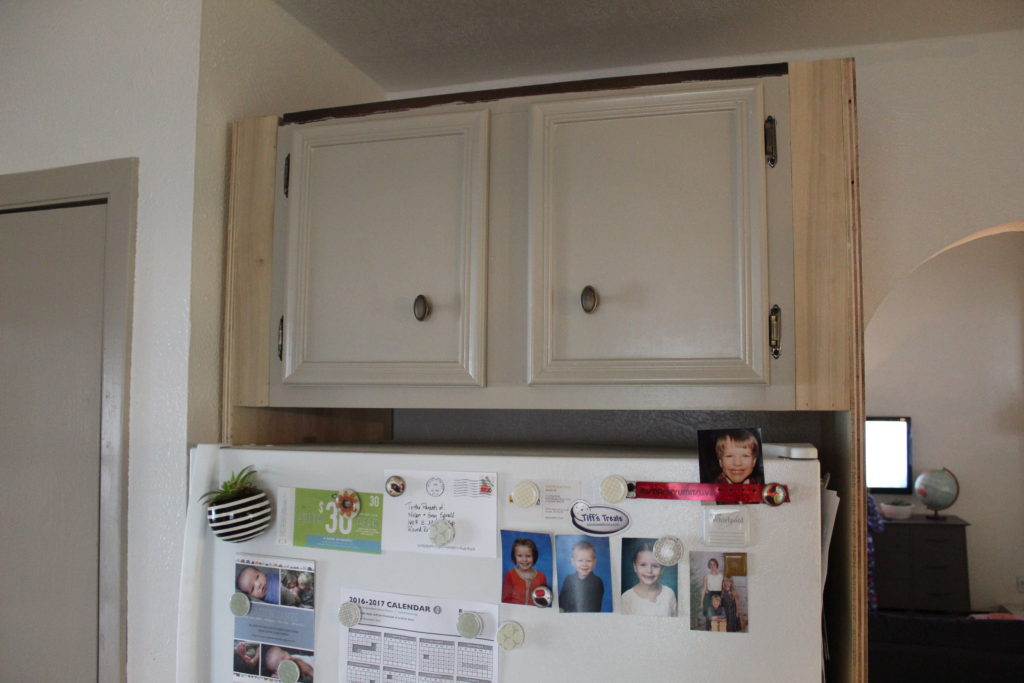
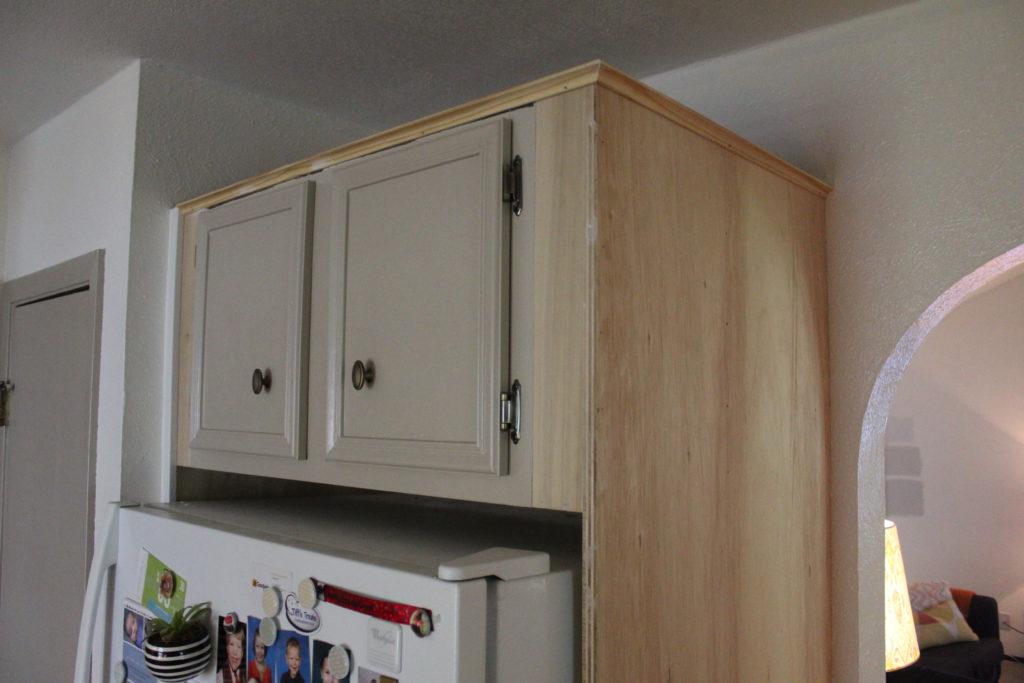
Although we kept the original footprint of the kitchen, we changed almost everything else. There wasn’t really anything wrong with the kitchen before, but it wasn’t our style and just kinda fell flat. That feeling of blah.
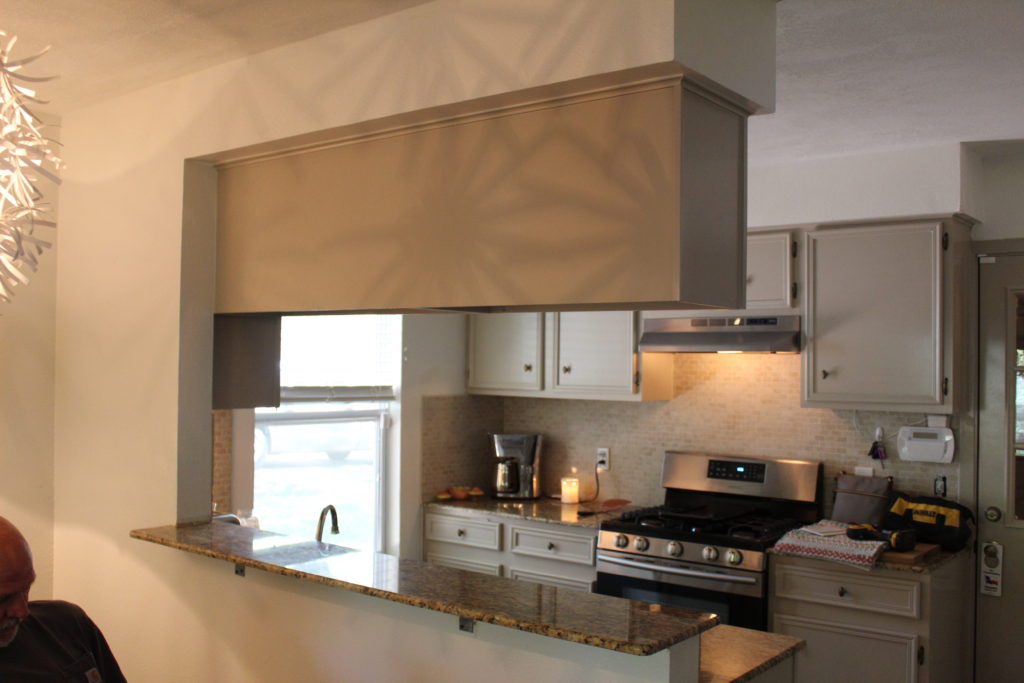
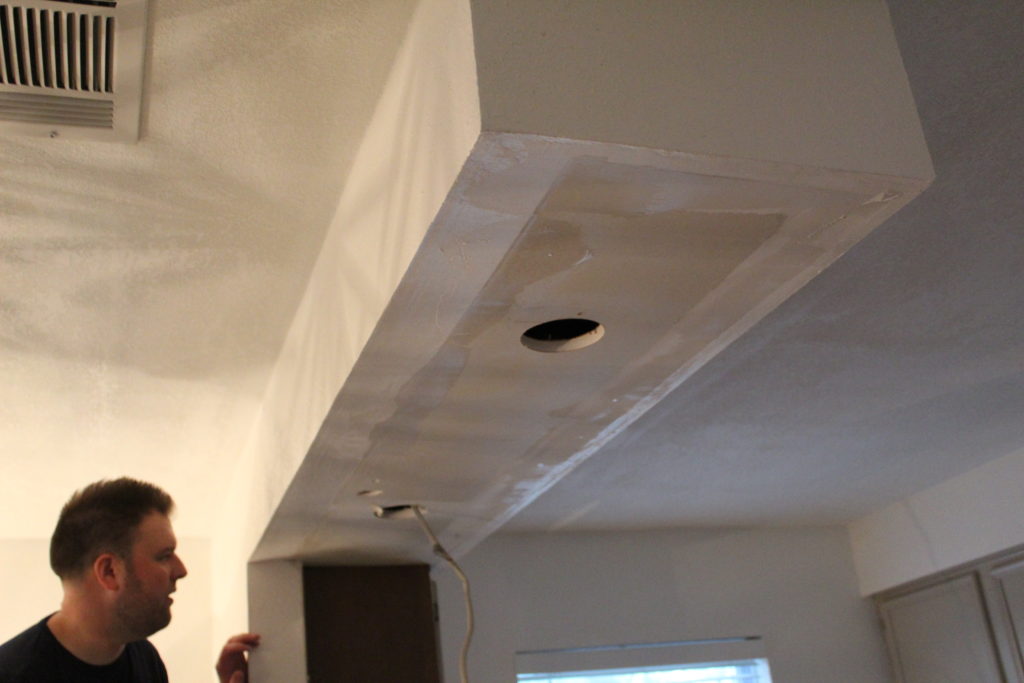
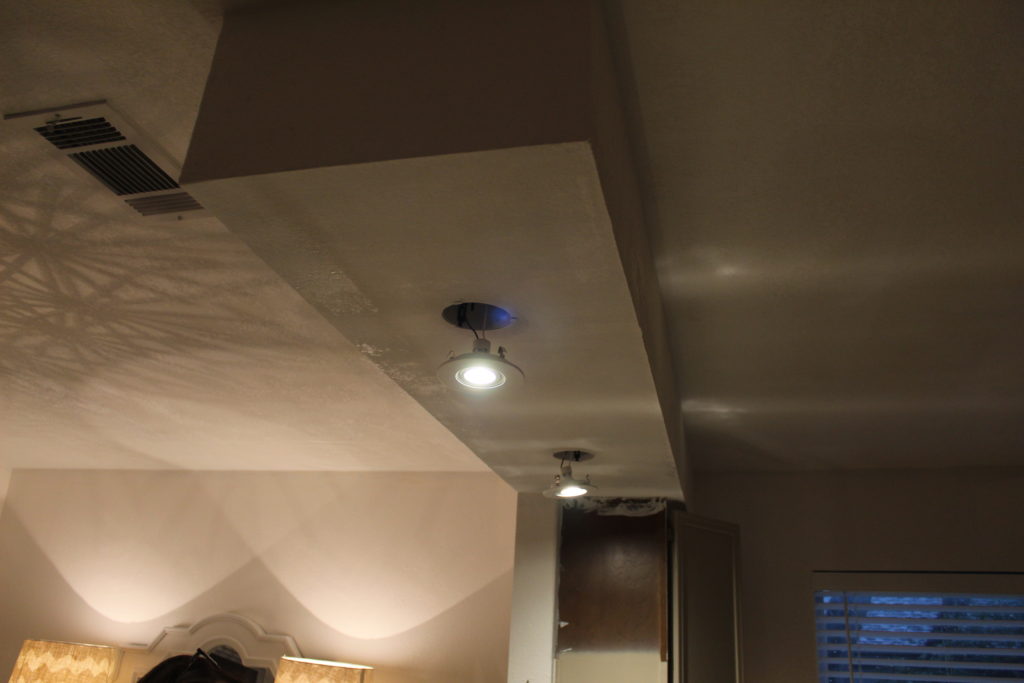
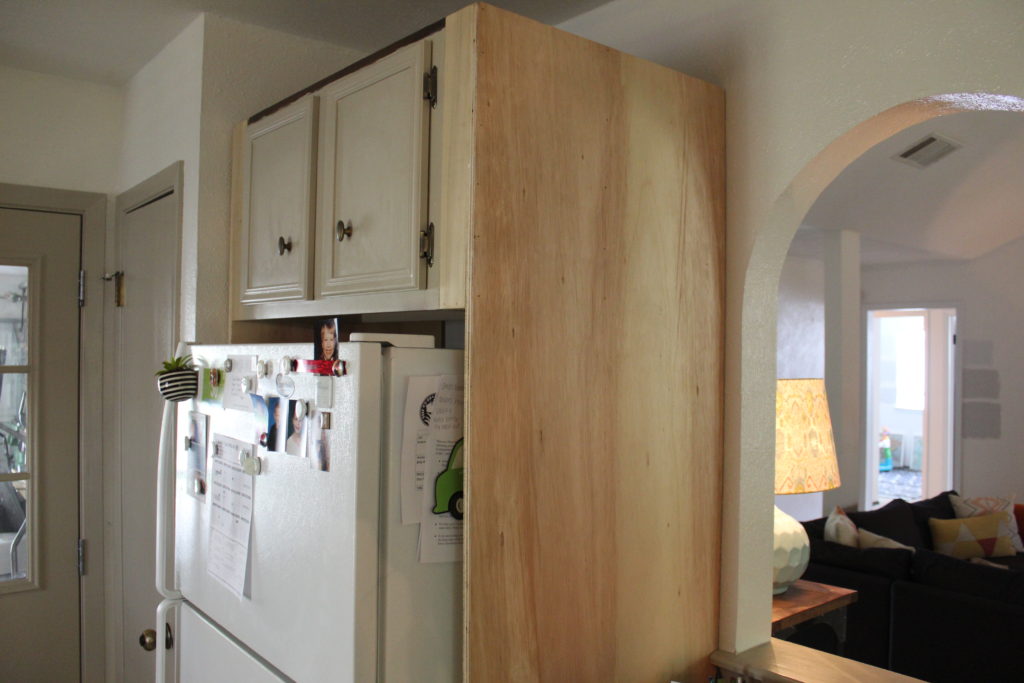
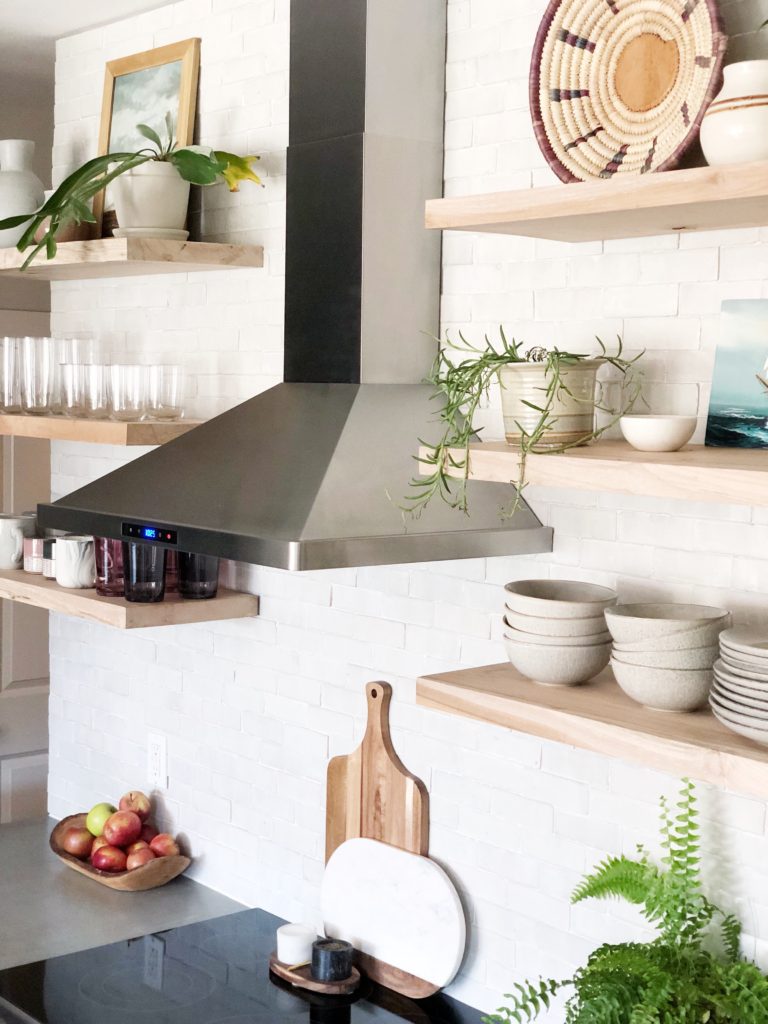
Our first task was removing the old upper cabinets and the vent hood. I hated how the original cabinets were floating in the middle of the wall. Our ceilings are high at nine feet and that area above the cabinets didn’t seem like a good use of space. Our kitchen is small so wasted space is a no no. This seemed like an opportunity for tile all the way up to the ceiling and some open shelving.
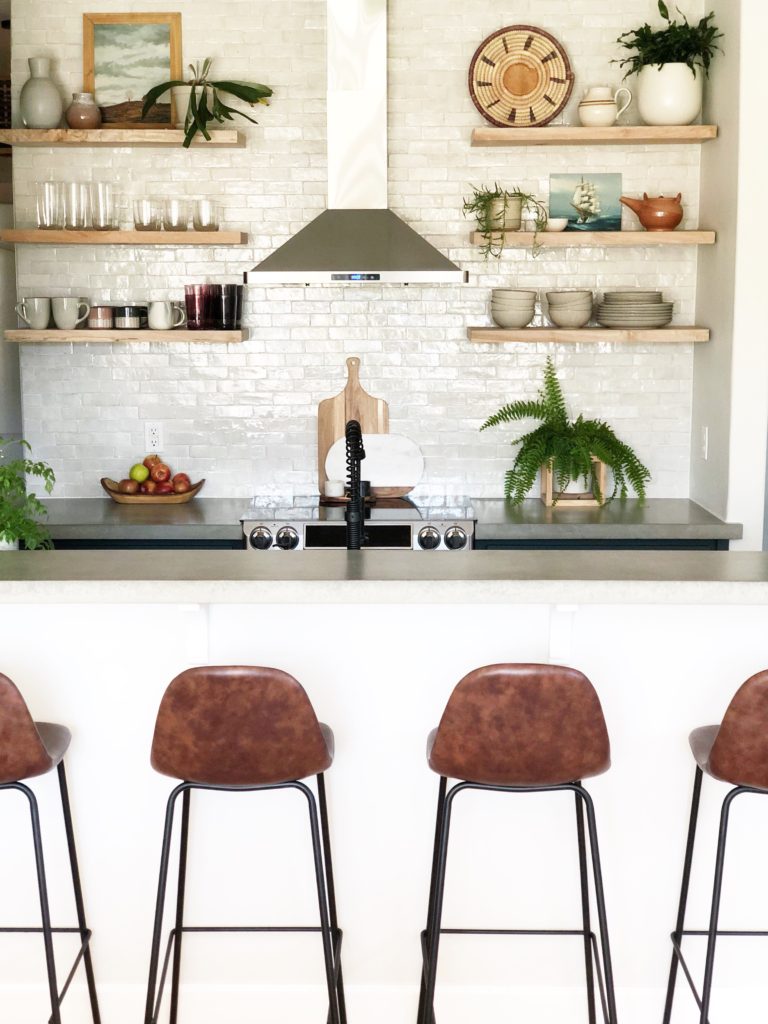
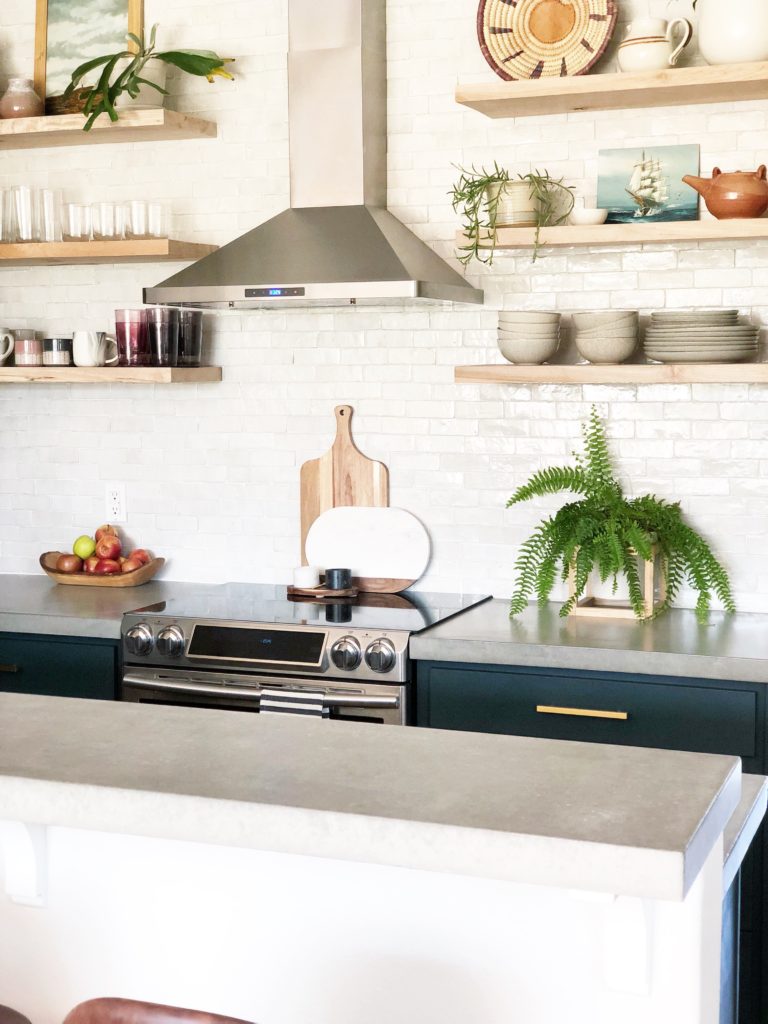
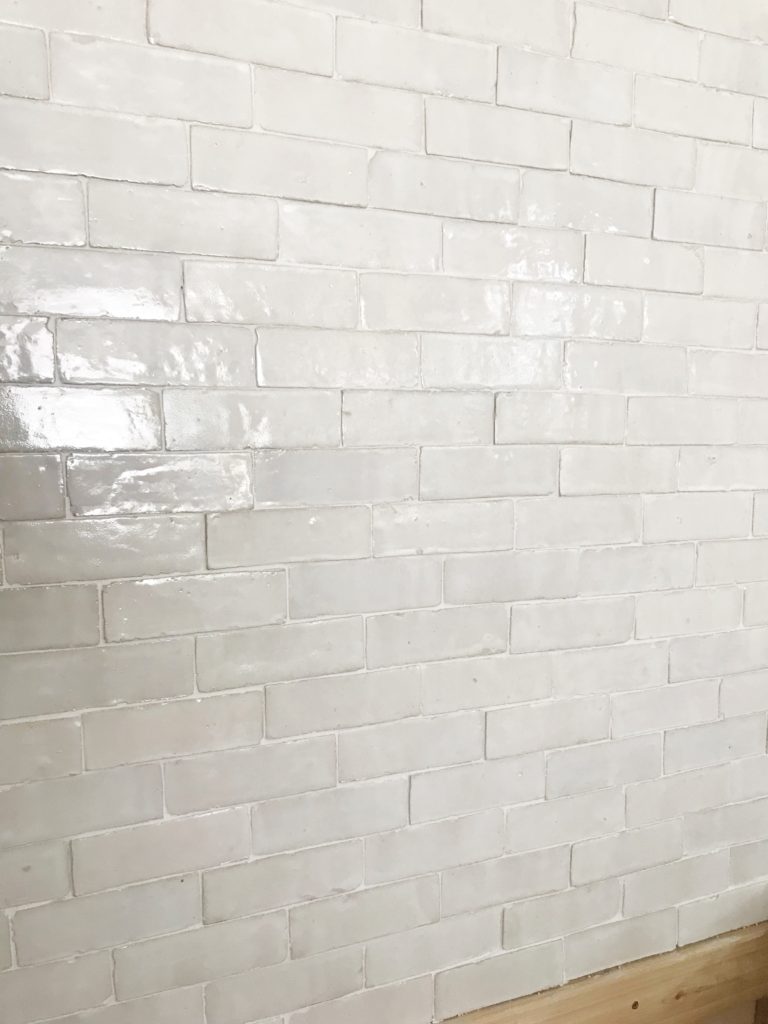
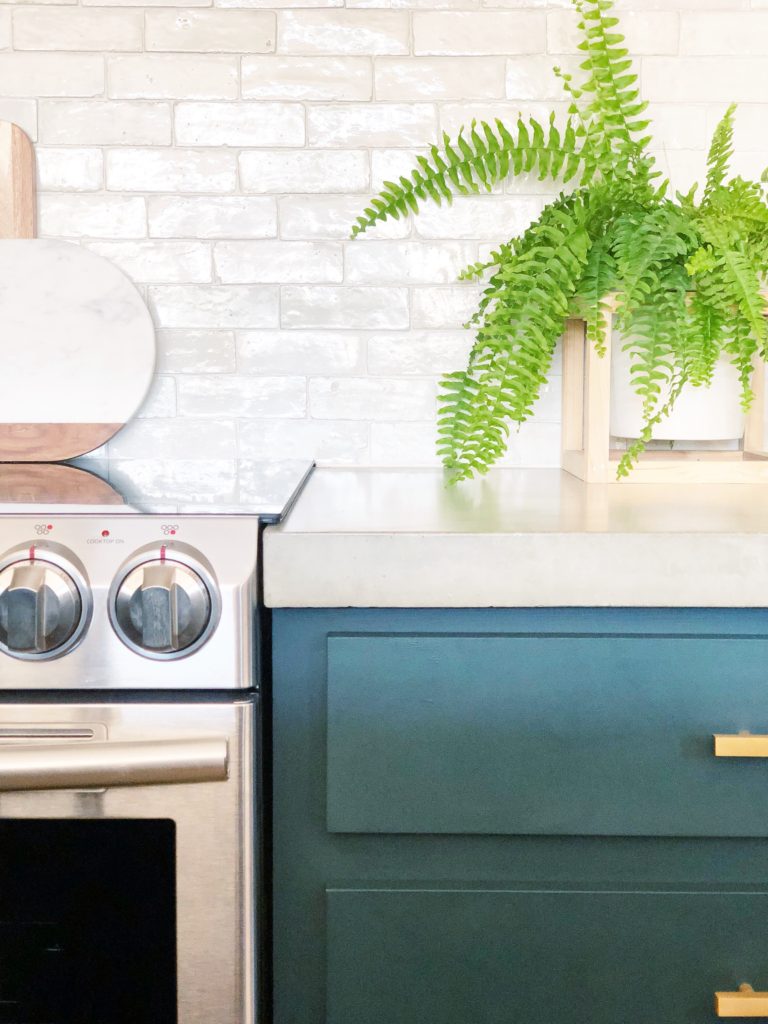
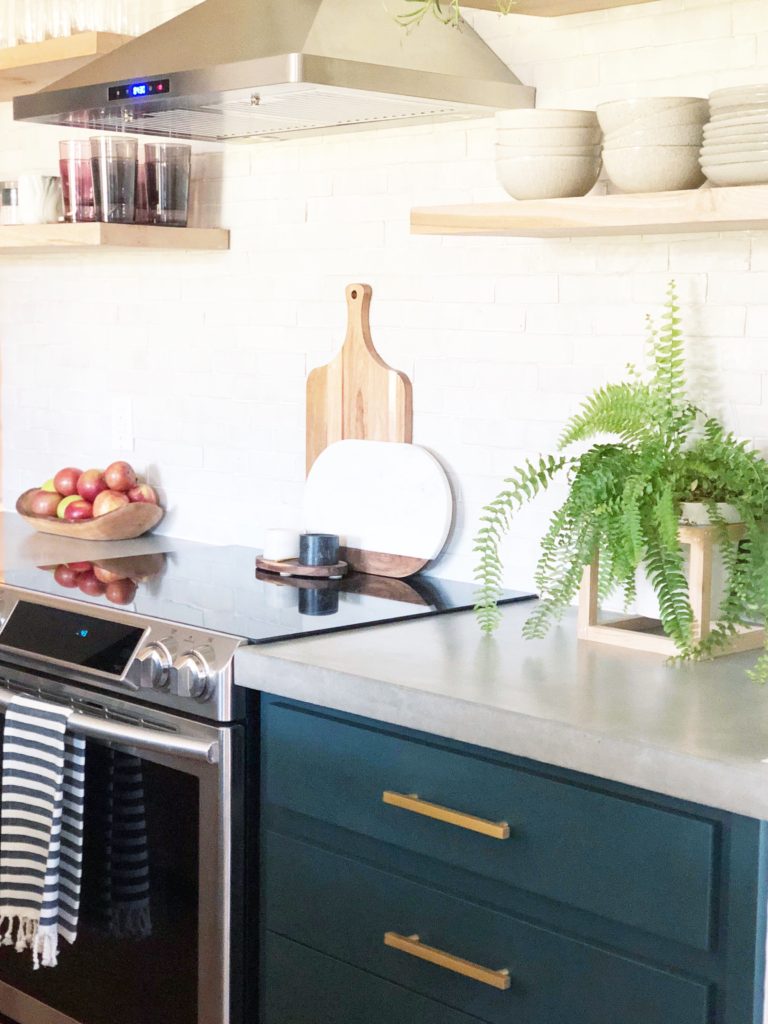
For tile, we chose the 2×6 weathered white zellige from Cle Tile. I have been in love with this tile ever since Emily Henderson used it in her kitchen last year. I have never tiled anything of this scale before and I was actually pretty nervous about tackling this project, but it turned out to be kinda fun! My sister and her husband came for the weekend to help us and we made a party out of it! I definitely recommend drinking cocktails while tiling…as long as you can keep your lines straight. The tile came out beautifully and I LOVE it. It’s my favorite part of the kitchen. And let me tell ya…it’s even better in person.
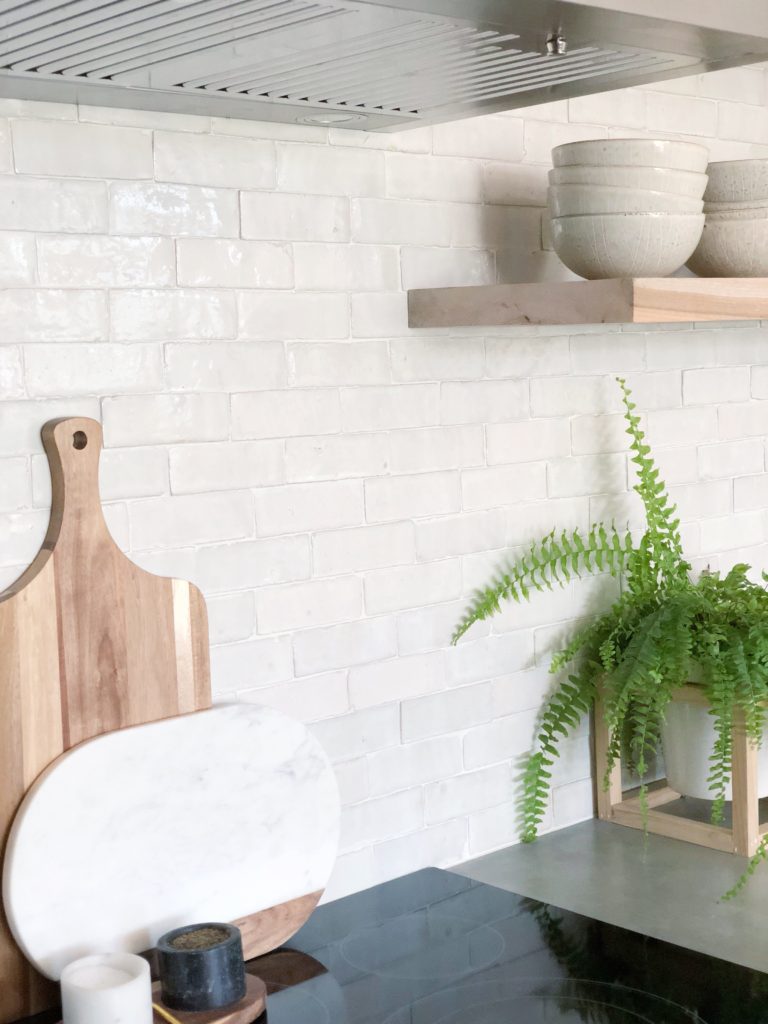
For the open shelves, we tracked down a local who sells wood slabs of all kinds. All we had to do was decide on a type of wood and he cut it down to size for us. We ended up going with a couple of slabs of maple. I wanted a light colored wood with some grain and the maple fit the bill. It’s a hardwood too so that’s another bonus. After they were hung, I sealed the shelves with wax.
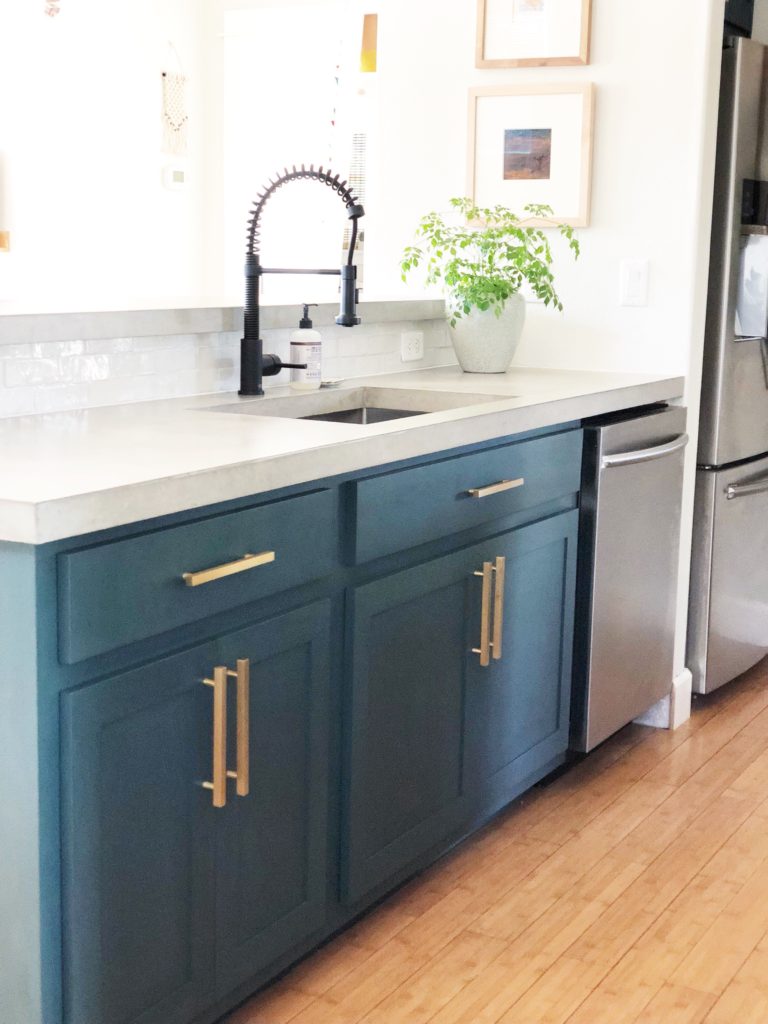
Our countertops are concrete and we poured them ourselves. I’ve actually been getting so many questions about them and the process that I am going to dedicate an entire post just to the countertops. Coming soon! It was a BIG job but they are perfectly imperfect and just what I was envisioning for the kitchen! A big thank you to Jimmy and Dani for coming from Idaho and showing us the ropes.
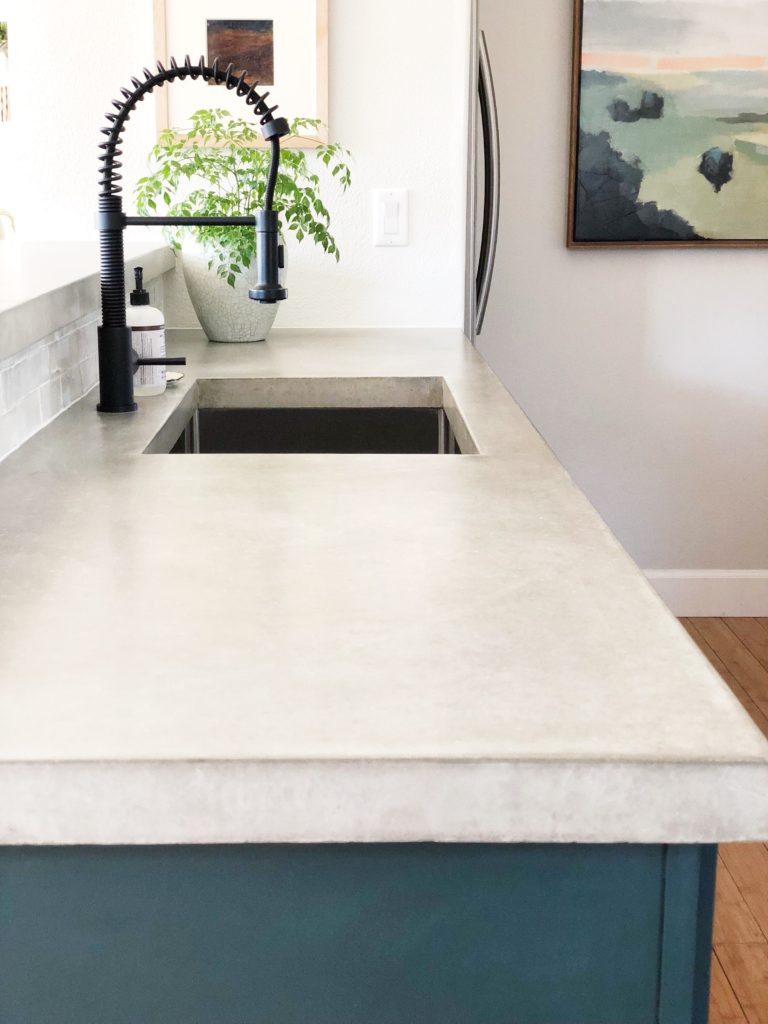
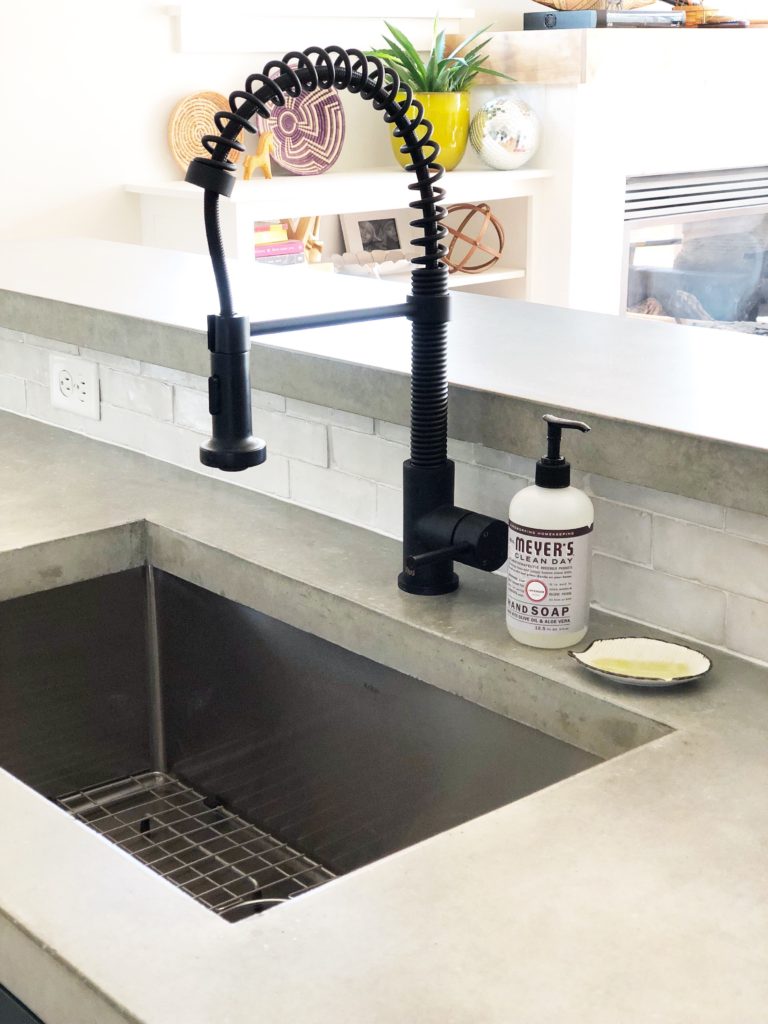
Deciding on the faucet for the kitchen sink was a tough one for me. I don’t know why exactly, but I ended up ordering three before I settled on this matte black guy. My husband wanted to kill me (not really…but, kinda) but my folks ended up adopting the first one for their kitchen and the second one is living out its days in the box in the garage. I’m confident we will find it a new home though! Maybe Facebook marketplace or craigslist?
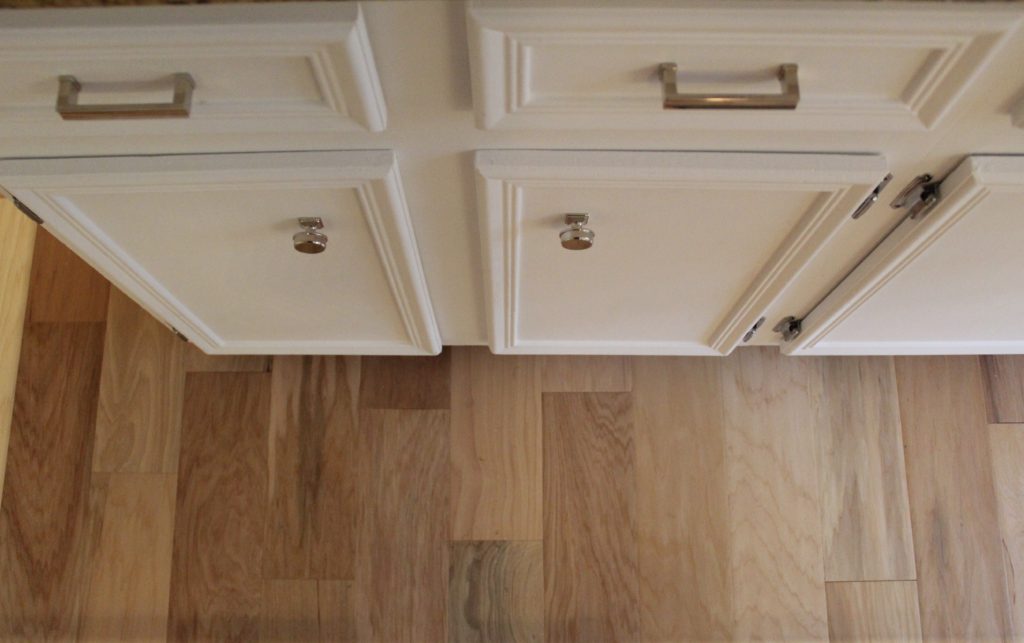
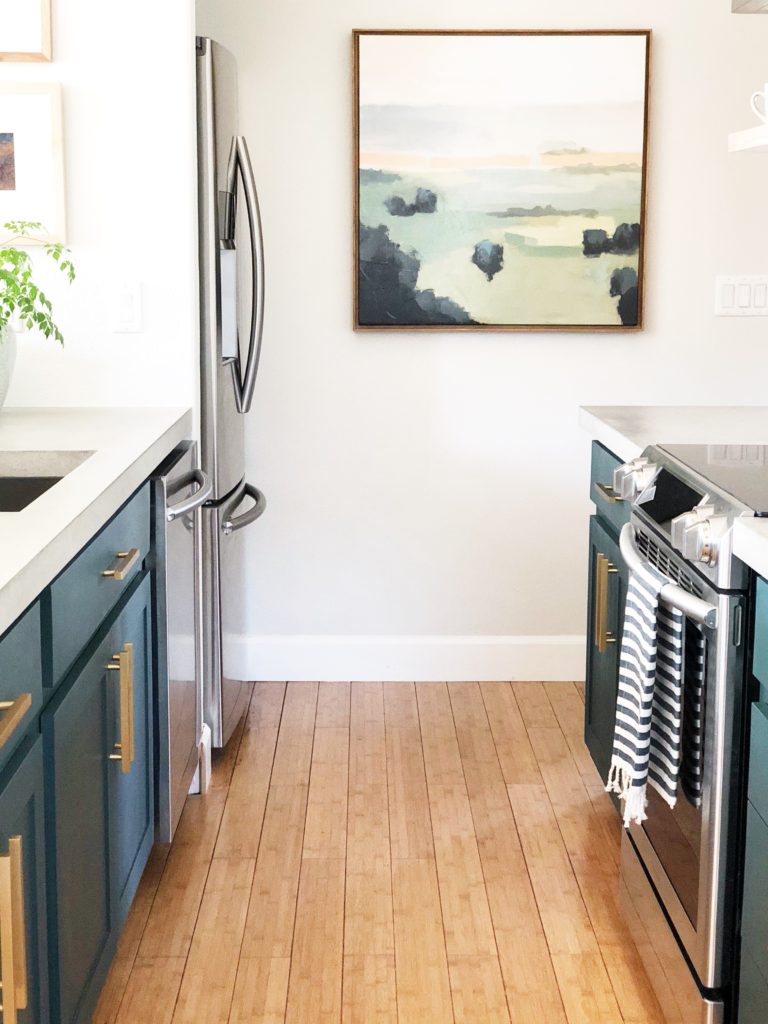
For our cabinets, we painted them Hidden Falls by Benjamin Moore and added new brass hardware from Cb2. The new color is a deep green with some blue undertones and I love the moody vibe it gives the kitchen.
And just when we were putting the finishing touches on the kitchen, Inmod approached me and asked if I would be interested in working together. I jumped at the shot. You see, I couldn’t decide on bar stools for the new kitchen and after the whole faucet debacle, I knew I needed to be sure of my decision (i.e. not order online and then hate them in person). Inmod is famous for their crazy big selection of modern, mid-century, industrial, and Scandinavian furniture. They also sell styles from world revered designers such as Eames, Wegner, and Saarinen, just to name a few! So knowing this, I knew I could pick some bar stools that would function well and look beautiful in the new kitchen.
I ended up choosing their Sigfred Barstools in the tobacco color and I’m. In. Love. They have a beautiful leather padded seat with the most lovely stitching detail. The legs are a black metal and I love how it plays so well with my matte black faucet. Aren’t they the perfect pair? Putting them together was a breeze, and I assembled them by myself one evening while my husband gave the baby a bath. I finished before he had his jams on!
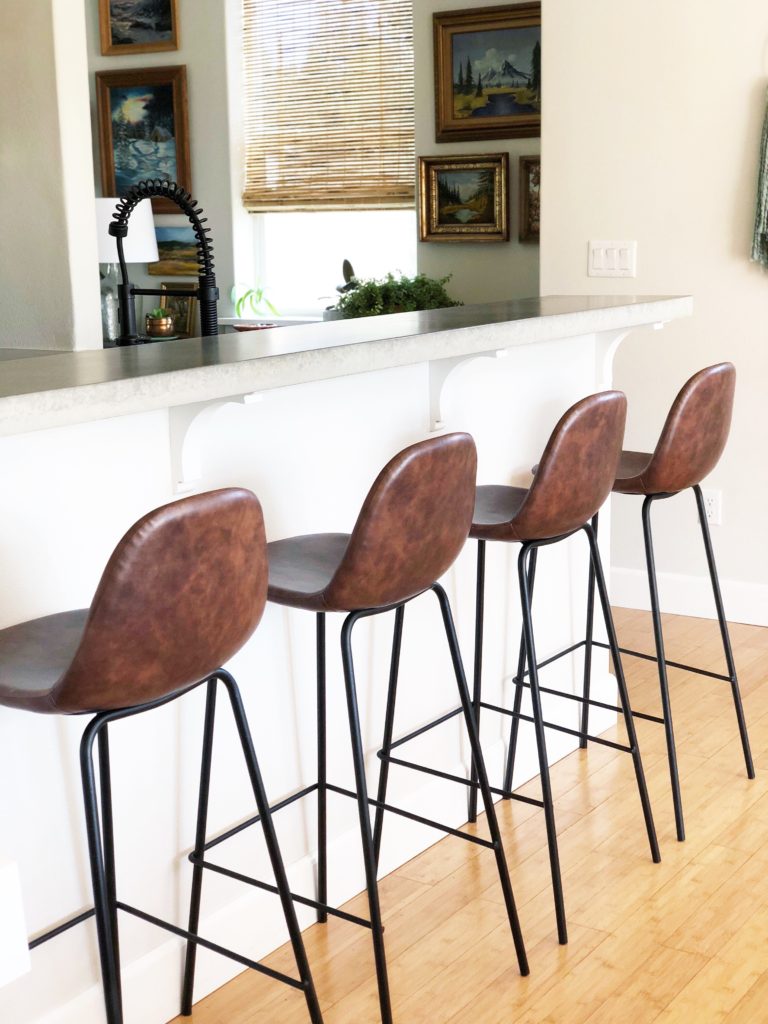
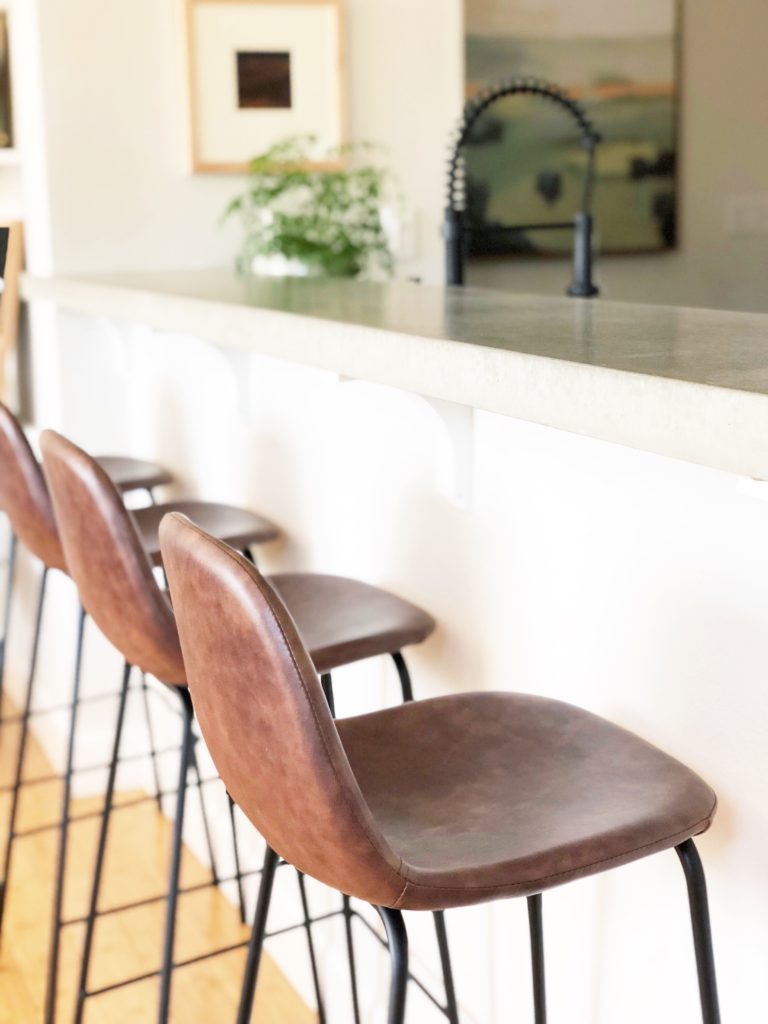
And because we eat all of our meals at the bar in these barstools, I can attest to their comfort. We spend a lot of time in this area because we don’t have a dining room (but this is a whole different story, for another time). Also, it is worth mentioning that there may have been a spaghetti supper on their first night in the house and they wipe up beautifully. I’m a big fan, can you tell?
So there you have it! The kitchen is done! What do you think? Does anyone have any DIY tales where something went horribly awry?? Did anyone order multiple kitchen faucets? I want all the details. Leave me a comment…I’d love to hear!