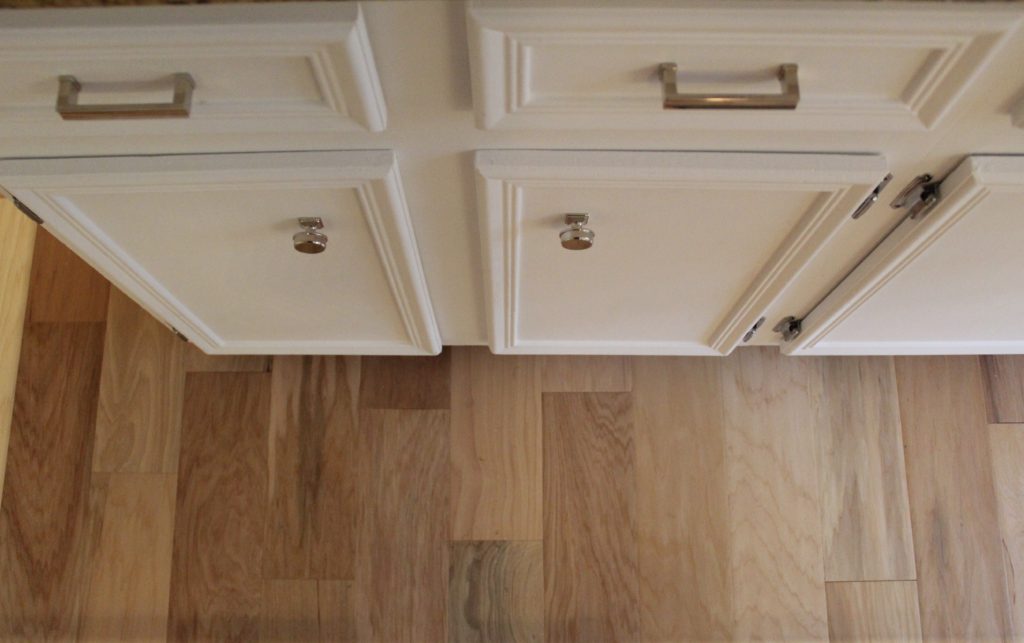
The last few weeks have been a whirlwind. We have had our spare time filled with football games and house projects galore. My parents’ are coming into town on Wednesday to meet this new baby of ours. With my c-section scheduled for Friday morning (yes, as in three days from now…gulp), we have been rushing to try and squeeze in a few last minute to-do’s. The kitchen finally got some much needed attention as we made a few simple(ish) updates and gave the cabinets a fresh coat of paint. Other than the addition of our new range, and the new floors, not much had changed in this space. Here are a few pics to jog your memory.
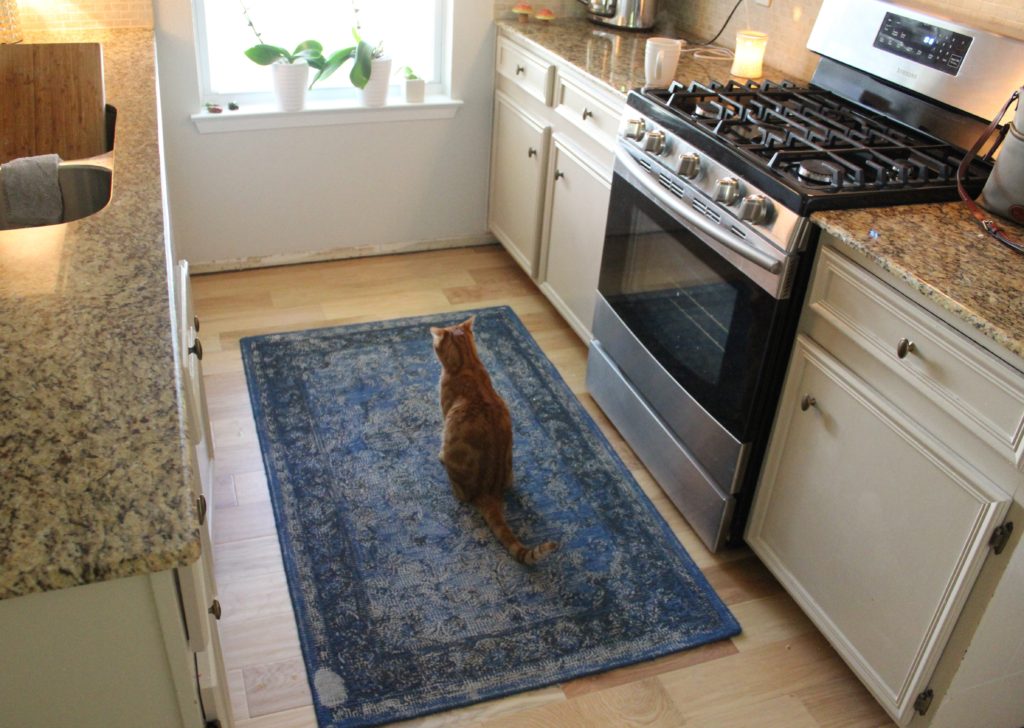
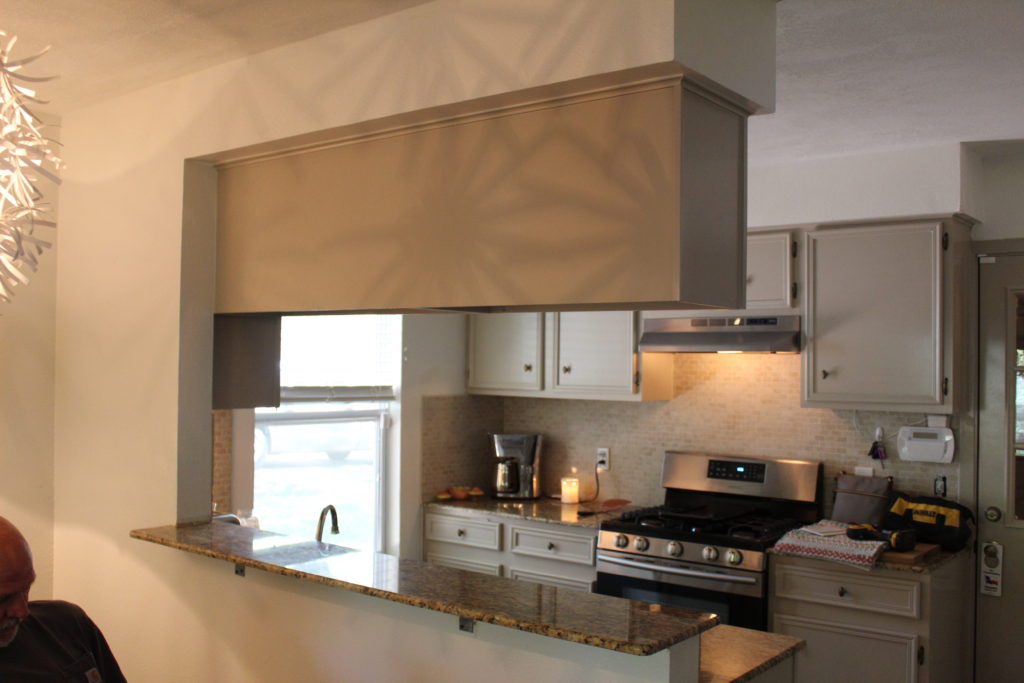
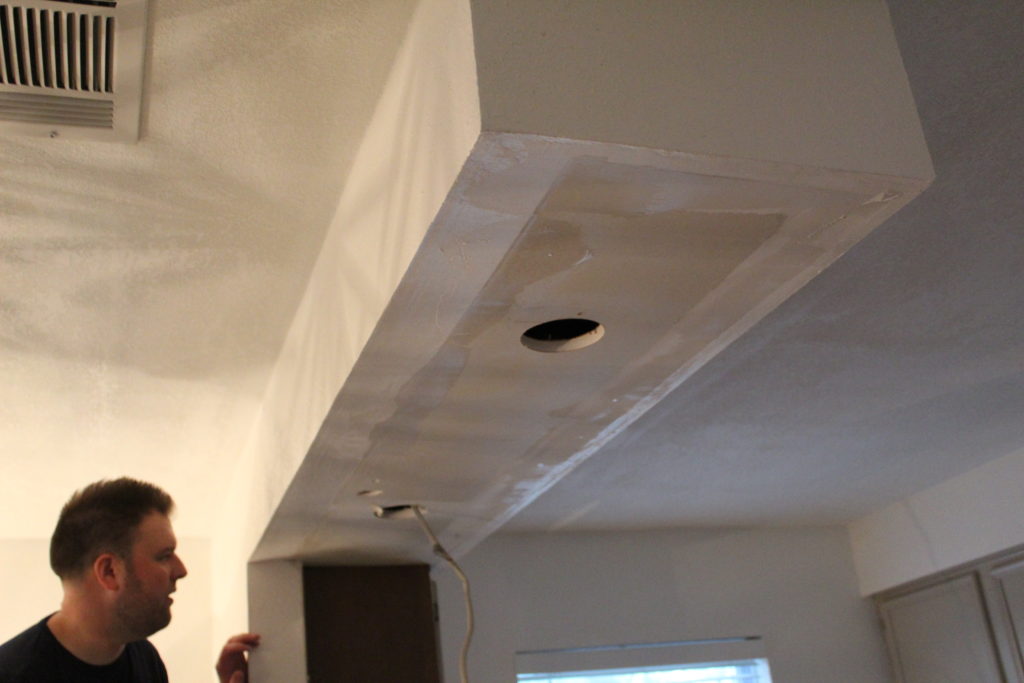
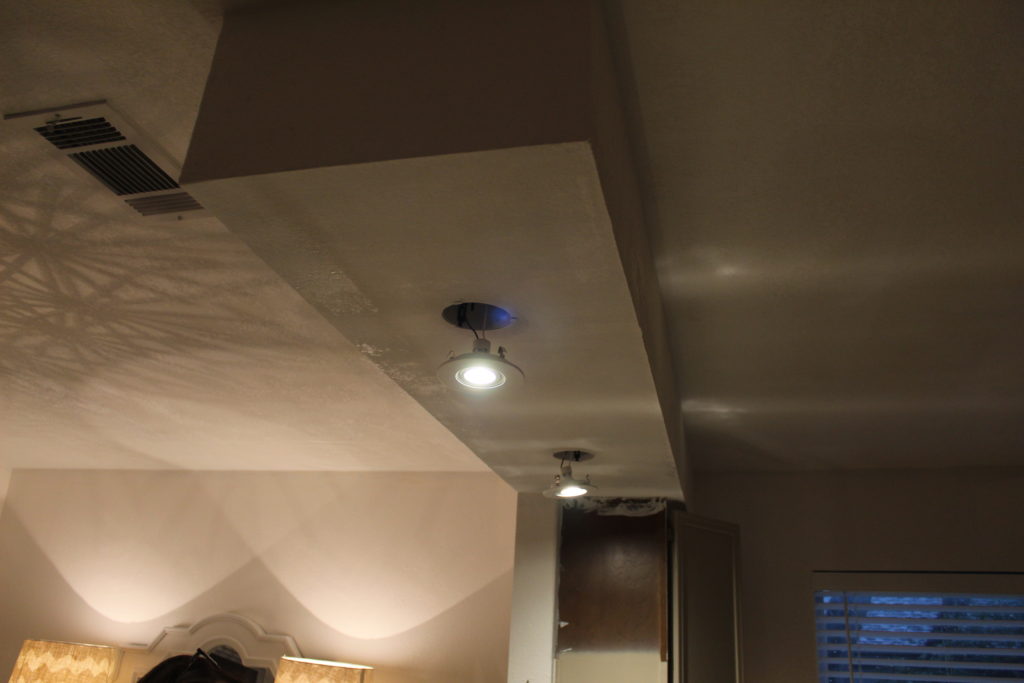
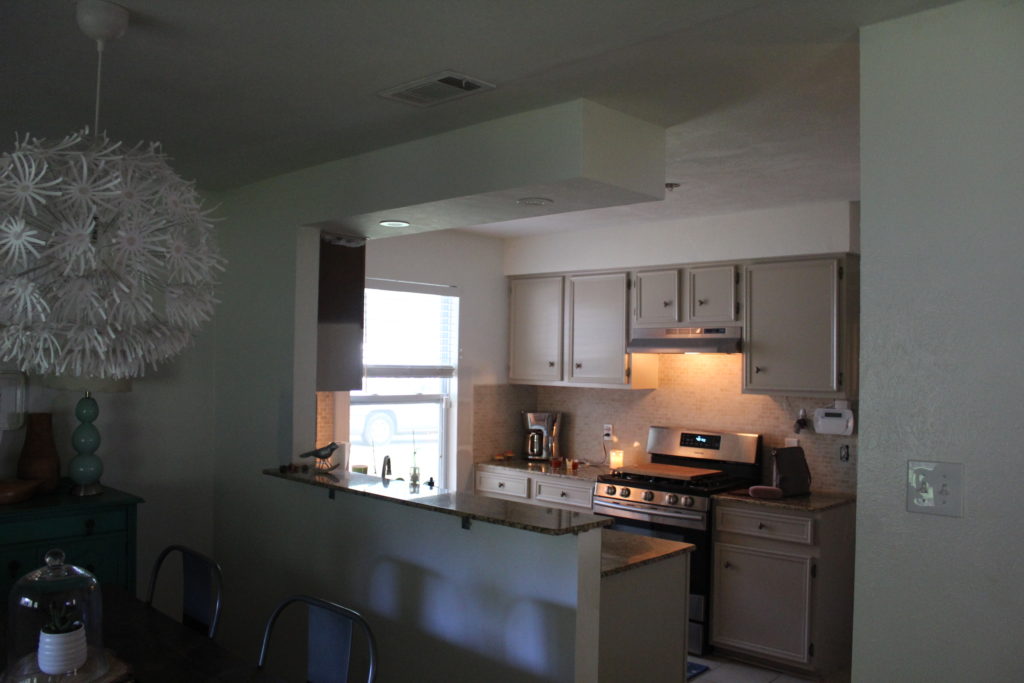
The first thing that needed to be done in the kitchen was very obvious to us from the first time we saw the house. Notice in the second photo, the bank of cabinets above the sink that obstruct your view into the dining room? Yes, those had to go. And go they did, way back in August, in fact. While my parents were visiting, my mom and dad helped me tear these suckers out one morning while Nate was at work. It was fun to send him a picture surprising him with our little demolition session. After a lot of debate and going back and forth between leaving the soffit and taking it out all the way to the ceiling, we decided it would be easier to leave it. Taking it completely out felt a bit like opening a can of worms since the rest of the kitchen would be staying as-is. So, our solution was to texture it to match the new ceilings, paint it, and add two can lights.
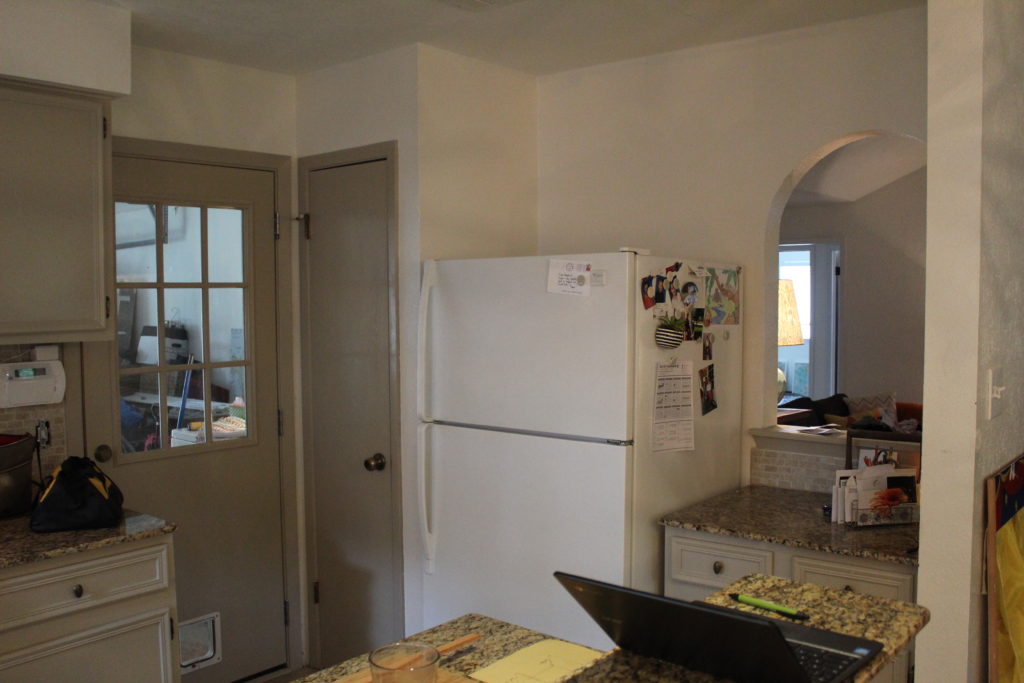
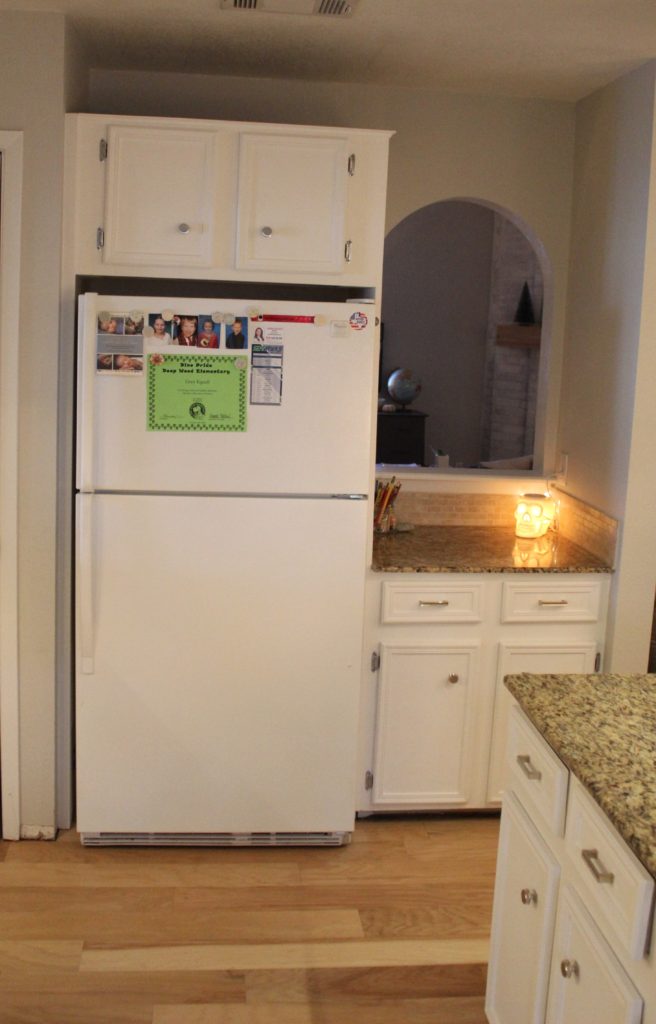
Our next big kitchen goal was to find a way to dress up the space around the lonely refrigerator. I always thought it looked unfinished and a bit out of place just sitting on this wall all by itself.

I have seen quite a few tutorials online about building a simple surround for a refrigerator with a cabinet above, to give it a more permanent, built-in impression. And the best part was, we had a cabinet that we took down from above the sink that was the perfect size for the refrigerator space. So, I ran this idea by my dad (yes, this project was also done back in August during their visit) and Nate who immediately rejected it and told me I was nuts. But, after some online research and some serious convincing (picture me with a power point presentation, pie charts and a pointing stick) they reluctantly gave my idea a whirl. Here is what we came up with.
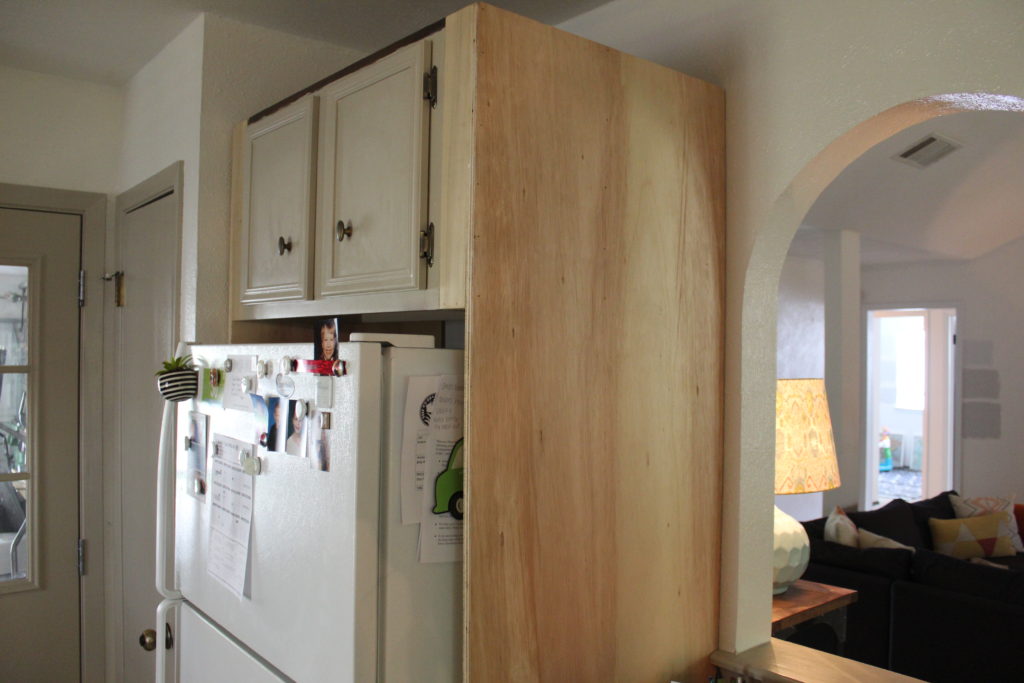
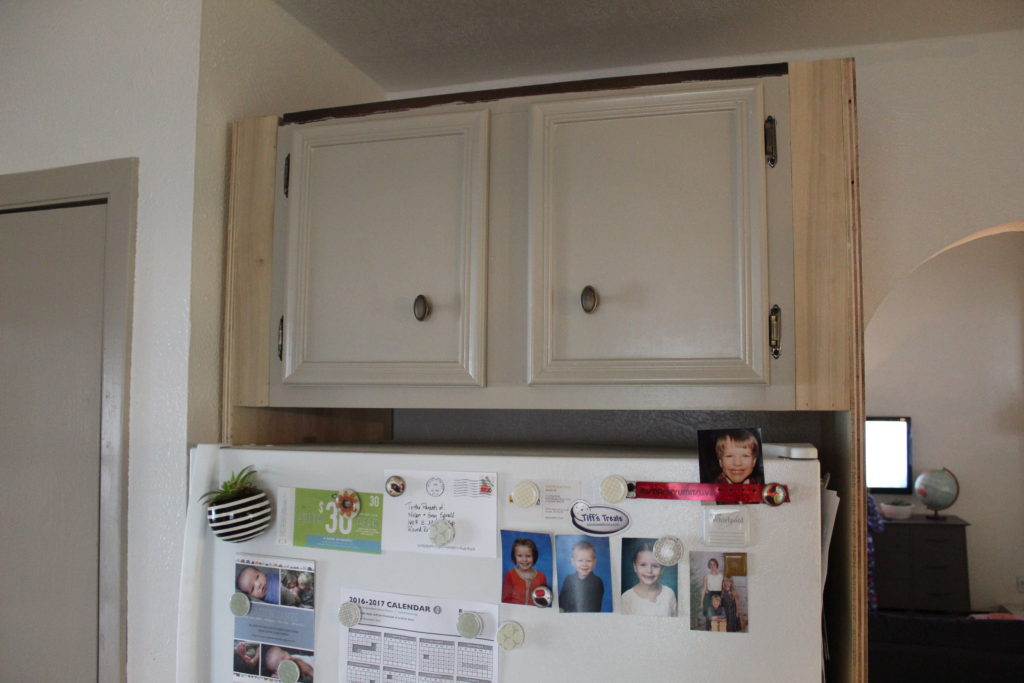
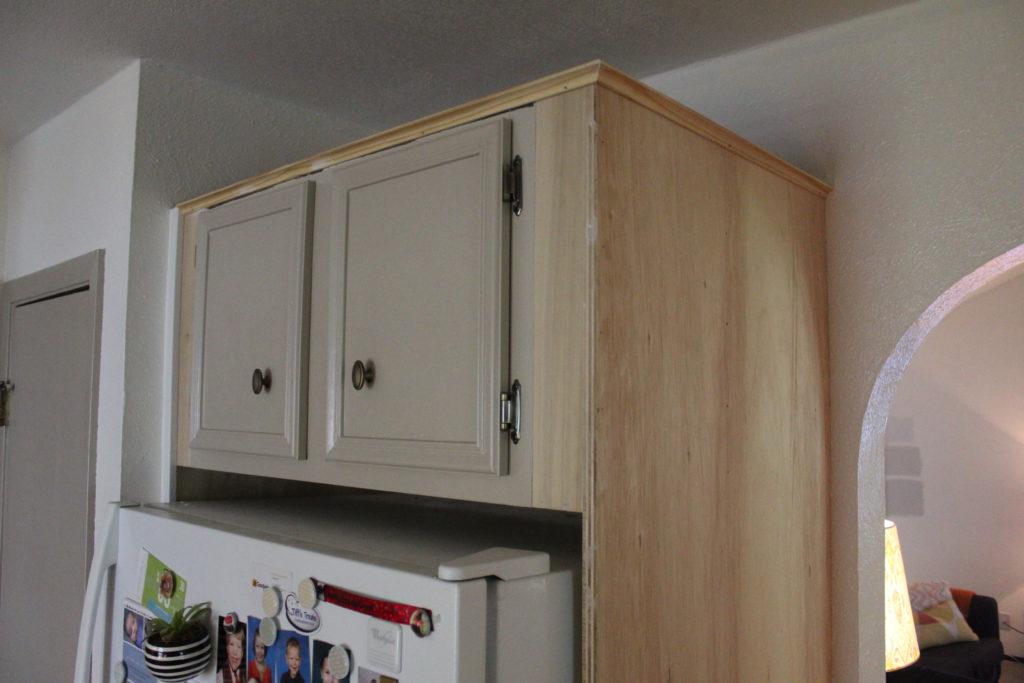
After the addition of trim, caulking and paint, I’m very pleased that I pushed these guys to help make my built-in refrigerator dreams come true.
The last goal for the kitchen before baby was some paint for the cabinets and add some pretty hardware. I decided early on that white was the direction we were taking because if you follow along, you probably already know that I am on a quest to brighten up this place. So, white cabinets felt like a very natural way to go. We aren’t reinventing the wheel by painting our cabinets. Pretty much everyone who lives on the planet is well aware of the power of paint. Amen. Just look at the difference it has made for our little space.
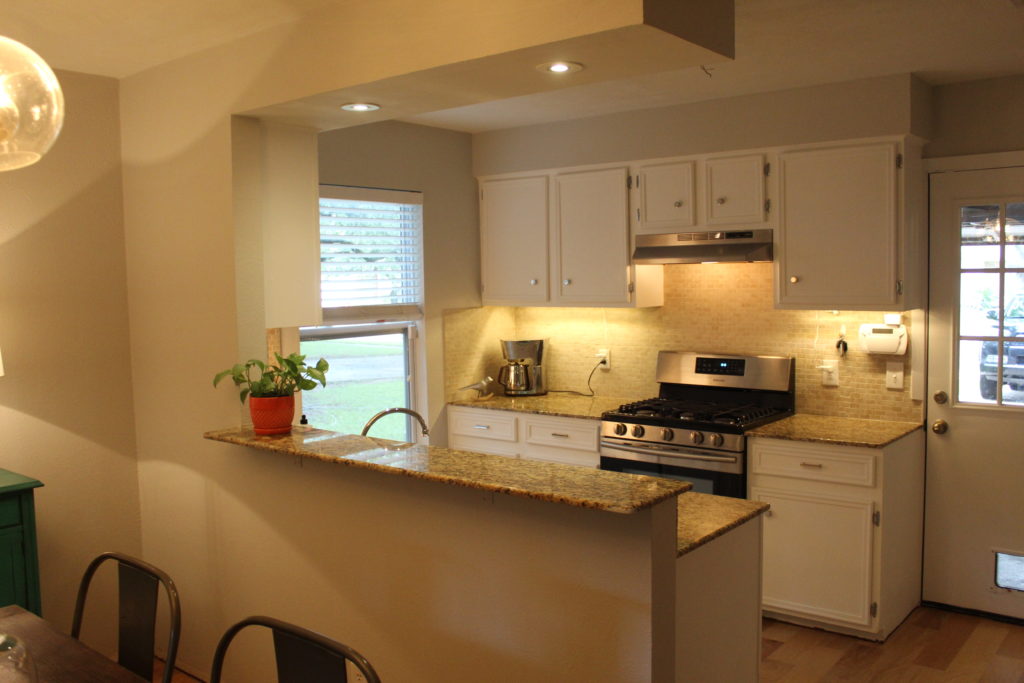
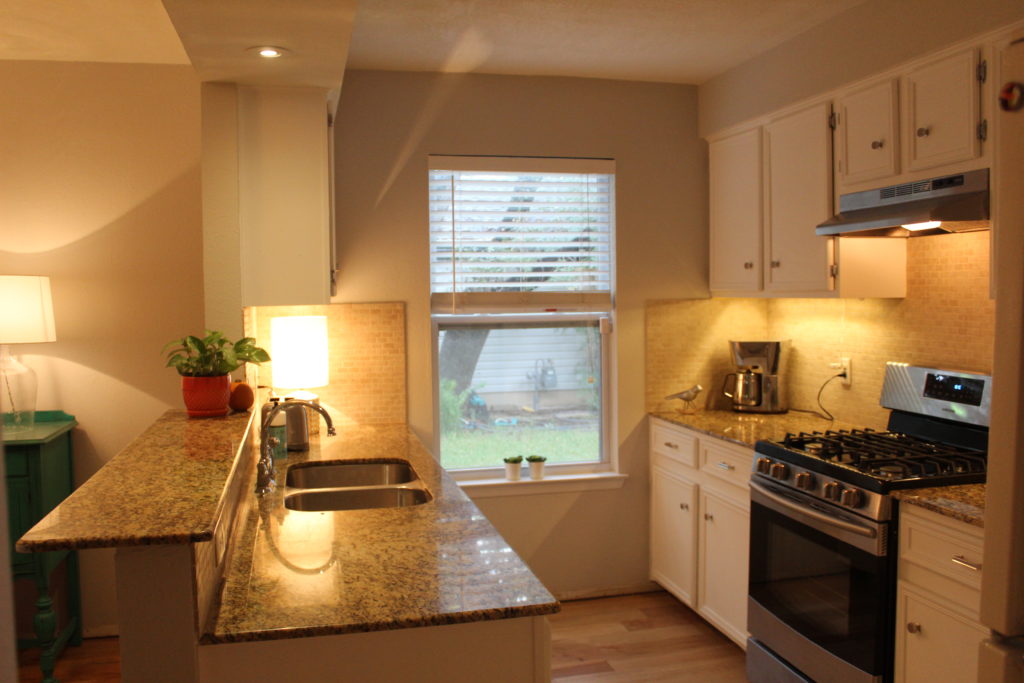
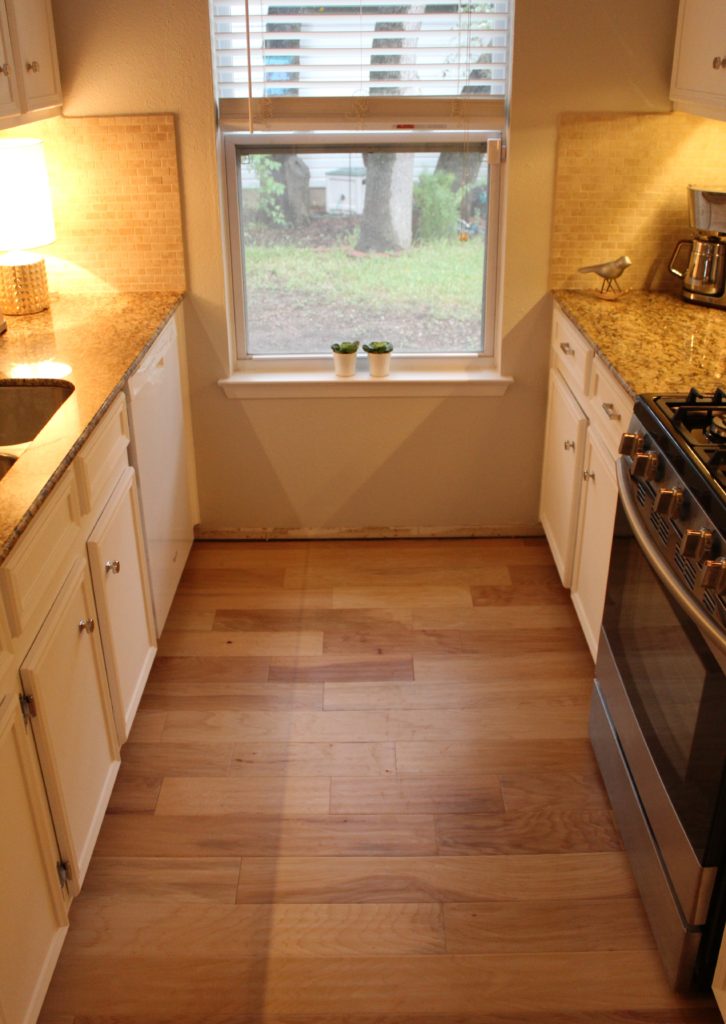
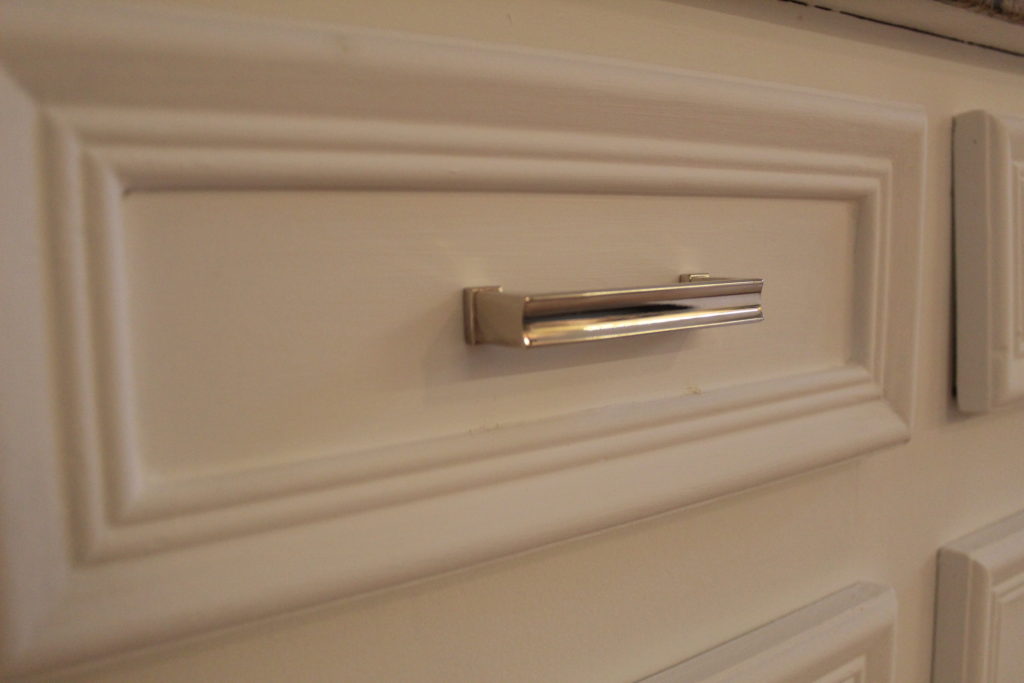
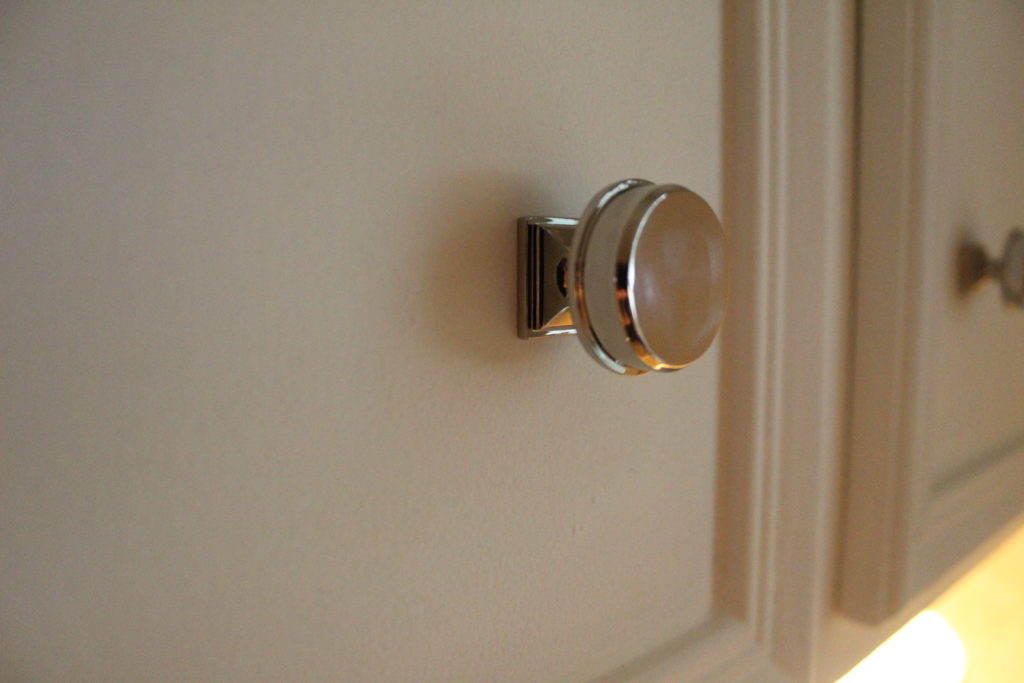
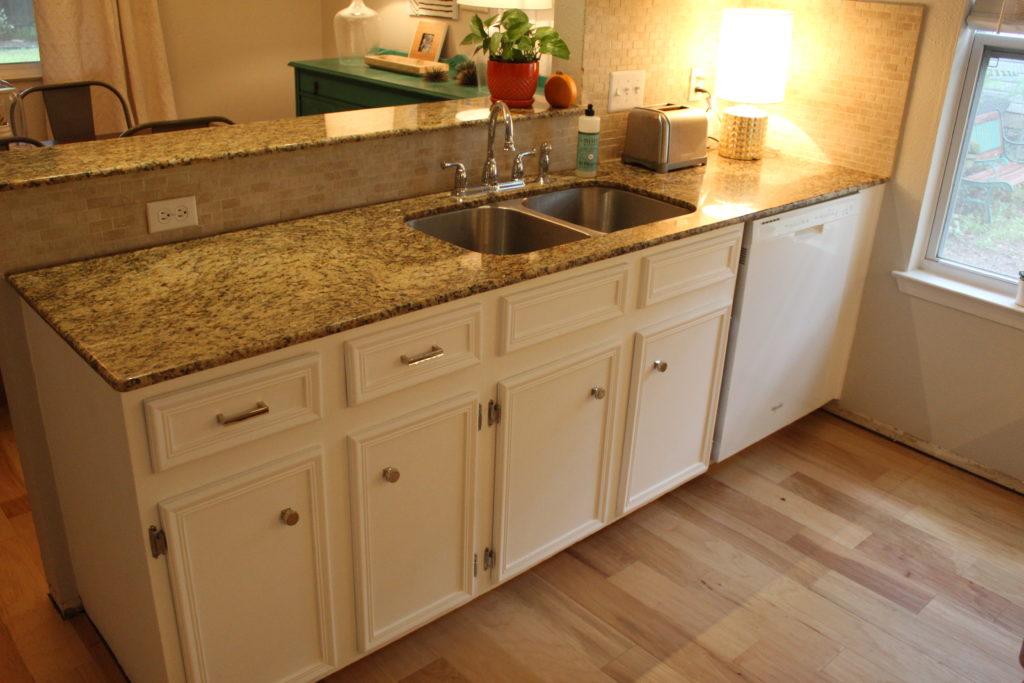
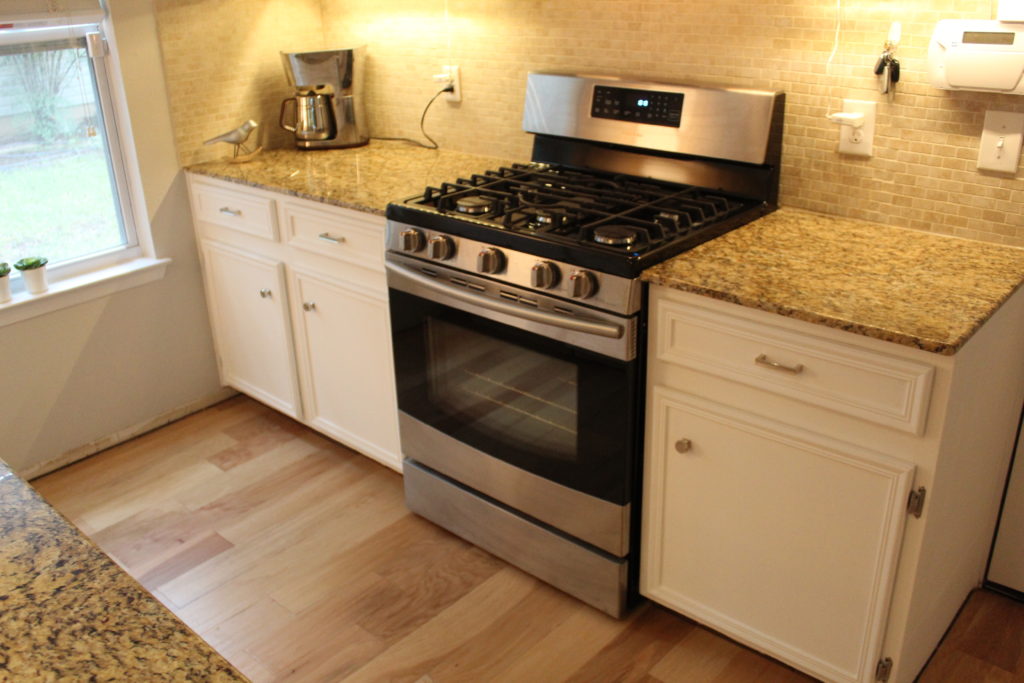
Painting the cabinets was a pretty straight forward process. I used Annie Sloan chalk paint and I loved using it. It was perfect for this pregnant lady with virtually no odor and low VOC’s. It’s environmentally friendly and my favorite part was that it’s water soluble. So, if I found myself running low on paint, I could mix it with some water to really make it stretch. Brilliant. With the painting process complete, I sealed the cabinets with the Annie Sloan wax which leaves you with a rich, almost velvet-y finish. I love the finished product.
P.s. Unless I go into labor before Friday, I should be back with a nursery tour! I am putting finishing touches on the sweetest little space for our new guy and I am so excited to share. Stay tuned…
P.s.s. Also, I am going to get our house tour page updated so you can see all the good progress we have made lately.
