
2023 has been such an incredibly busy year for us…and August is only getting started. With our bedroom/bathroom addition finally wrapping up after 18 looooong months, the last thing we wanted to do was to take on another renovation. Then, in early Spring, we noticed a pretty sizable crack in the shower surround in our upstairs bathroom. Instead of pouring money into repair costs, and in a bathroom that DESPERATELY needed renovating, we decided it was best to bump it up on the ol’ project to-do list. This began our five month renovation adventure!
I am so happy with how this bathroom came out, and I’m excited to finally be able to share it with you all today!
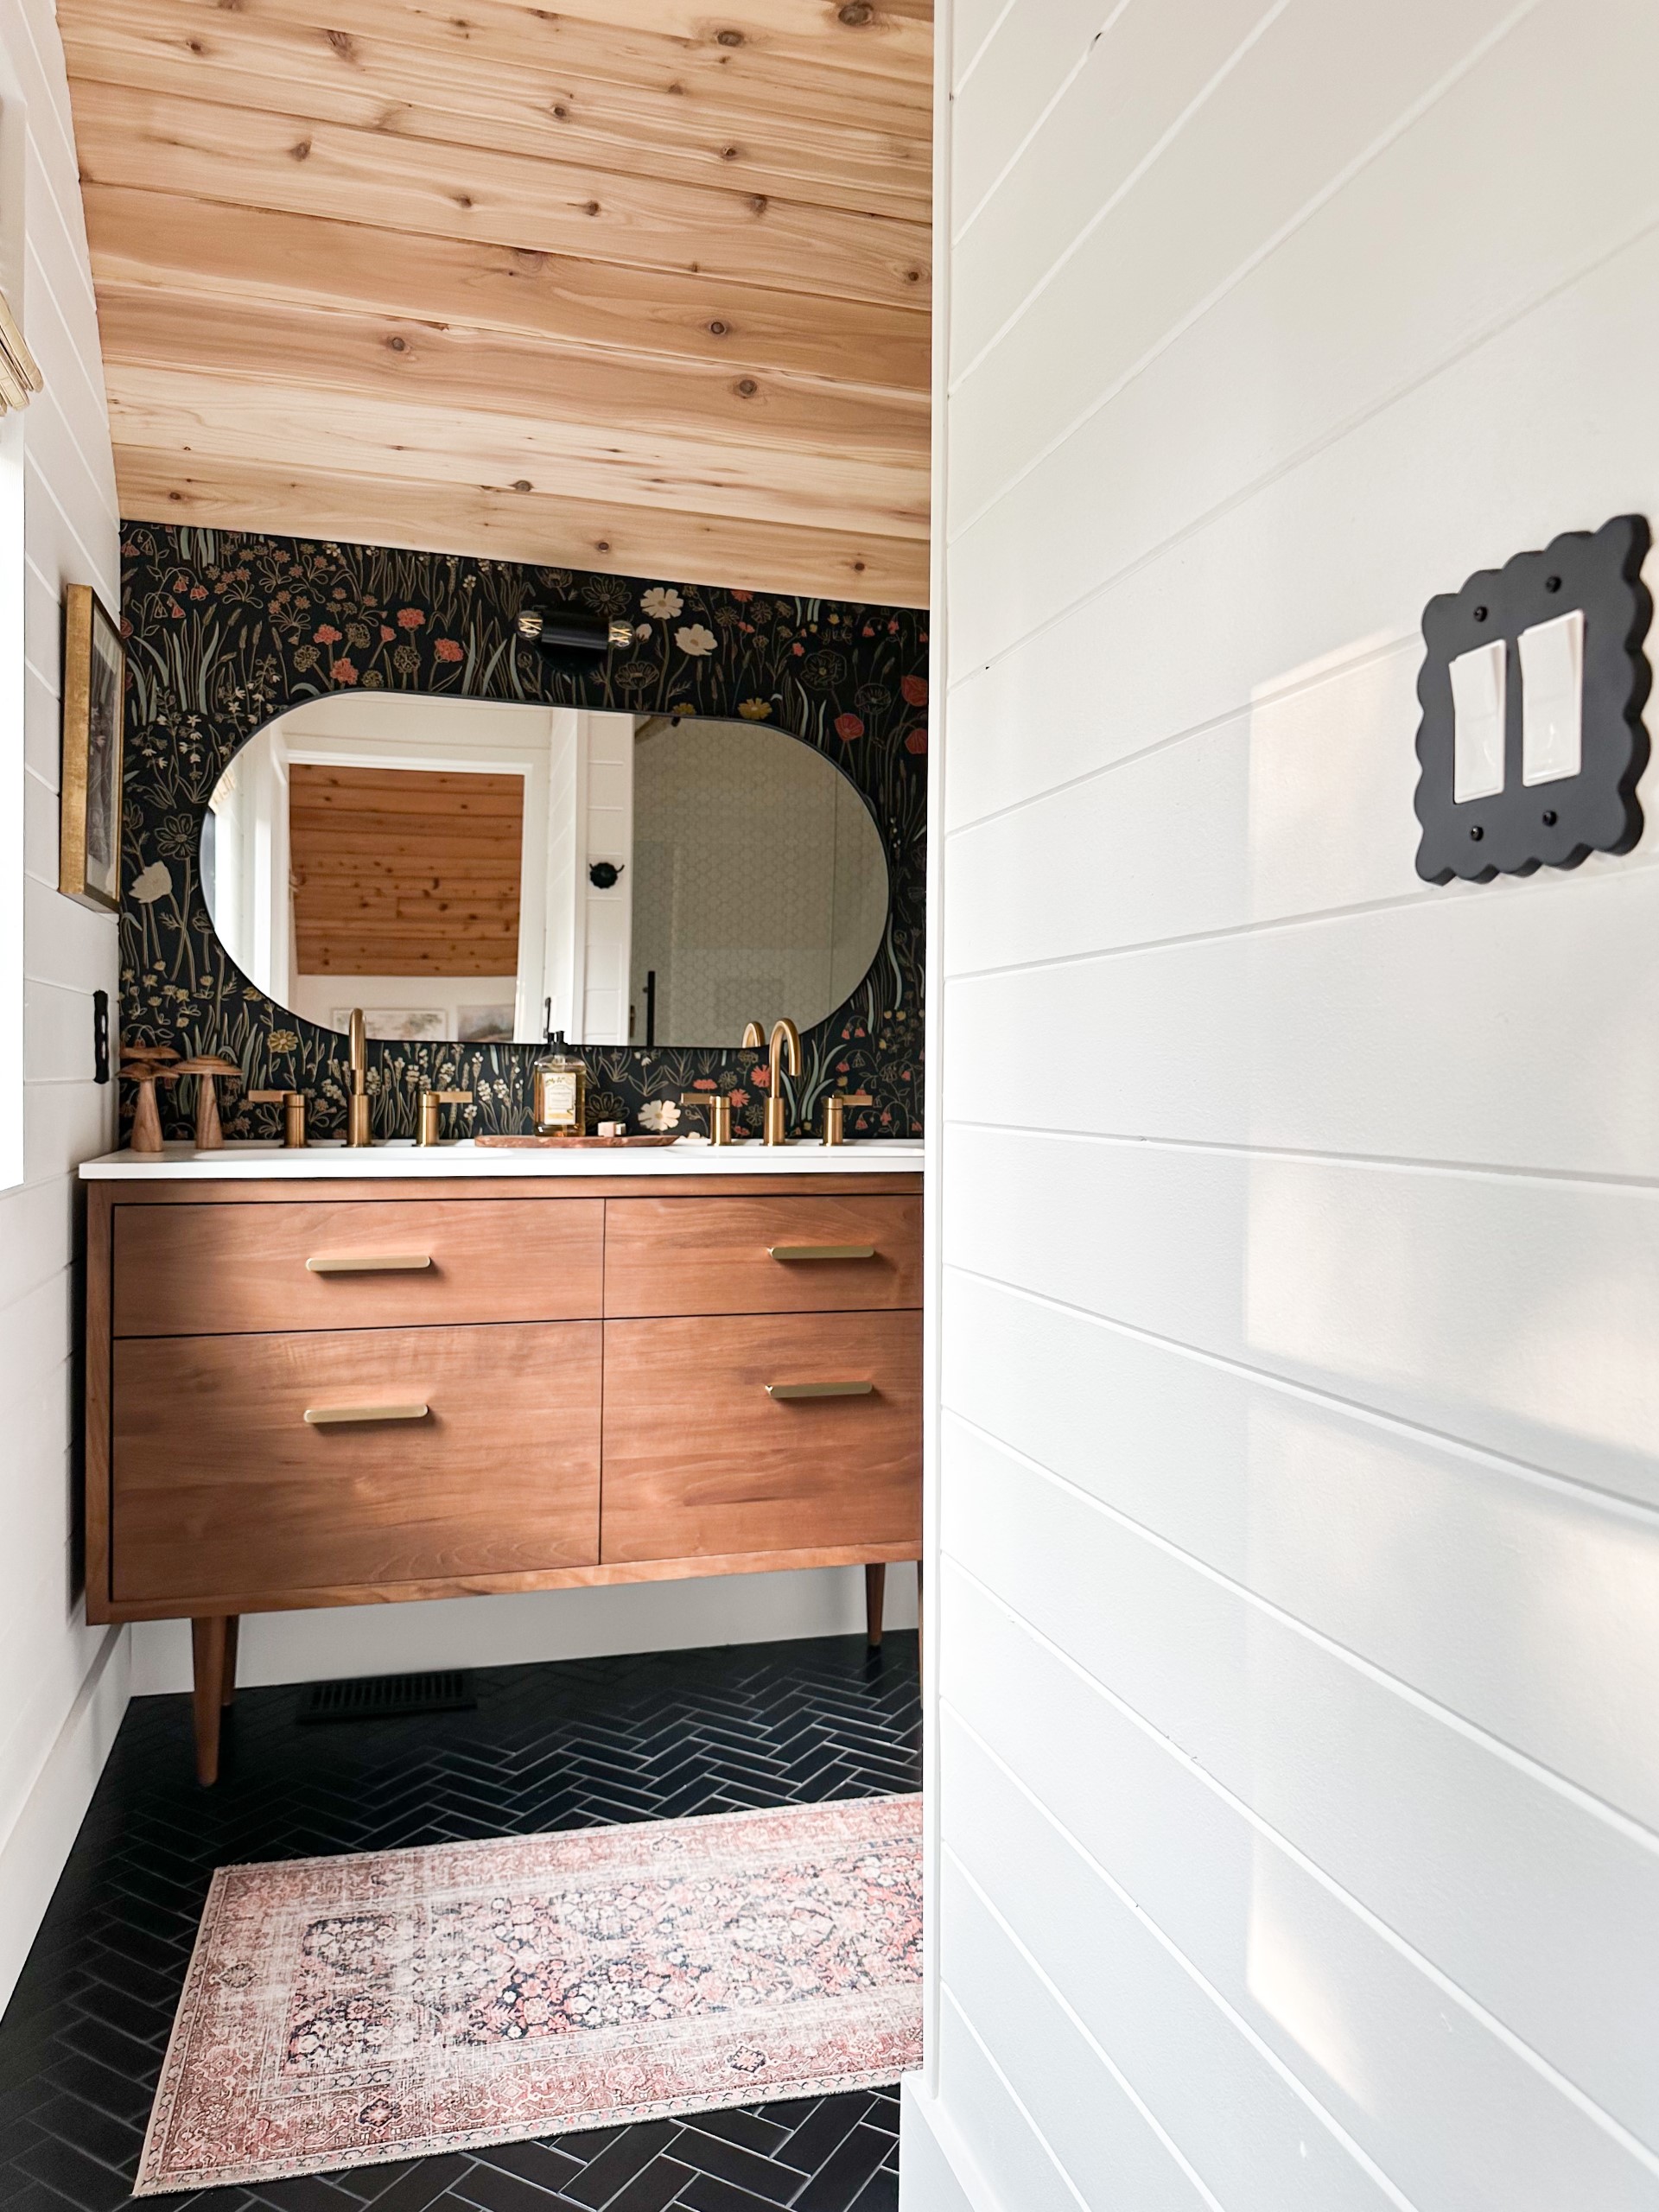
We kept the original footprint of the bathroom, which helped keep costs down. It also didn’t really make sense to change it, as we weren’t prepared to start removing walls or stealing space from the upstairs bedroom, that this bathroom is attached to.
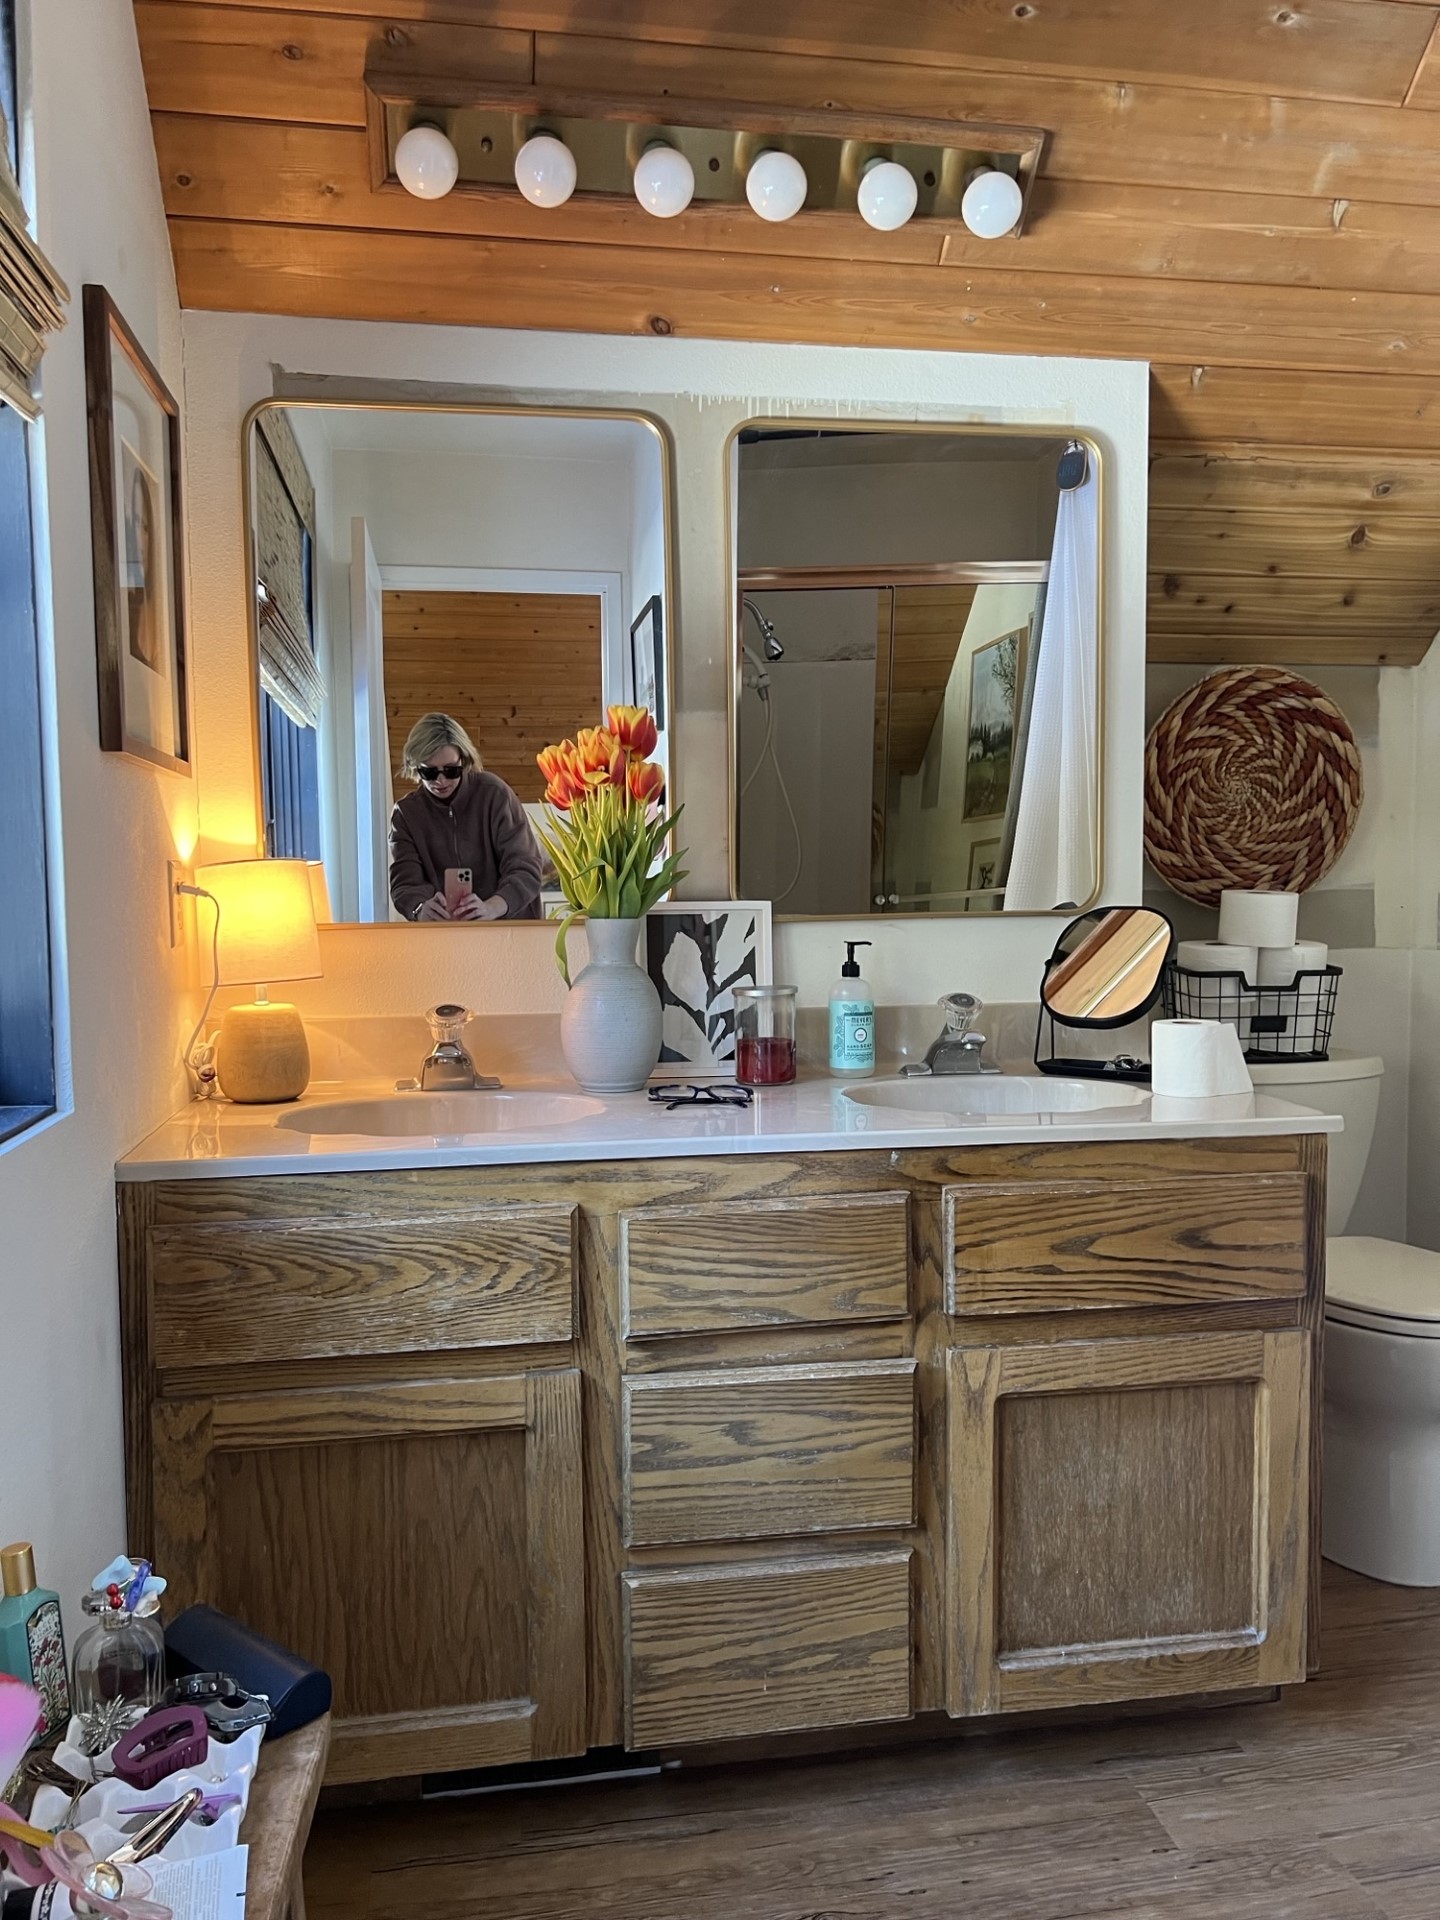
This is what that same view looked like before!!
We are getting ready to do some bedroom switcheroo’s around here and once our bedroom/bathroom addition is complete, this upstairs bedroom and this en suite bathroom will belong to our teenage daughter. So, I wanted the space to feel kind of fun and whimsical, while still feeling like it belongs in our rustic, chalet-style home here in the Pacific Northwest.
Now, let’s get into all the details and take a closer look at everything, shall well?
The Vanity
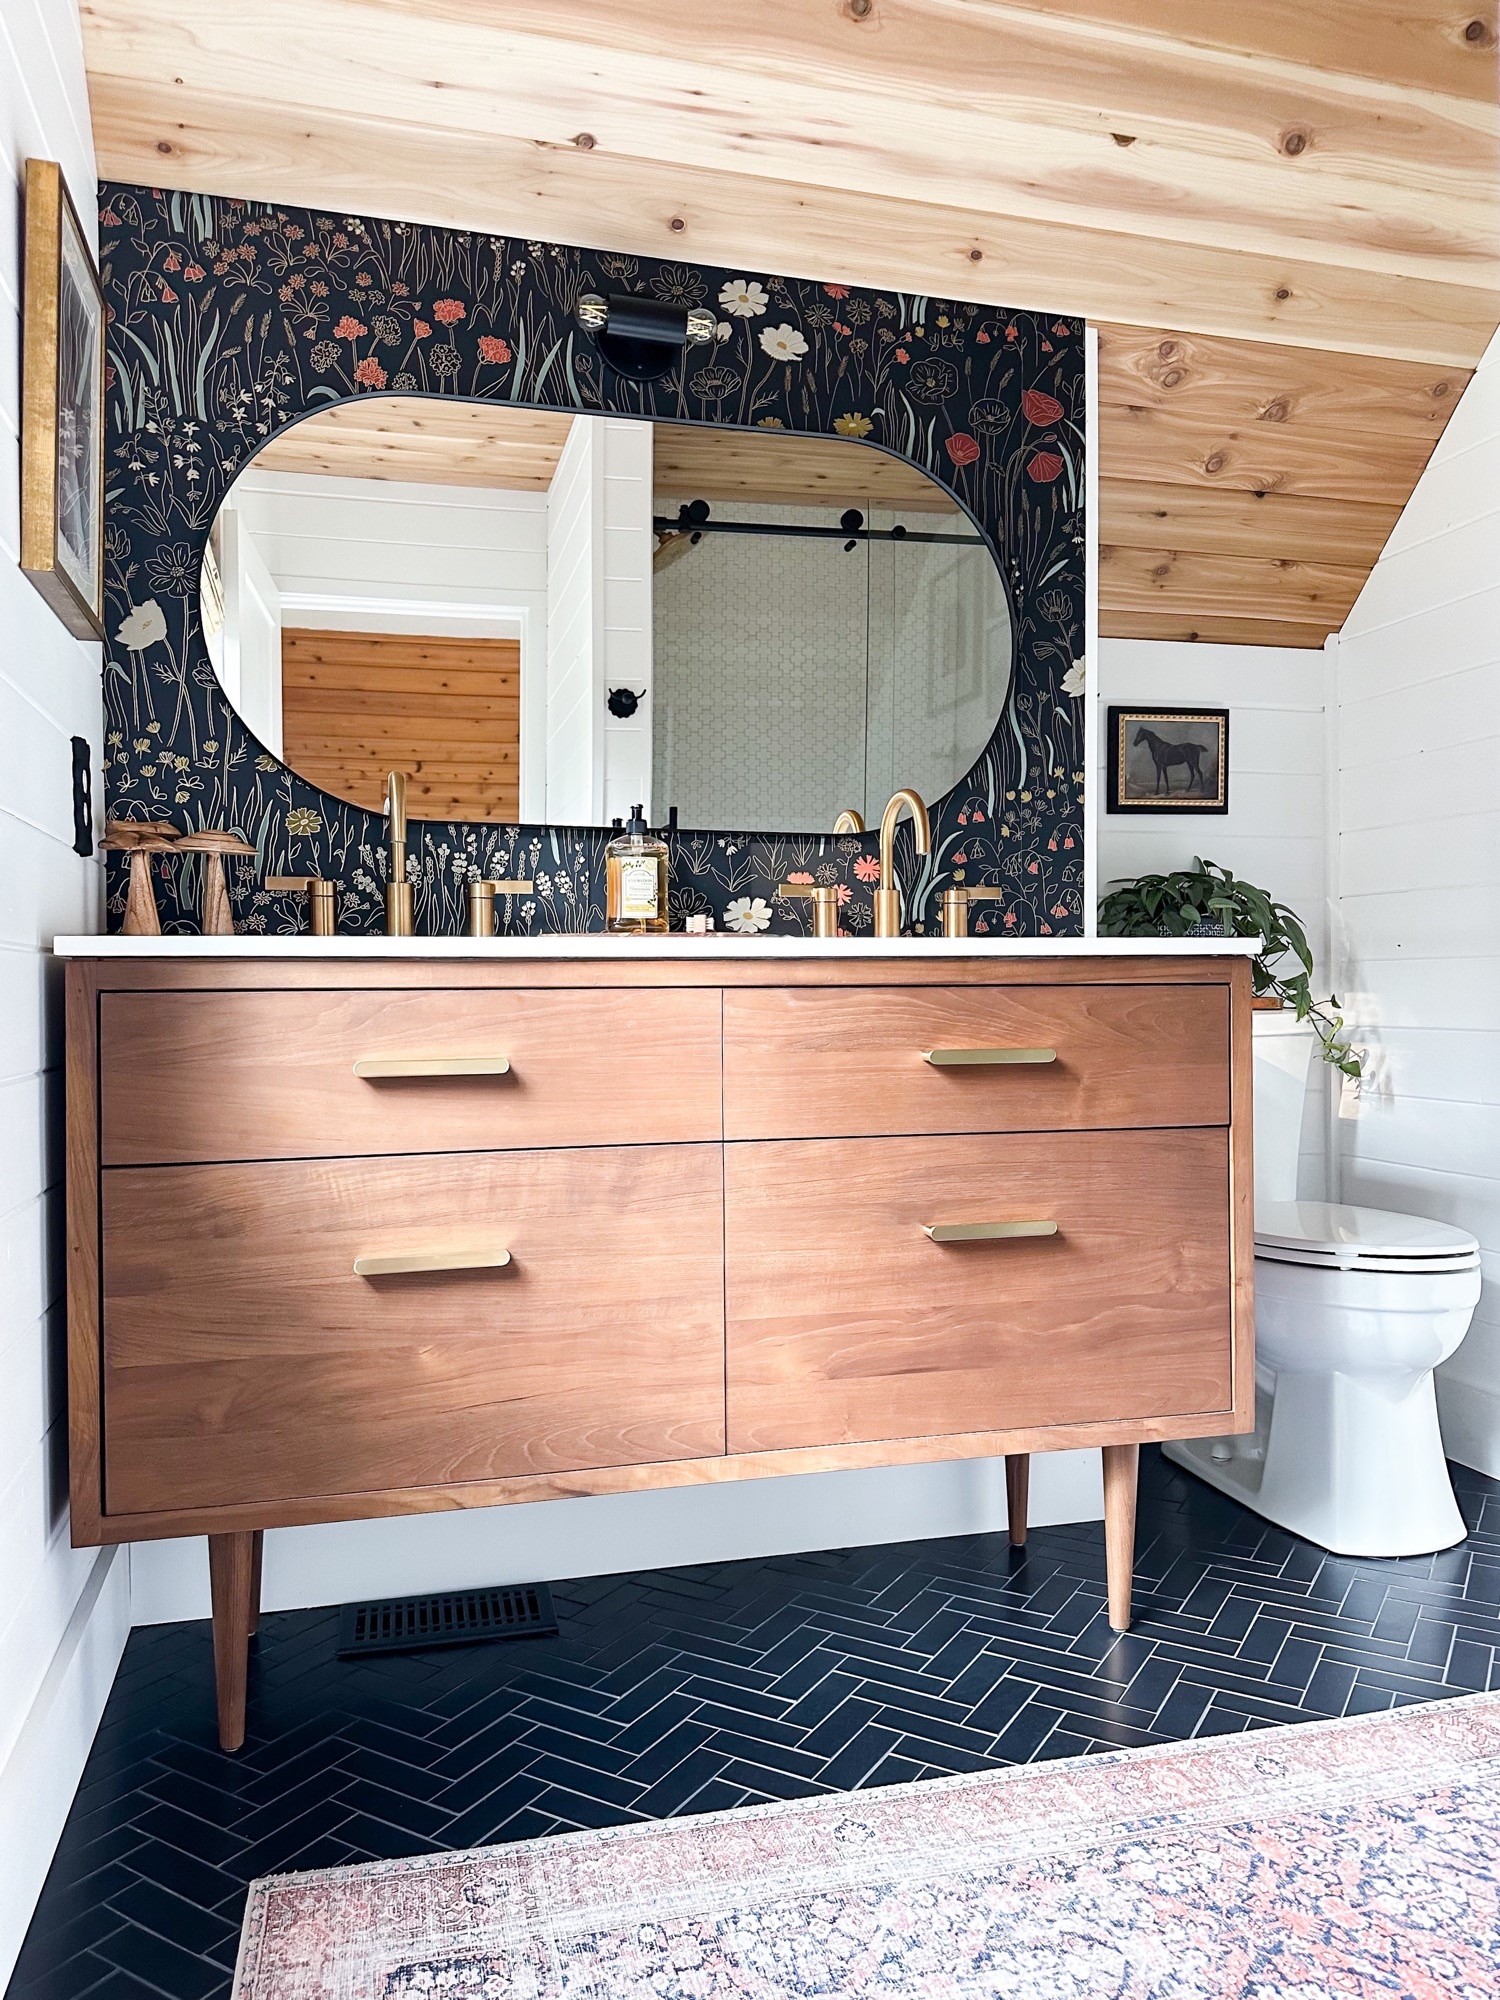
Tile | Vanity | Drawer Pull | Mirror | Wallpaper |Runner | Faucet | Sconce | Hand Soap | Mushrooms || Scrub Brush | Tray | Horse Painting
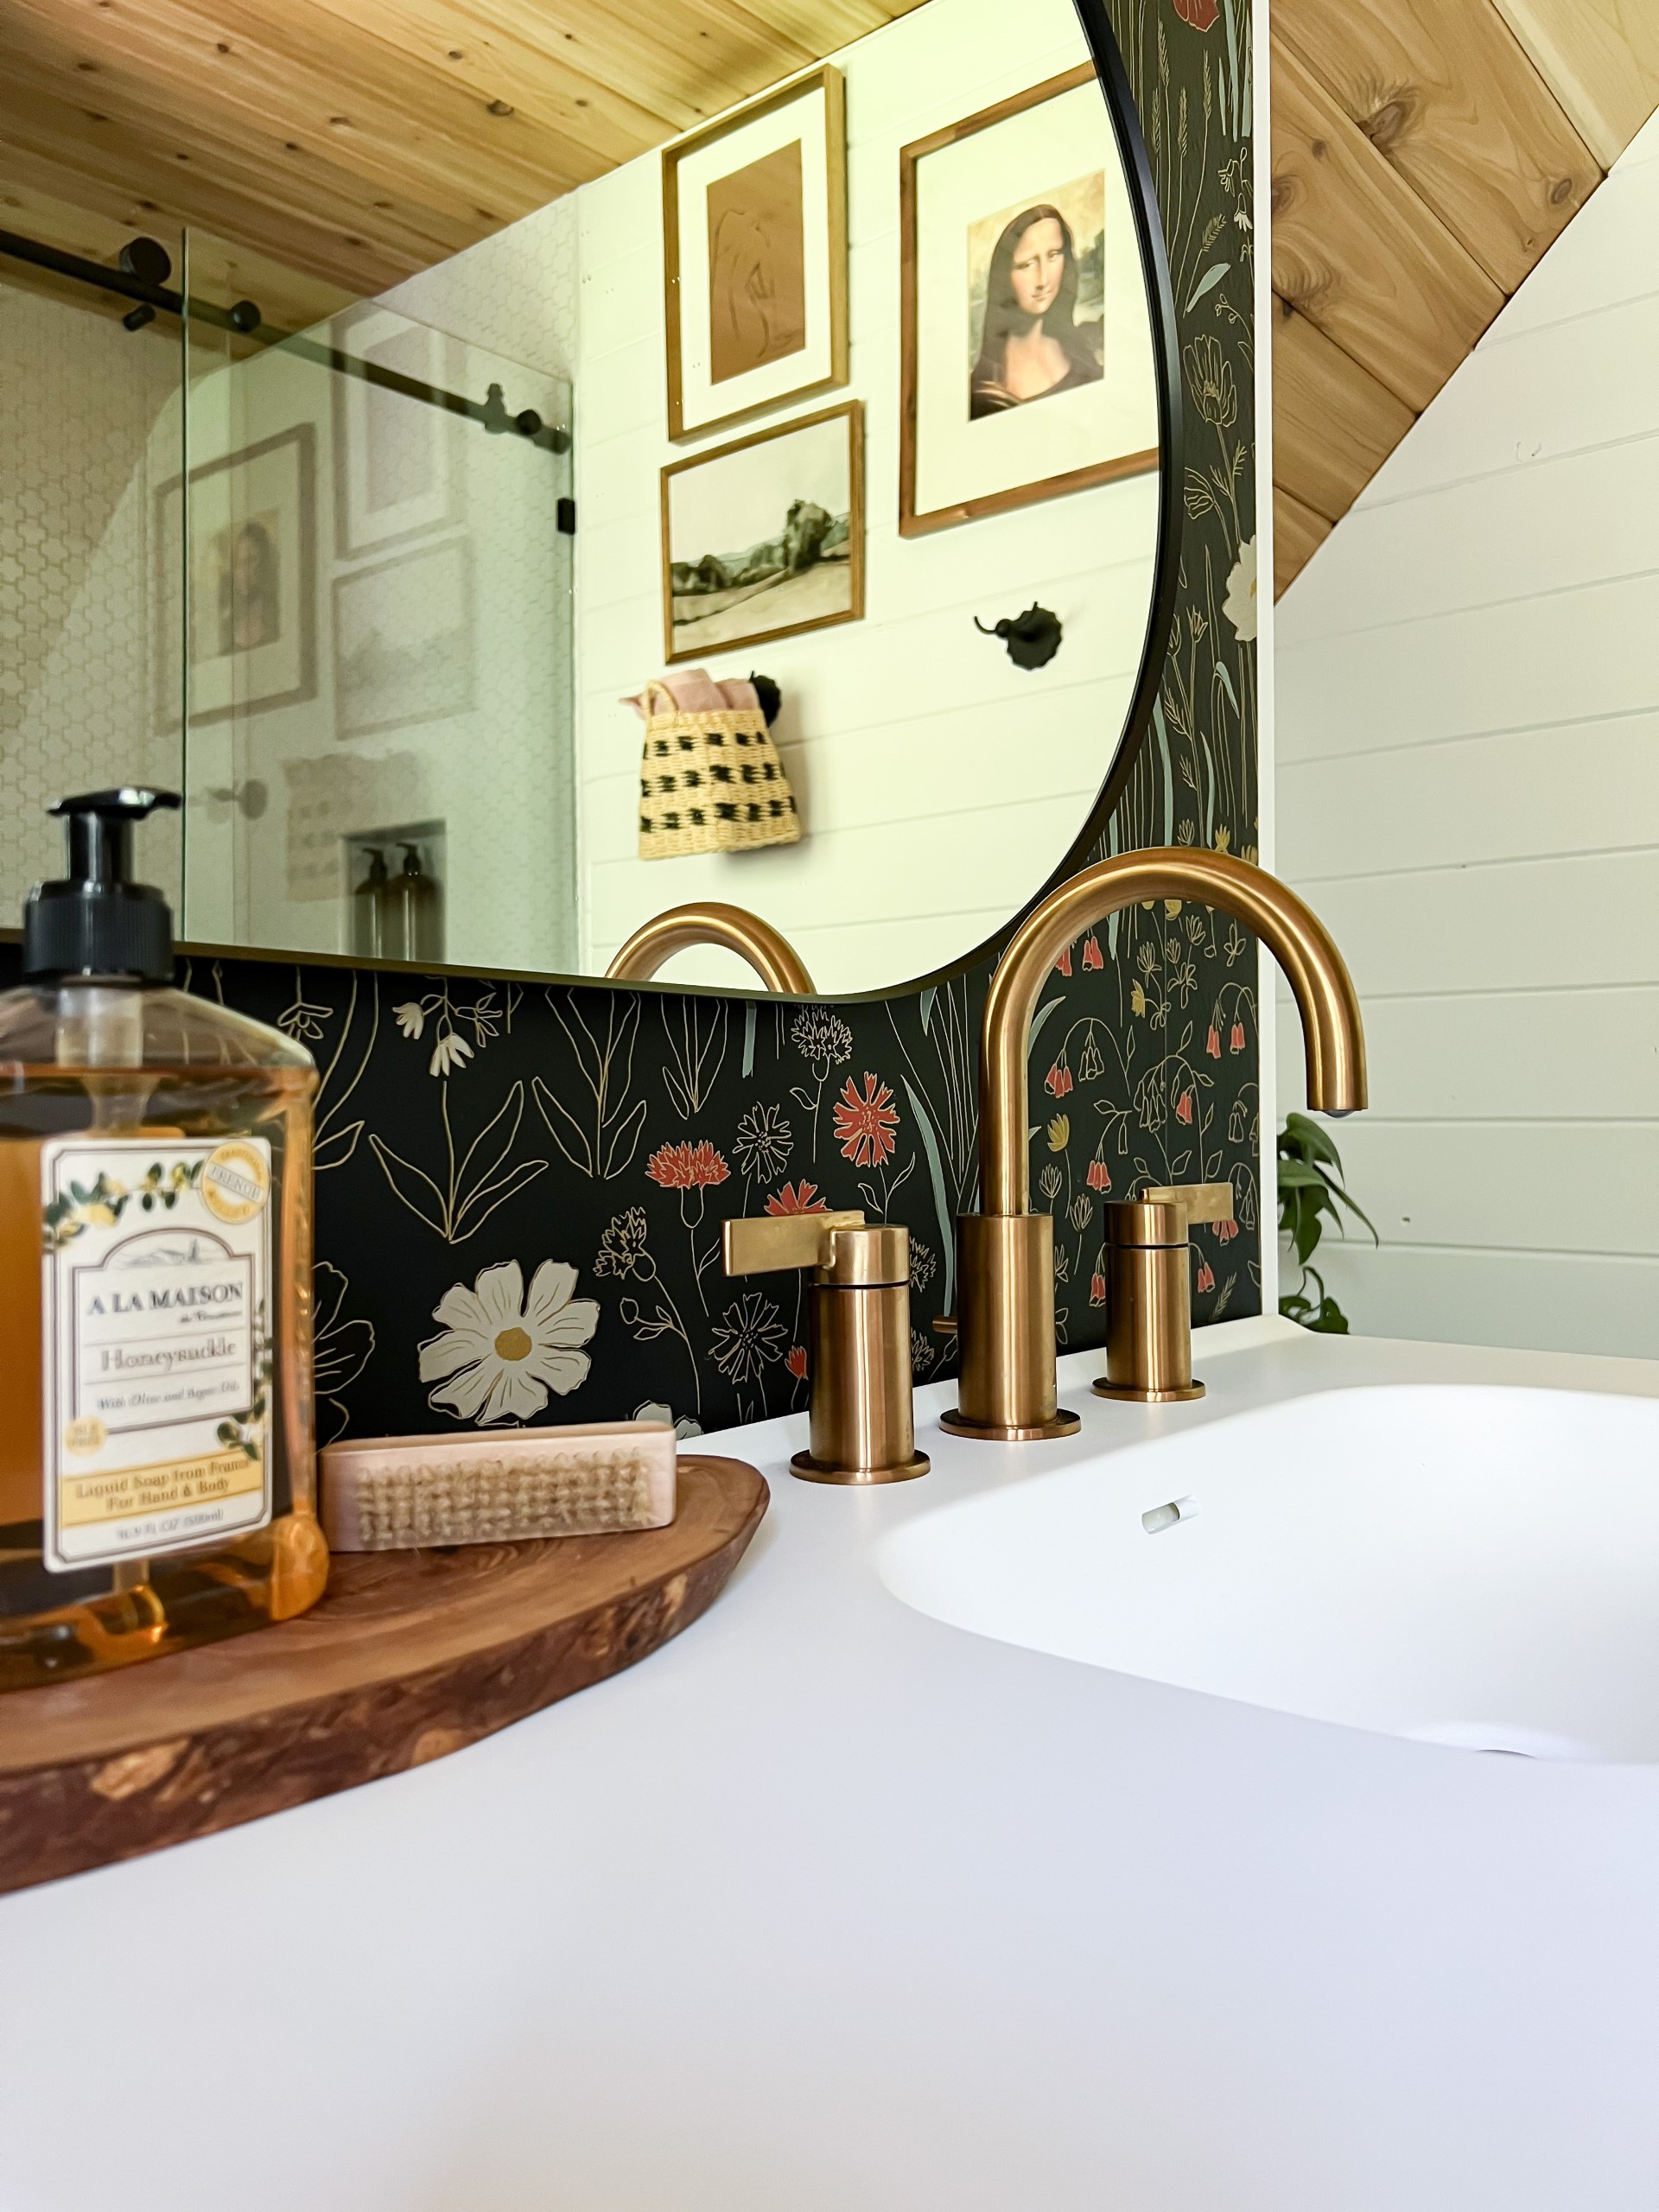
Landscape Painting | Nude Lady Sketch
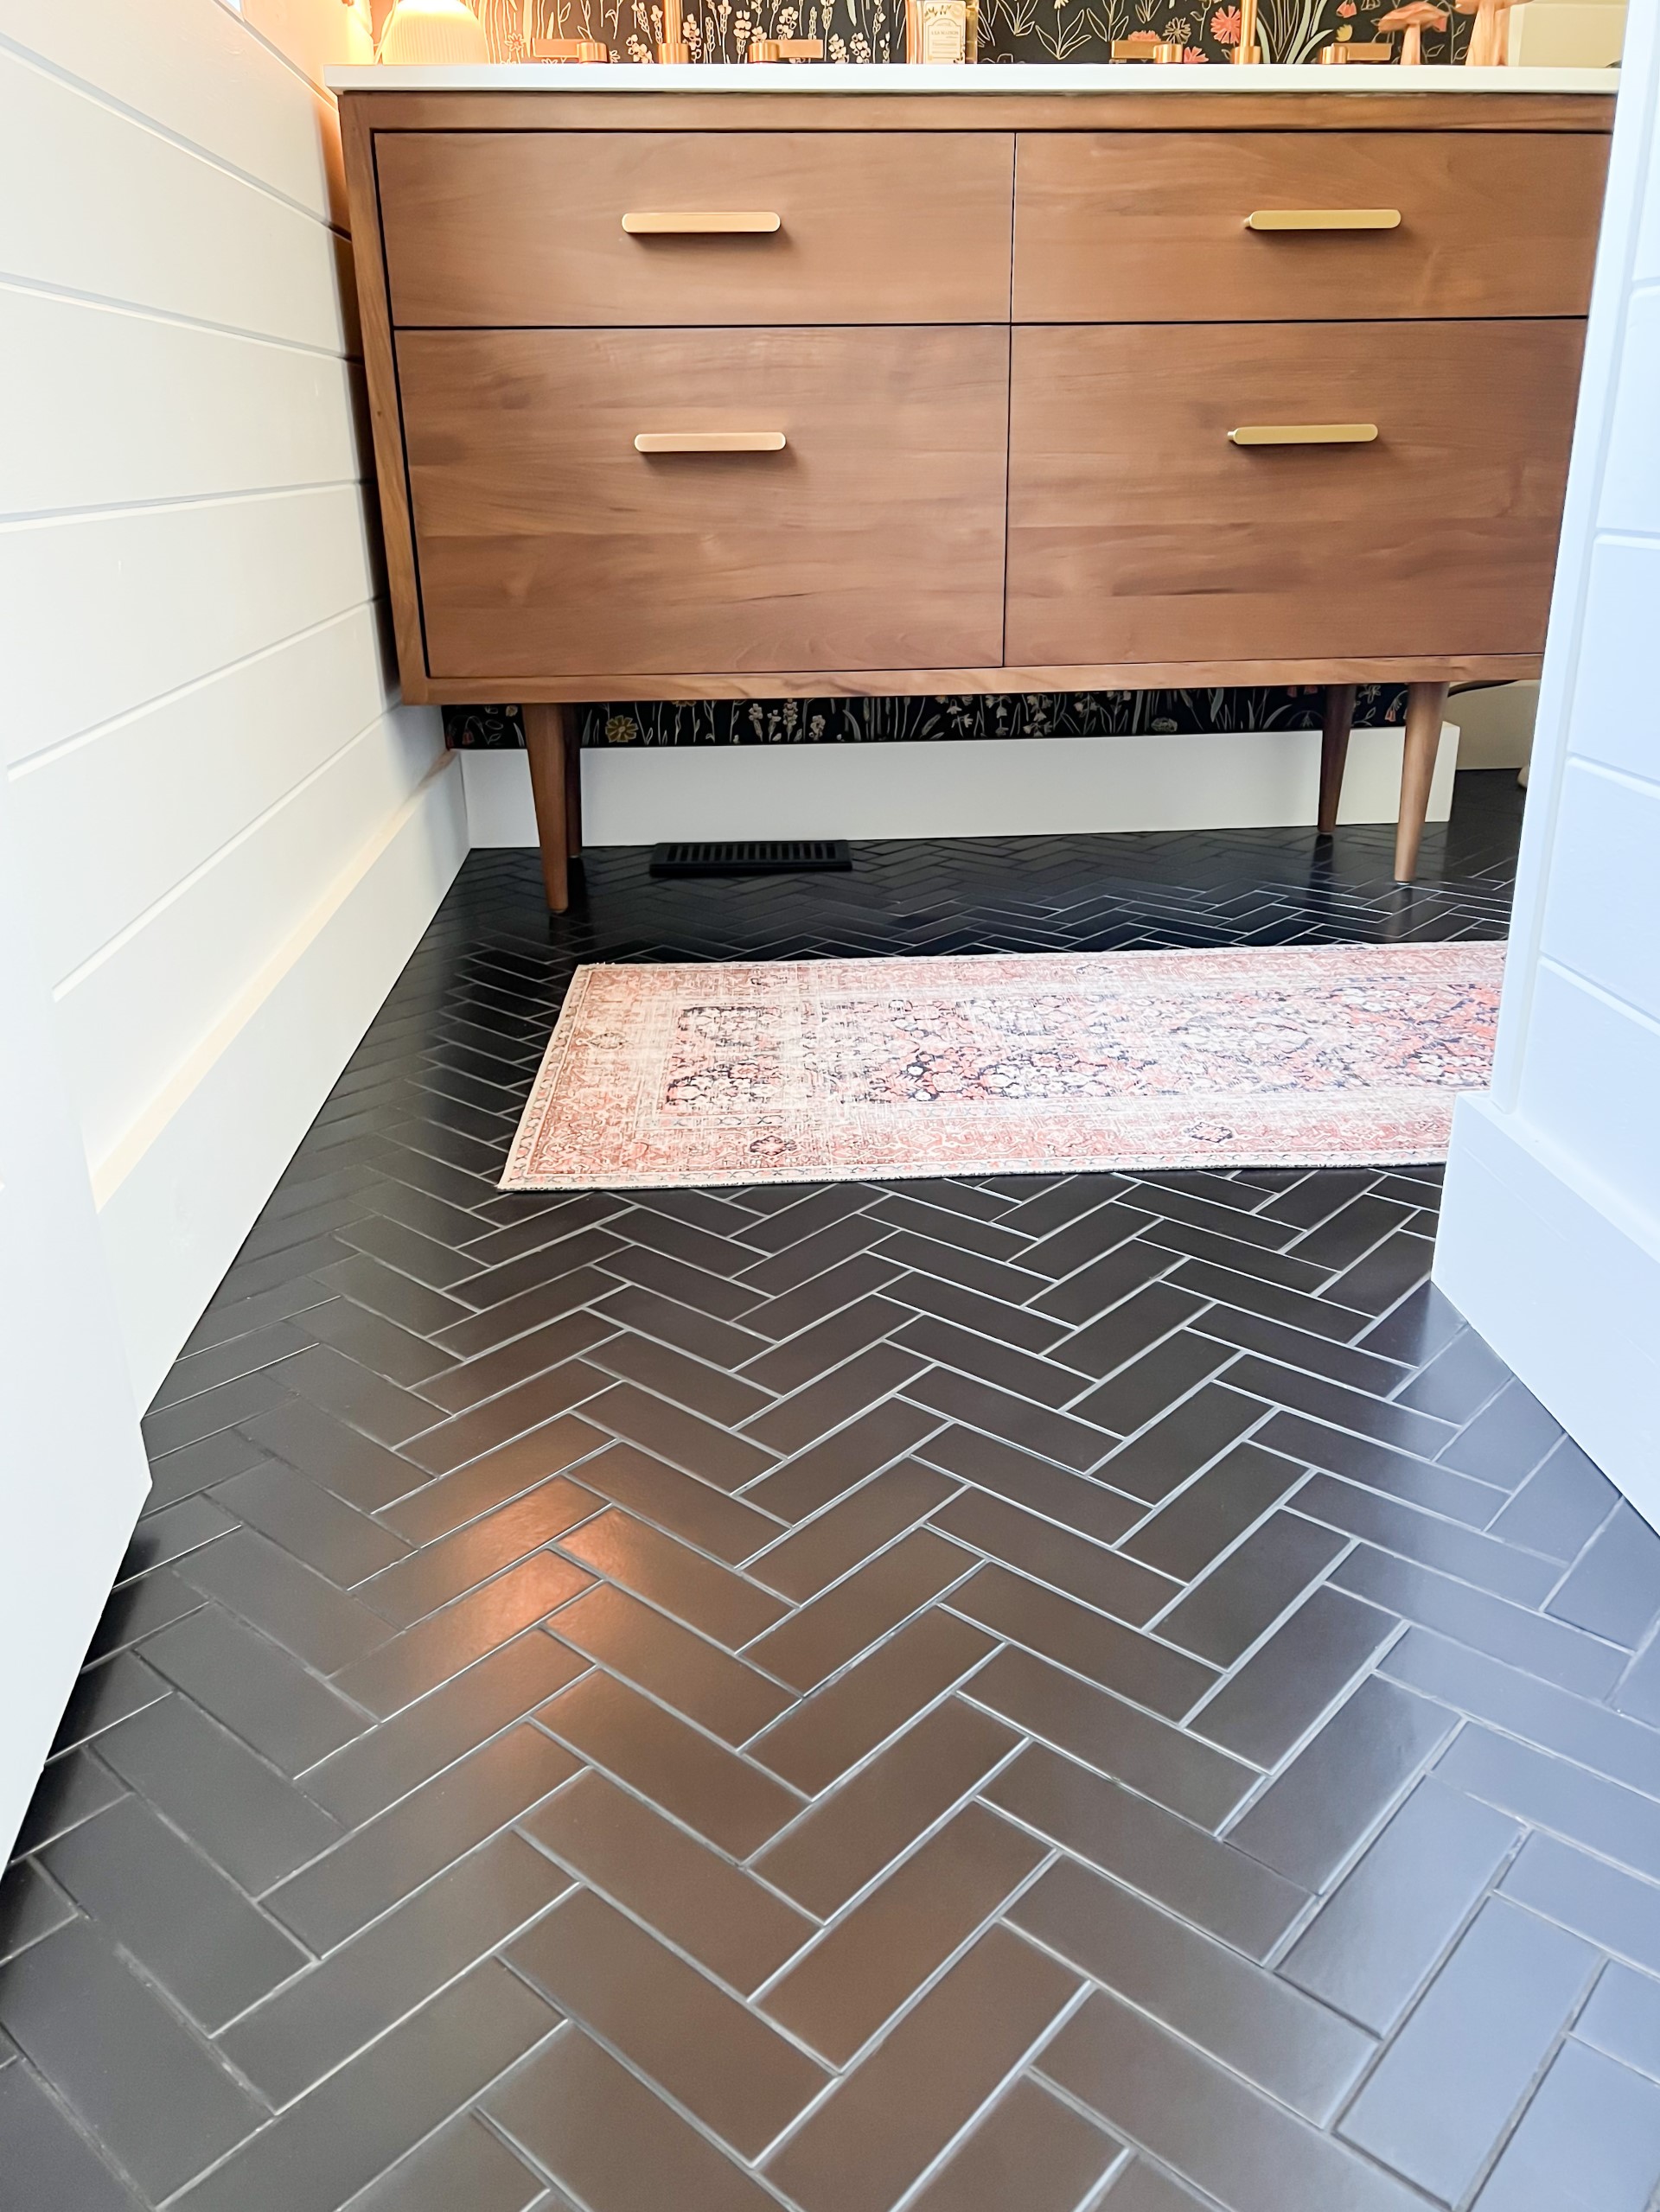
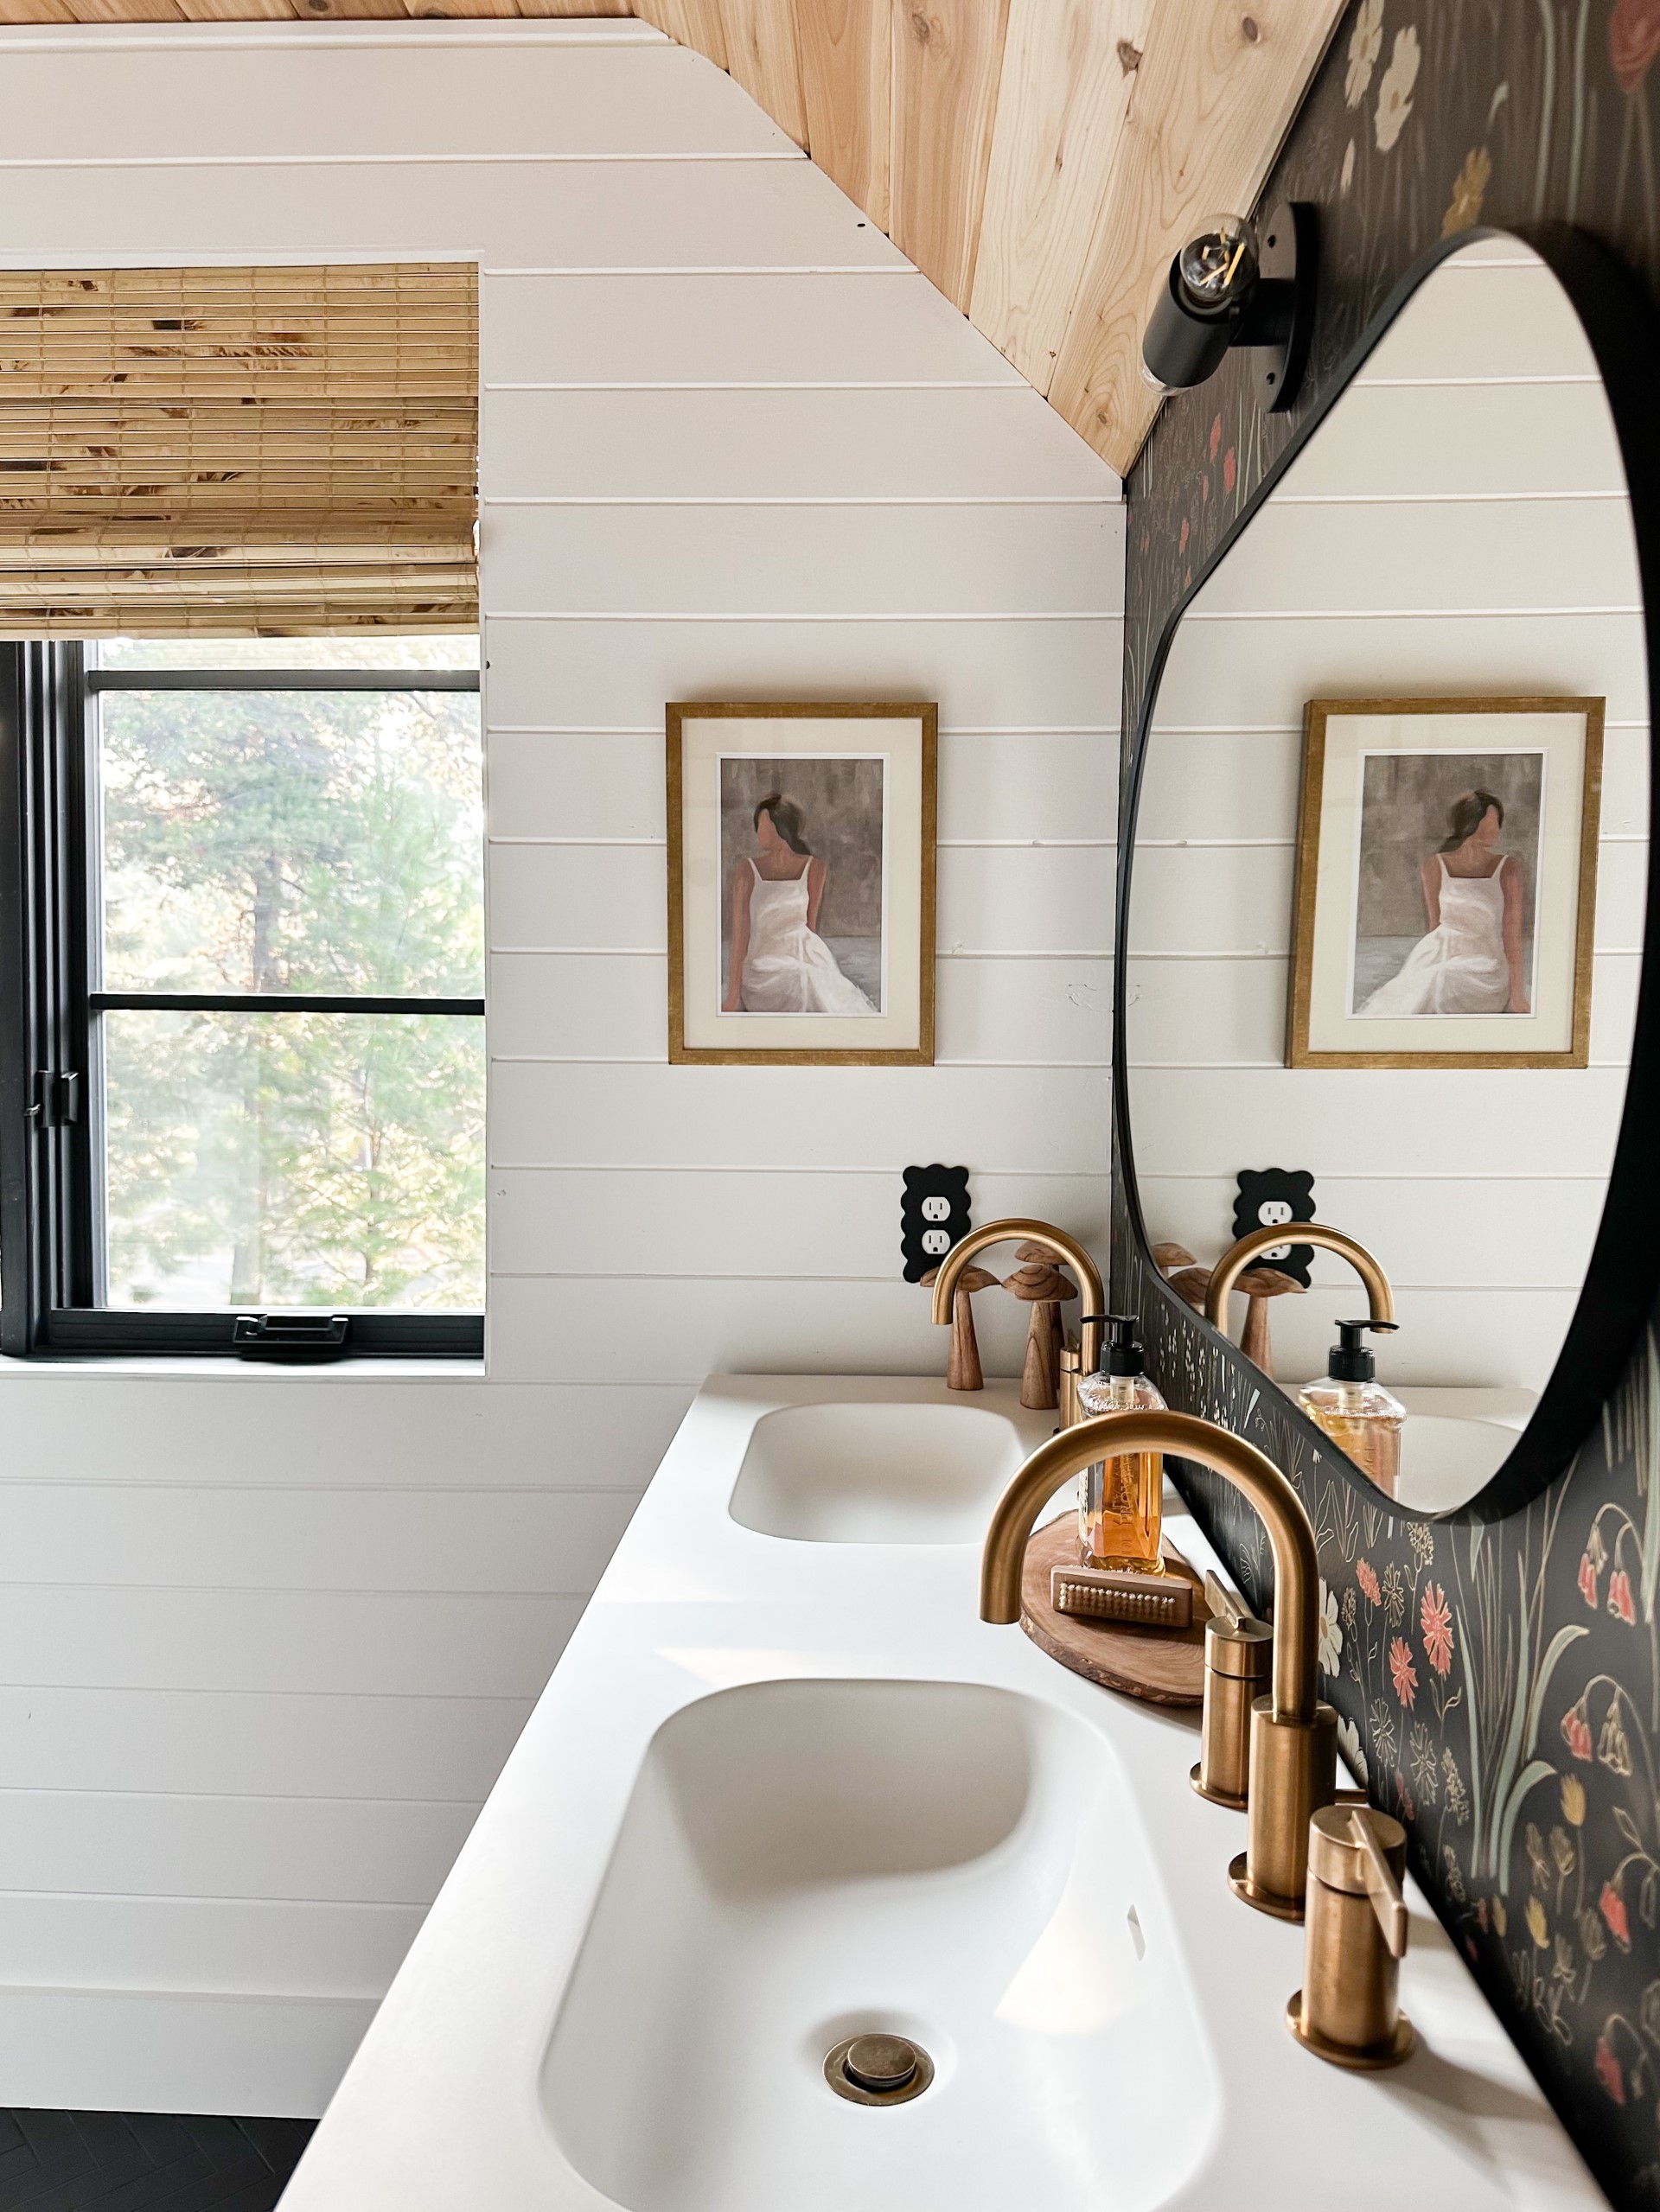
Finding a vanity for this space was tricky. It’s not a standard size…not even kinda close. And there was no room to fudge with a wall on one side and the opening for the toilet, on the other. I finally found this one and not only was it the right size, but it’s GORGEOUS. I mean, just peep those legs! It’s solid teak and has a good amount of storage, probably due to the fact that all the drawers are functional and open. They have cut-outs to accommodate the plumbing that’s behind the vanity on the wall. The vanity was the starting point for the entire bathroom, and once I selected that, everything else just, sorta, fell into place. Even the tile!
The Tile
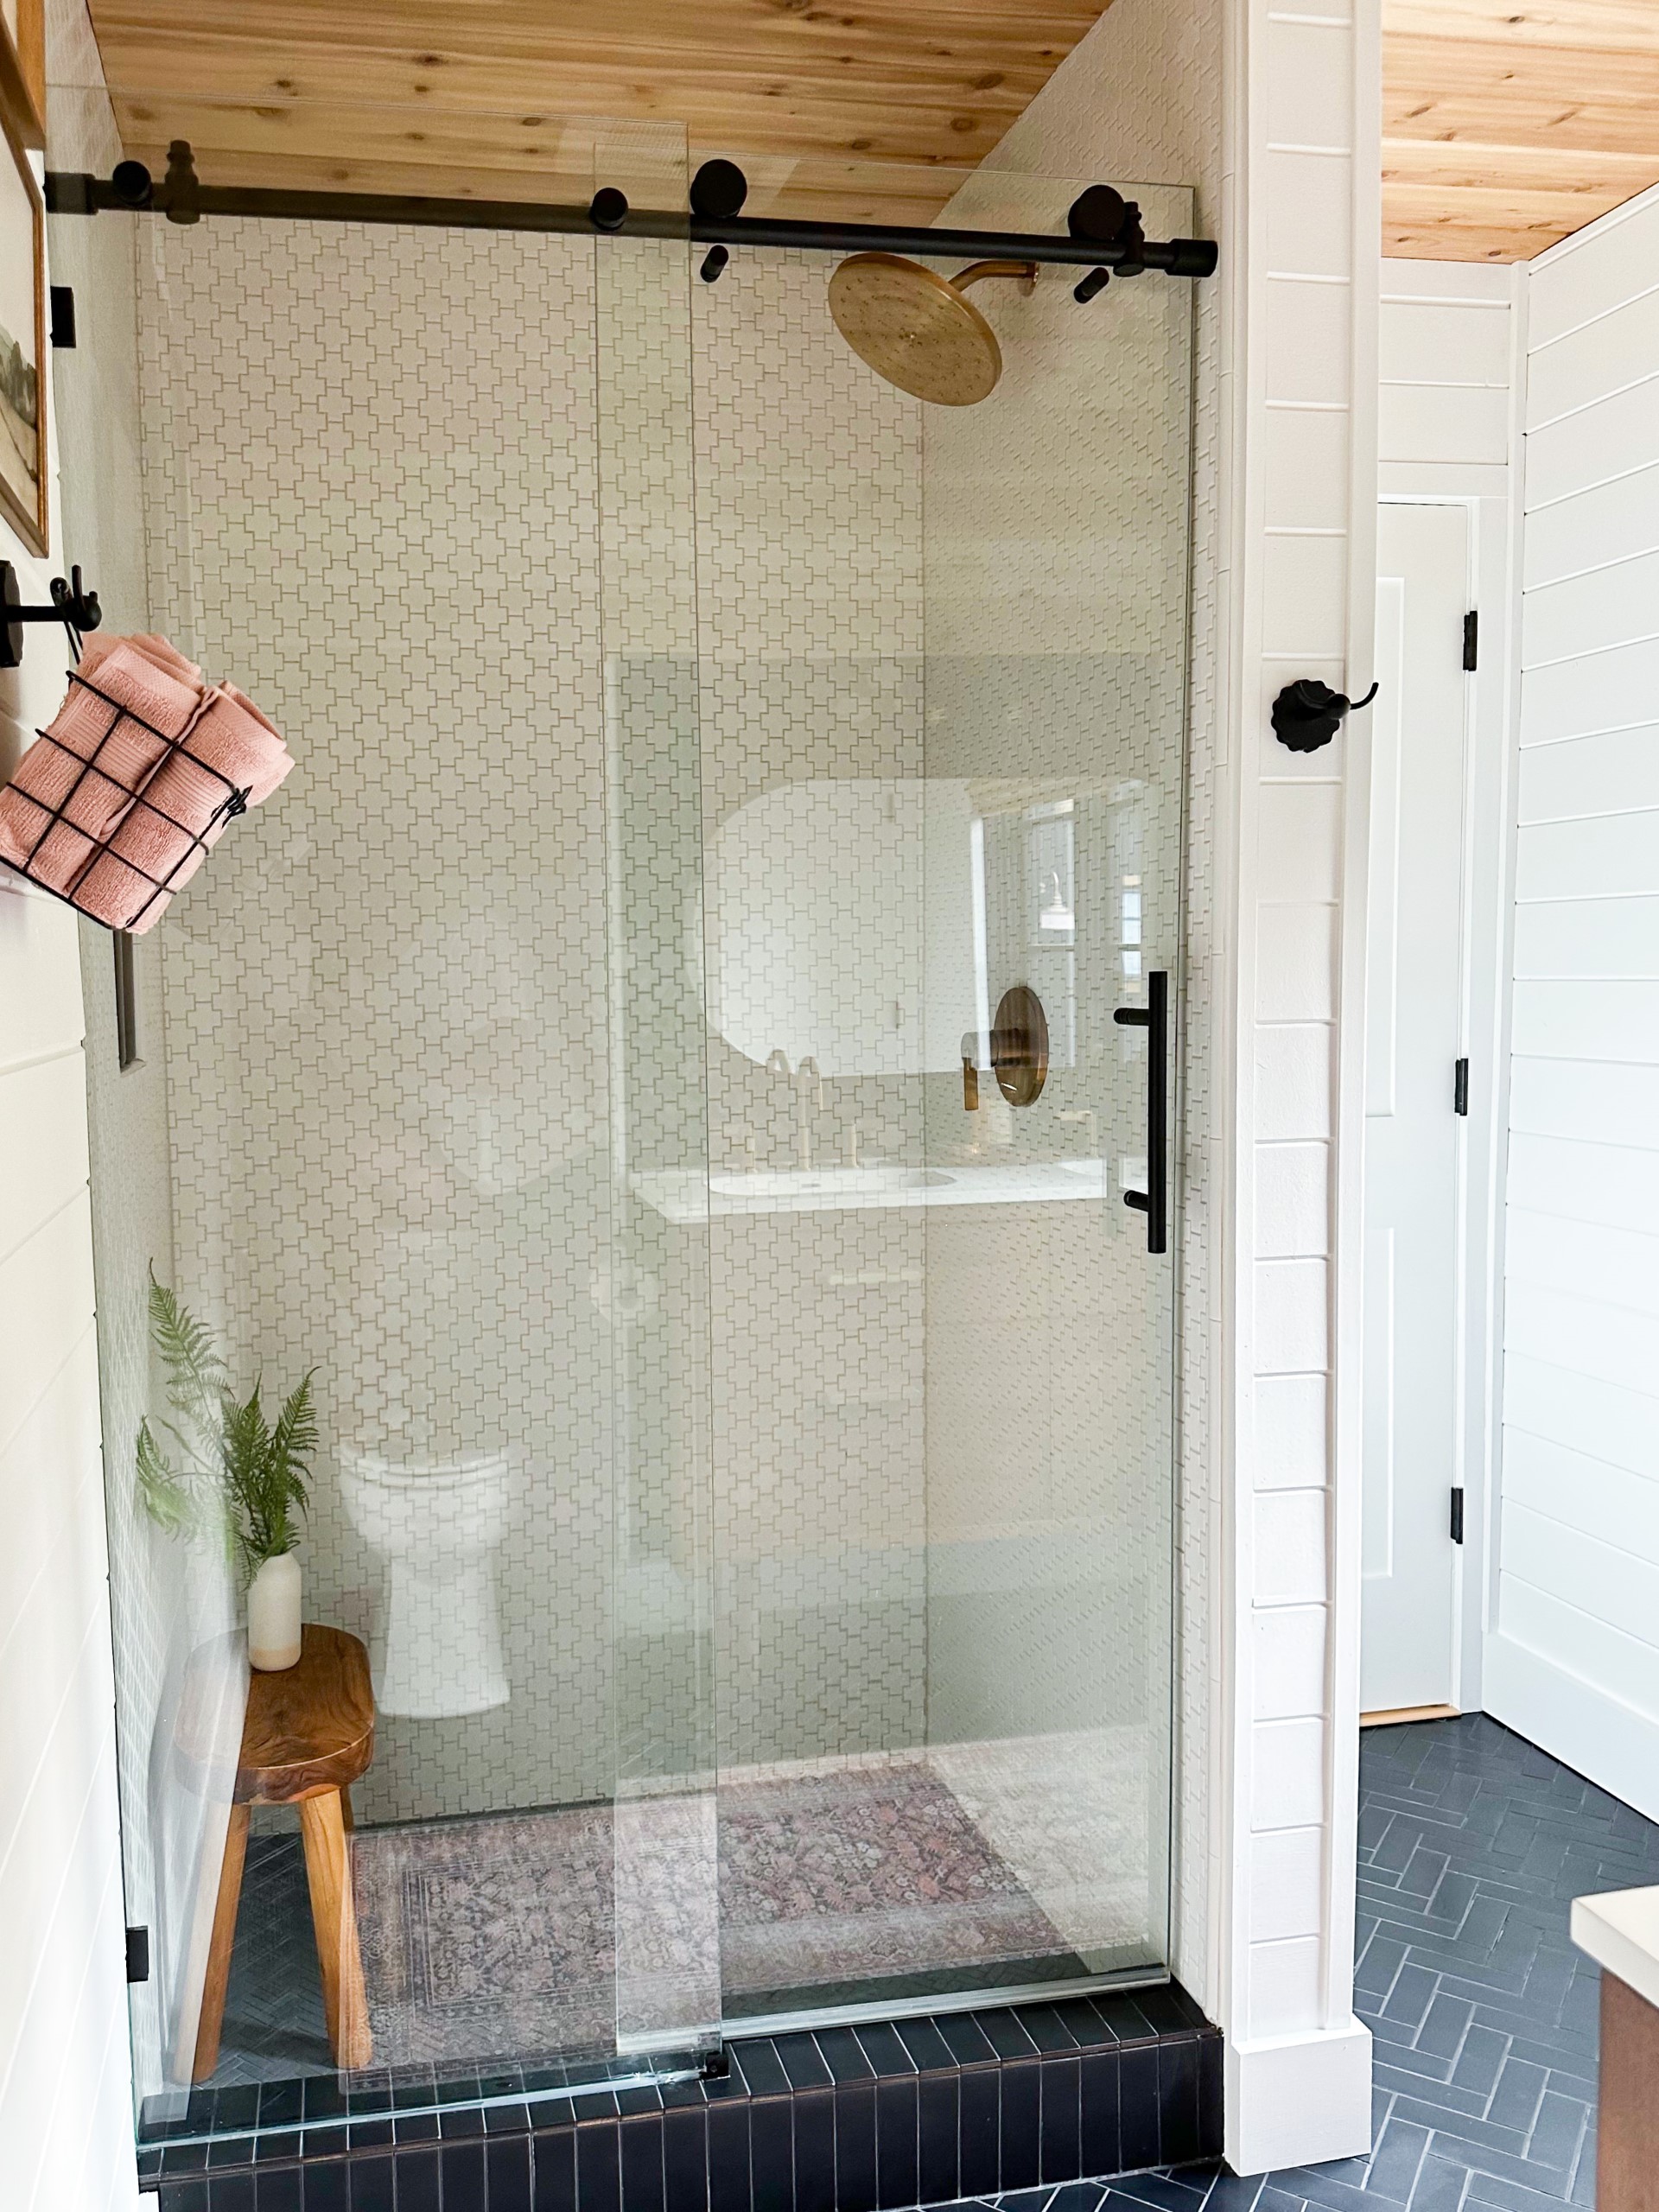
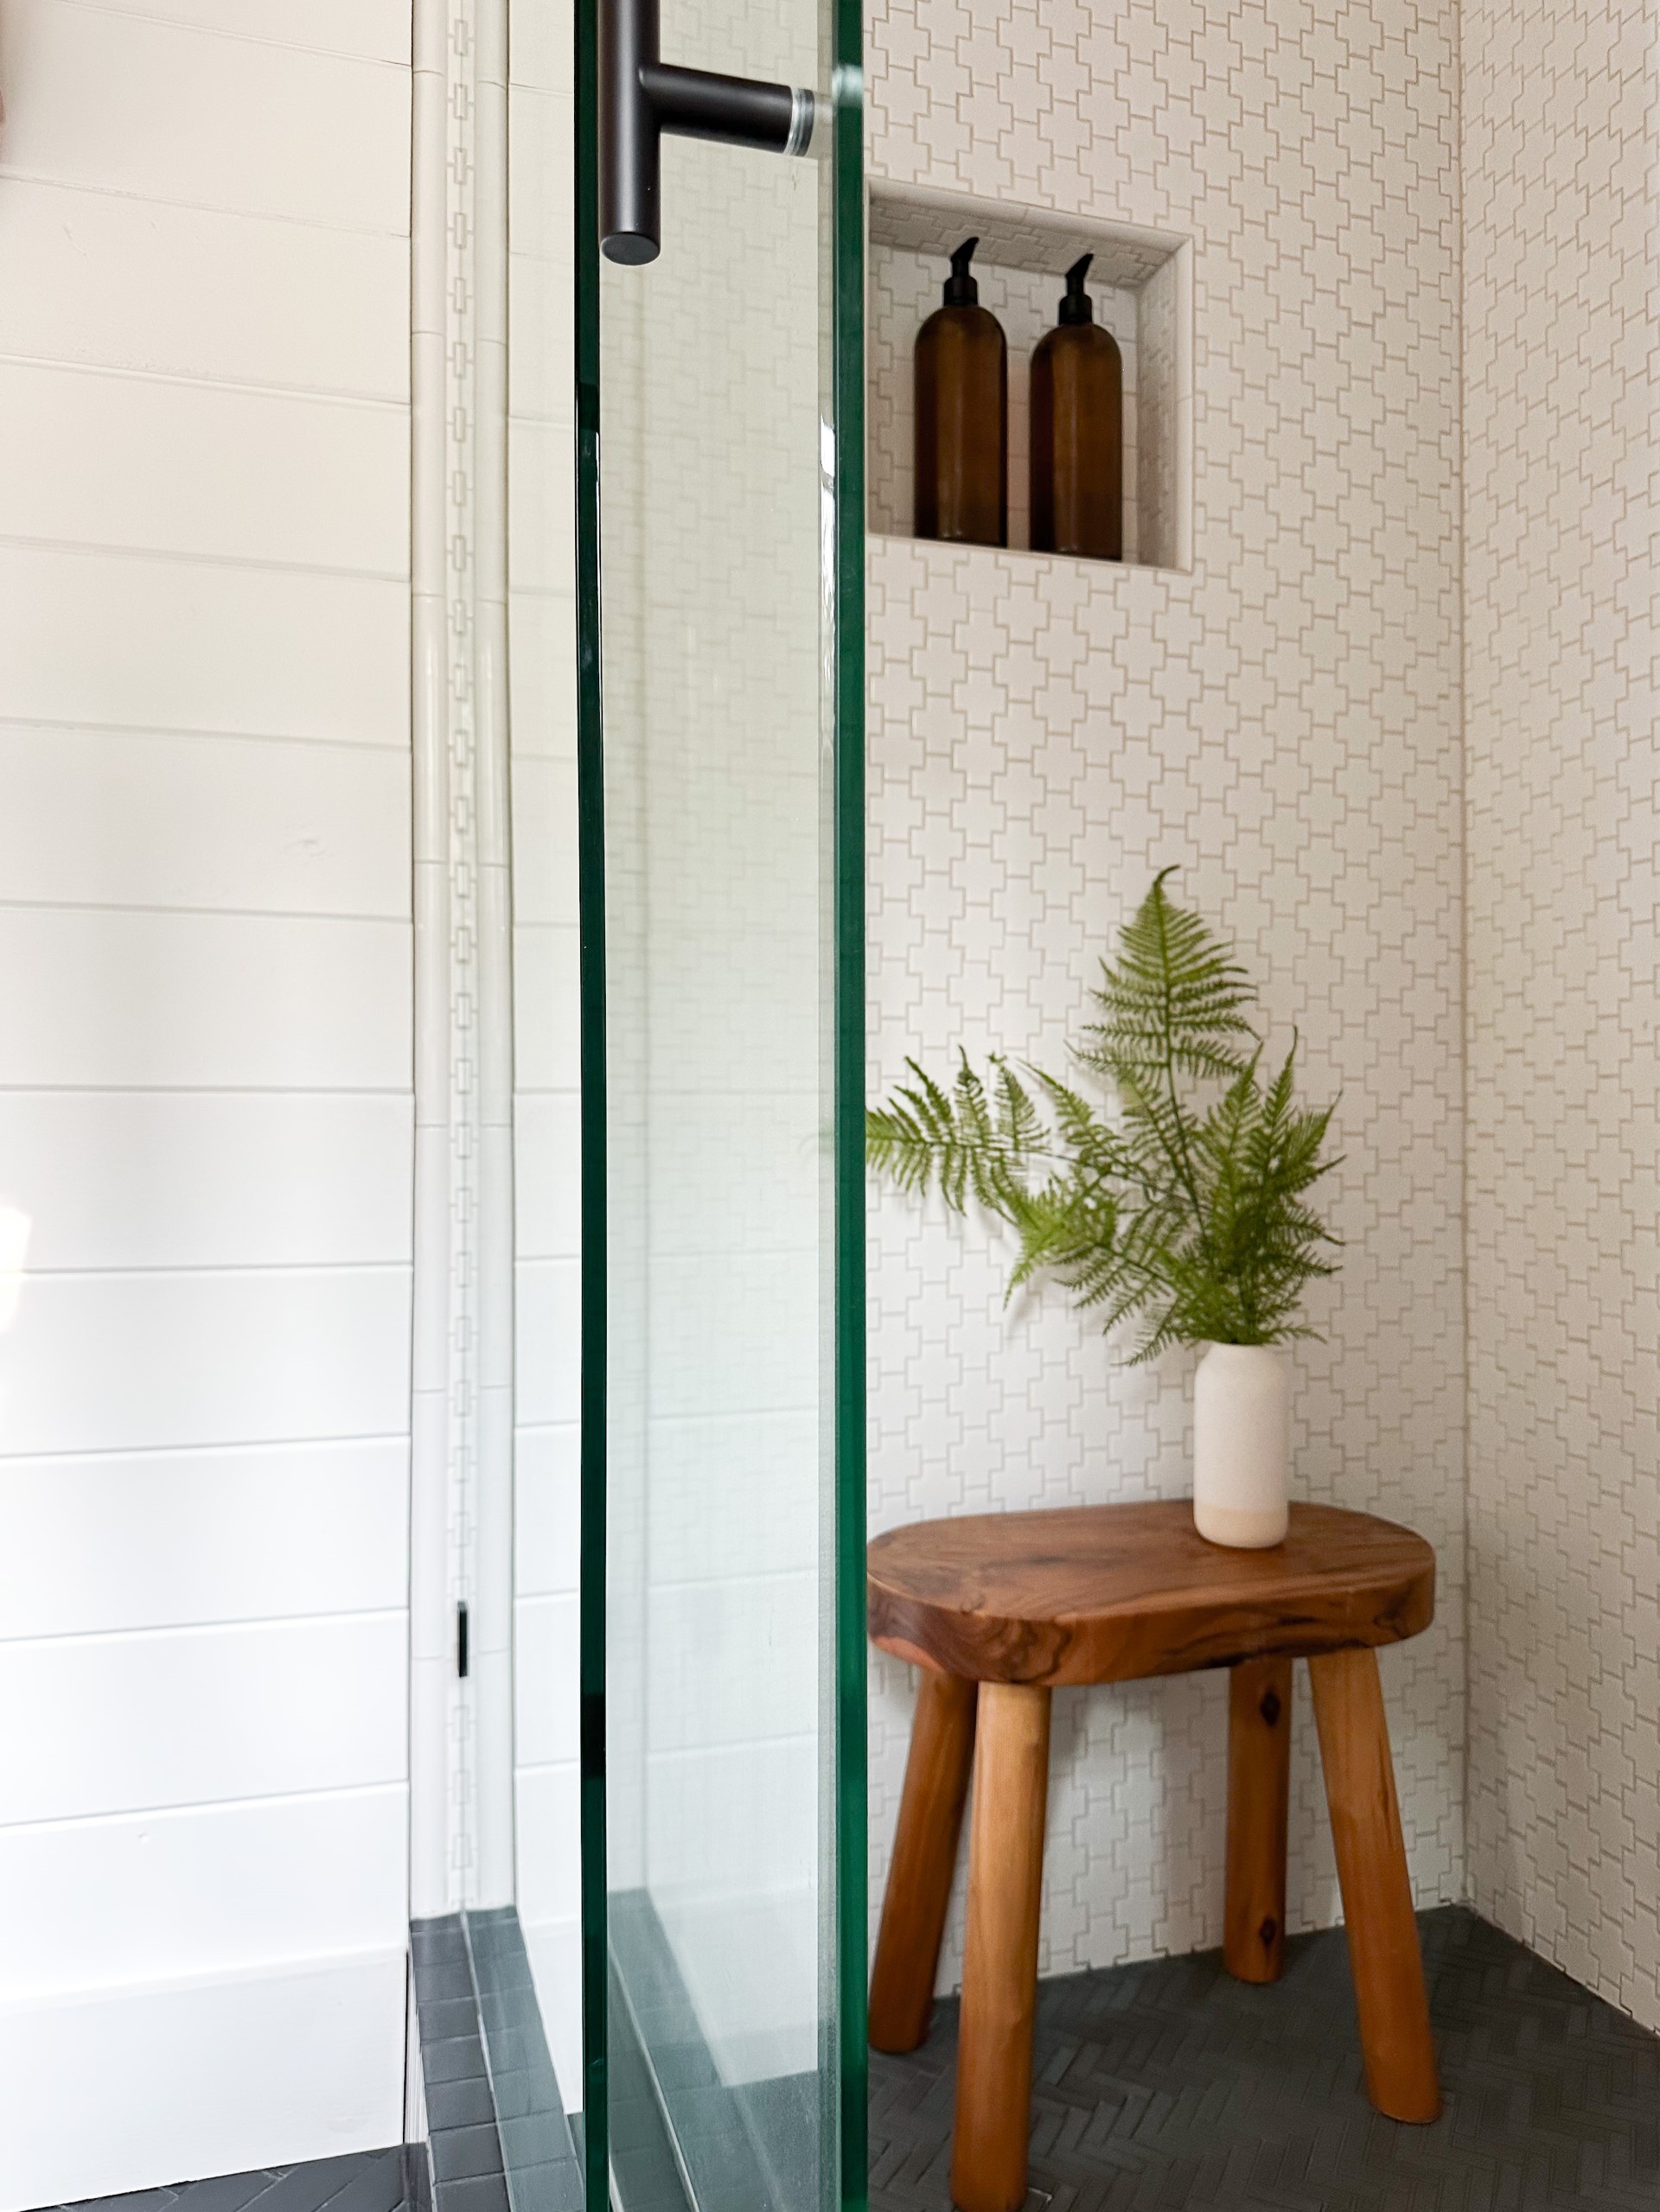
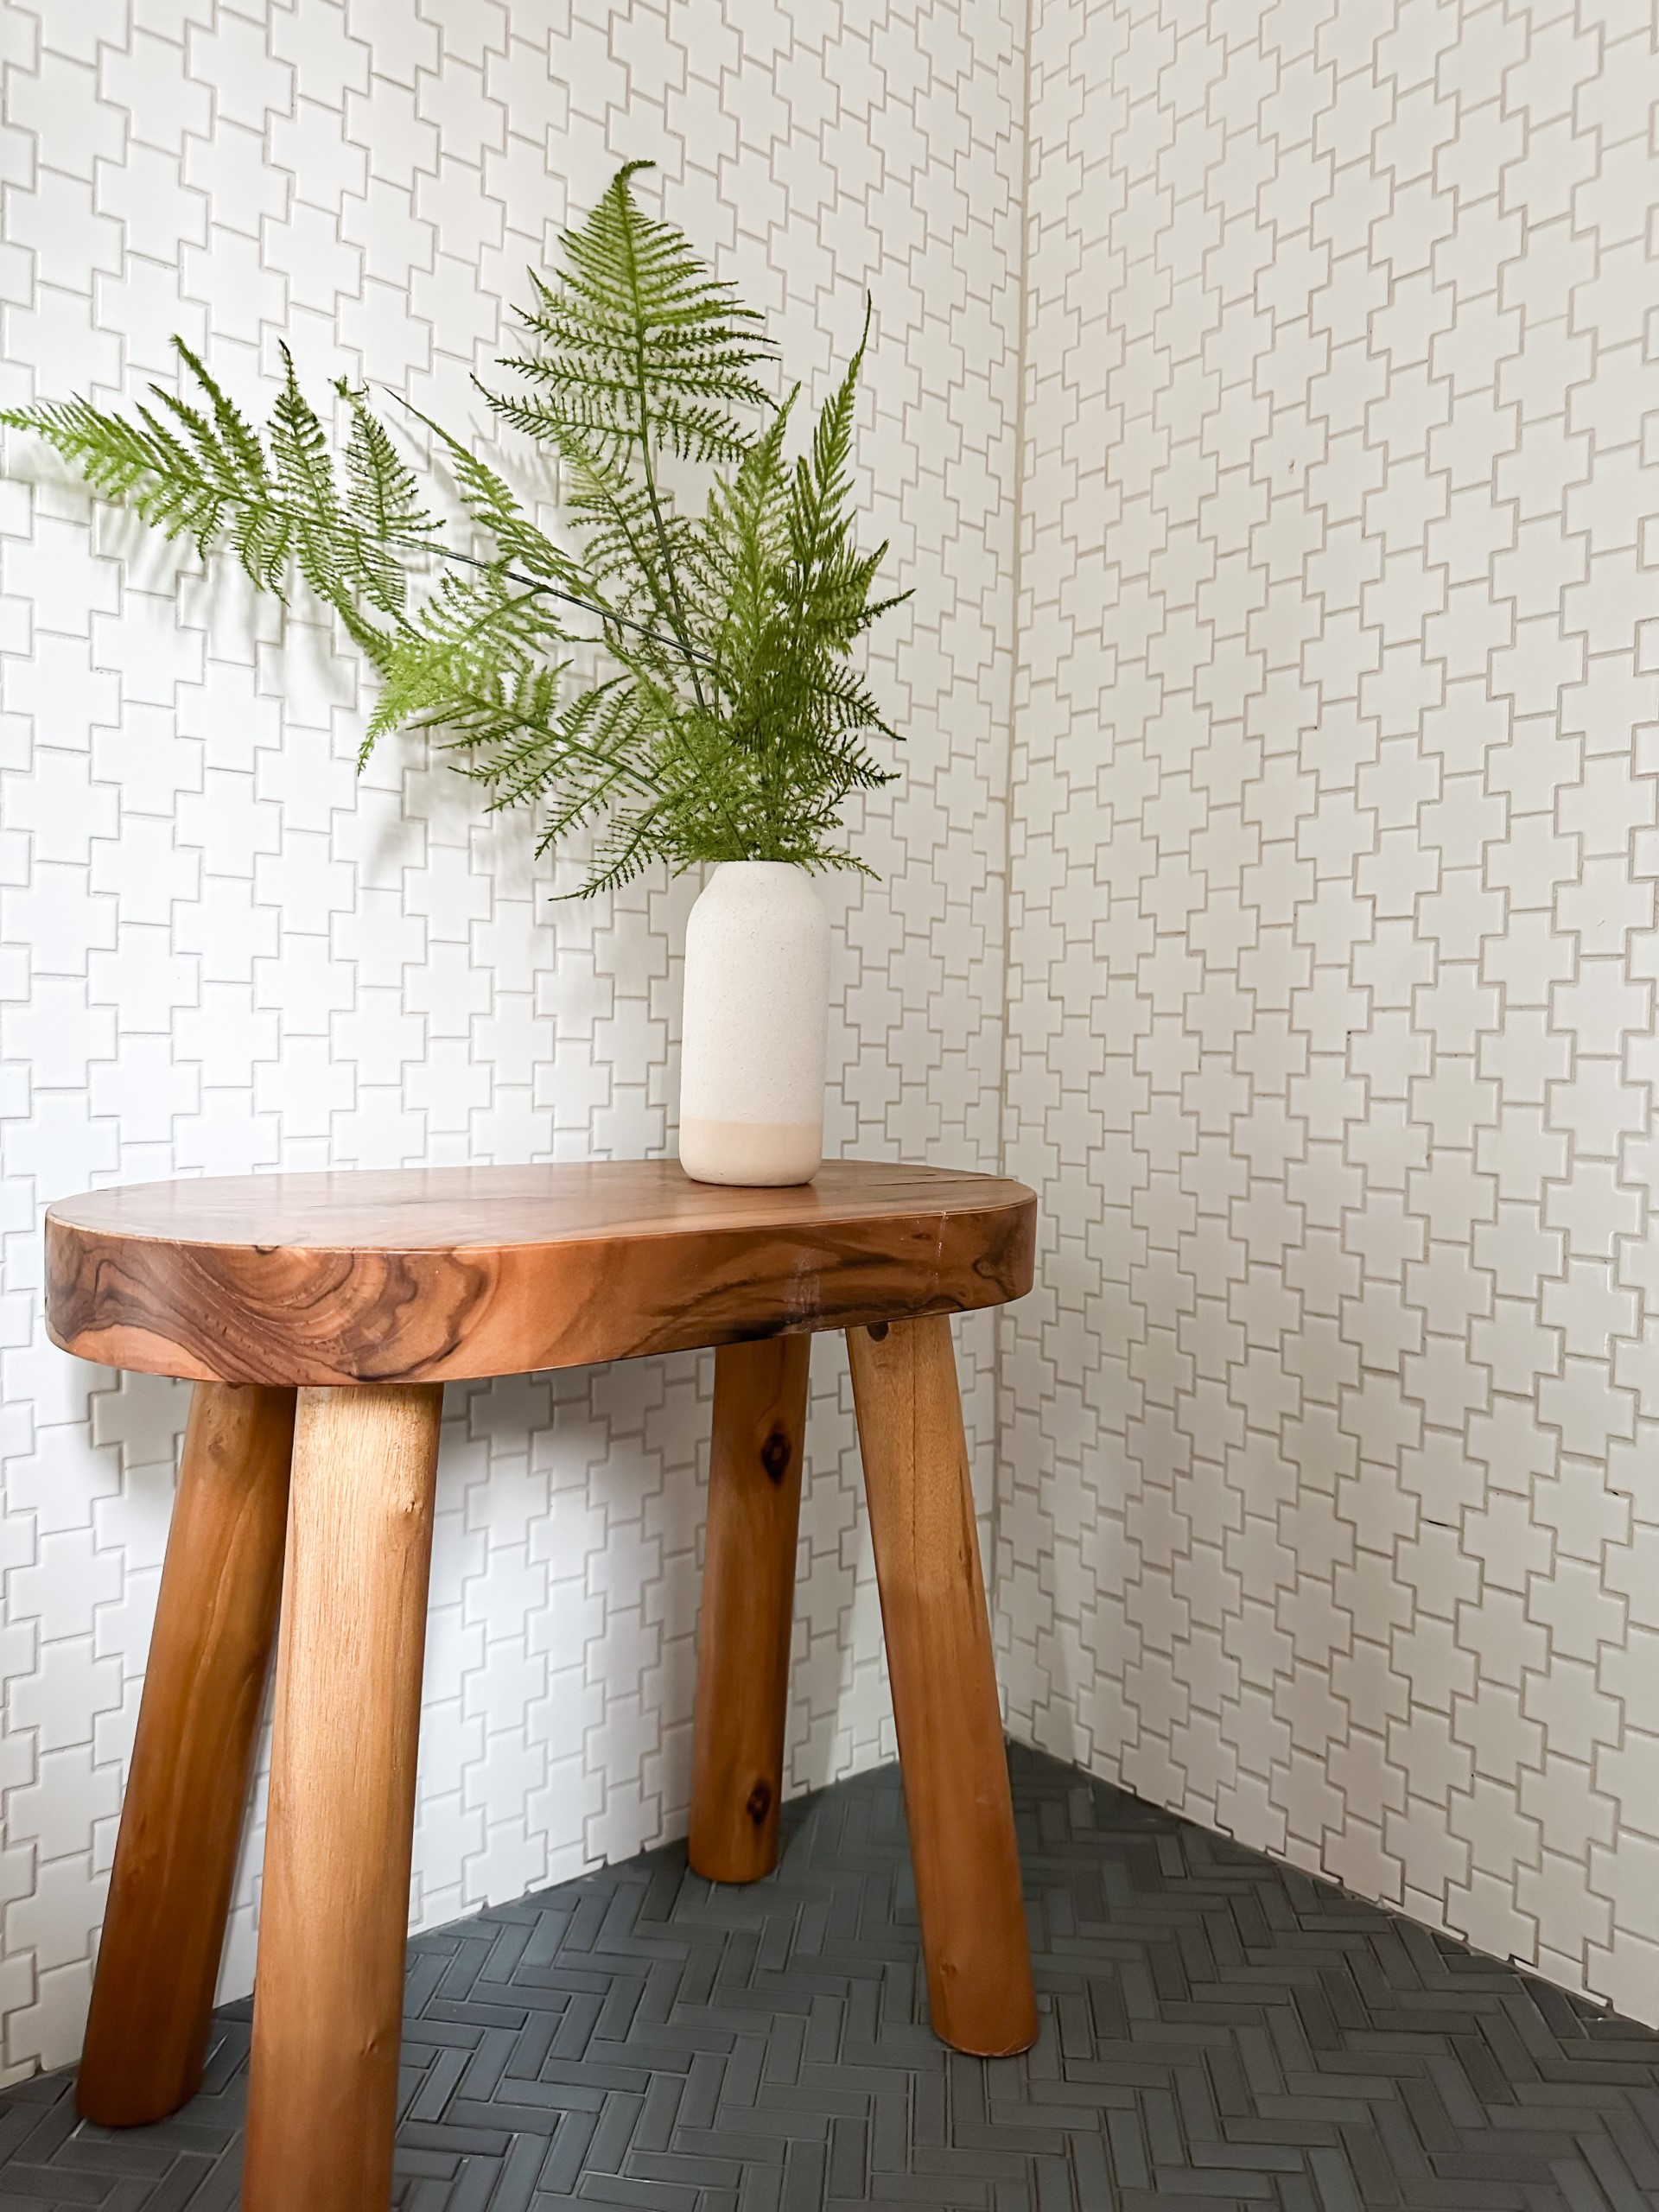
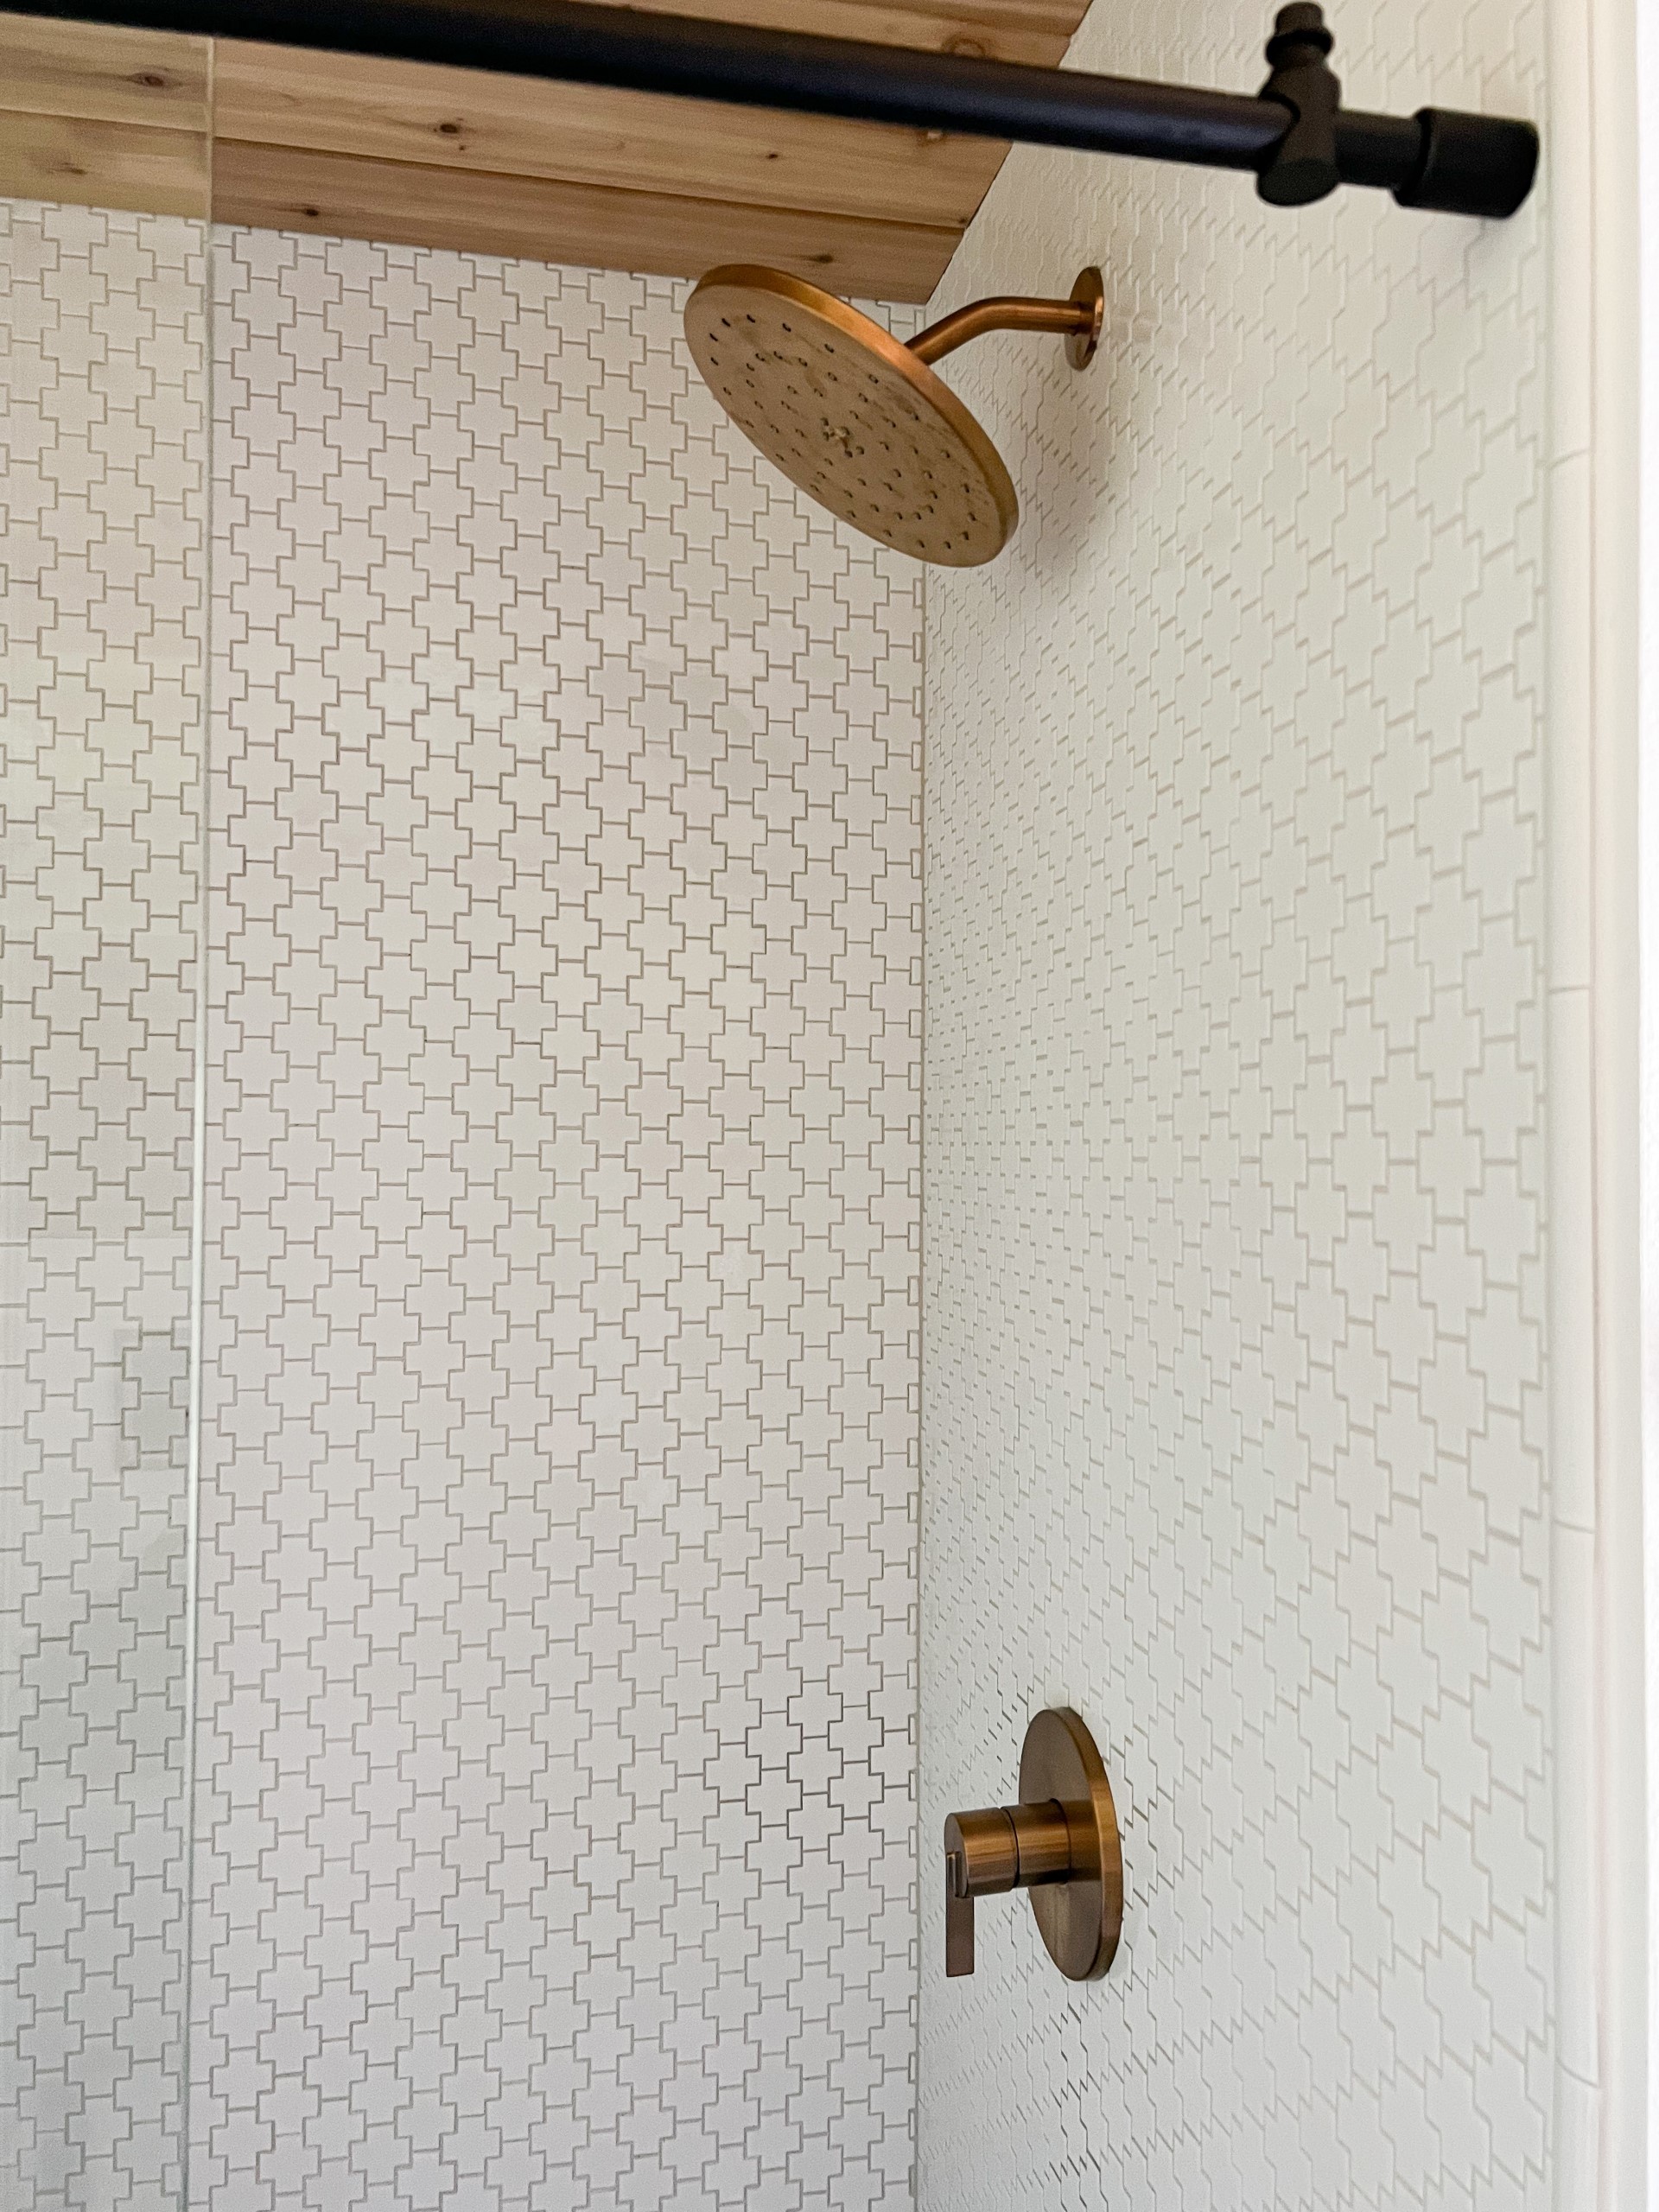
Shower Door | Teak Stool | Shower Faucet | Wiggle Hook
Bathroom Floor Tile | Shower Floor Tile | Shower Wall Tile
After living with an old fiberglass shower surround for nearly four years, I was so excited to start fresh with all new tile everywhere. All of the tile in the bathroom is from Ann Sacks, my absolute favorite tile source! We went with this tile for the bathroom floor, which we had laid in a herringbone pattern. The color is called metallic black, and has lots of depth to it. It’s one of those neat colors that changes depending on the lighting, and I love that about it! I think it’s cool and sophisticated, while still feeling like a classic choice. For the shower walls, I fell hard for these Swiss Cross Mosaics, from their Savoy line. This is the paperwhite color option, and it’s a lovely and warm shade of white. Perfect, IMHO. The swiss cross shape felt just right for a teen girls’ bathroom, and we went with a light gray grout to accentuate the playful design. The shower floor is also from their Savoy line, but in the herringbone pattern. I thought it was a cute nod to the flooring in the main part of the bathroom, but on a smaller scale. The color is called Lantern, a blueish gray hue that I LOVE.
Just check out these Before shots!

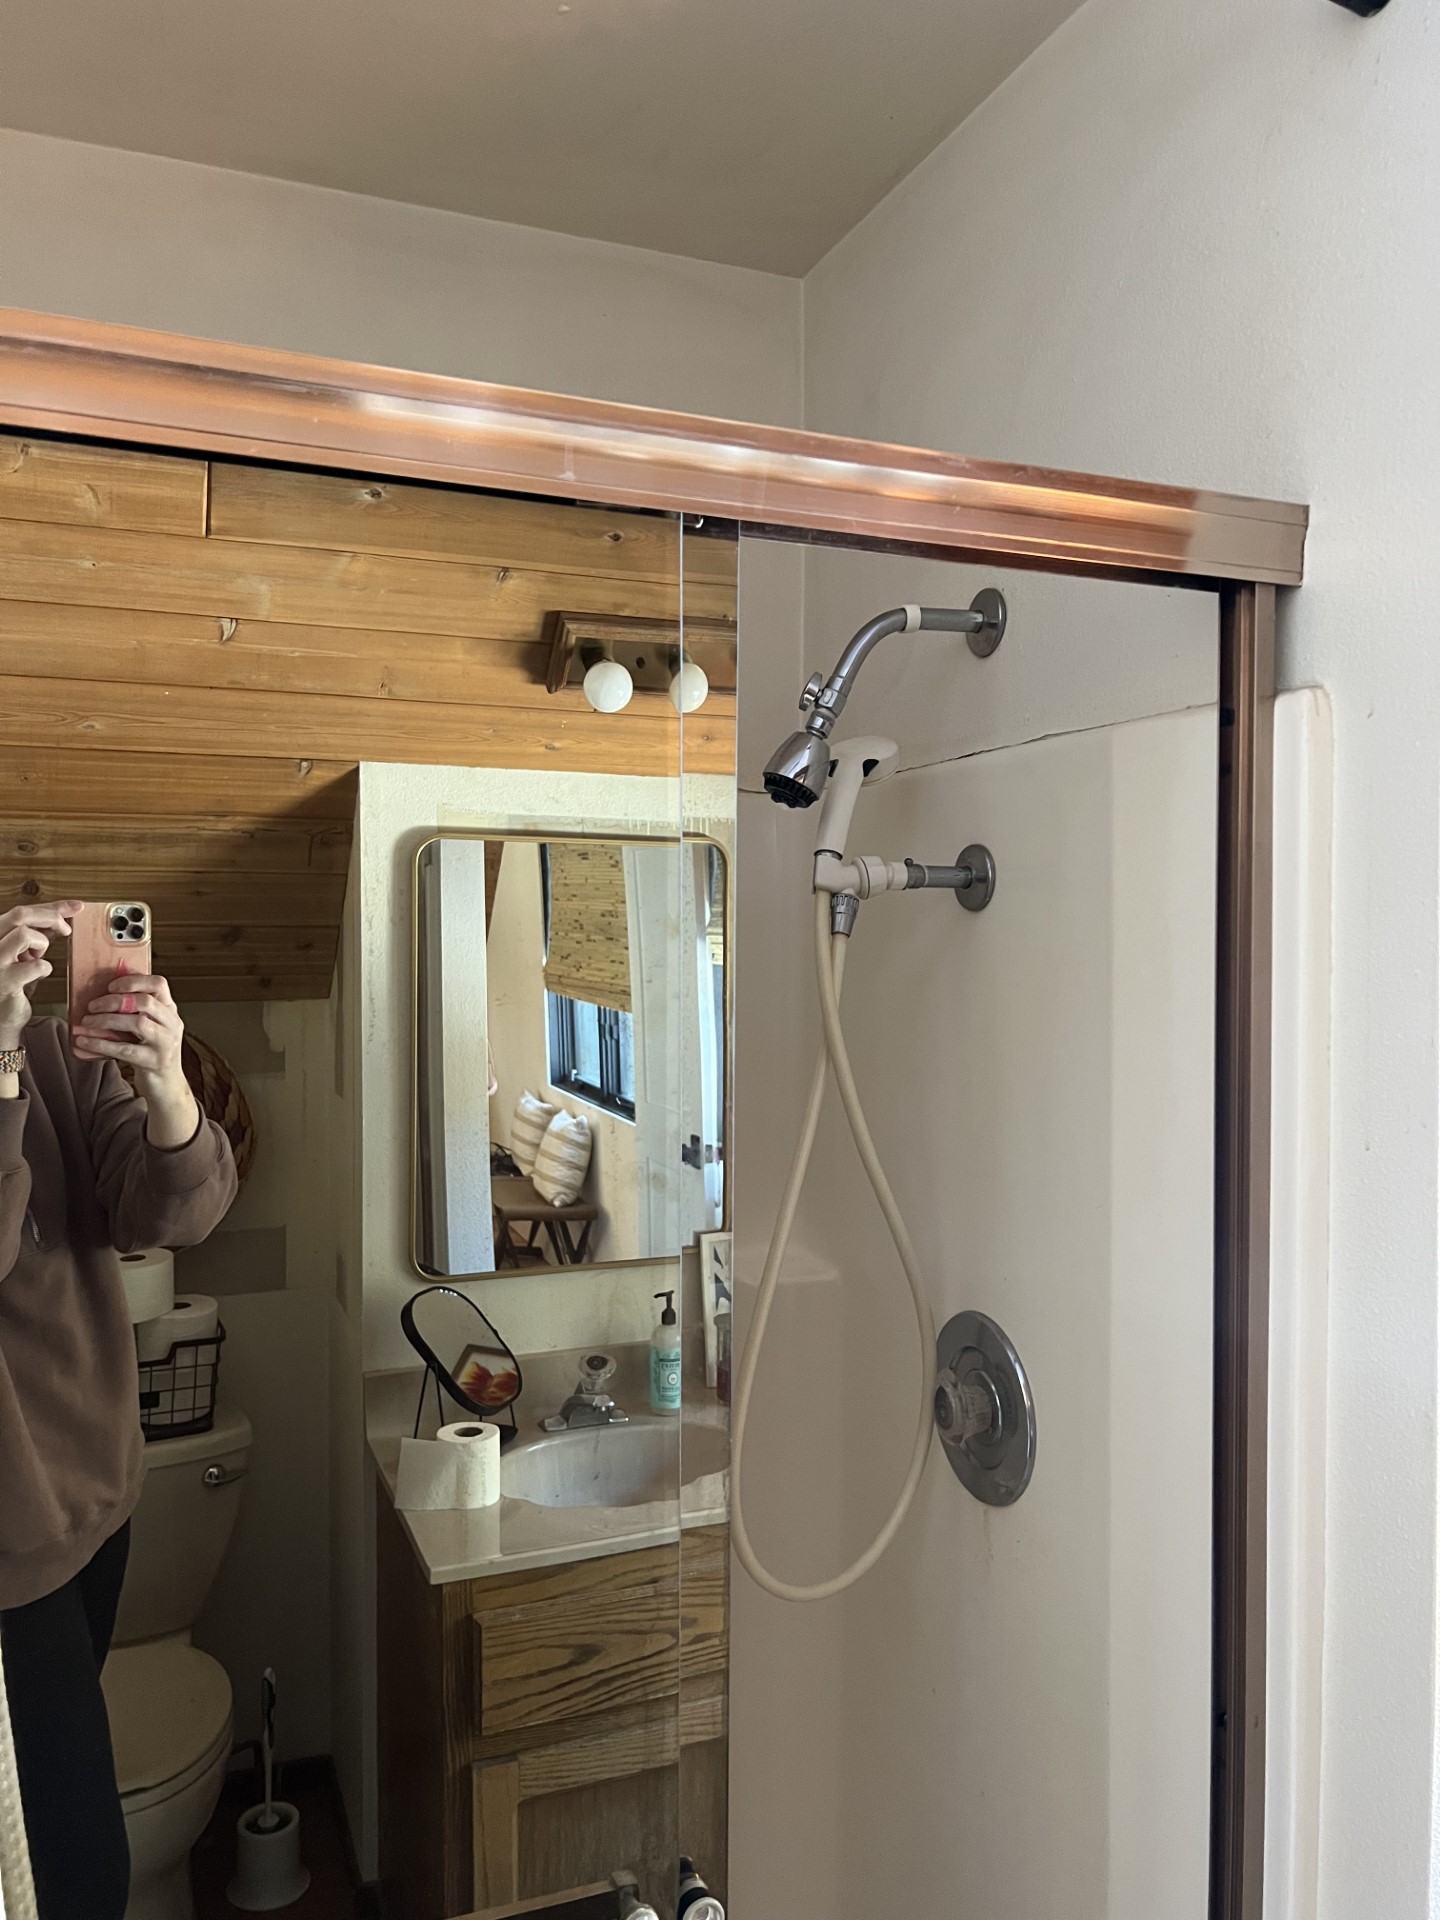
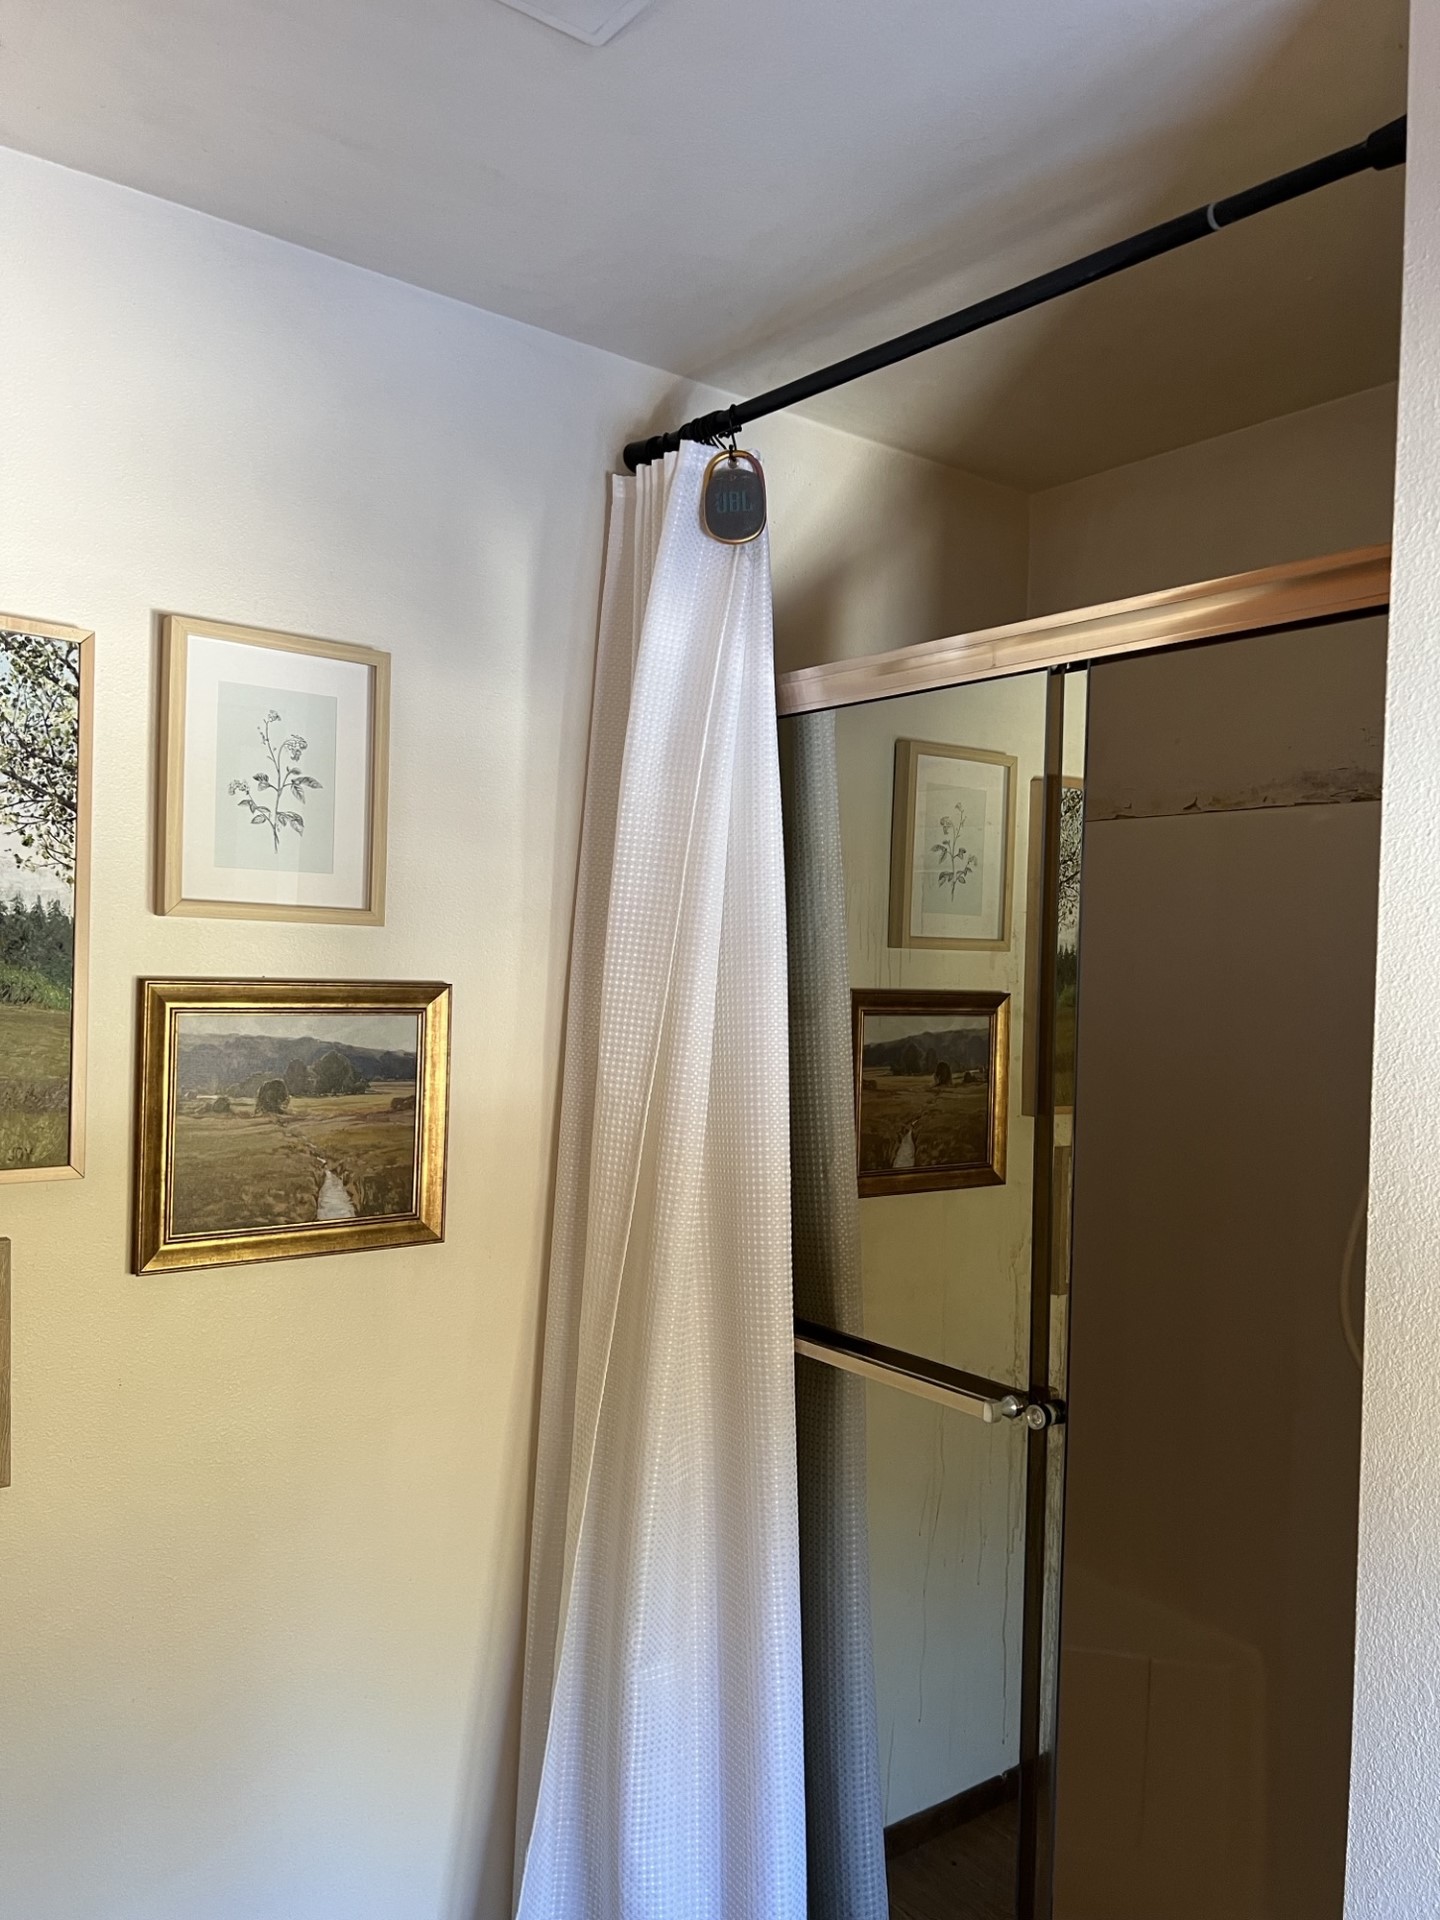
Can you even believe that this is the same space?!
The Walls and Ceiling
Seated Woman Painting | Wiggle Outlet Cover | Wood Blind
Originally, in this bathroom, there was a small section of ceiling that was clad with a five inch cedar tongue and groove. We always loved that about the space, probably the only thing we loved, in fact. Ha! But we thought, what if we continued this cedar throughout the entire ceiling? Yes, please! I love the warmth that it adds and the cedar gives it kind of a spa type vibe. We sealed the boards before install for extra protection from moisture. The walls are also a five inch tongue and groove, but in pine. We went with the pine for the walls because I knew they would be painted Extra White by Sherwin Williams. This is the same white that I’ve used throughout the house. It’s a true white without any undertones. At least, any undertones that I can detect with my ultra-sensitive undertone detecting eyes.
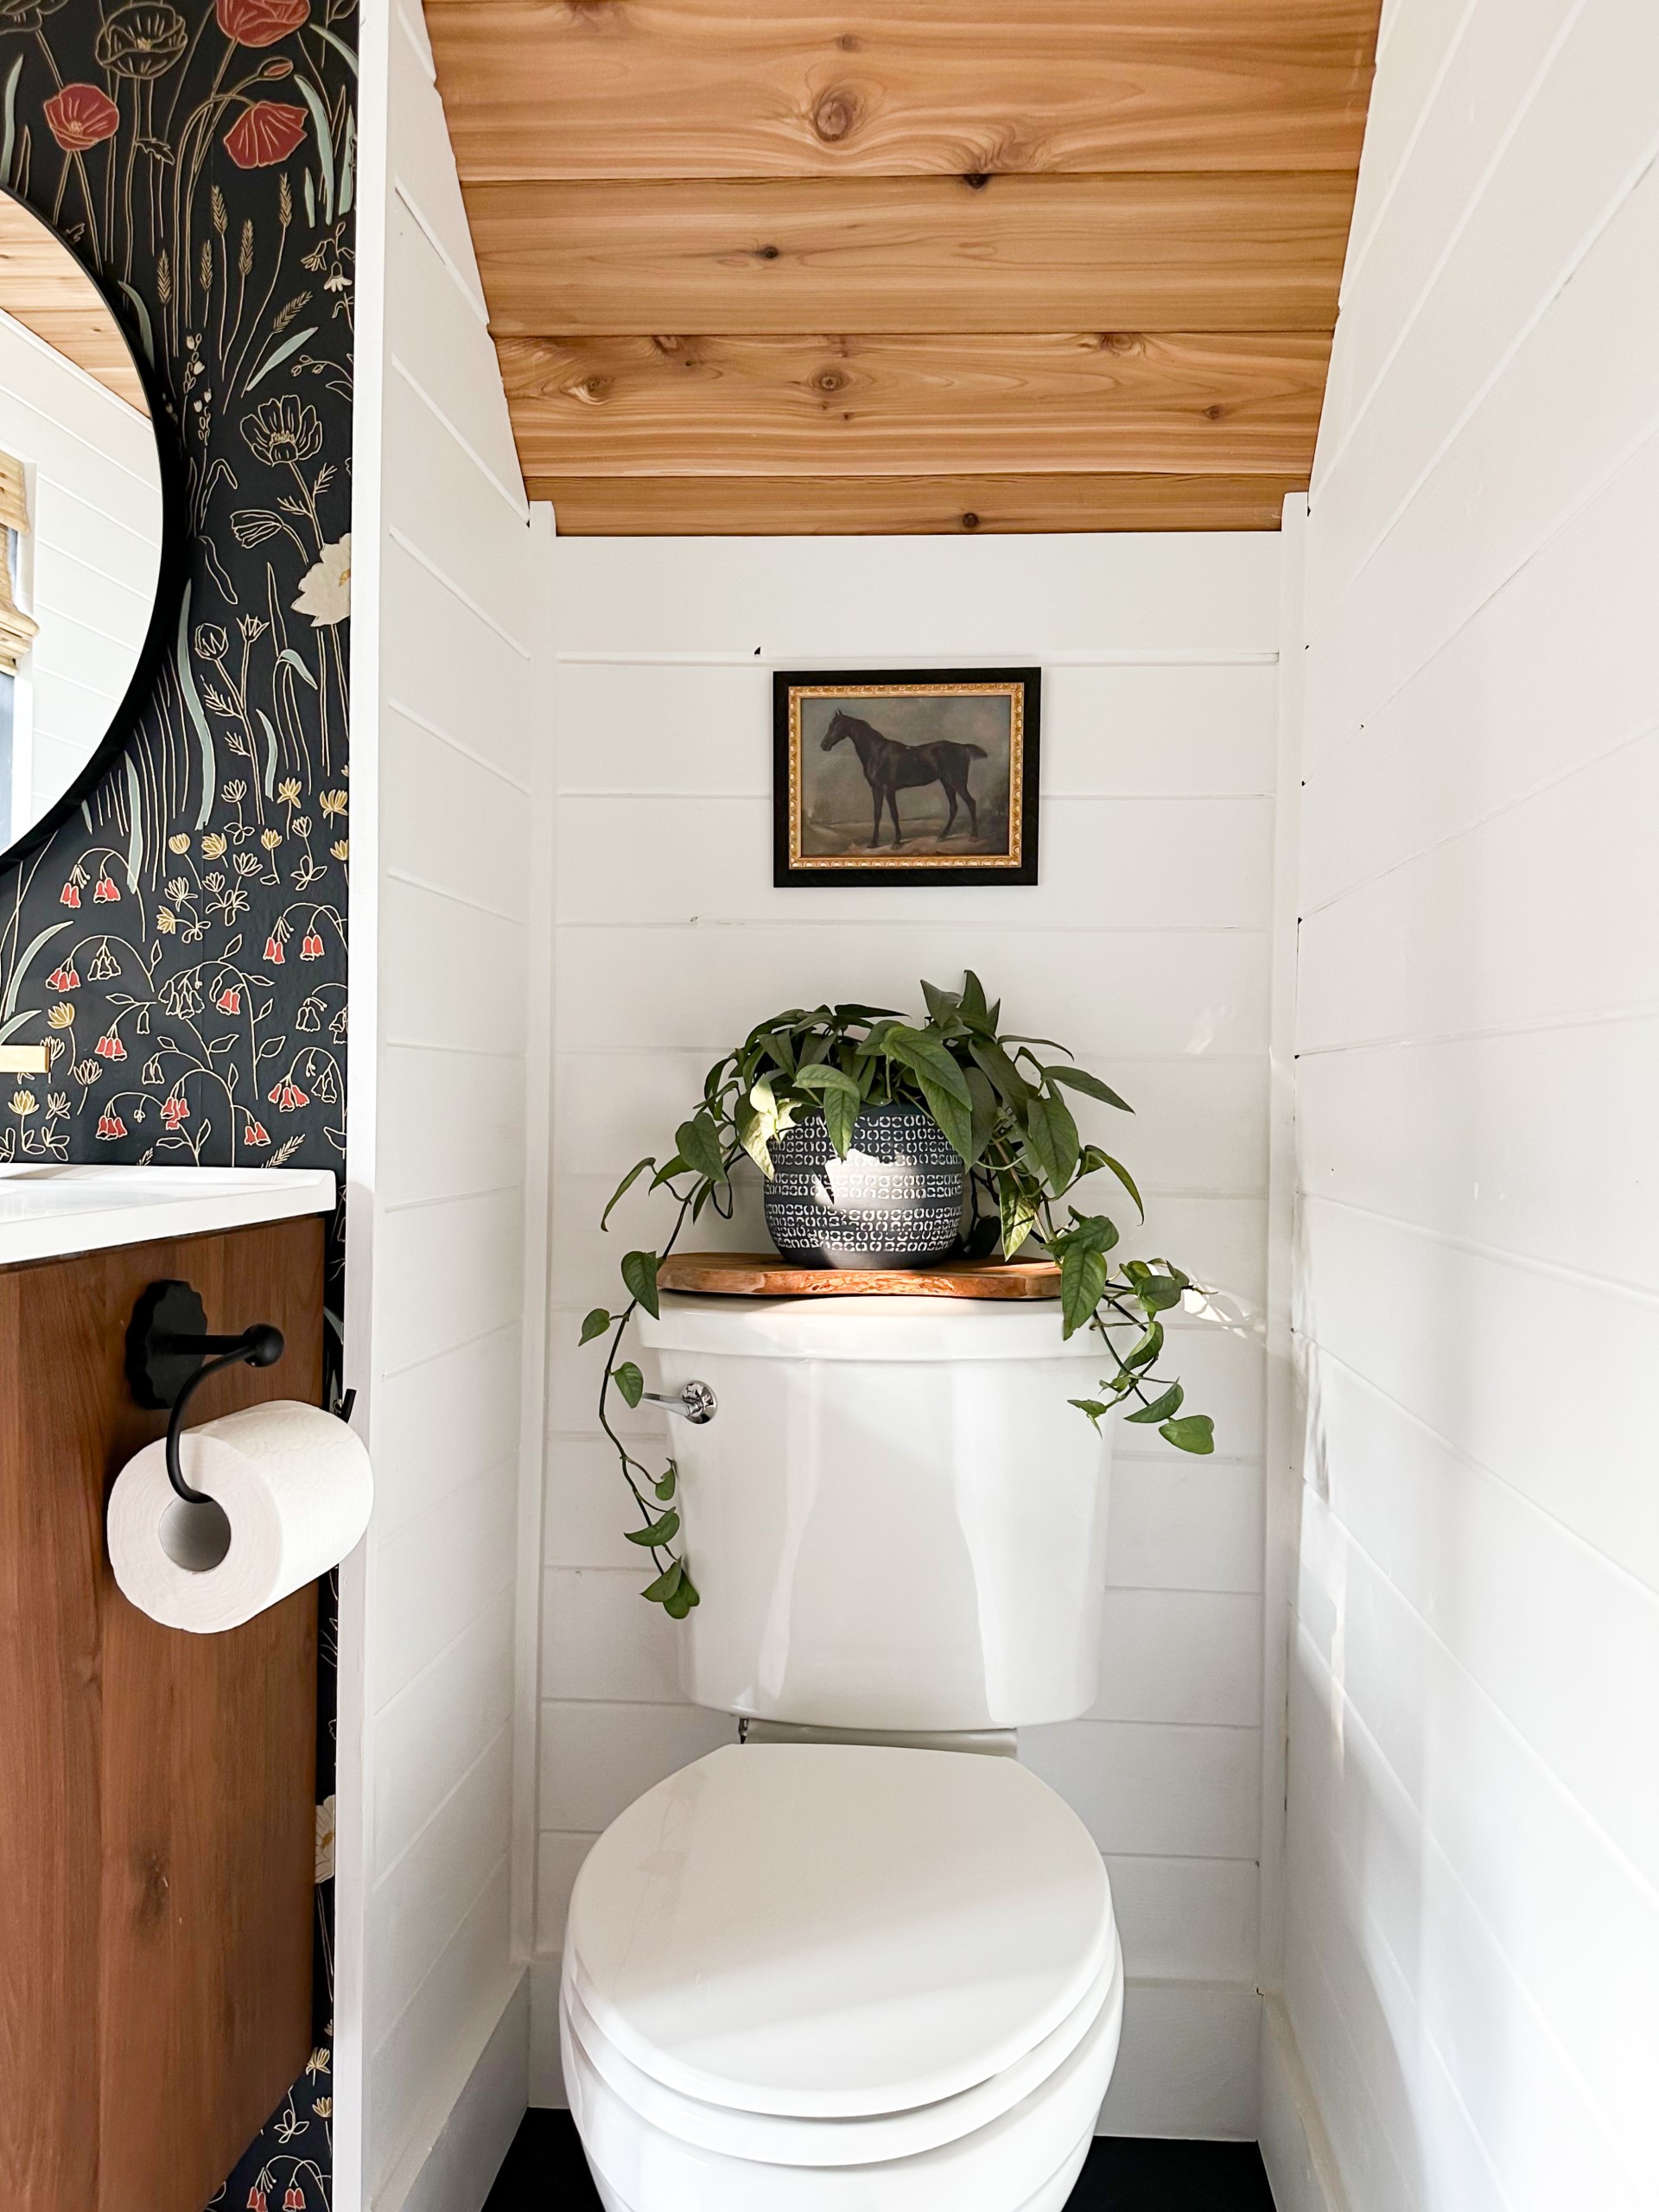
| Wiggle Toilet Paper Holder |
And that’s a wrap! It feels so good to finish this project up, I mentioned earlier this week how this is my new favorite space in the house and I meant it! I LOOOOOVE every square inch of this little bathroom, and I cannot help but smile when I walk in.
XOXO
PS…I tried to source everything for you guys. But, if I missed something, let me know in the comments below, and I’ll do my best to track it down for ya!