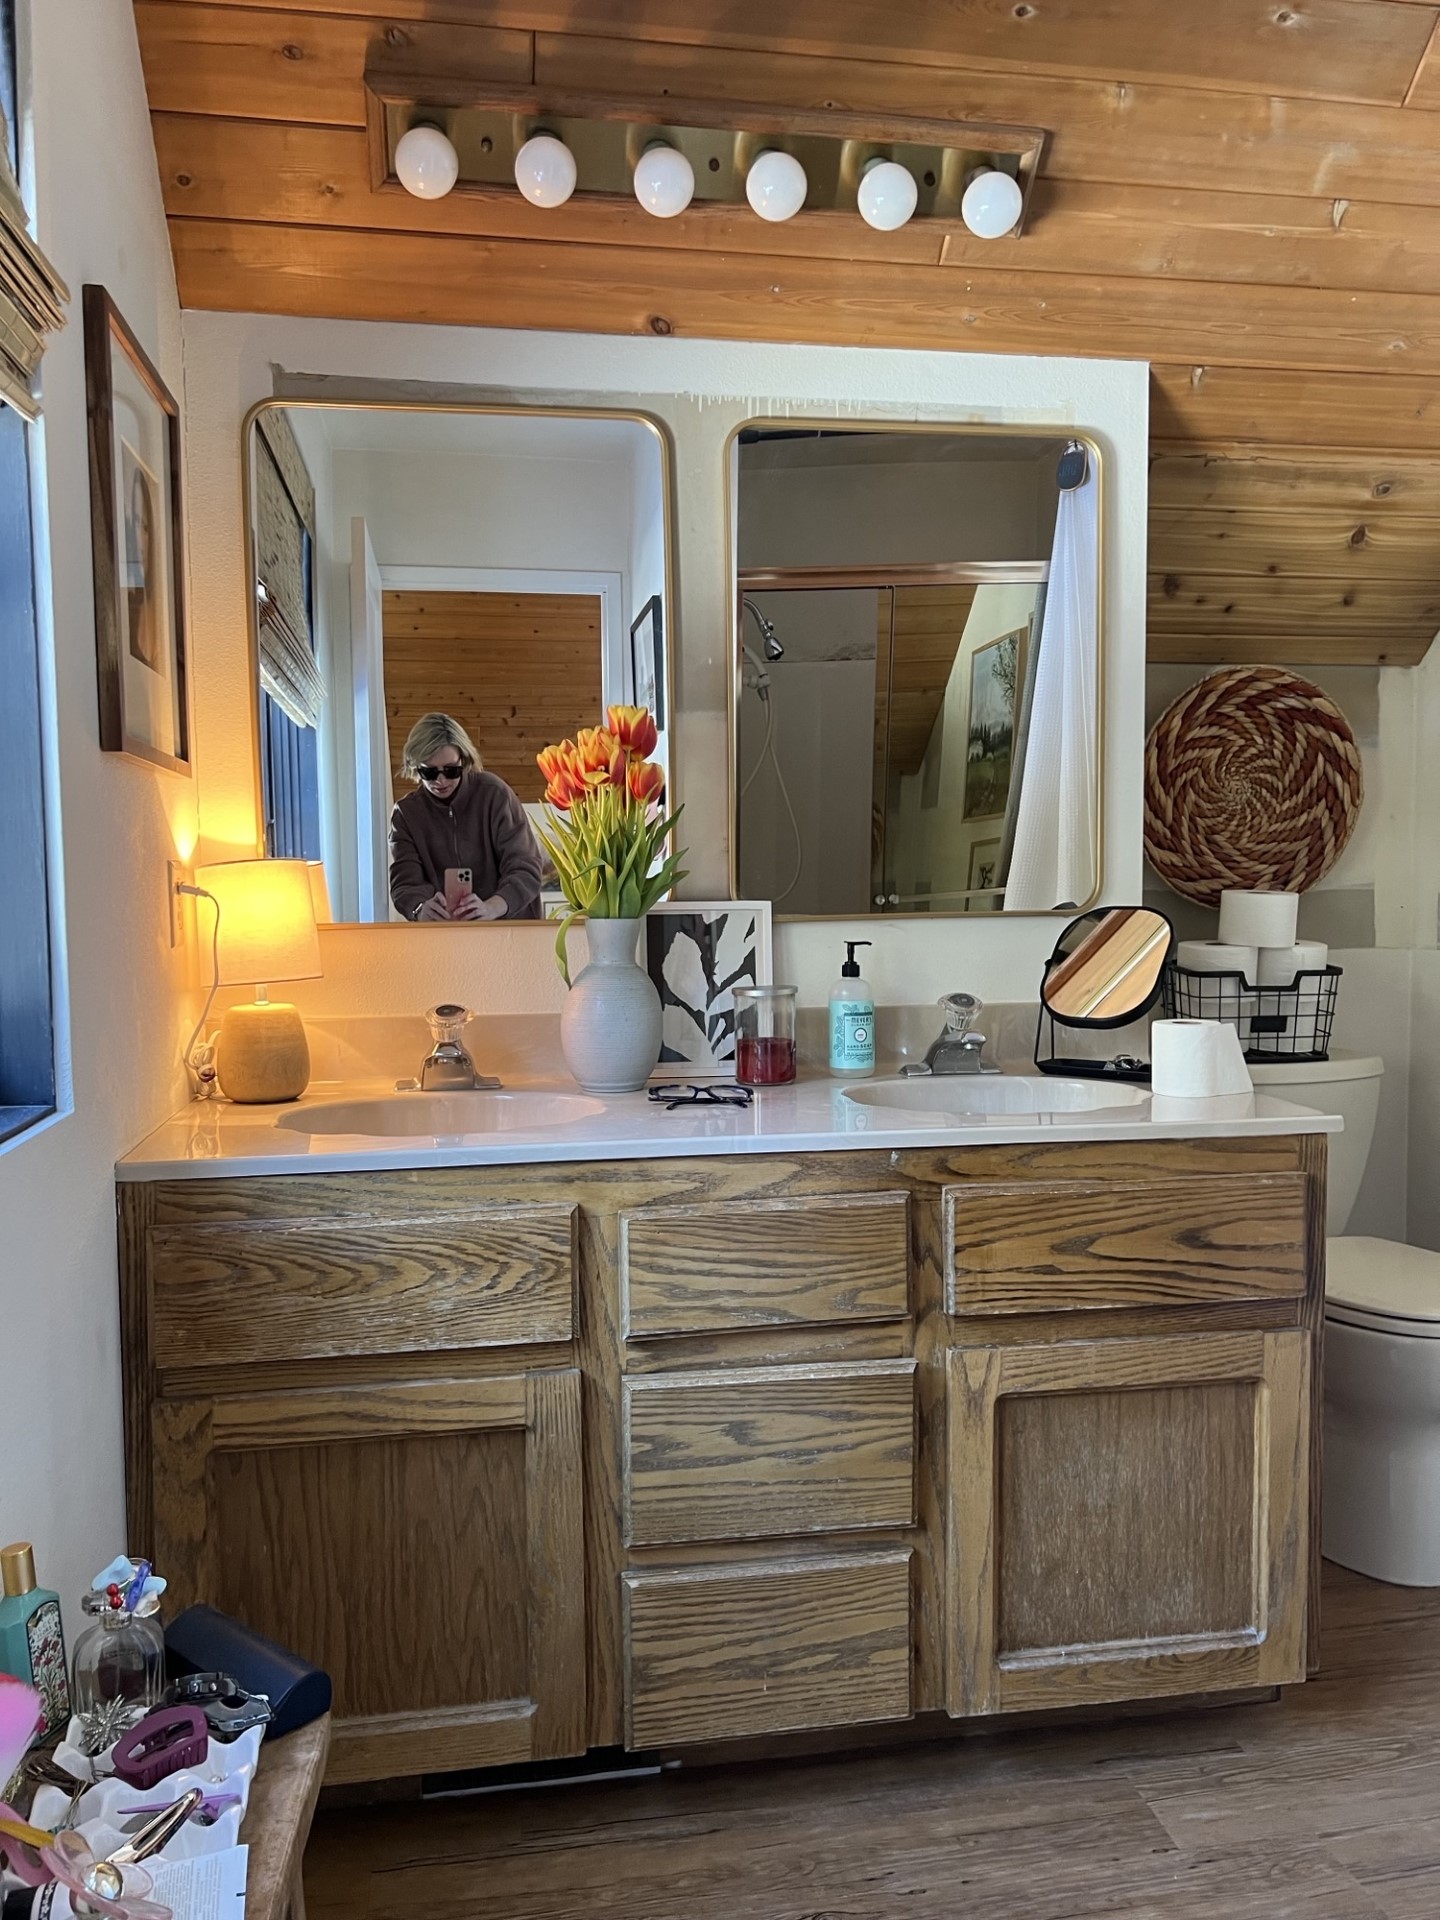
Hi guys! We’re starting this year off with a bang with a brand new bathroom reveal! This project is a first for us, because this bathroom project wasn’t our typical remodel. It actually didn’t even exist when we bought our house. Confused? Let me explain.
Back in the fall of 2019, we purchased this old fixer upper, knowing that there had been a bedroom addition that was added onto the original floor plan some time during the 1990’s. It was in rough shape though; we’re talking no HVAC, no insulation, and no foundation. The other BIG issue with the space was that there was no way to access it, unless you went through the second bedroom. As a family of five, we desperately needed this bedroom and the extra square footage that it added to our modest size home. So….after meeting with an architect, several engineers, and five different builders, we had plans drawn up to fix this addition and slightly modify our floor plan to accommodate a new bedroom, a new bathroom (EEK!), and a closet.
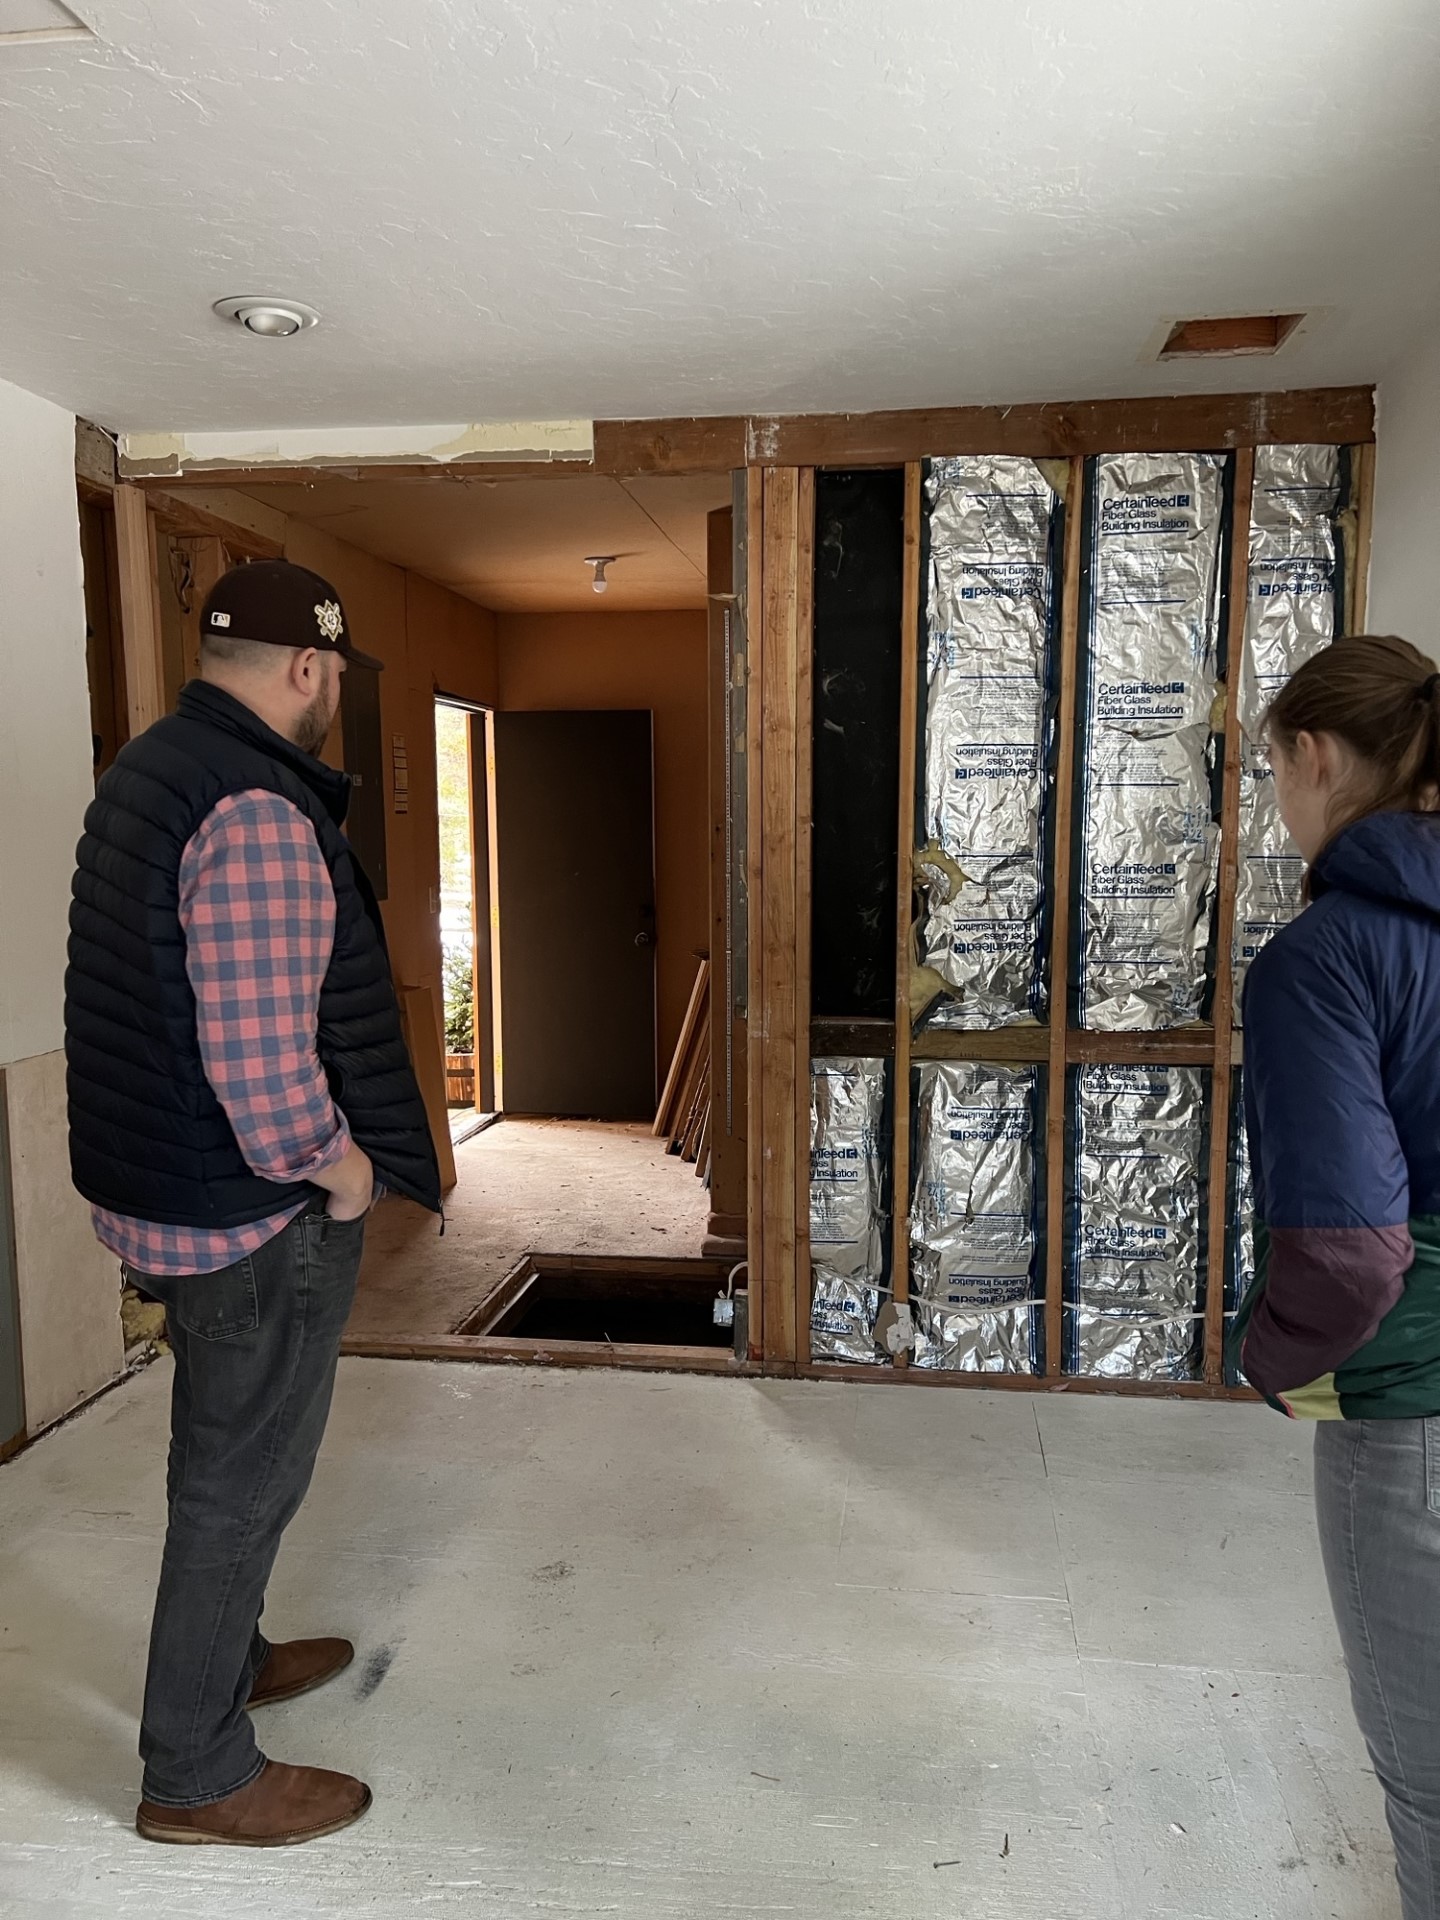
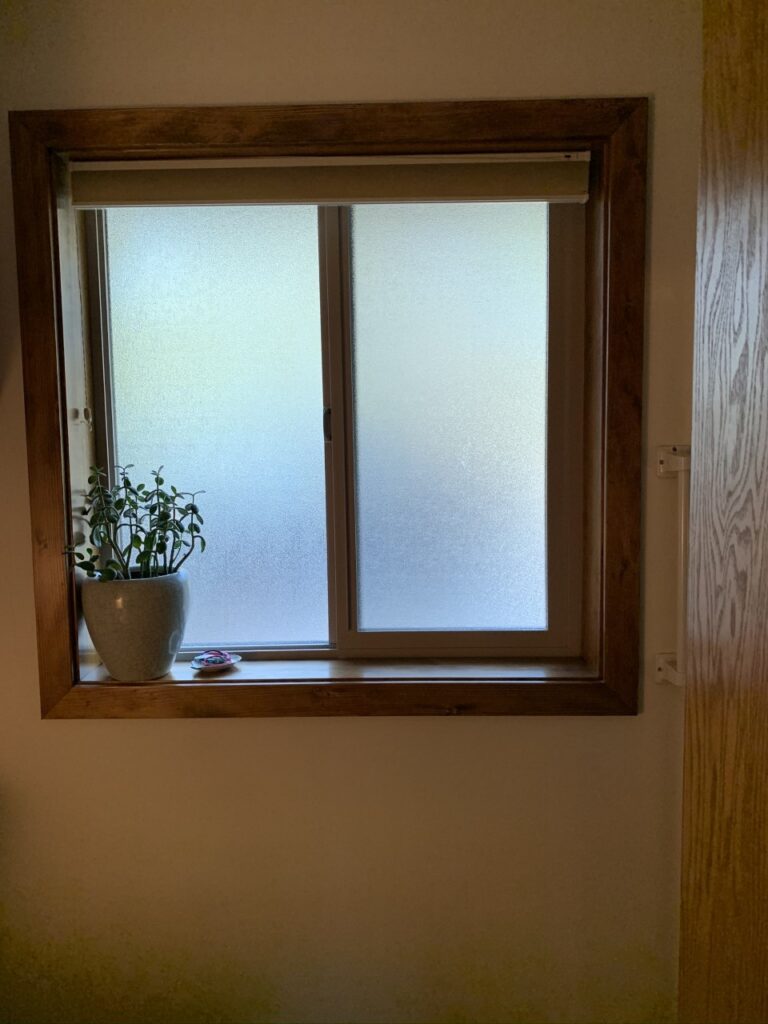
This photo was taken right after we started construction and eventually would be the site of the new bathroom and closet.
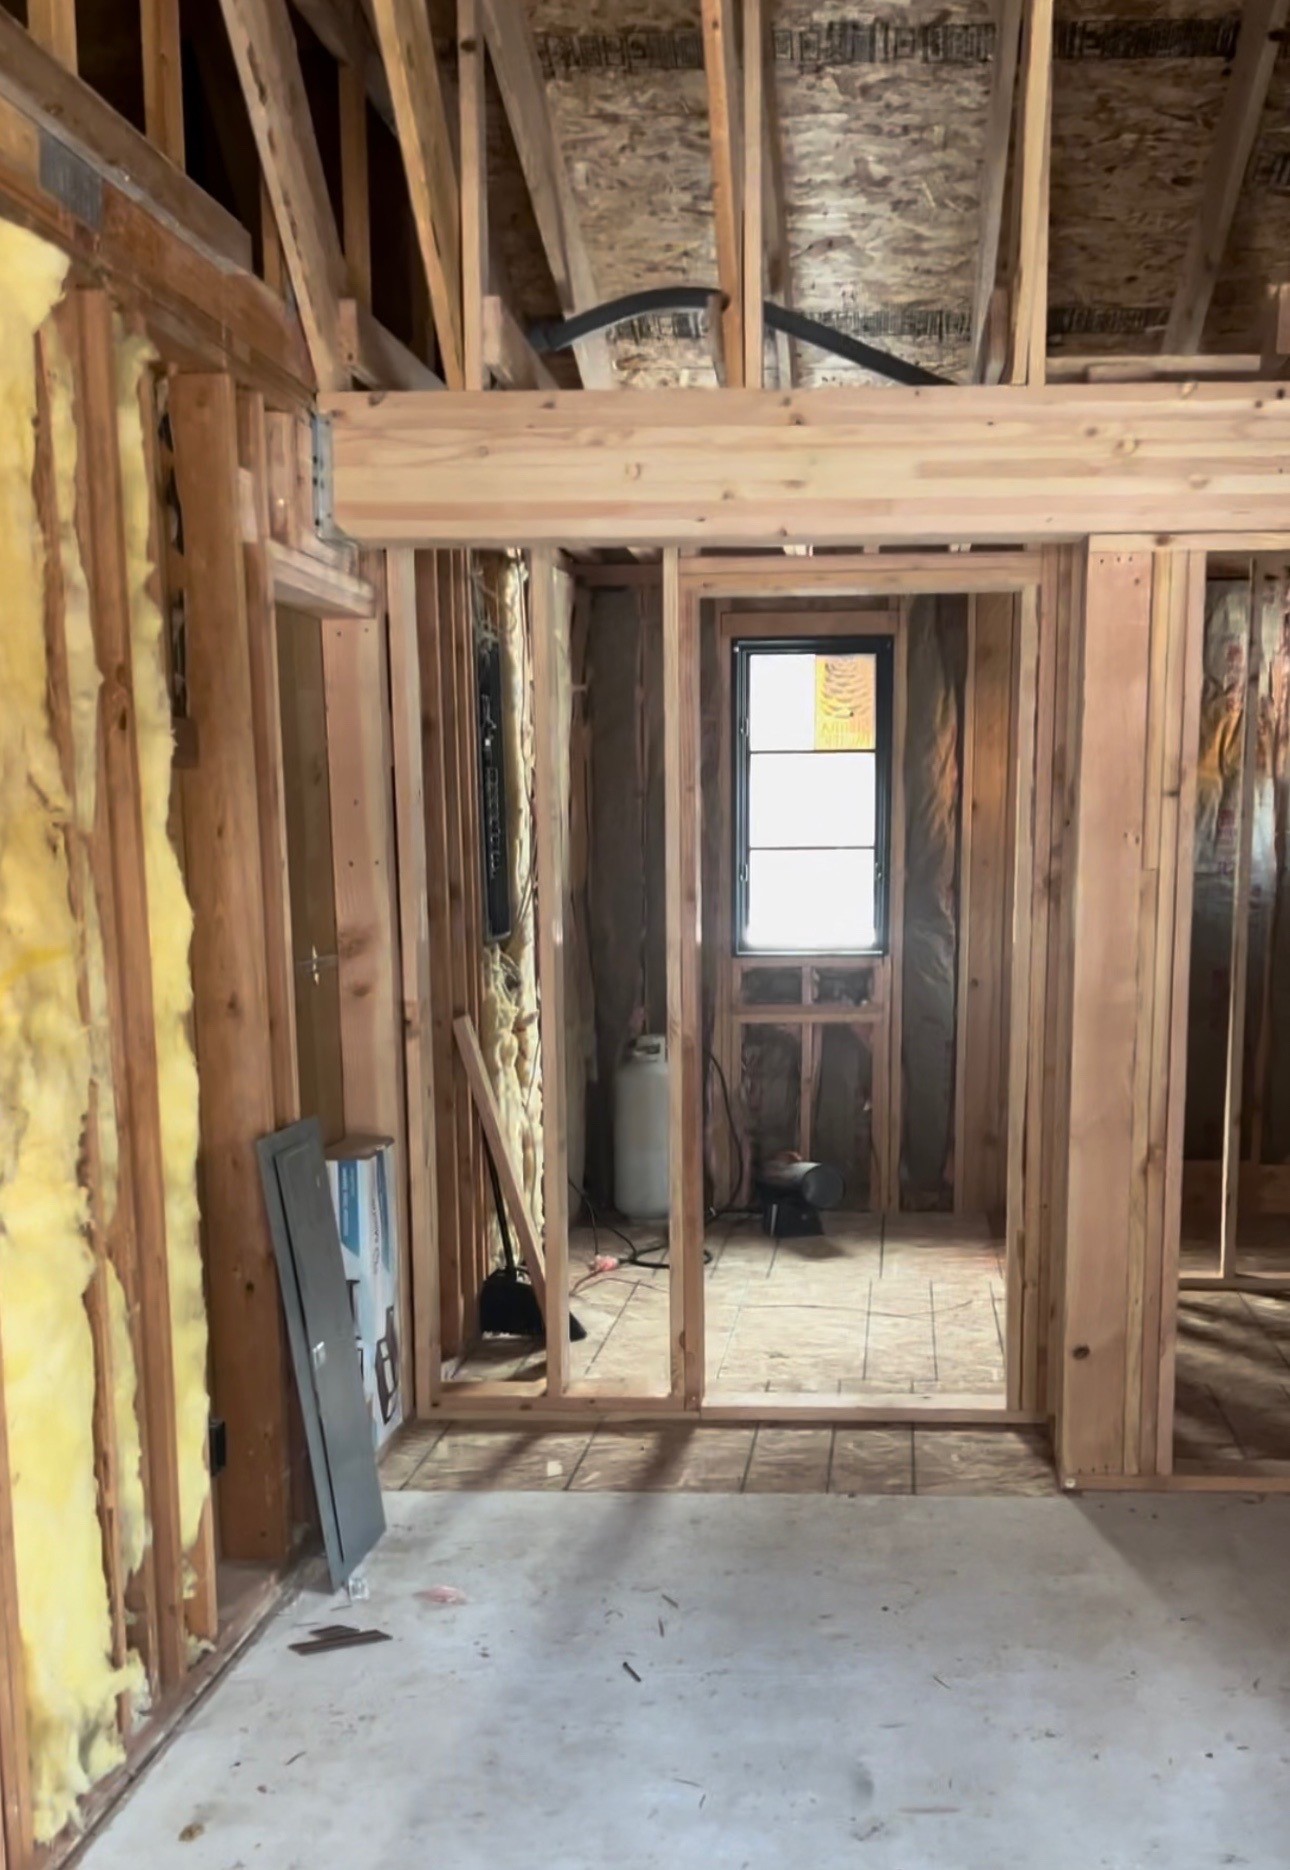
The framing was next up in the construction process, and this is when I started to really get excited about having our very own en suite bathroom. A space solely designed for Nate and me. No kids…just for us. Sounds like a dream, right?! I thought so too!
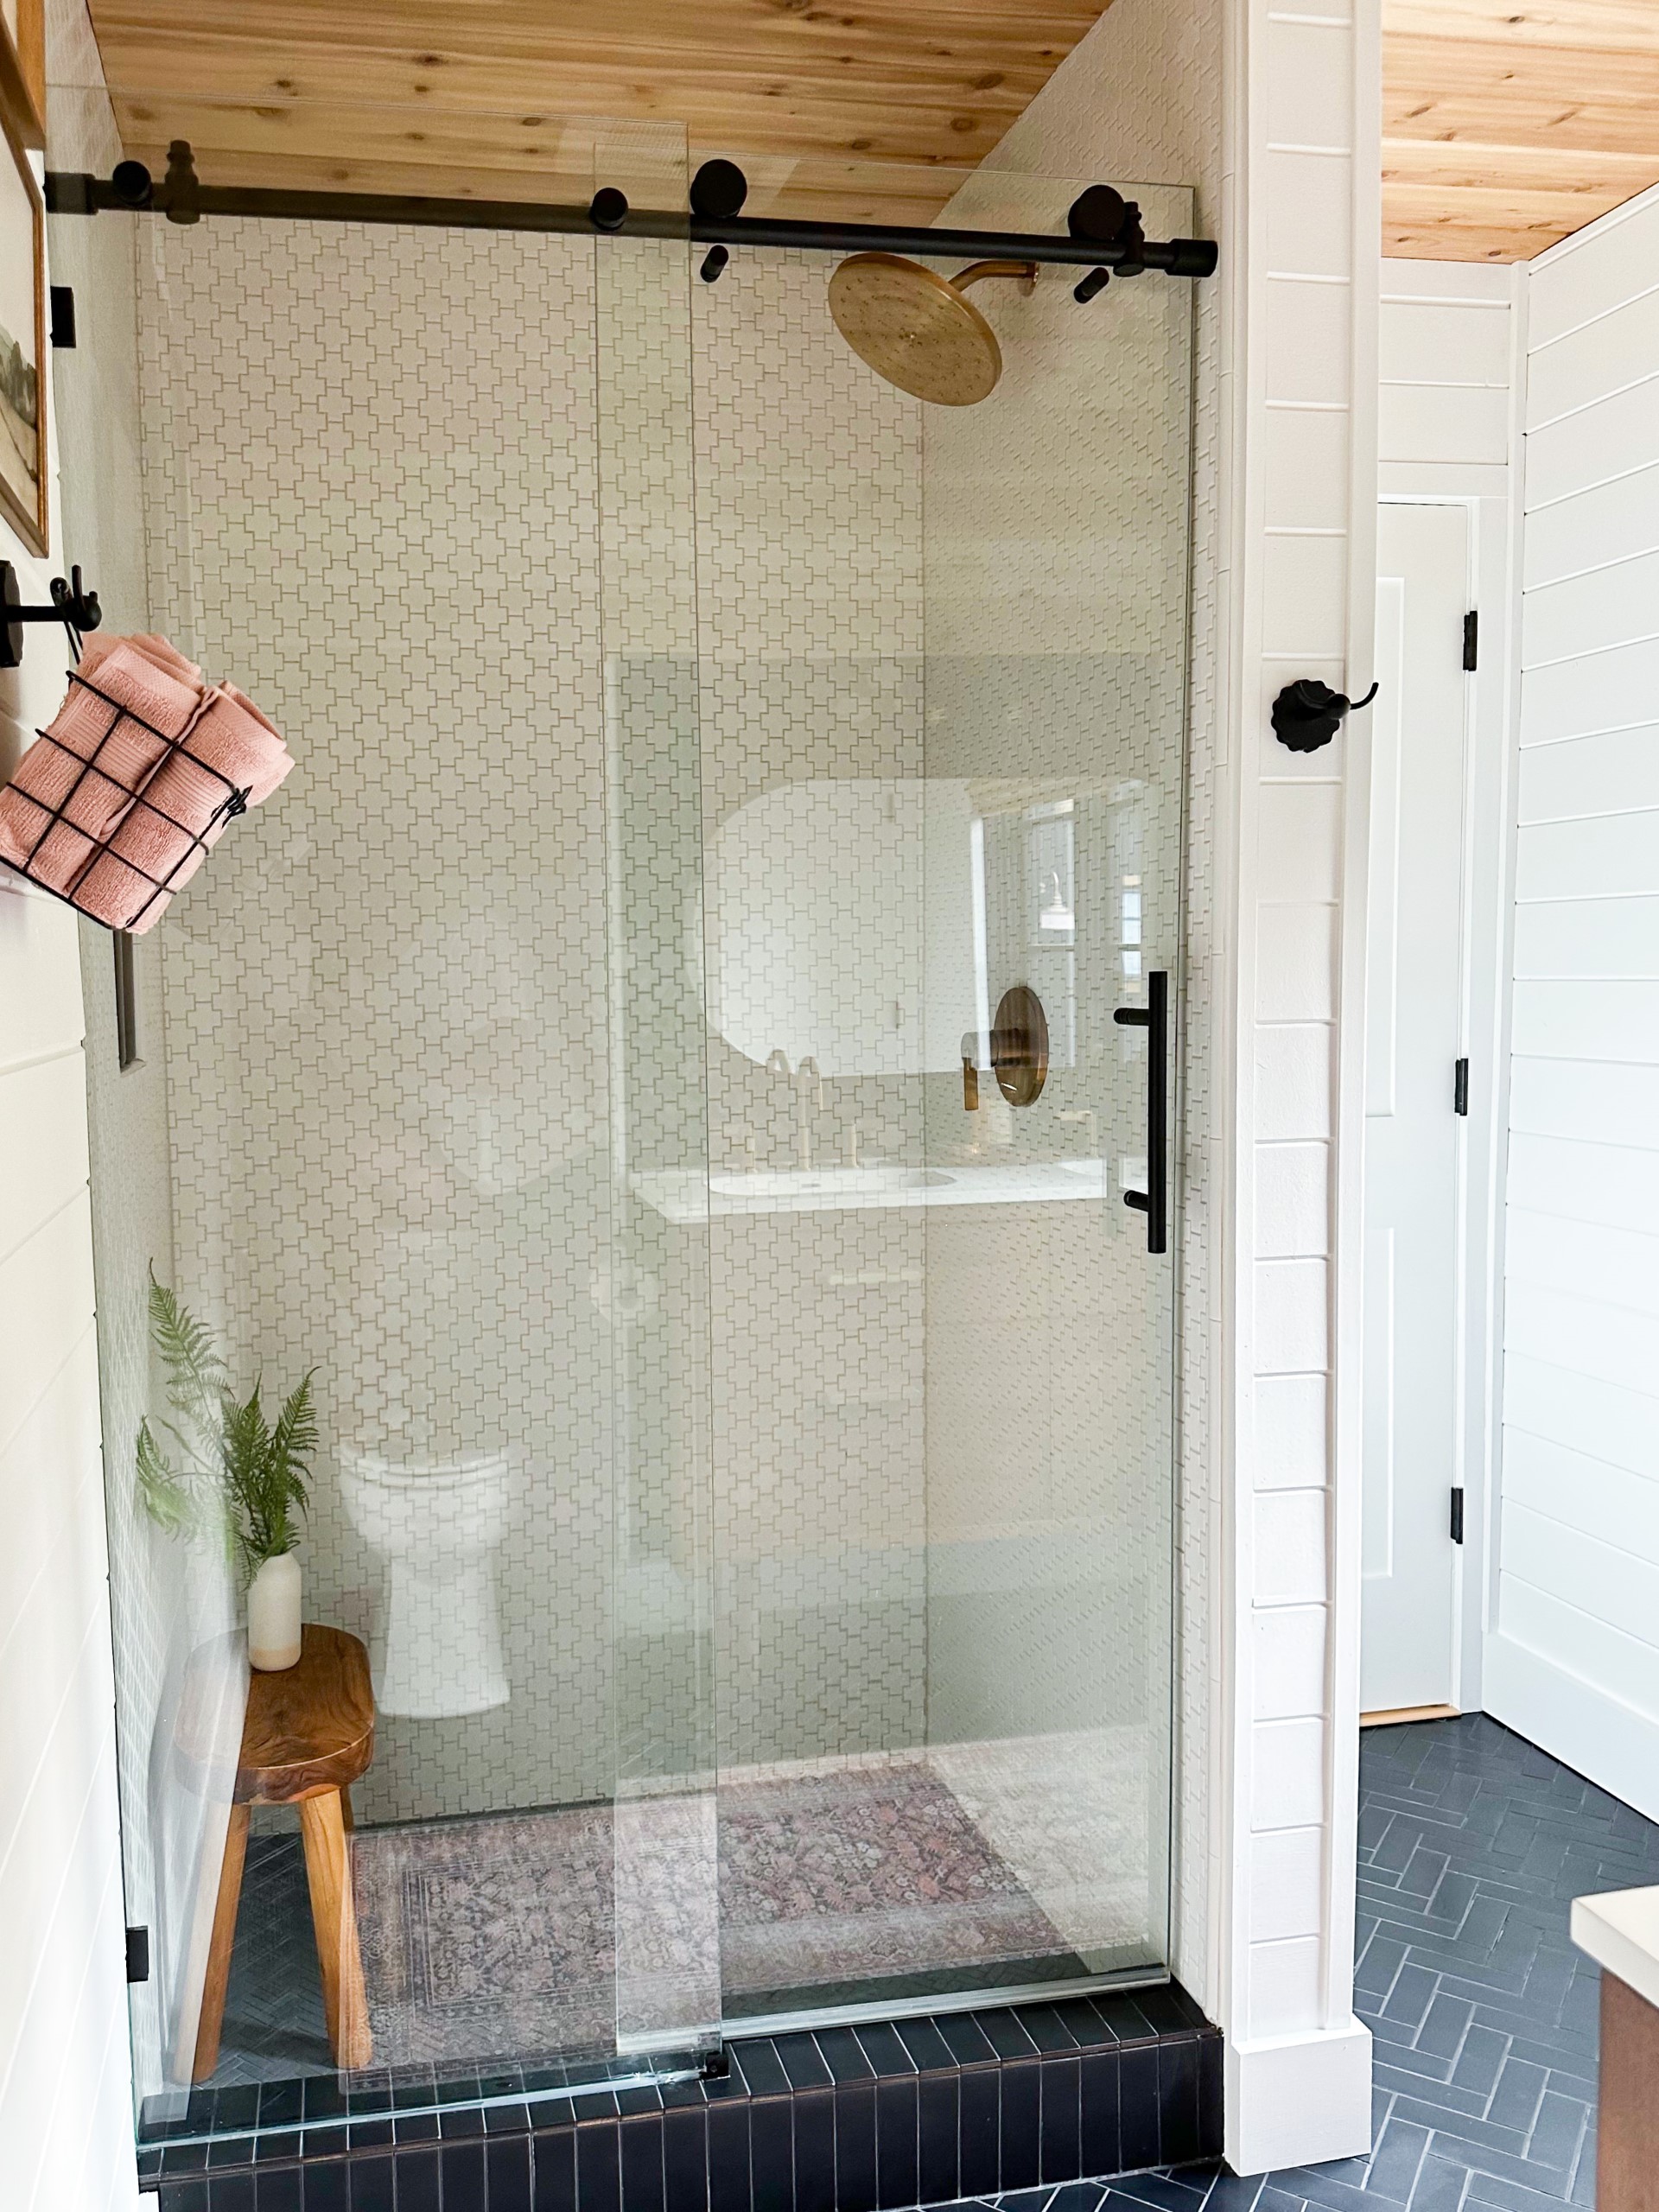
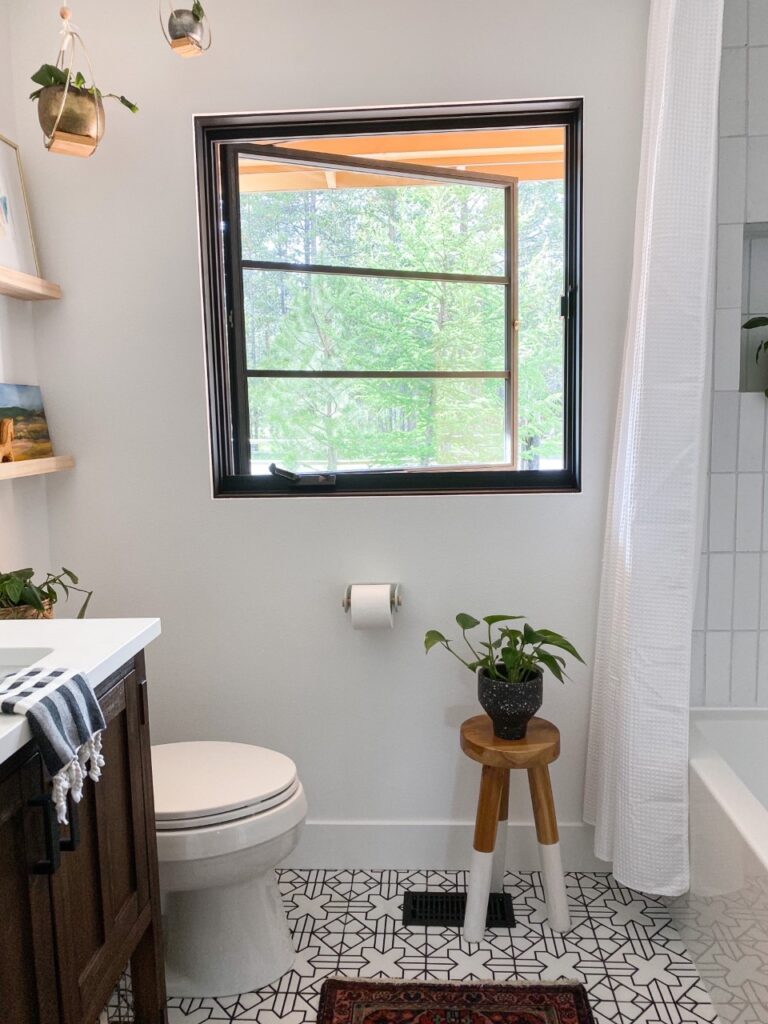
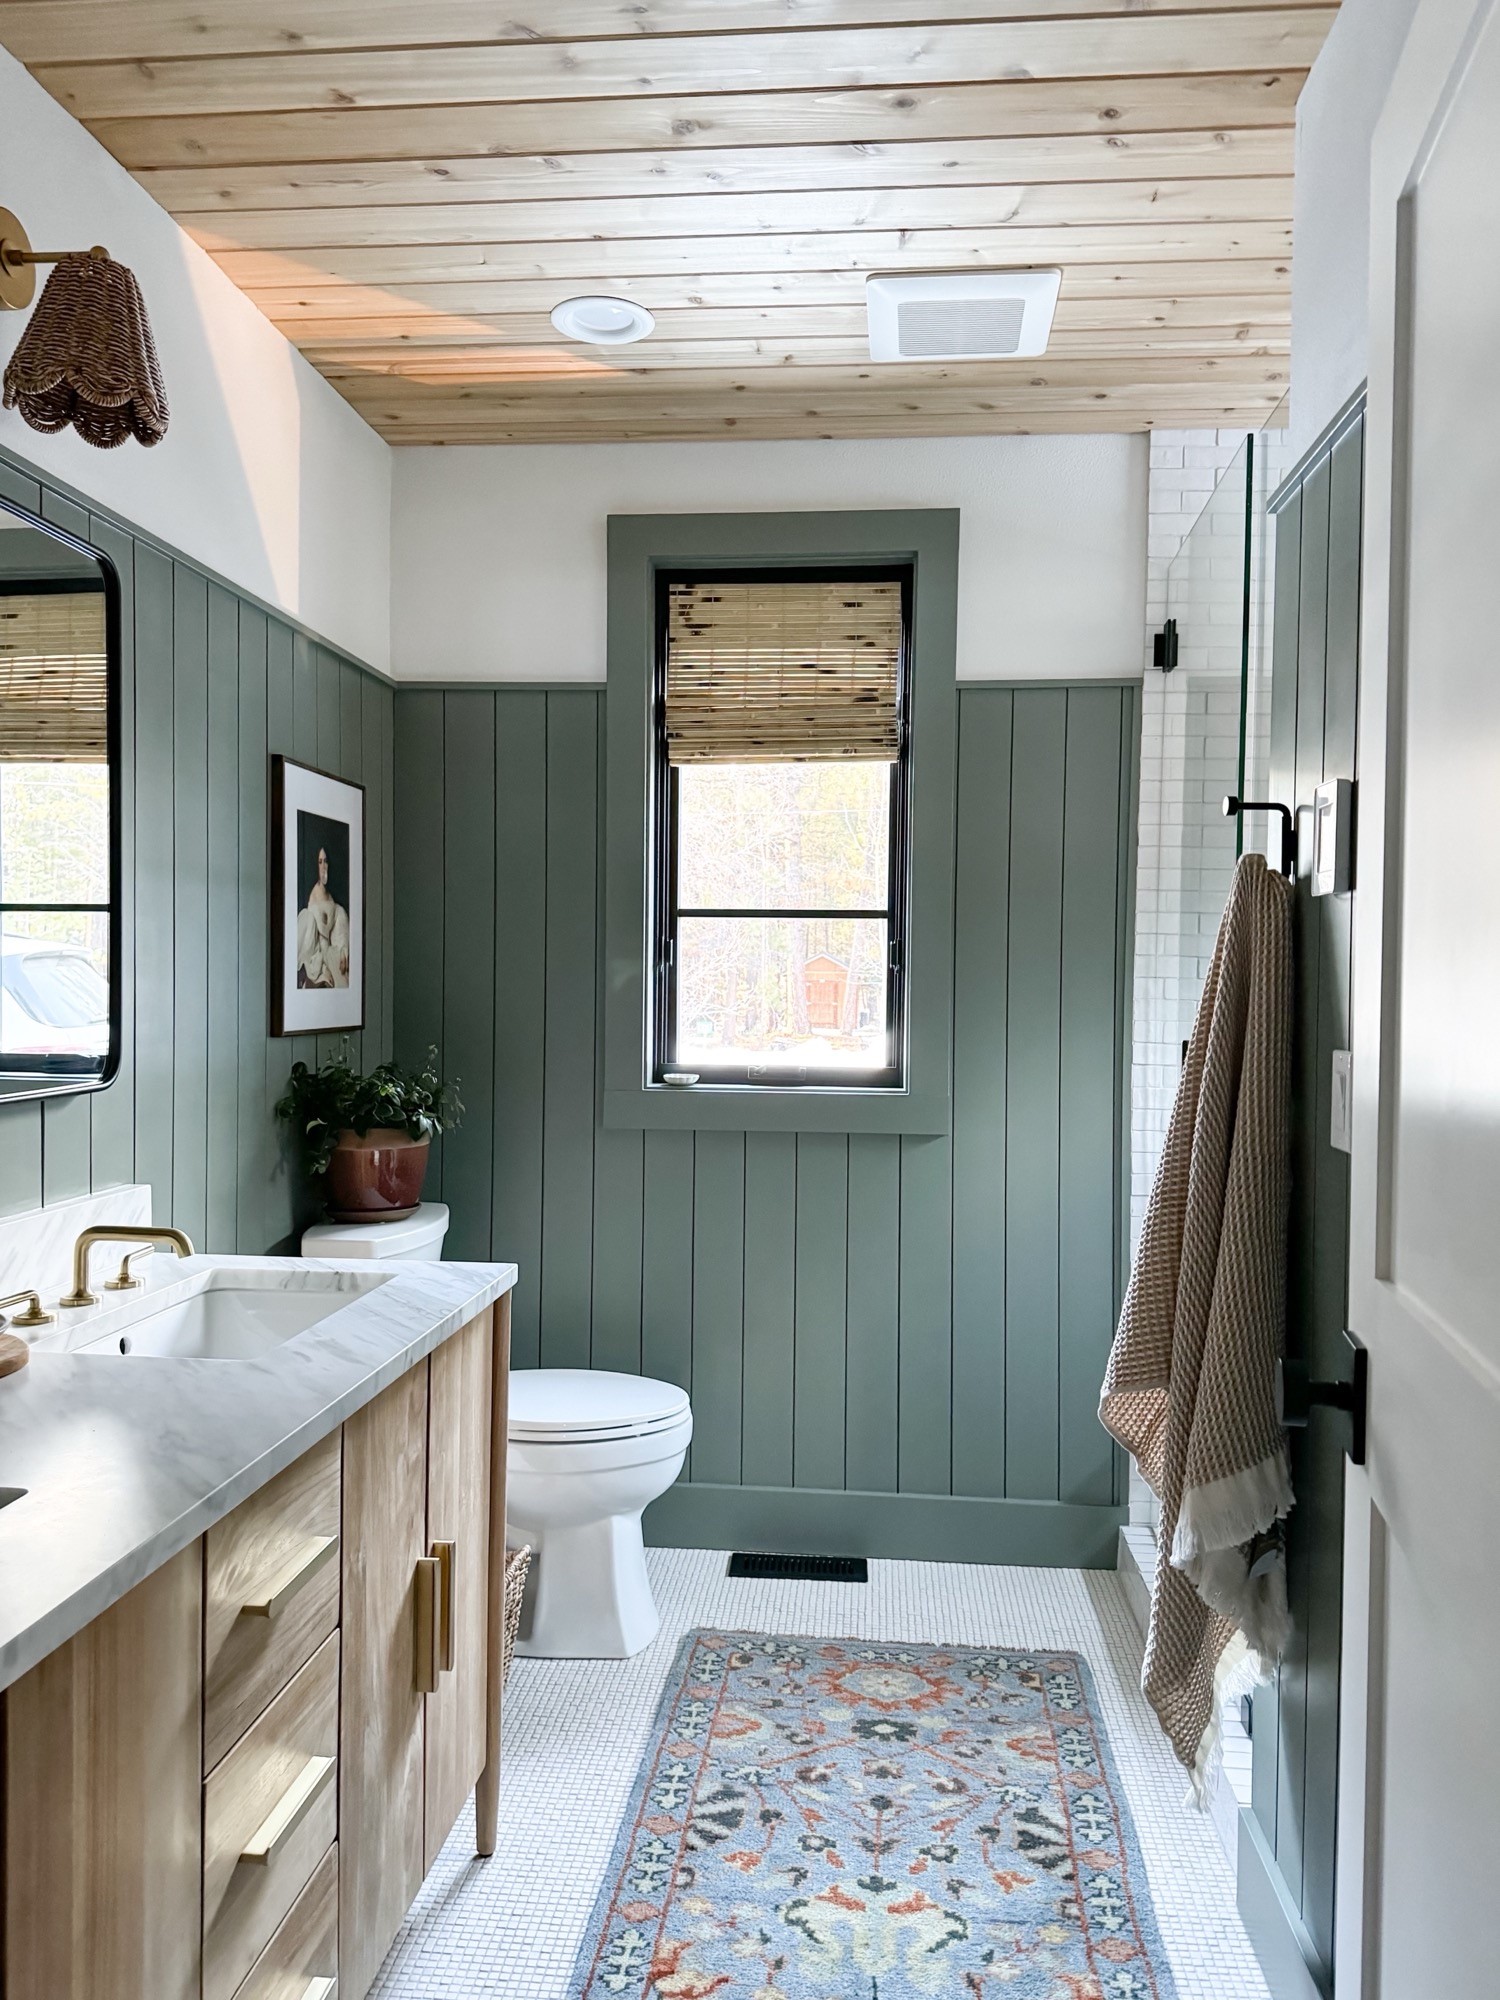
The floor plan for the space was a simple L-shape, with enough room for a double vanity, the toilet, and a walk-in style shower. My vision for the new bathroom was pretty straightforward. Not a lot of frills. Nothing fancy. So, we began the design process with tile selection. Enter Ann Sacks. Ann Sacks is my absolute favorite source for all things tile. They carry all of the latest tile trends, as well as the classics. I’m probably their biggest fan!
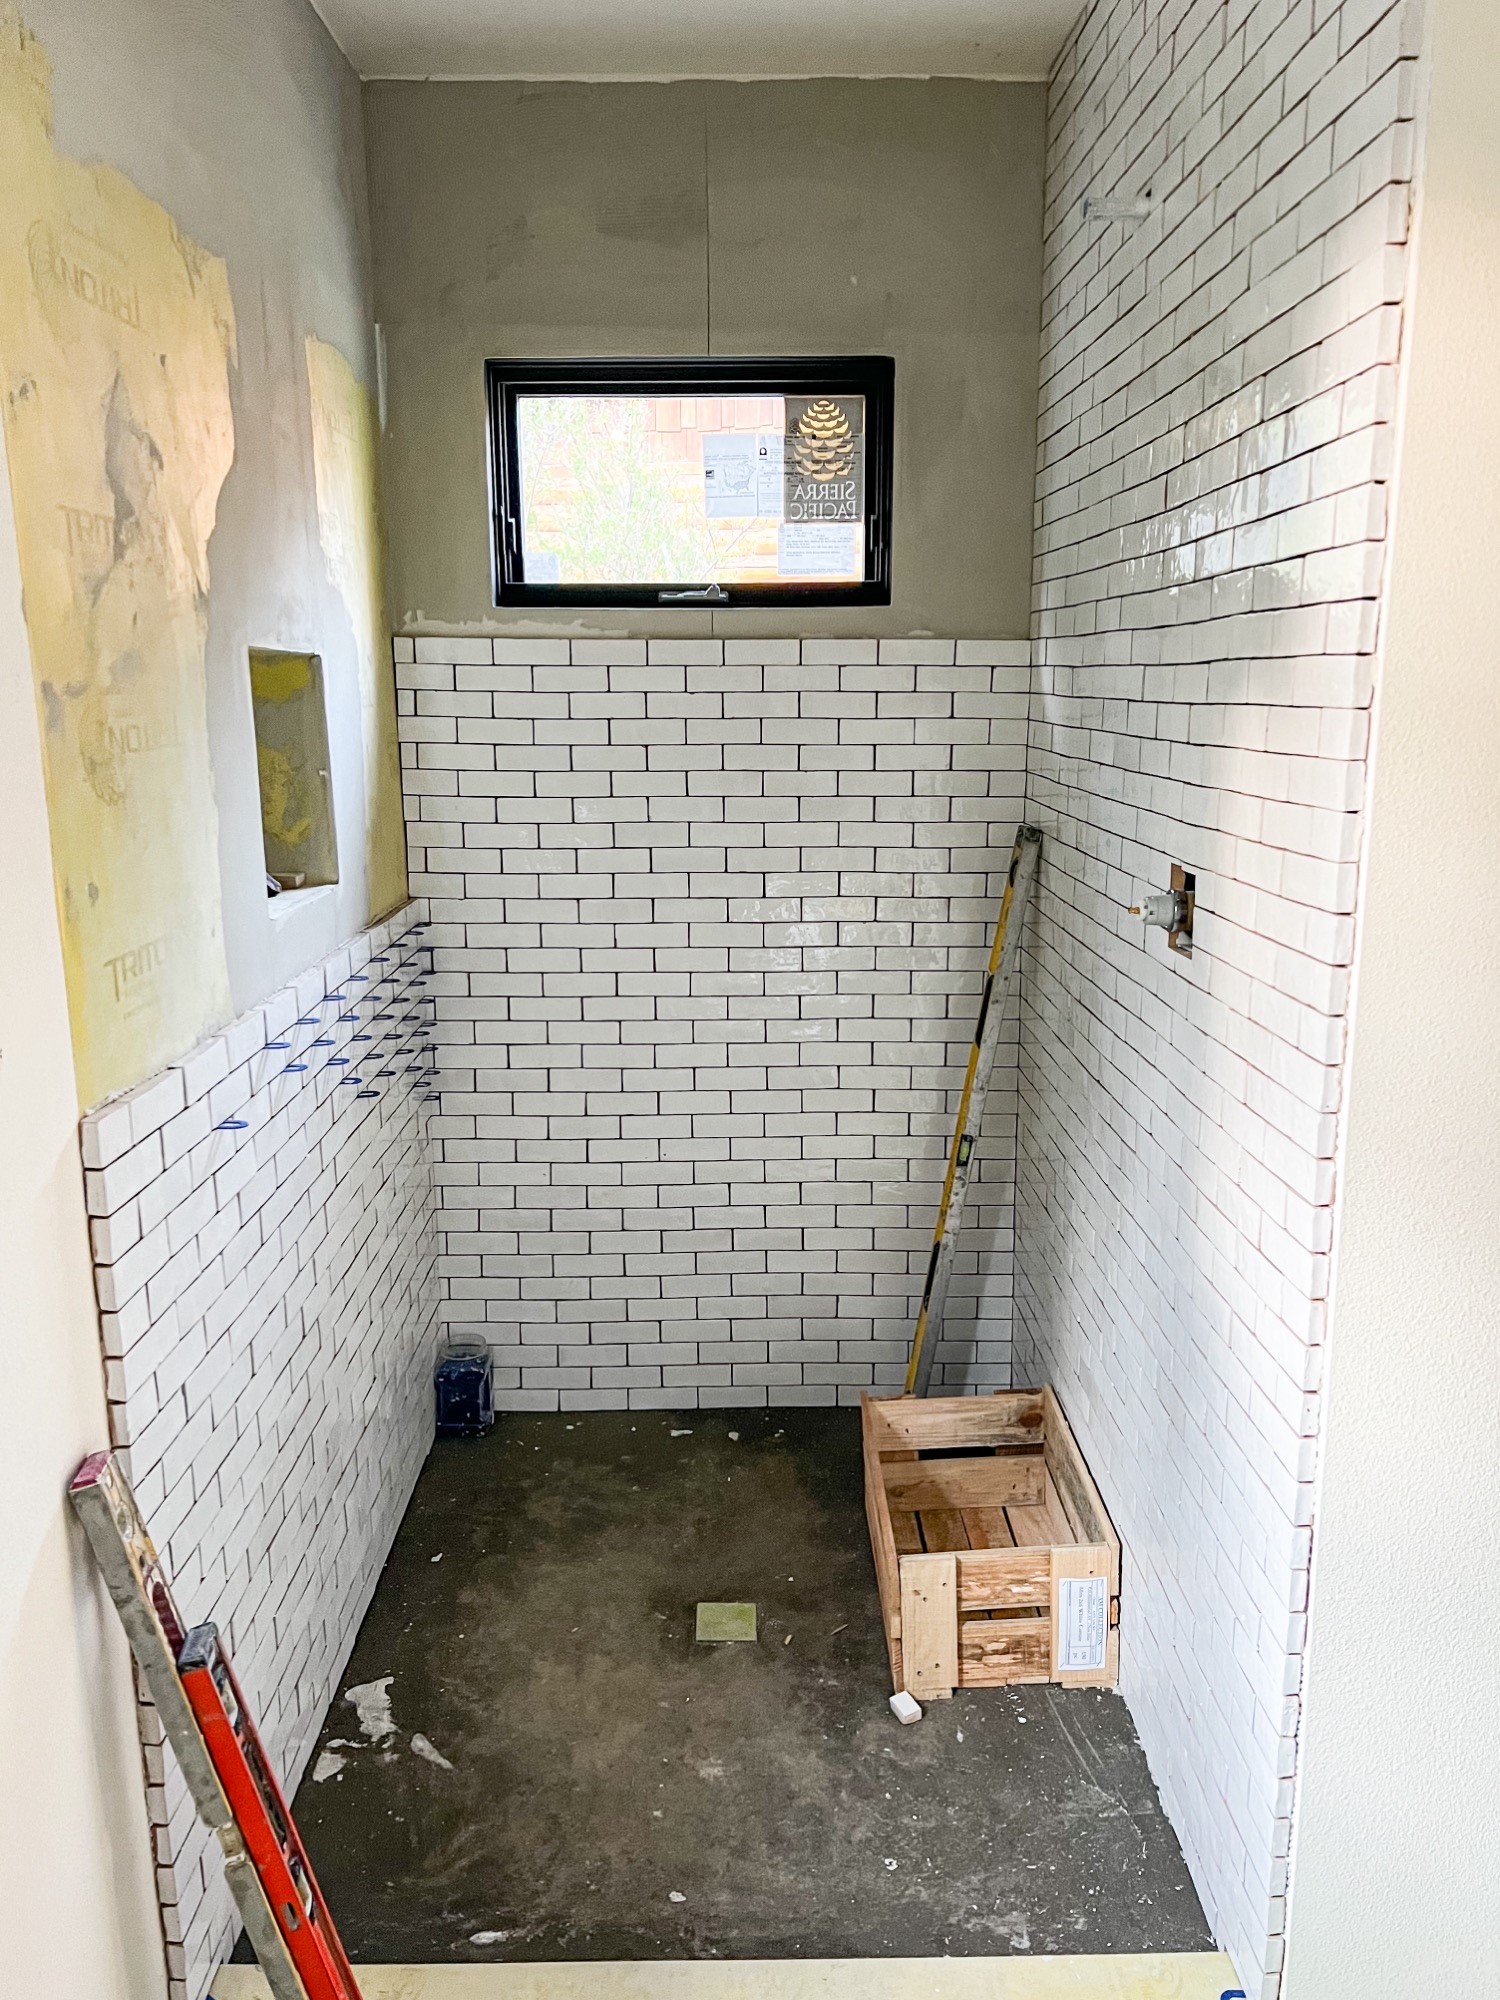
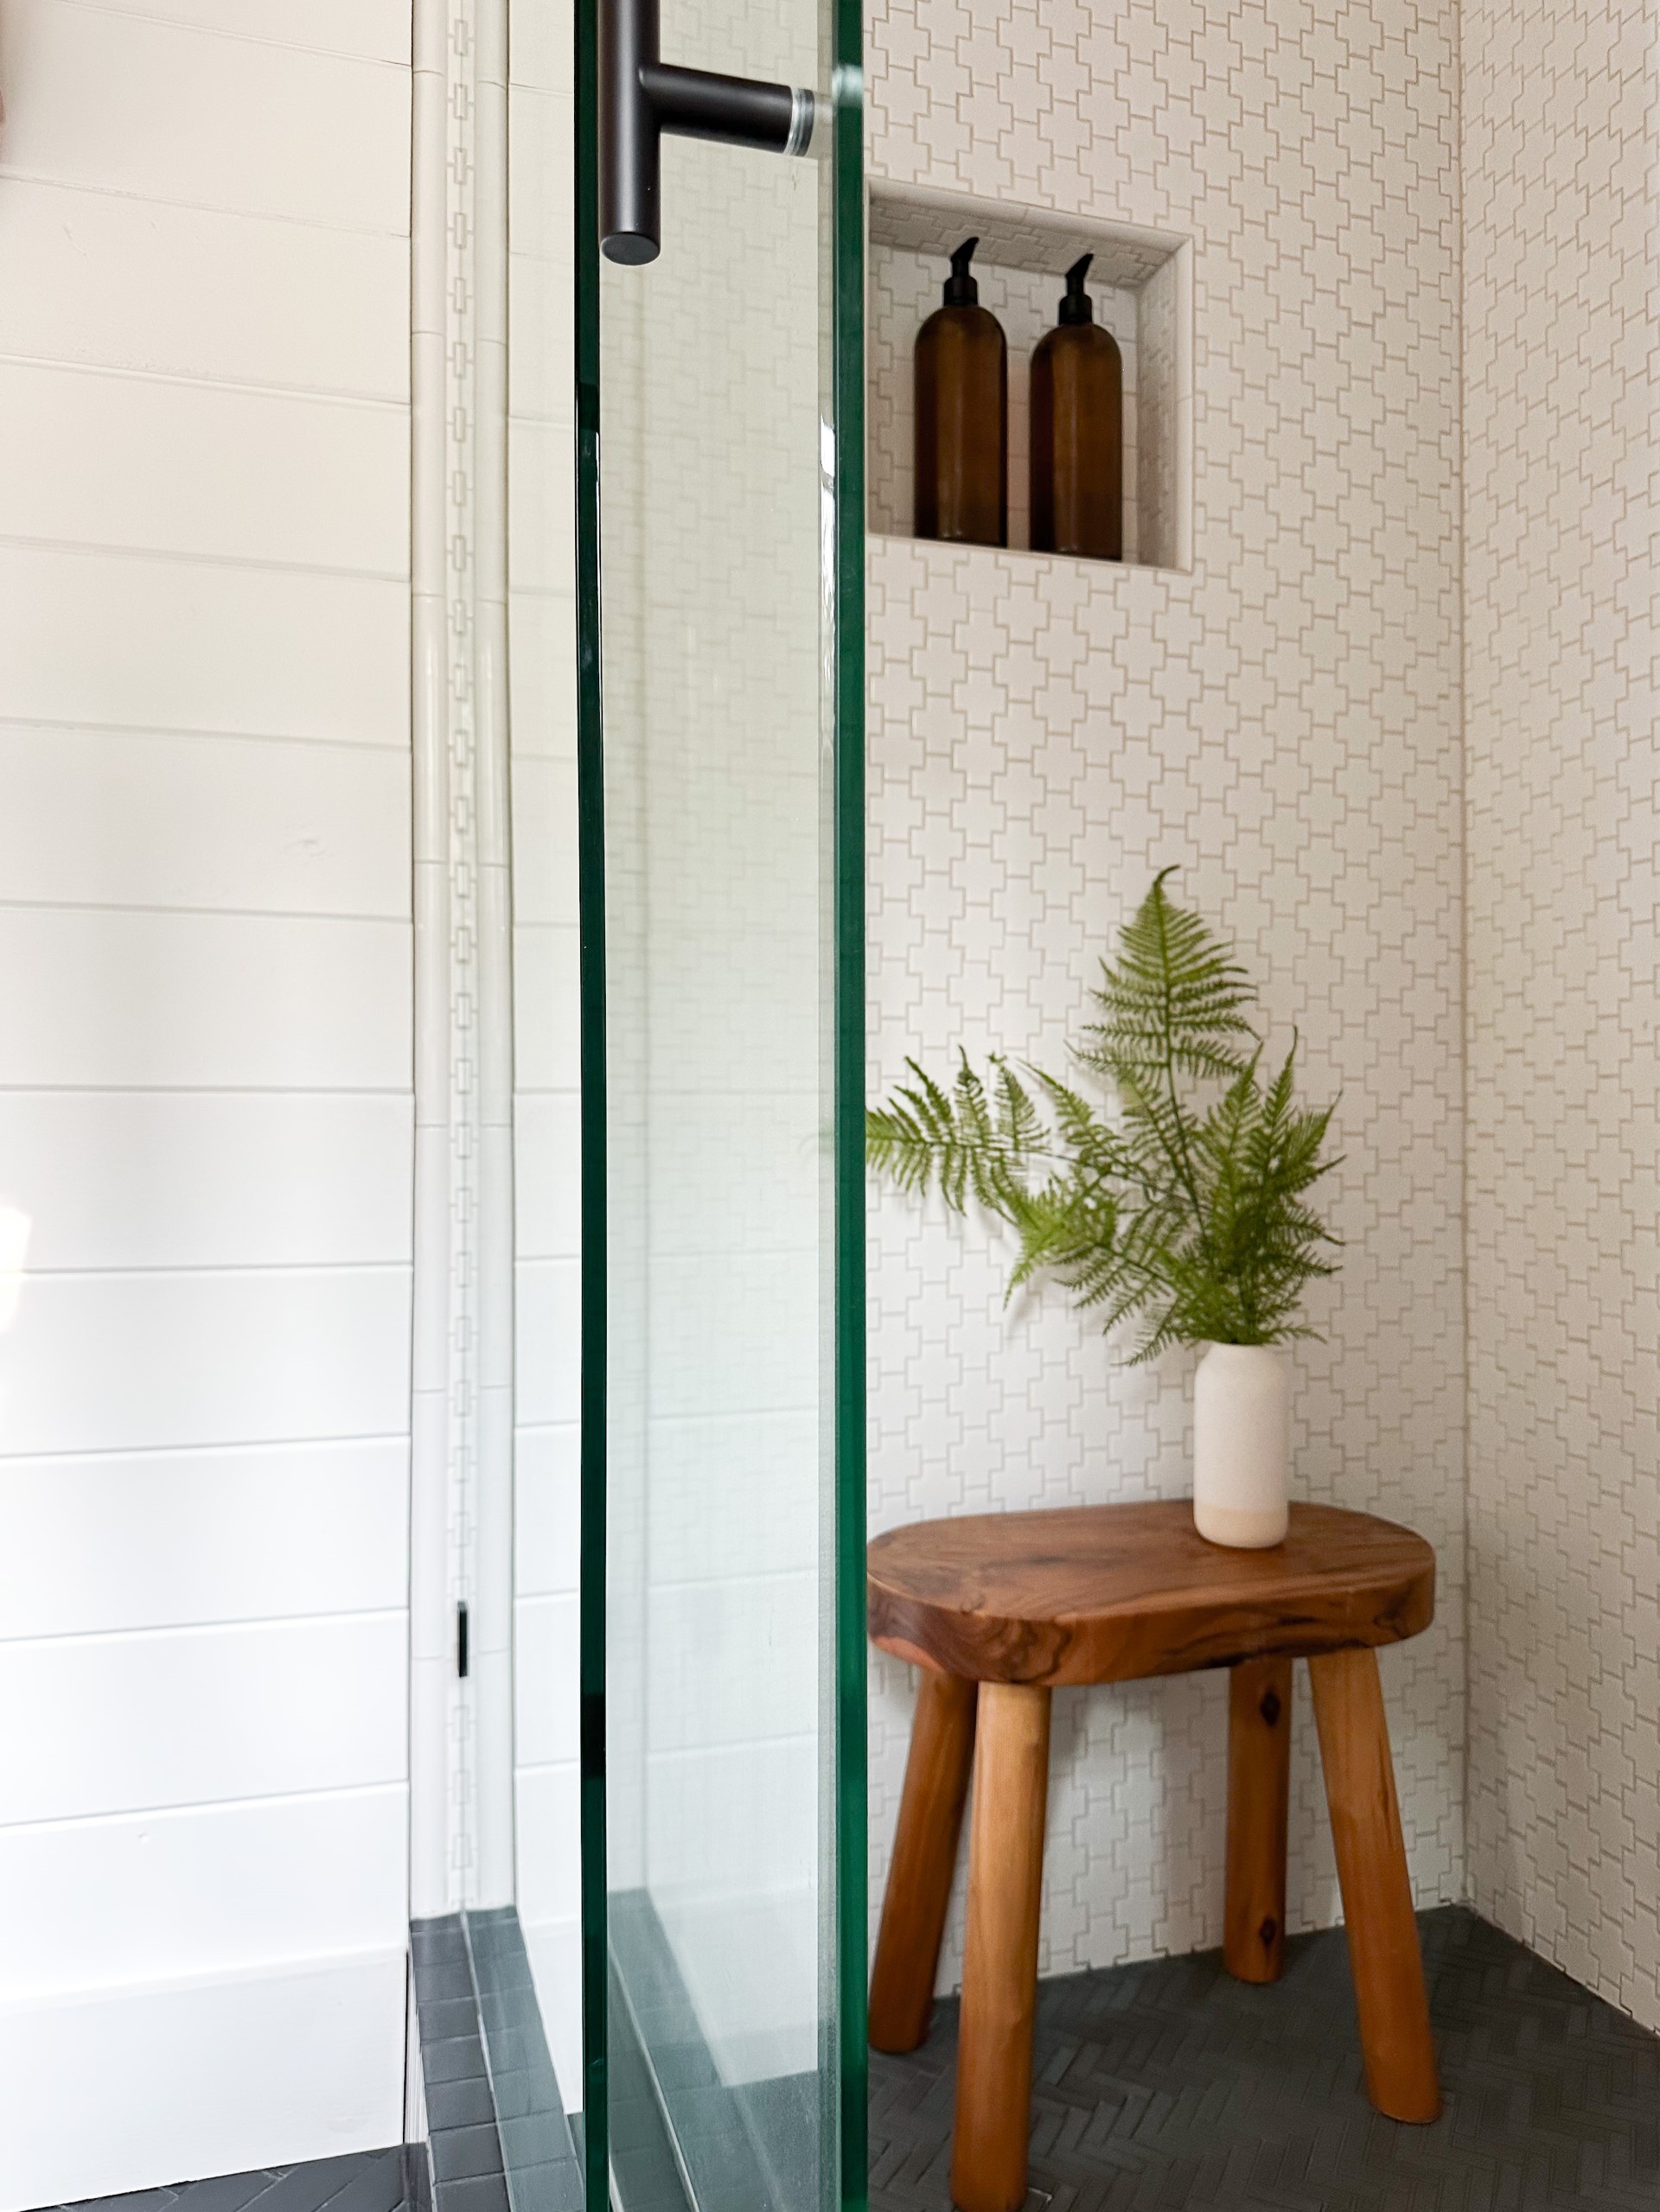
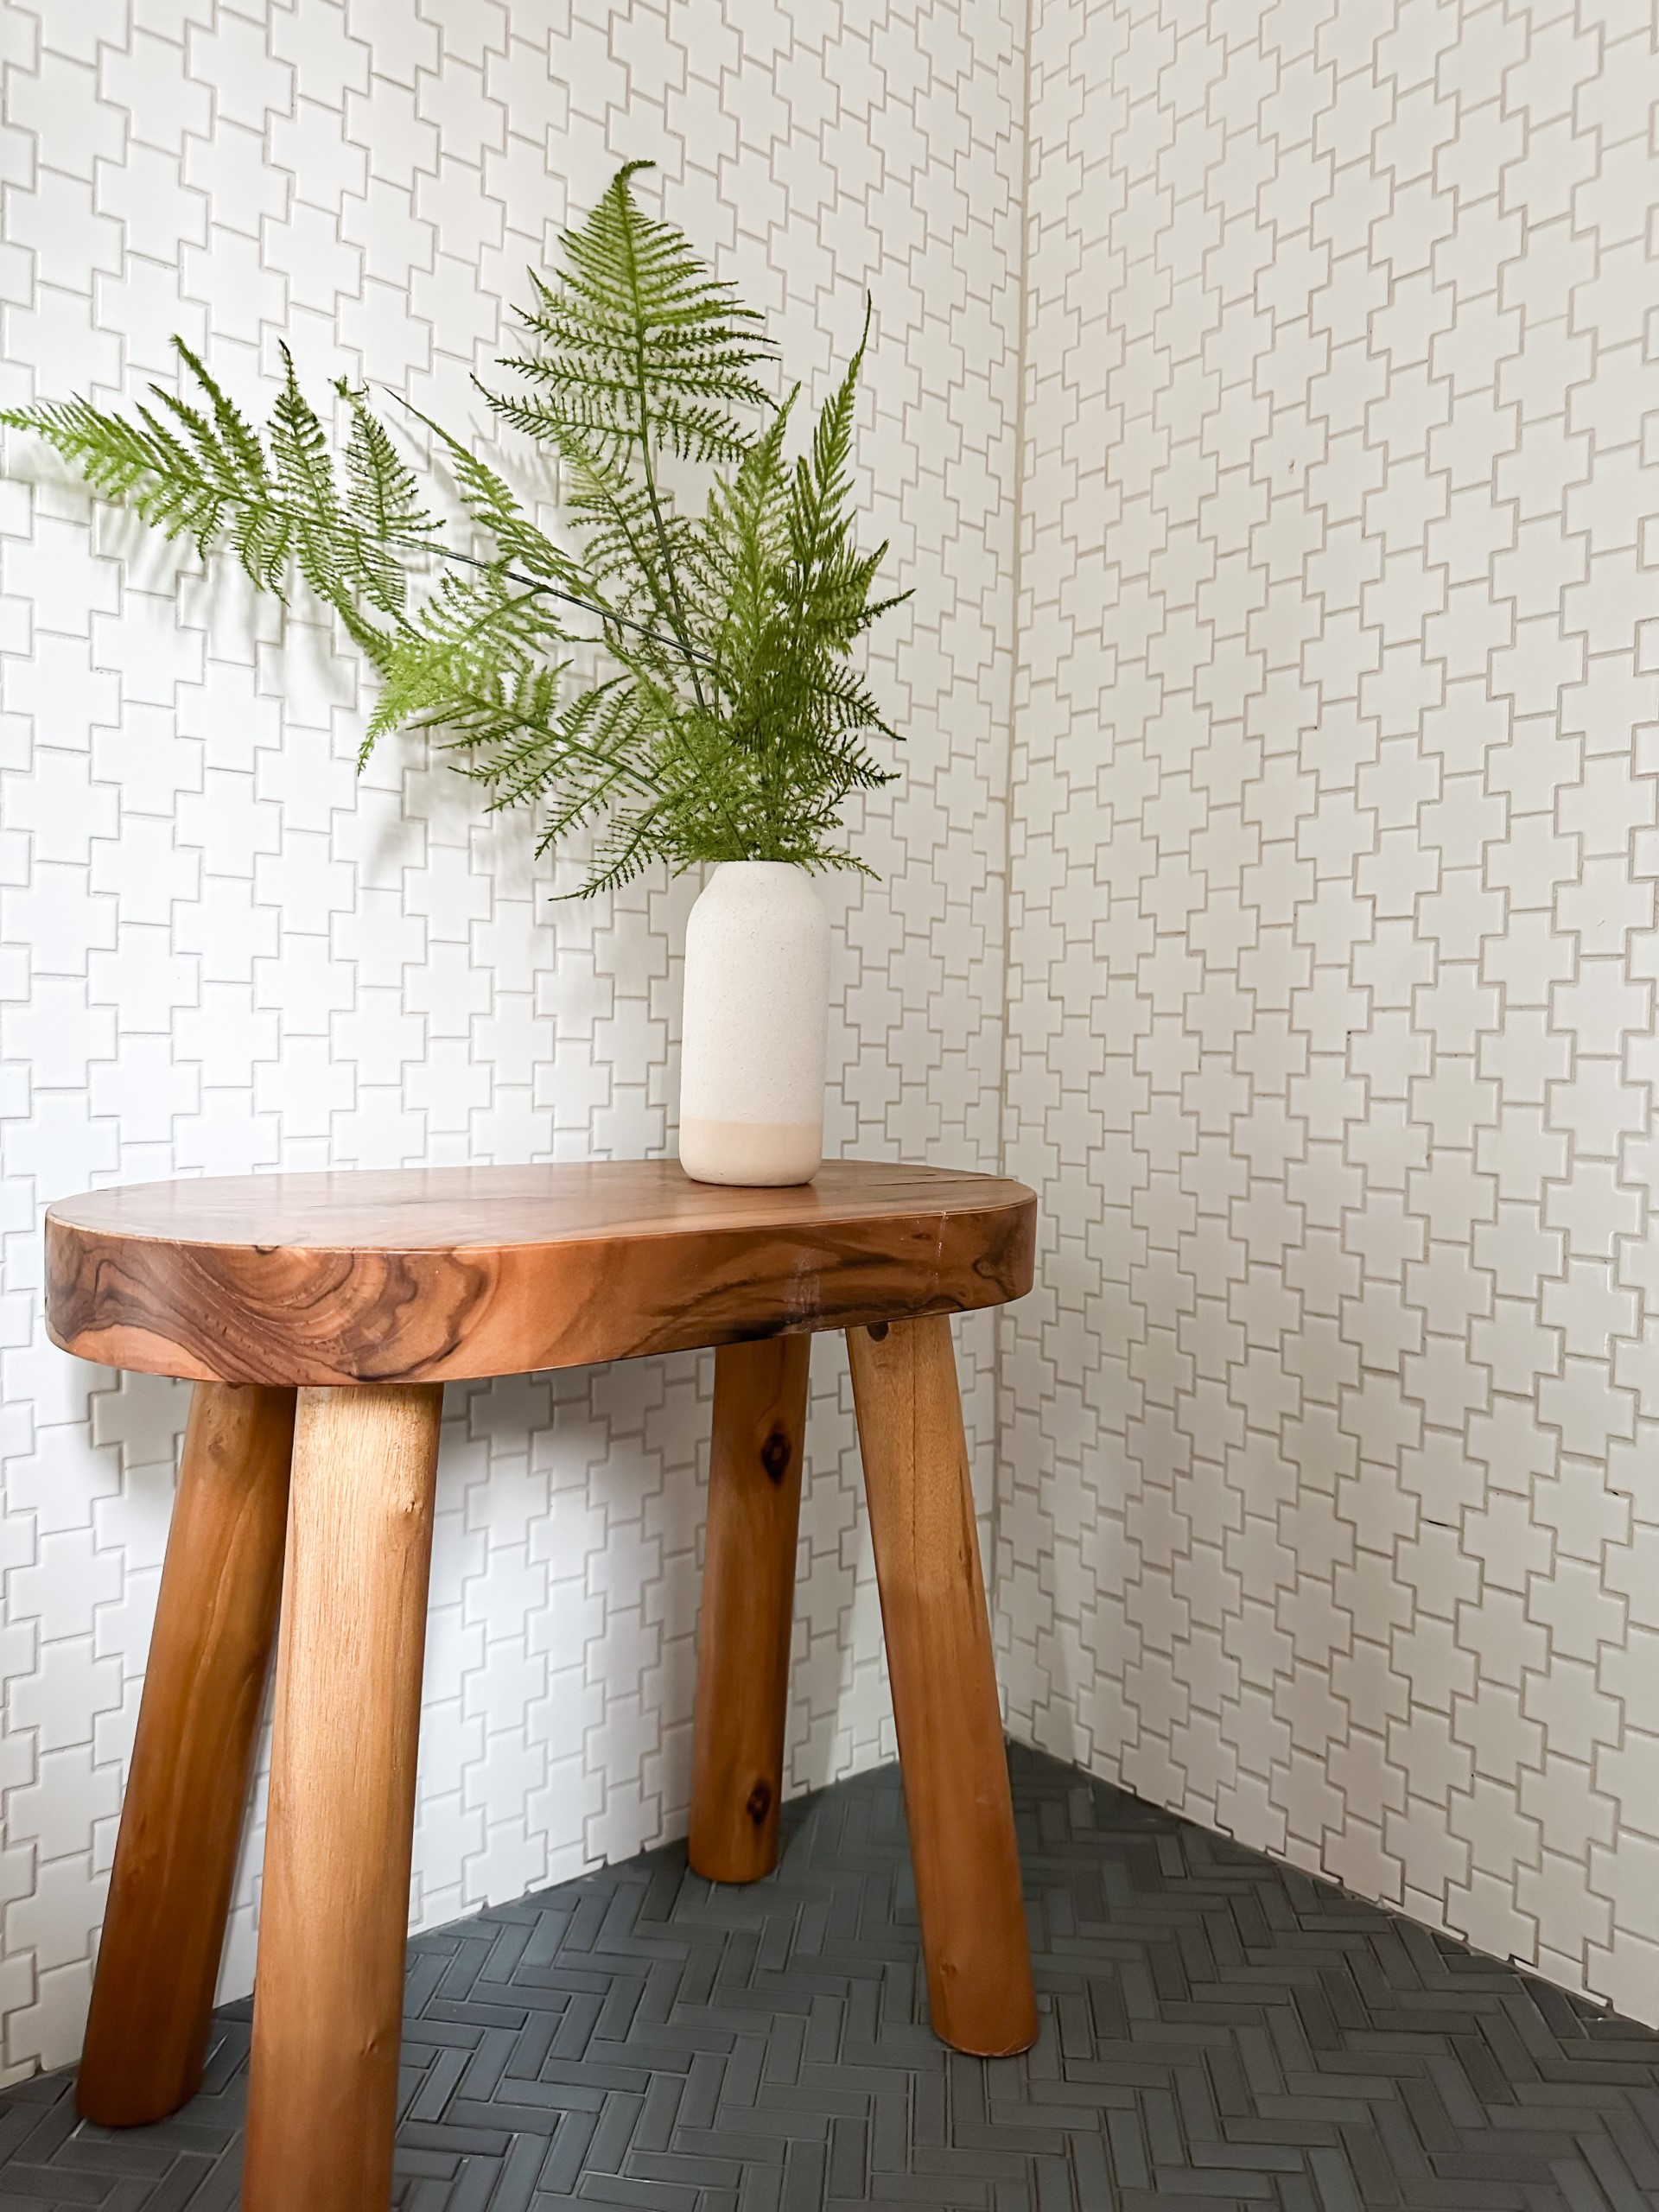
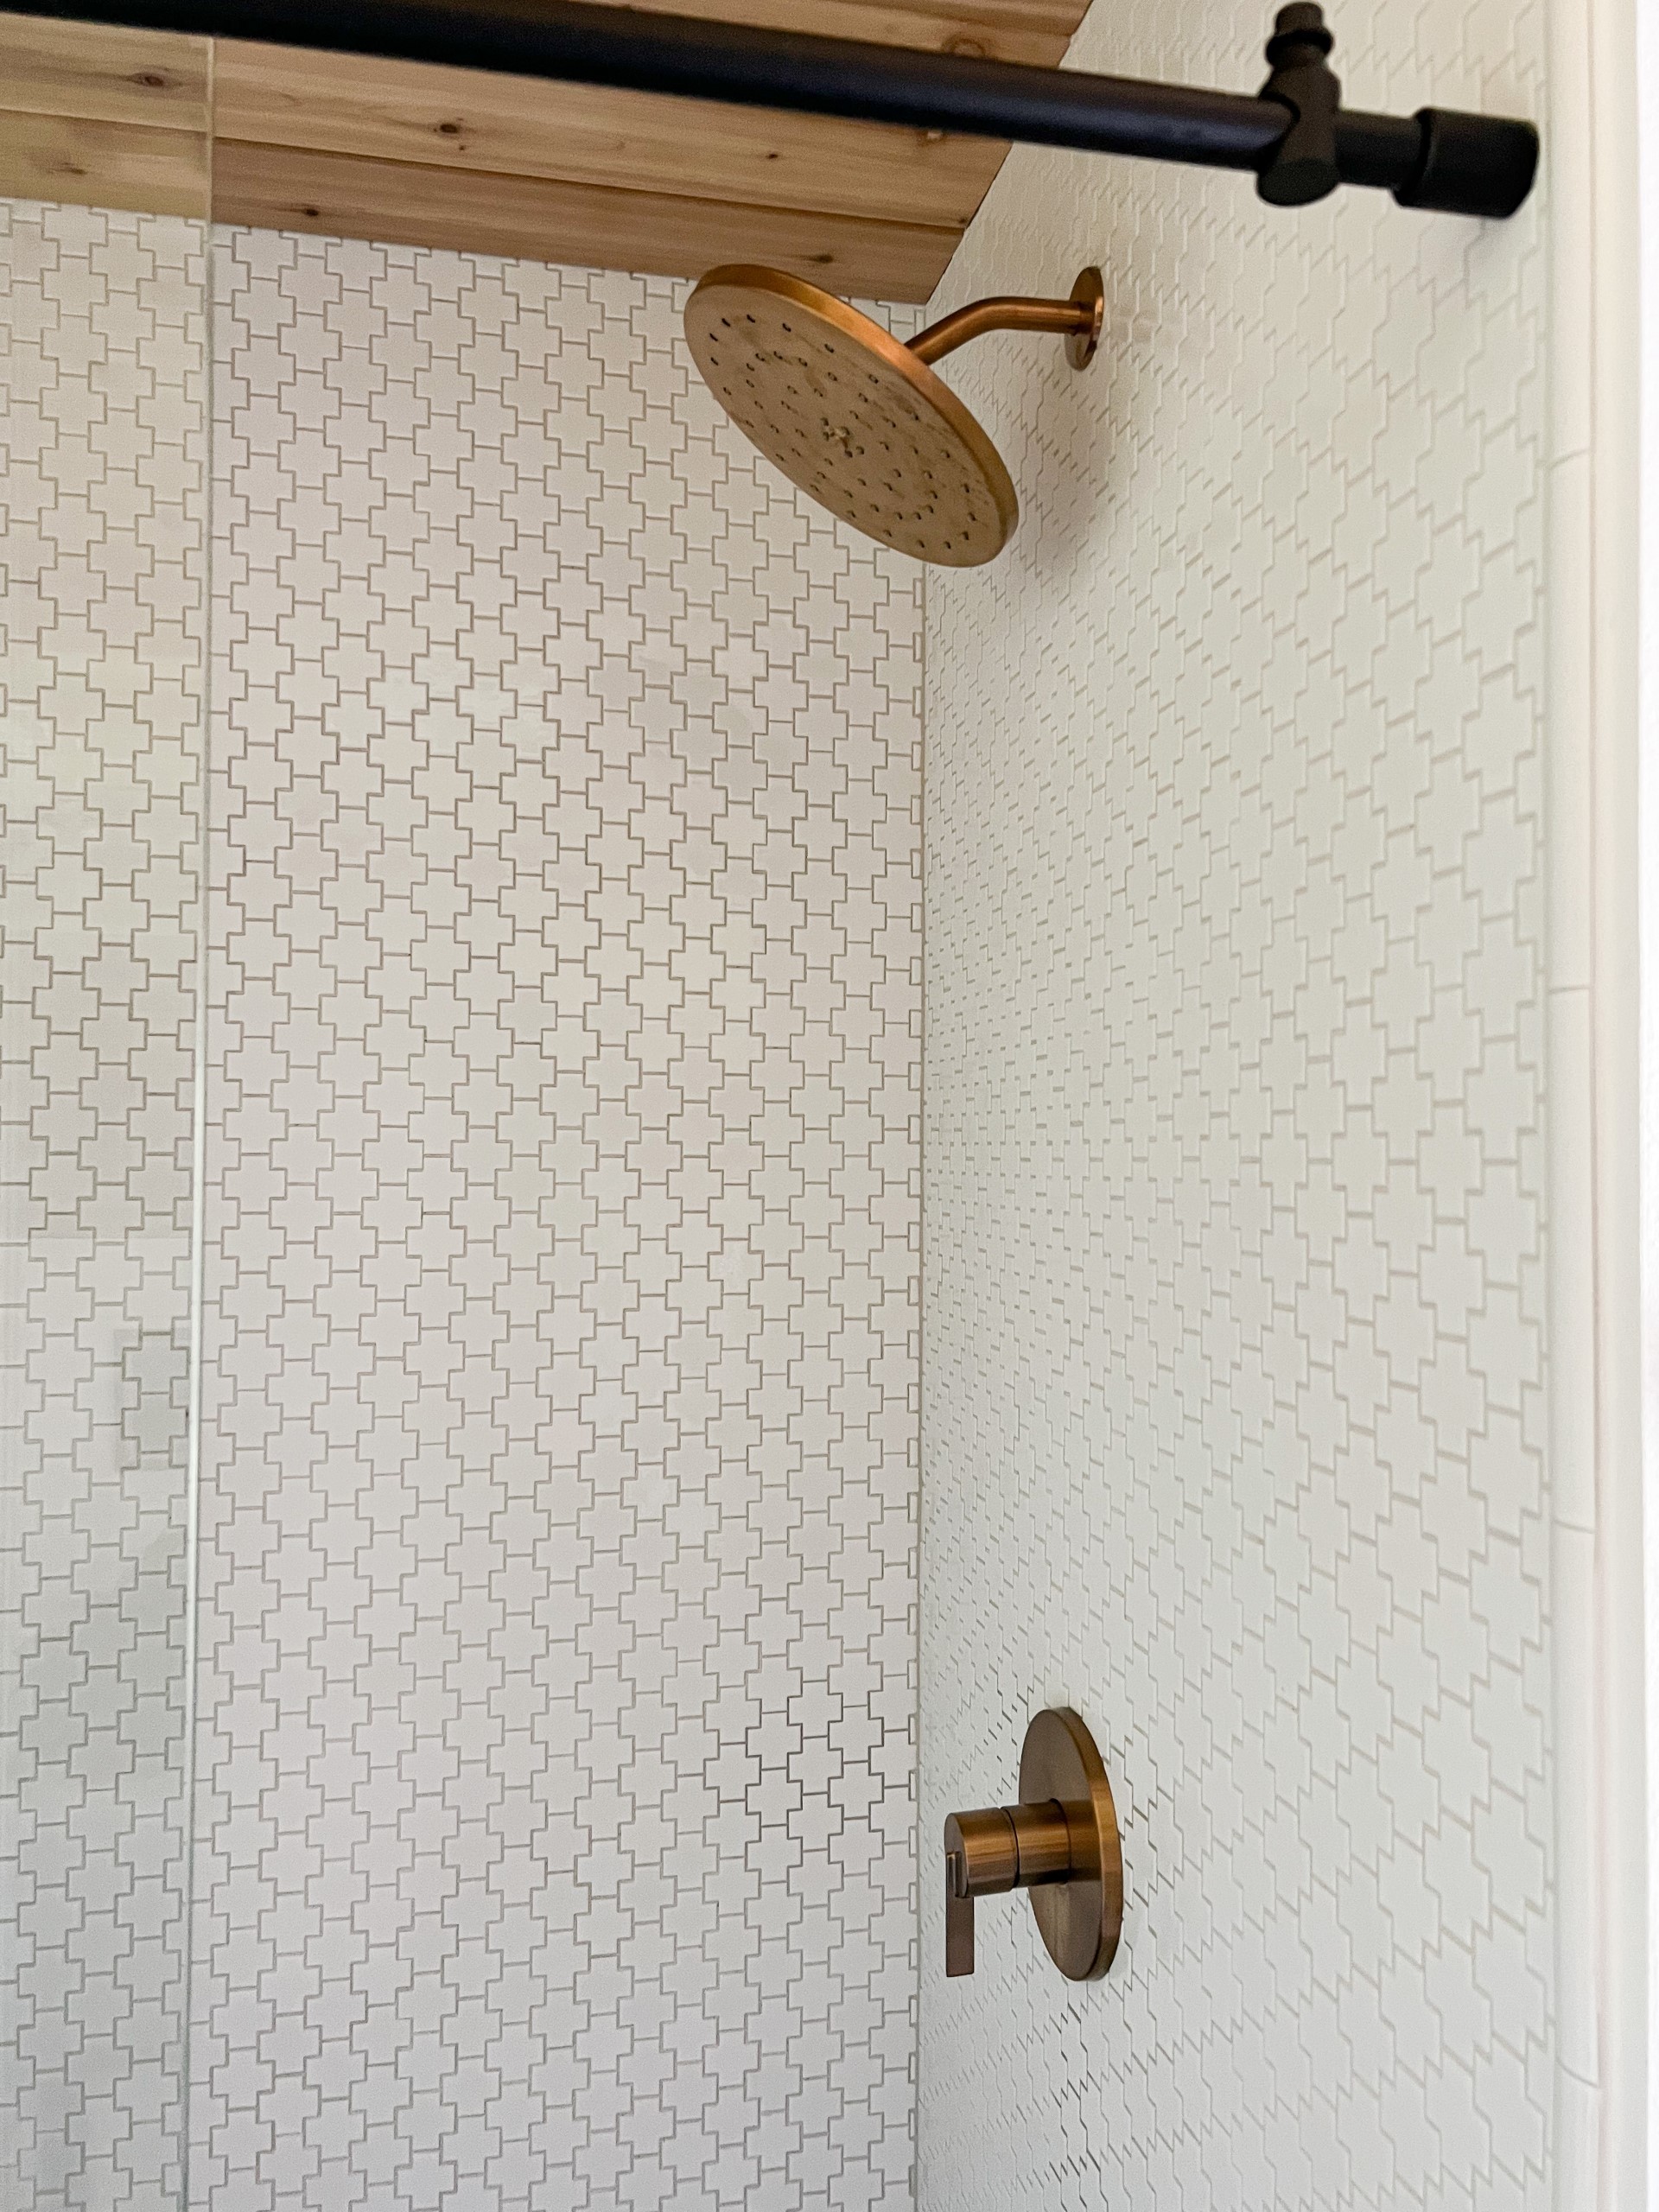
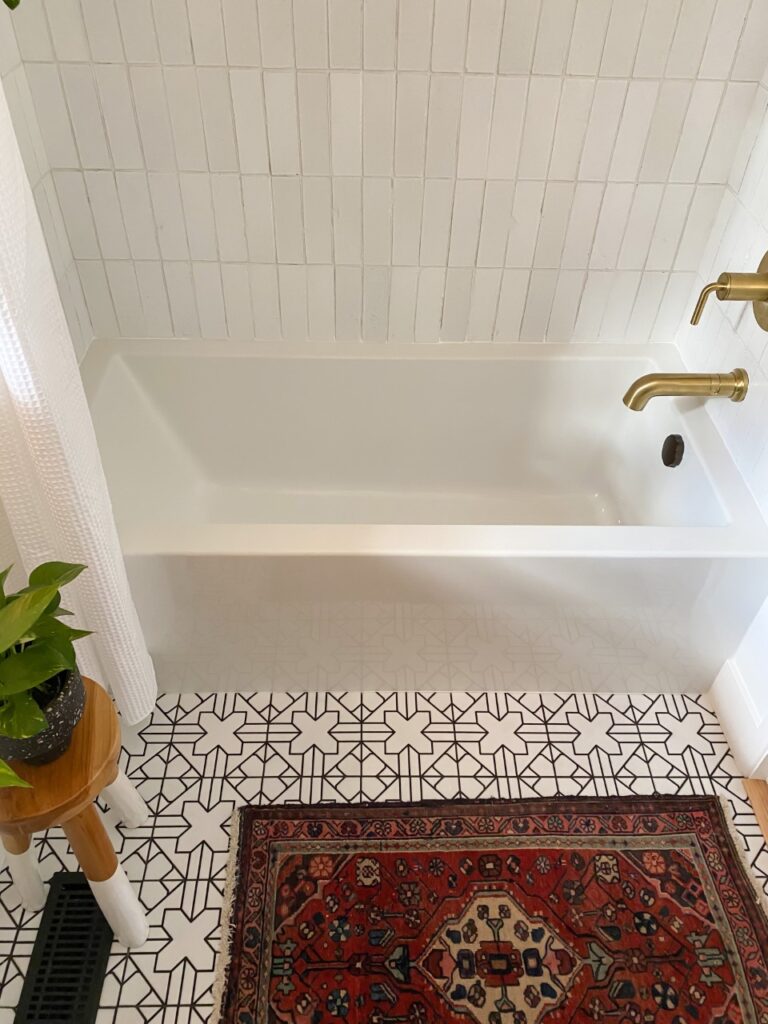
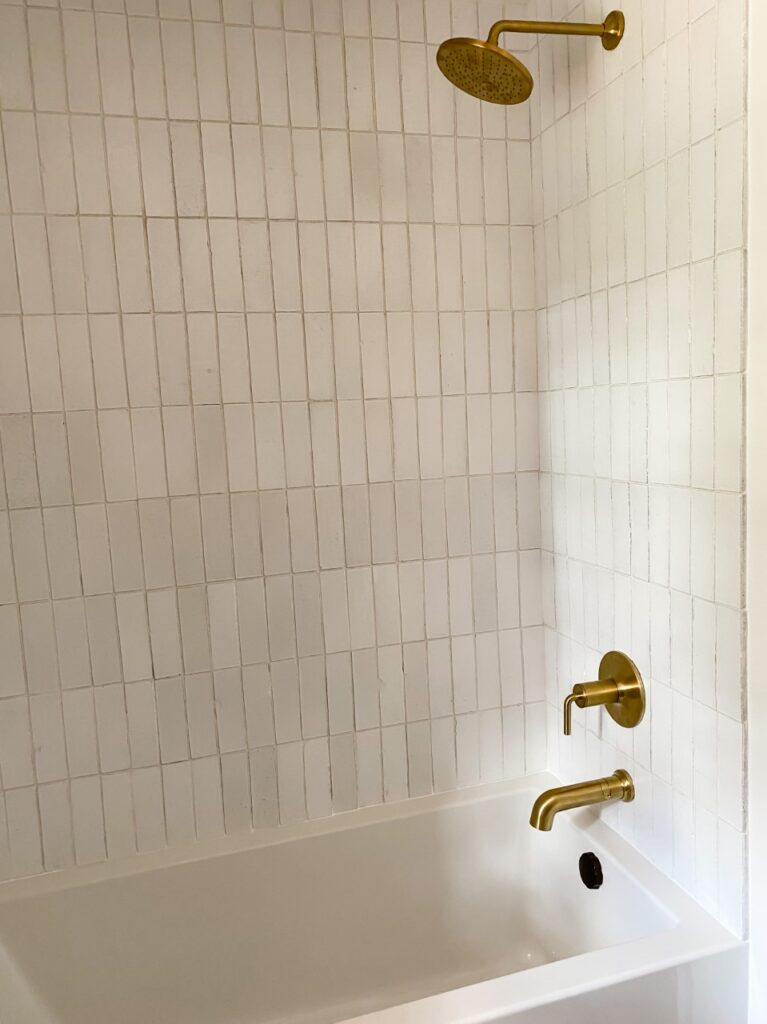
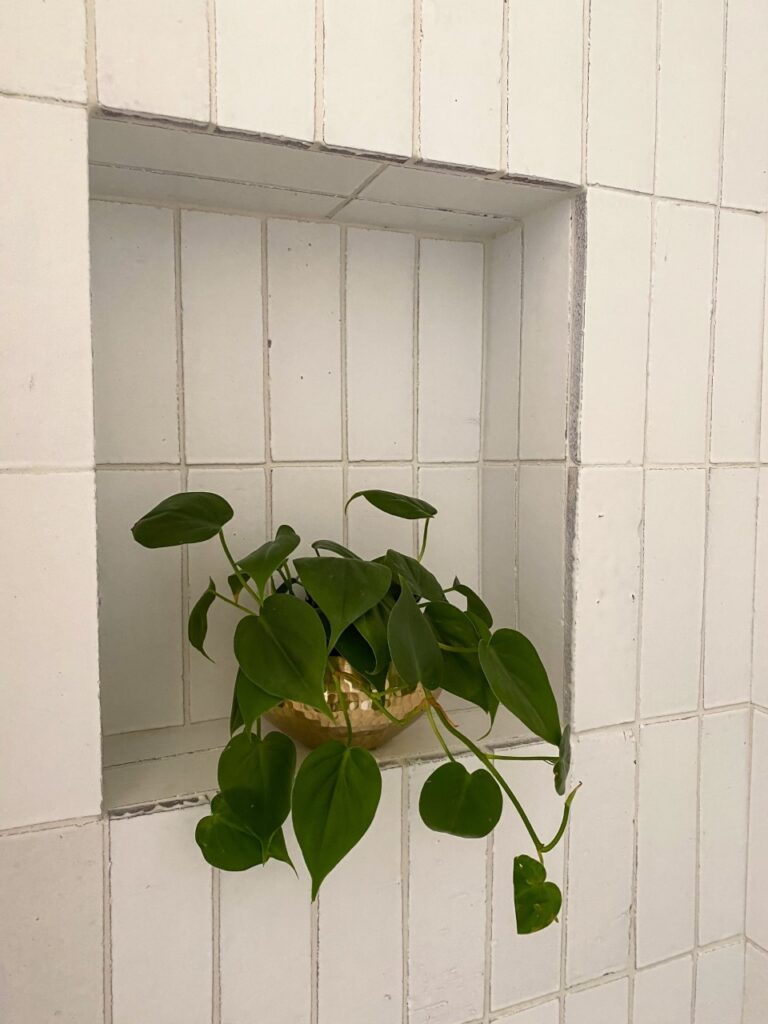
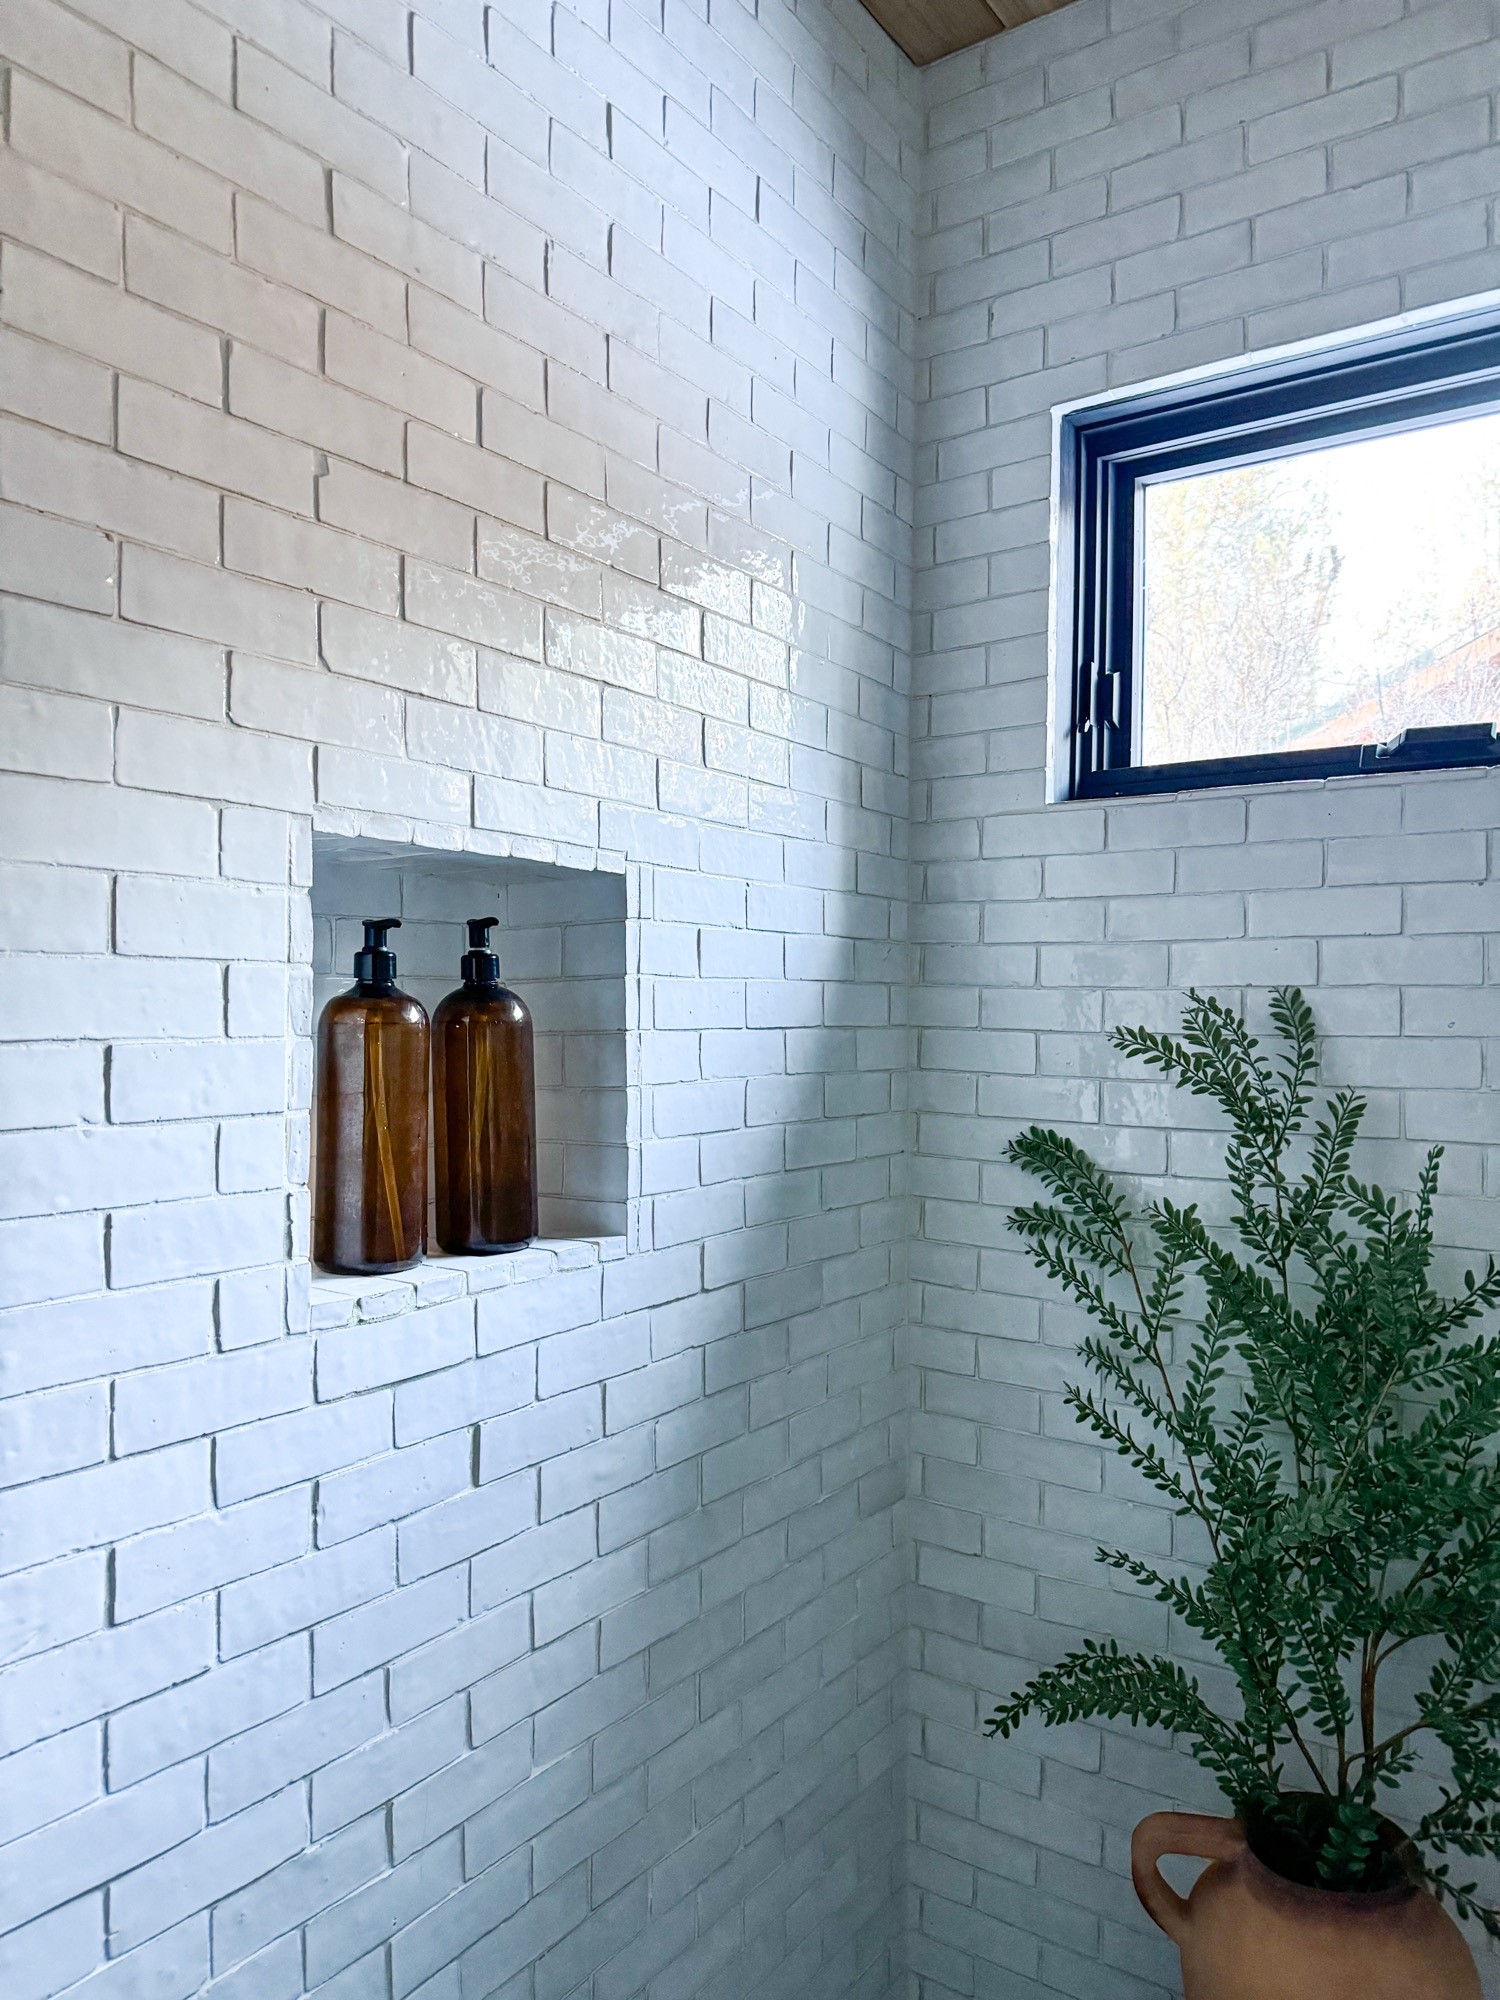
For the shower walls, we went with their Idris by Ait Manos field tile in the 2×6 size option. The color is called White Cararre and it’s the prettiest snowy white, while still having some variation from one tile to the next. This tile is special. It’s glossy, it’s glamorous, and yet, somehow still feels casual and organic. When the sun shines in the bathroom, the tiles really show off with an almost sparkly effect. I love it. For the grout, we went with a simple white.
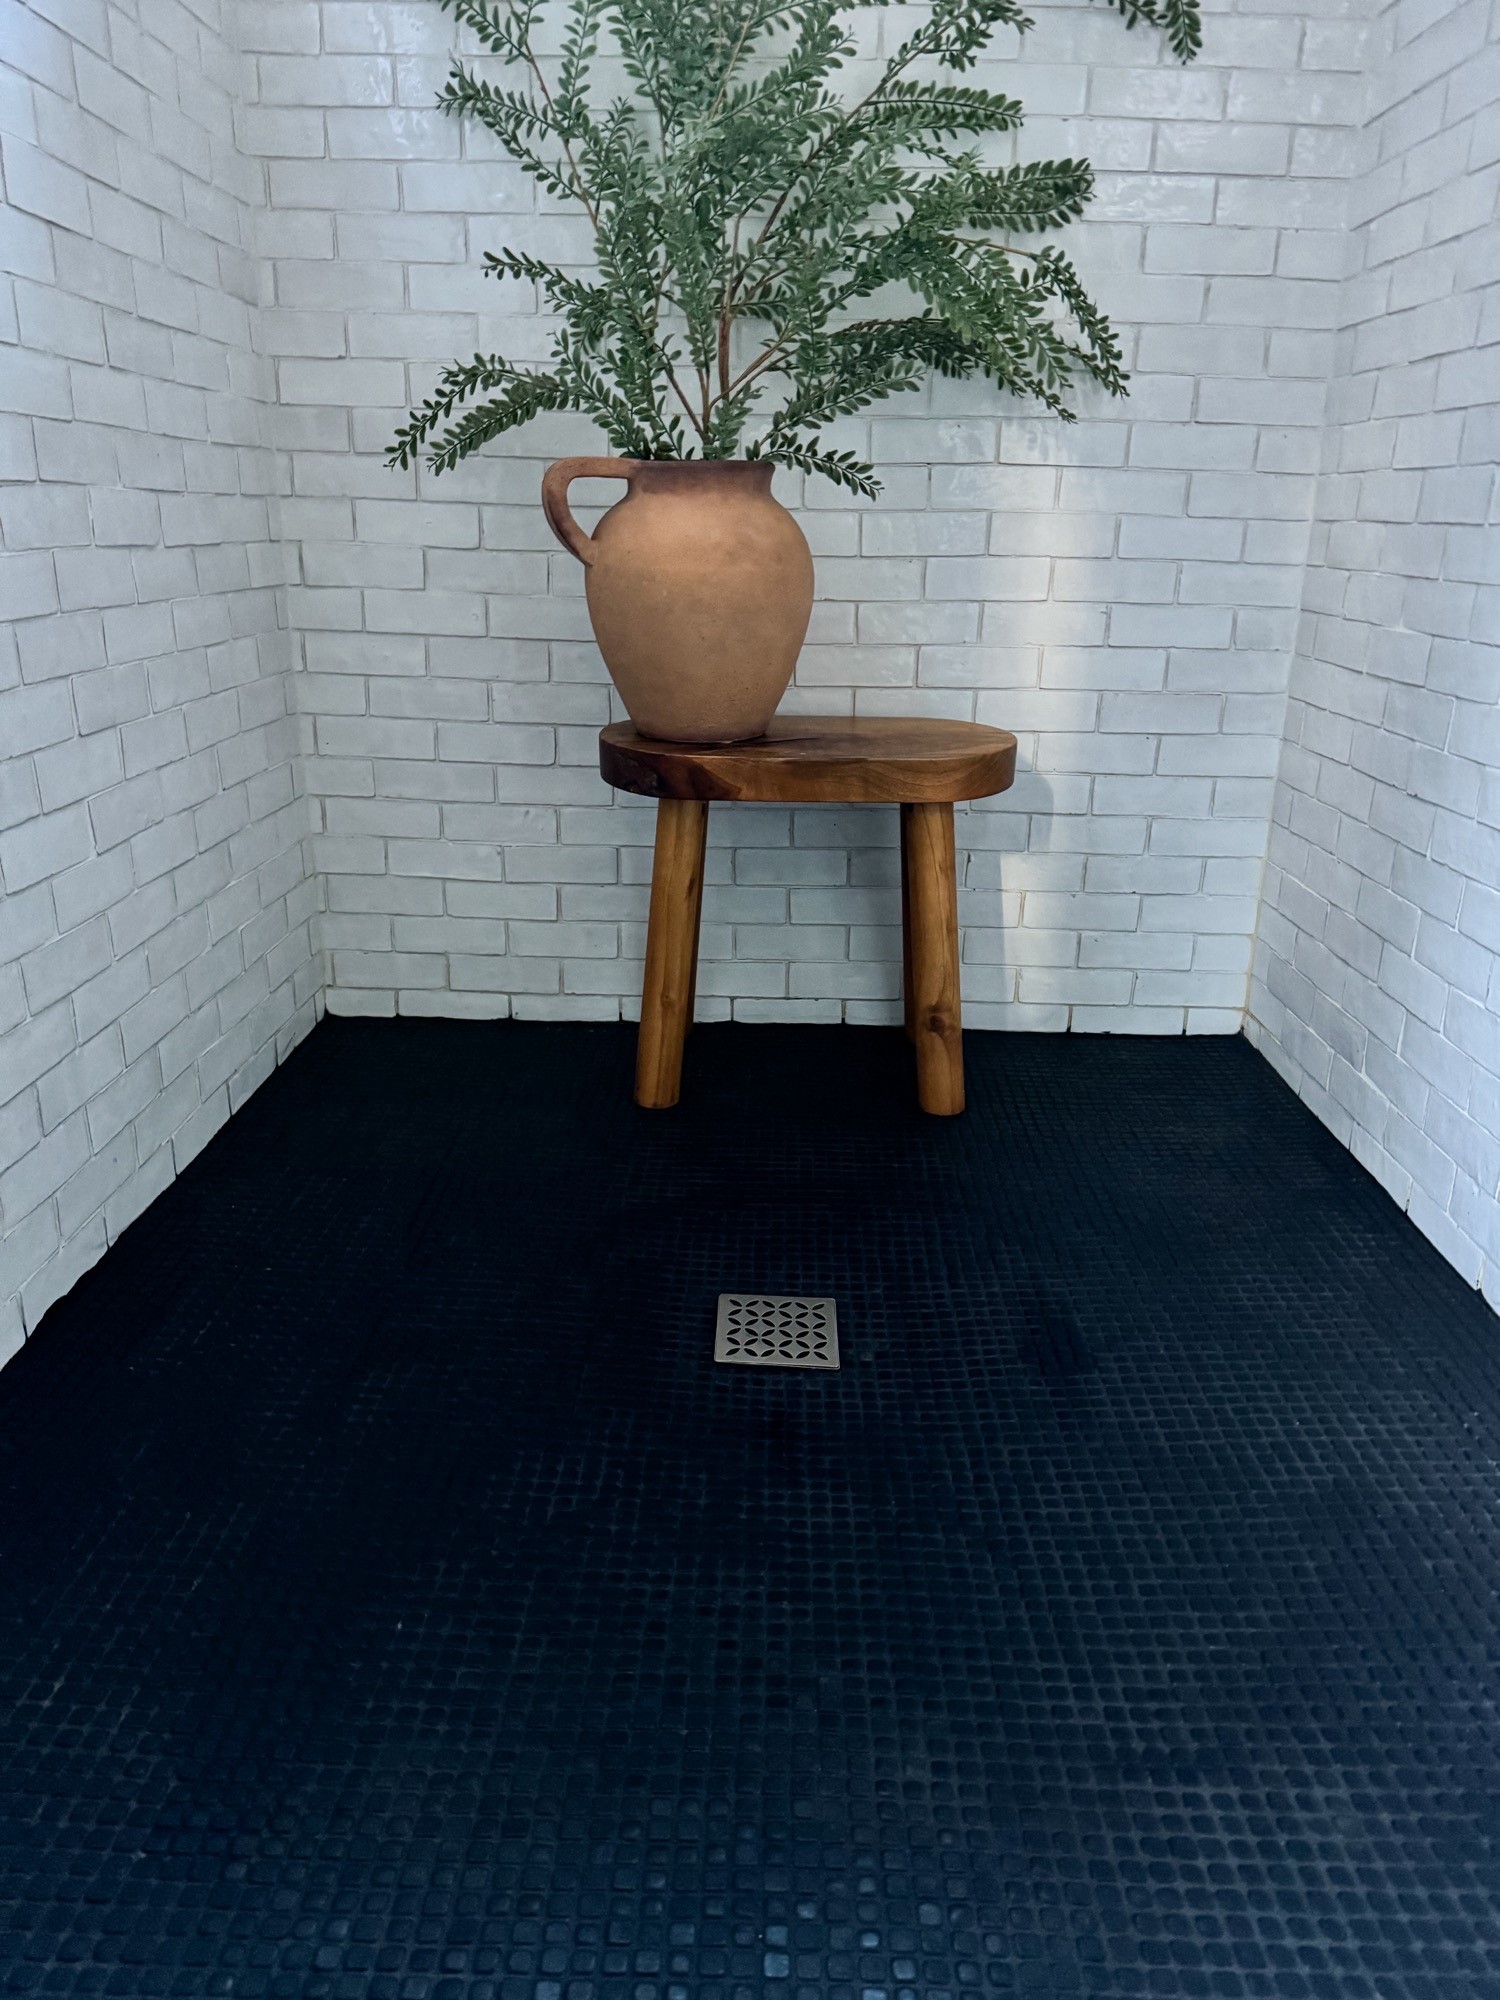
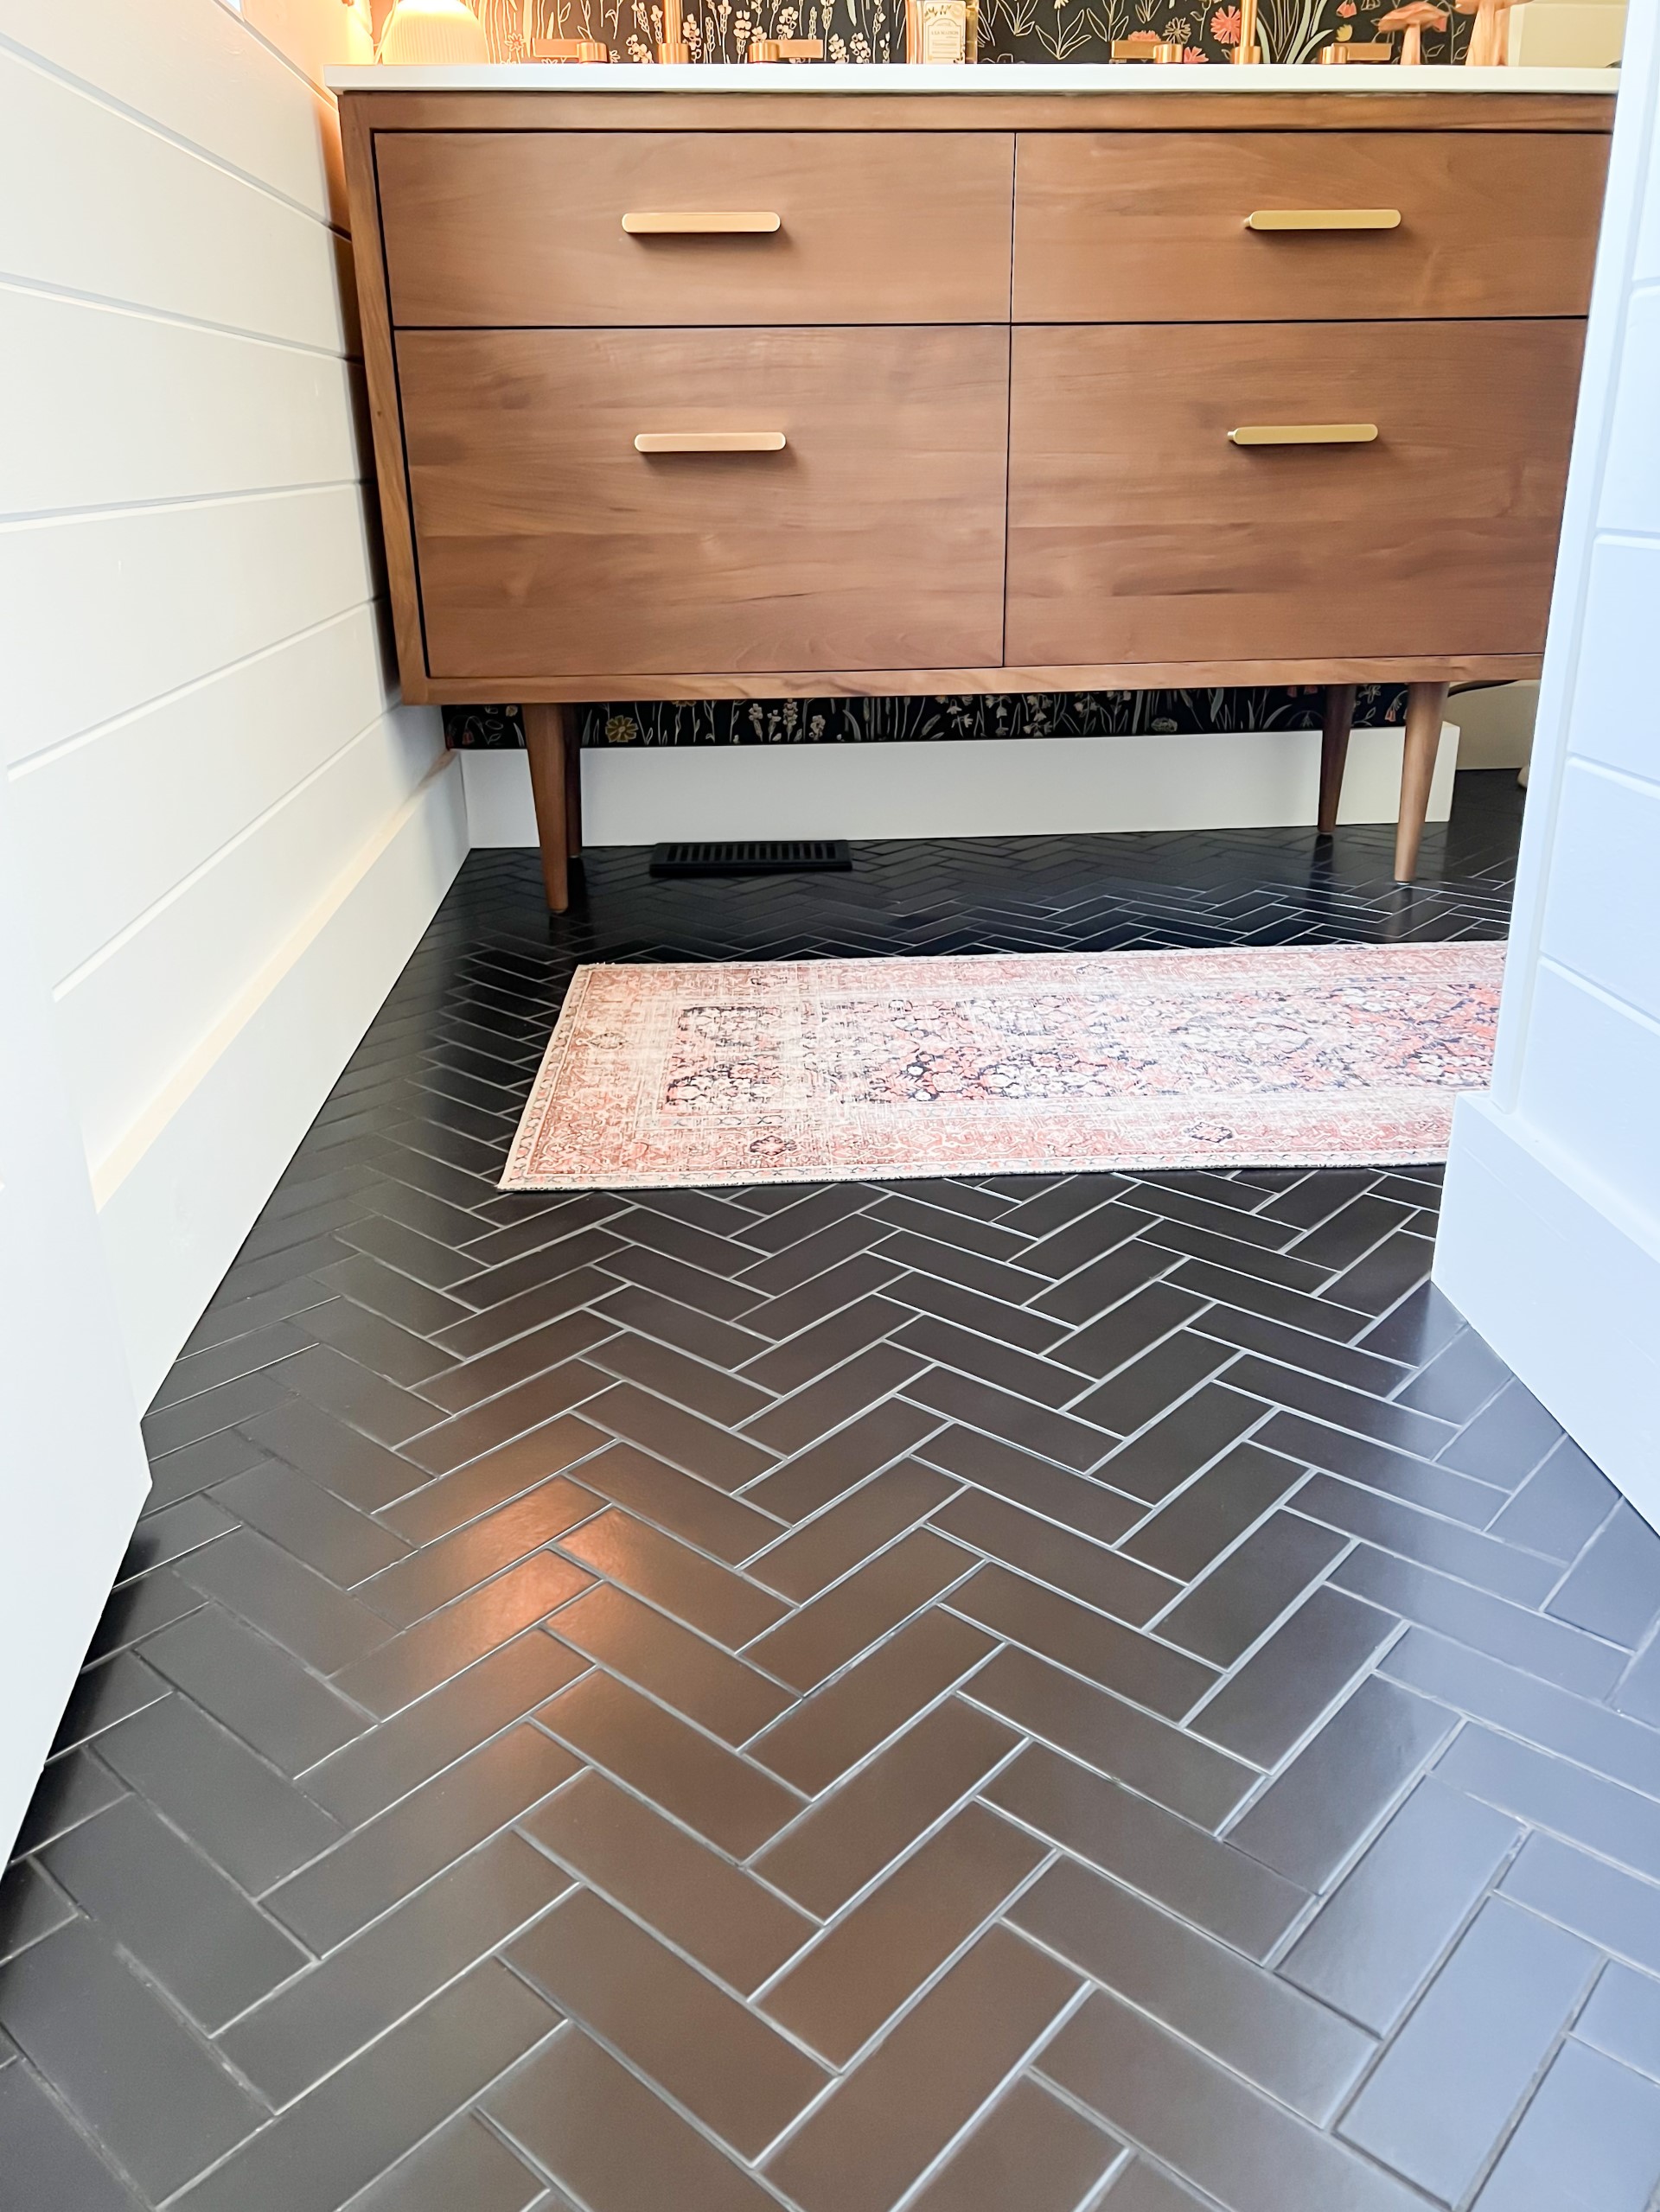
For the shower floors, we fell in love with their Salluto line. And for just a touch of drama, I went dark with their Nero color option. These tiles are tiny, but pack a punch! When you first glance at them, they almost look like a pebble you would find in nature. But, when you look closer, you’ll see that each tile is an imperfect square, and some have rounded edges that trick your eye into seeing some squares and some circles. They also have a matte finish that I love, but still reflect light. For the grout, I went with a complimentary black.
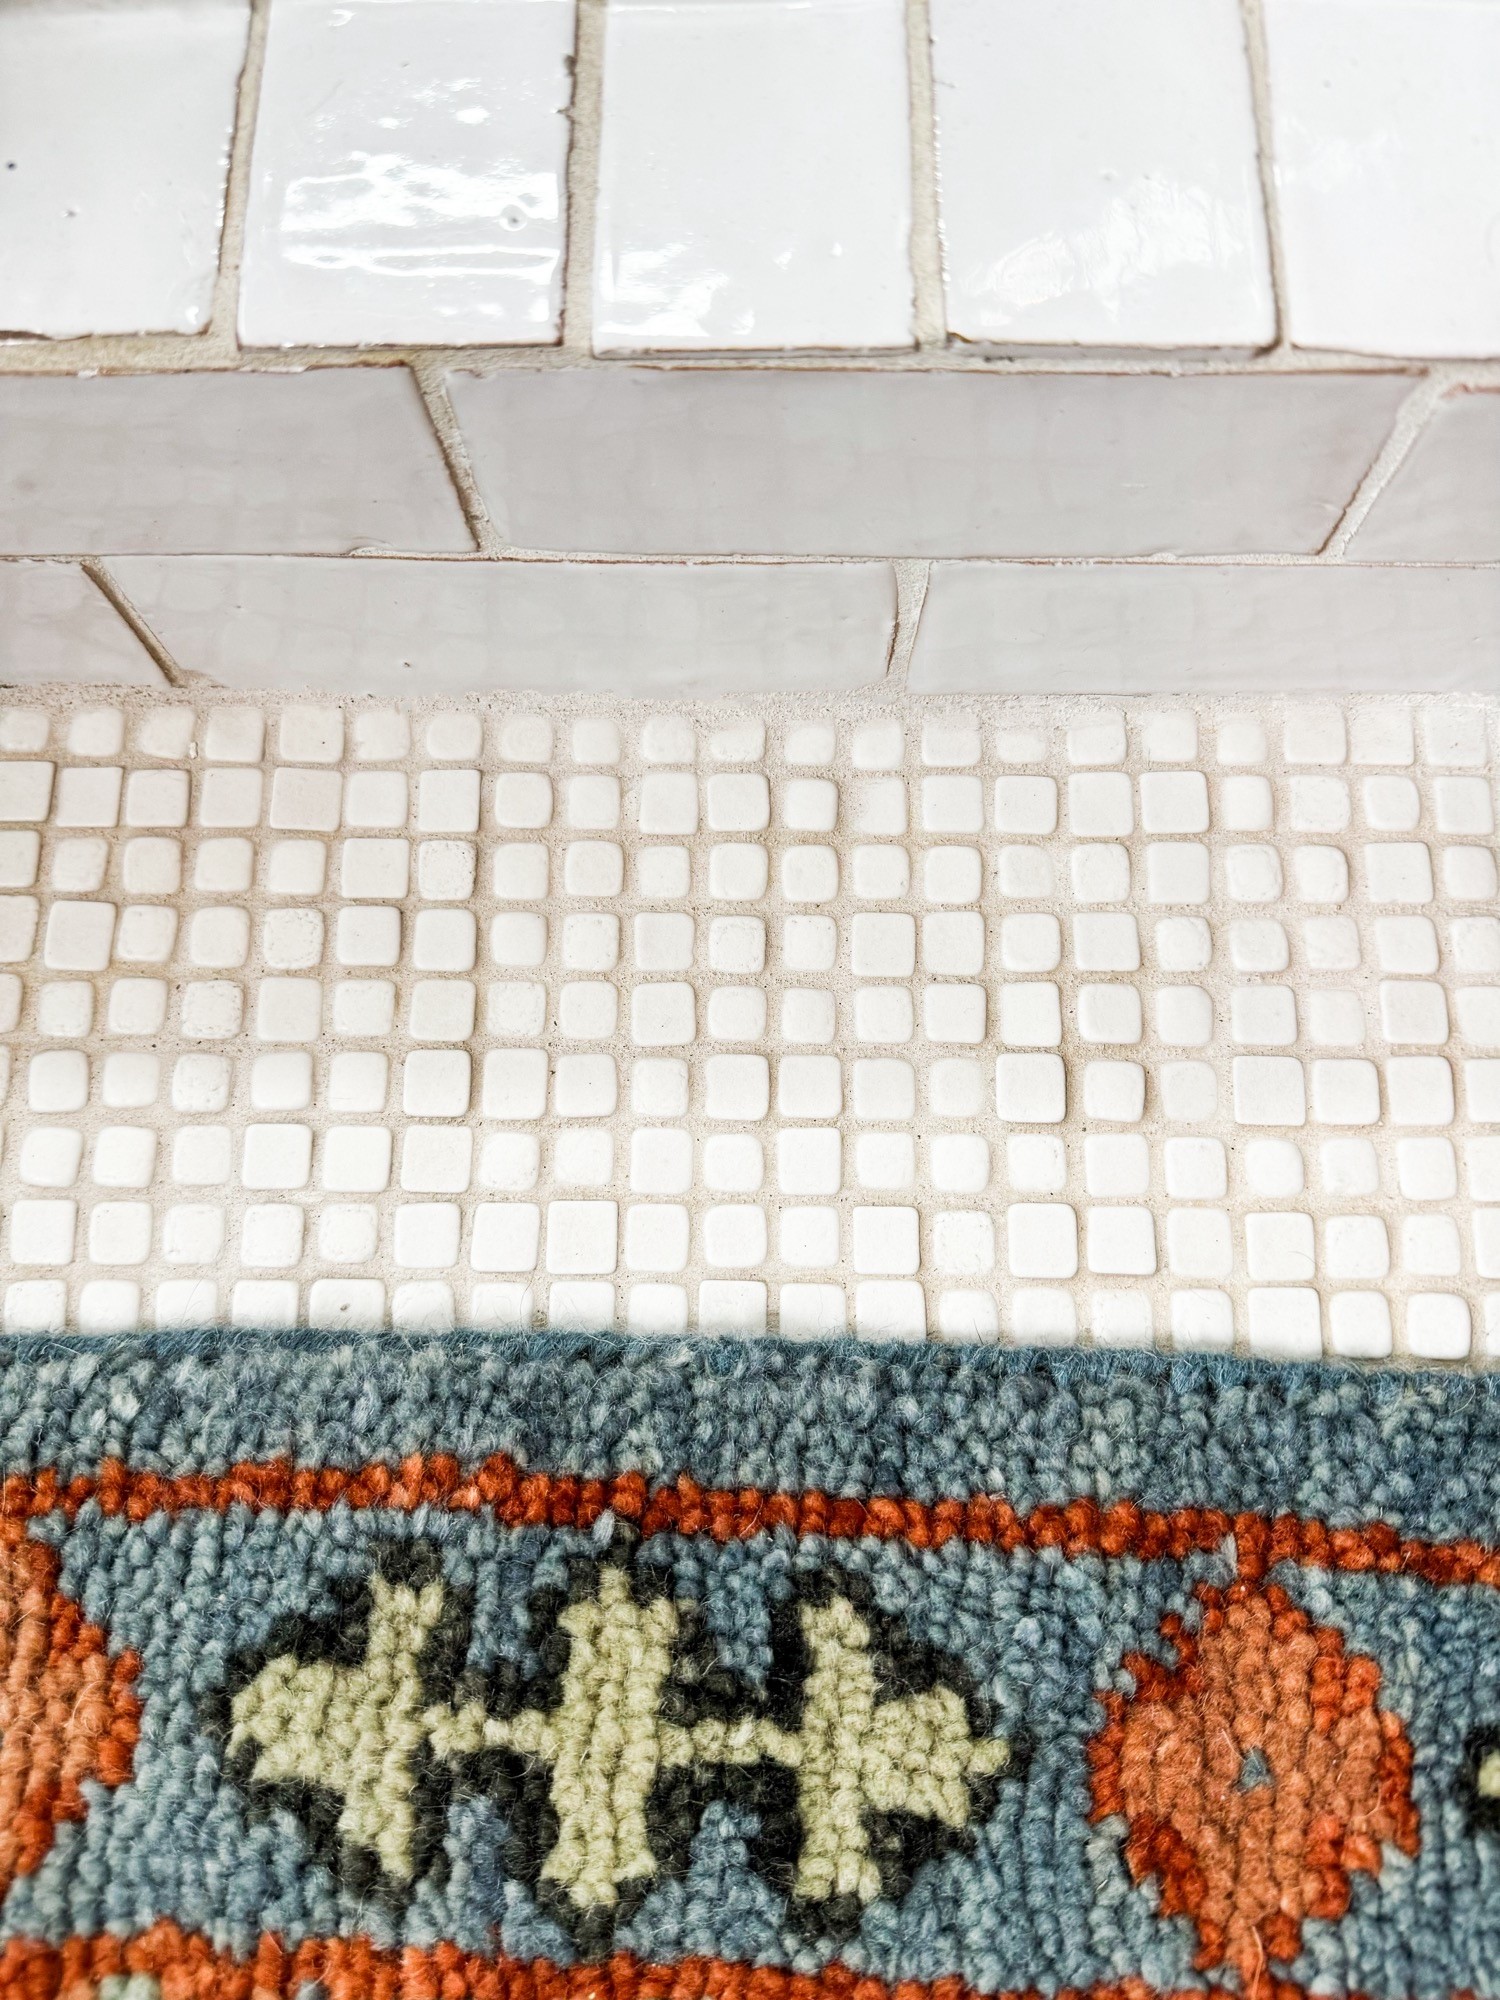
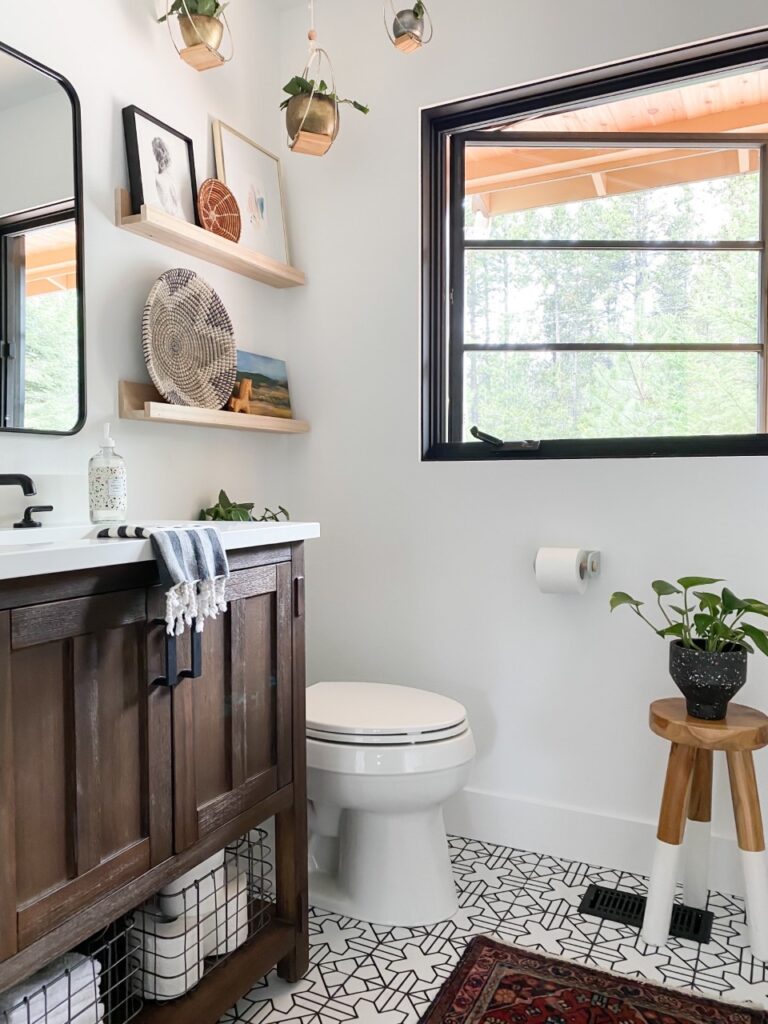
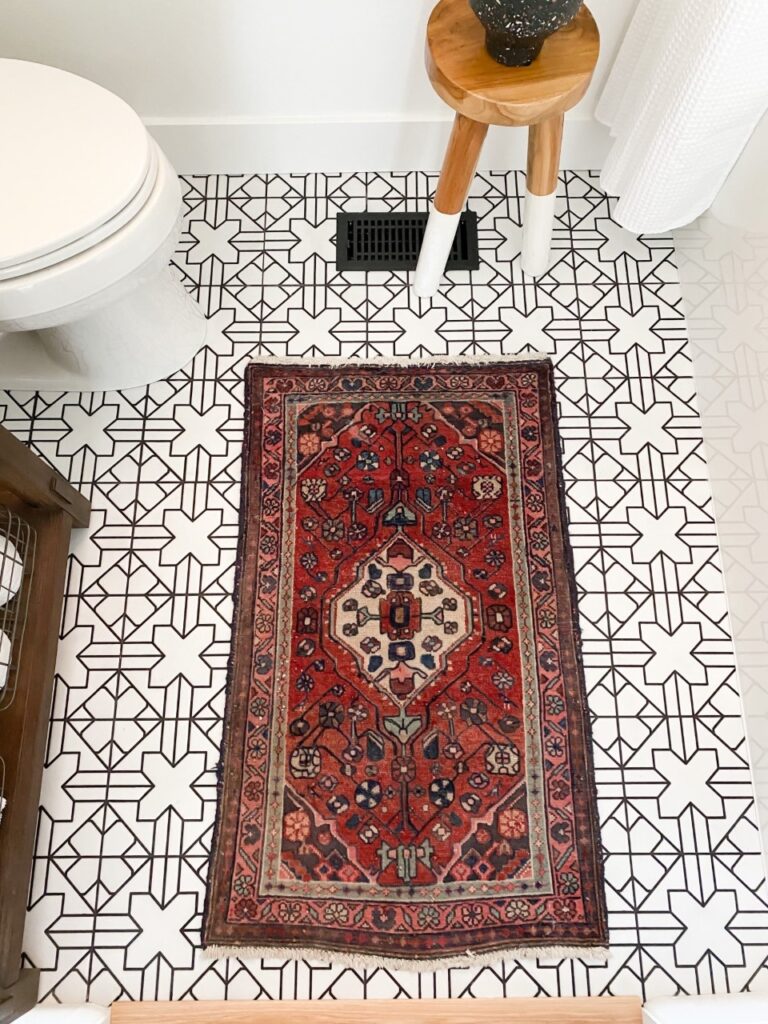
As for the rest of the floors in the bathroom, we used the Salluto line again, but this time, we switched out the Nero color for a creamy beige, called Bianco. I love the texture that it adds to the space and I especially love the way this tile feels underfoot. Almost like a little foot massage.
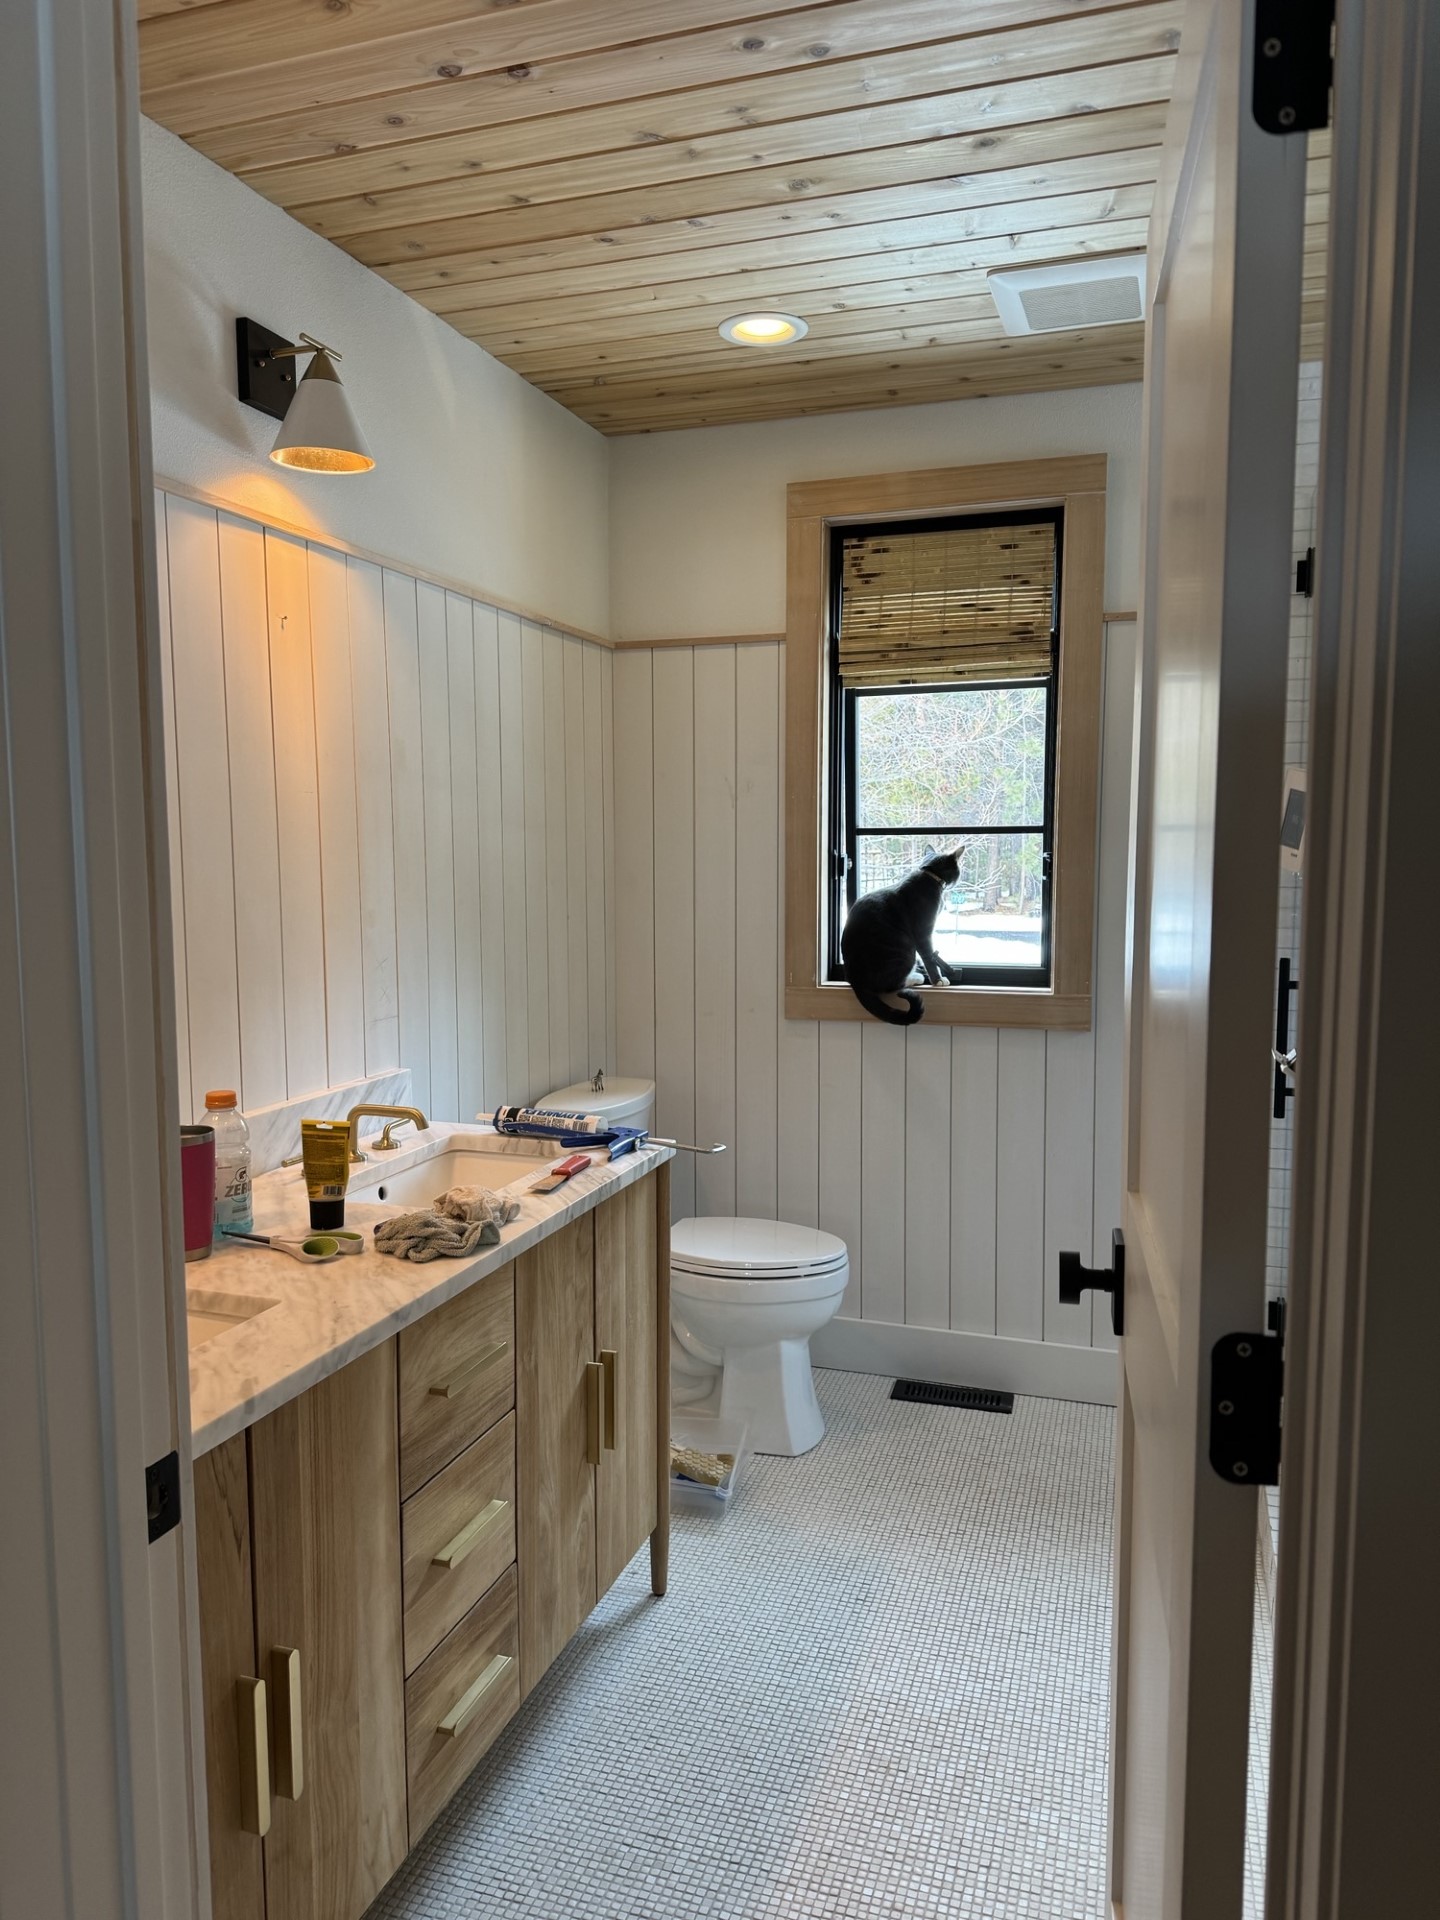
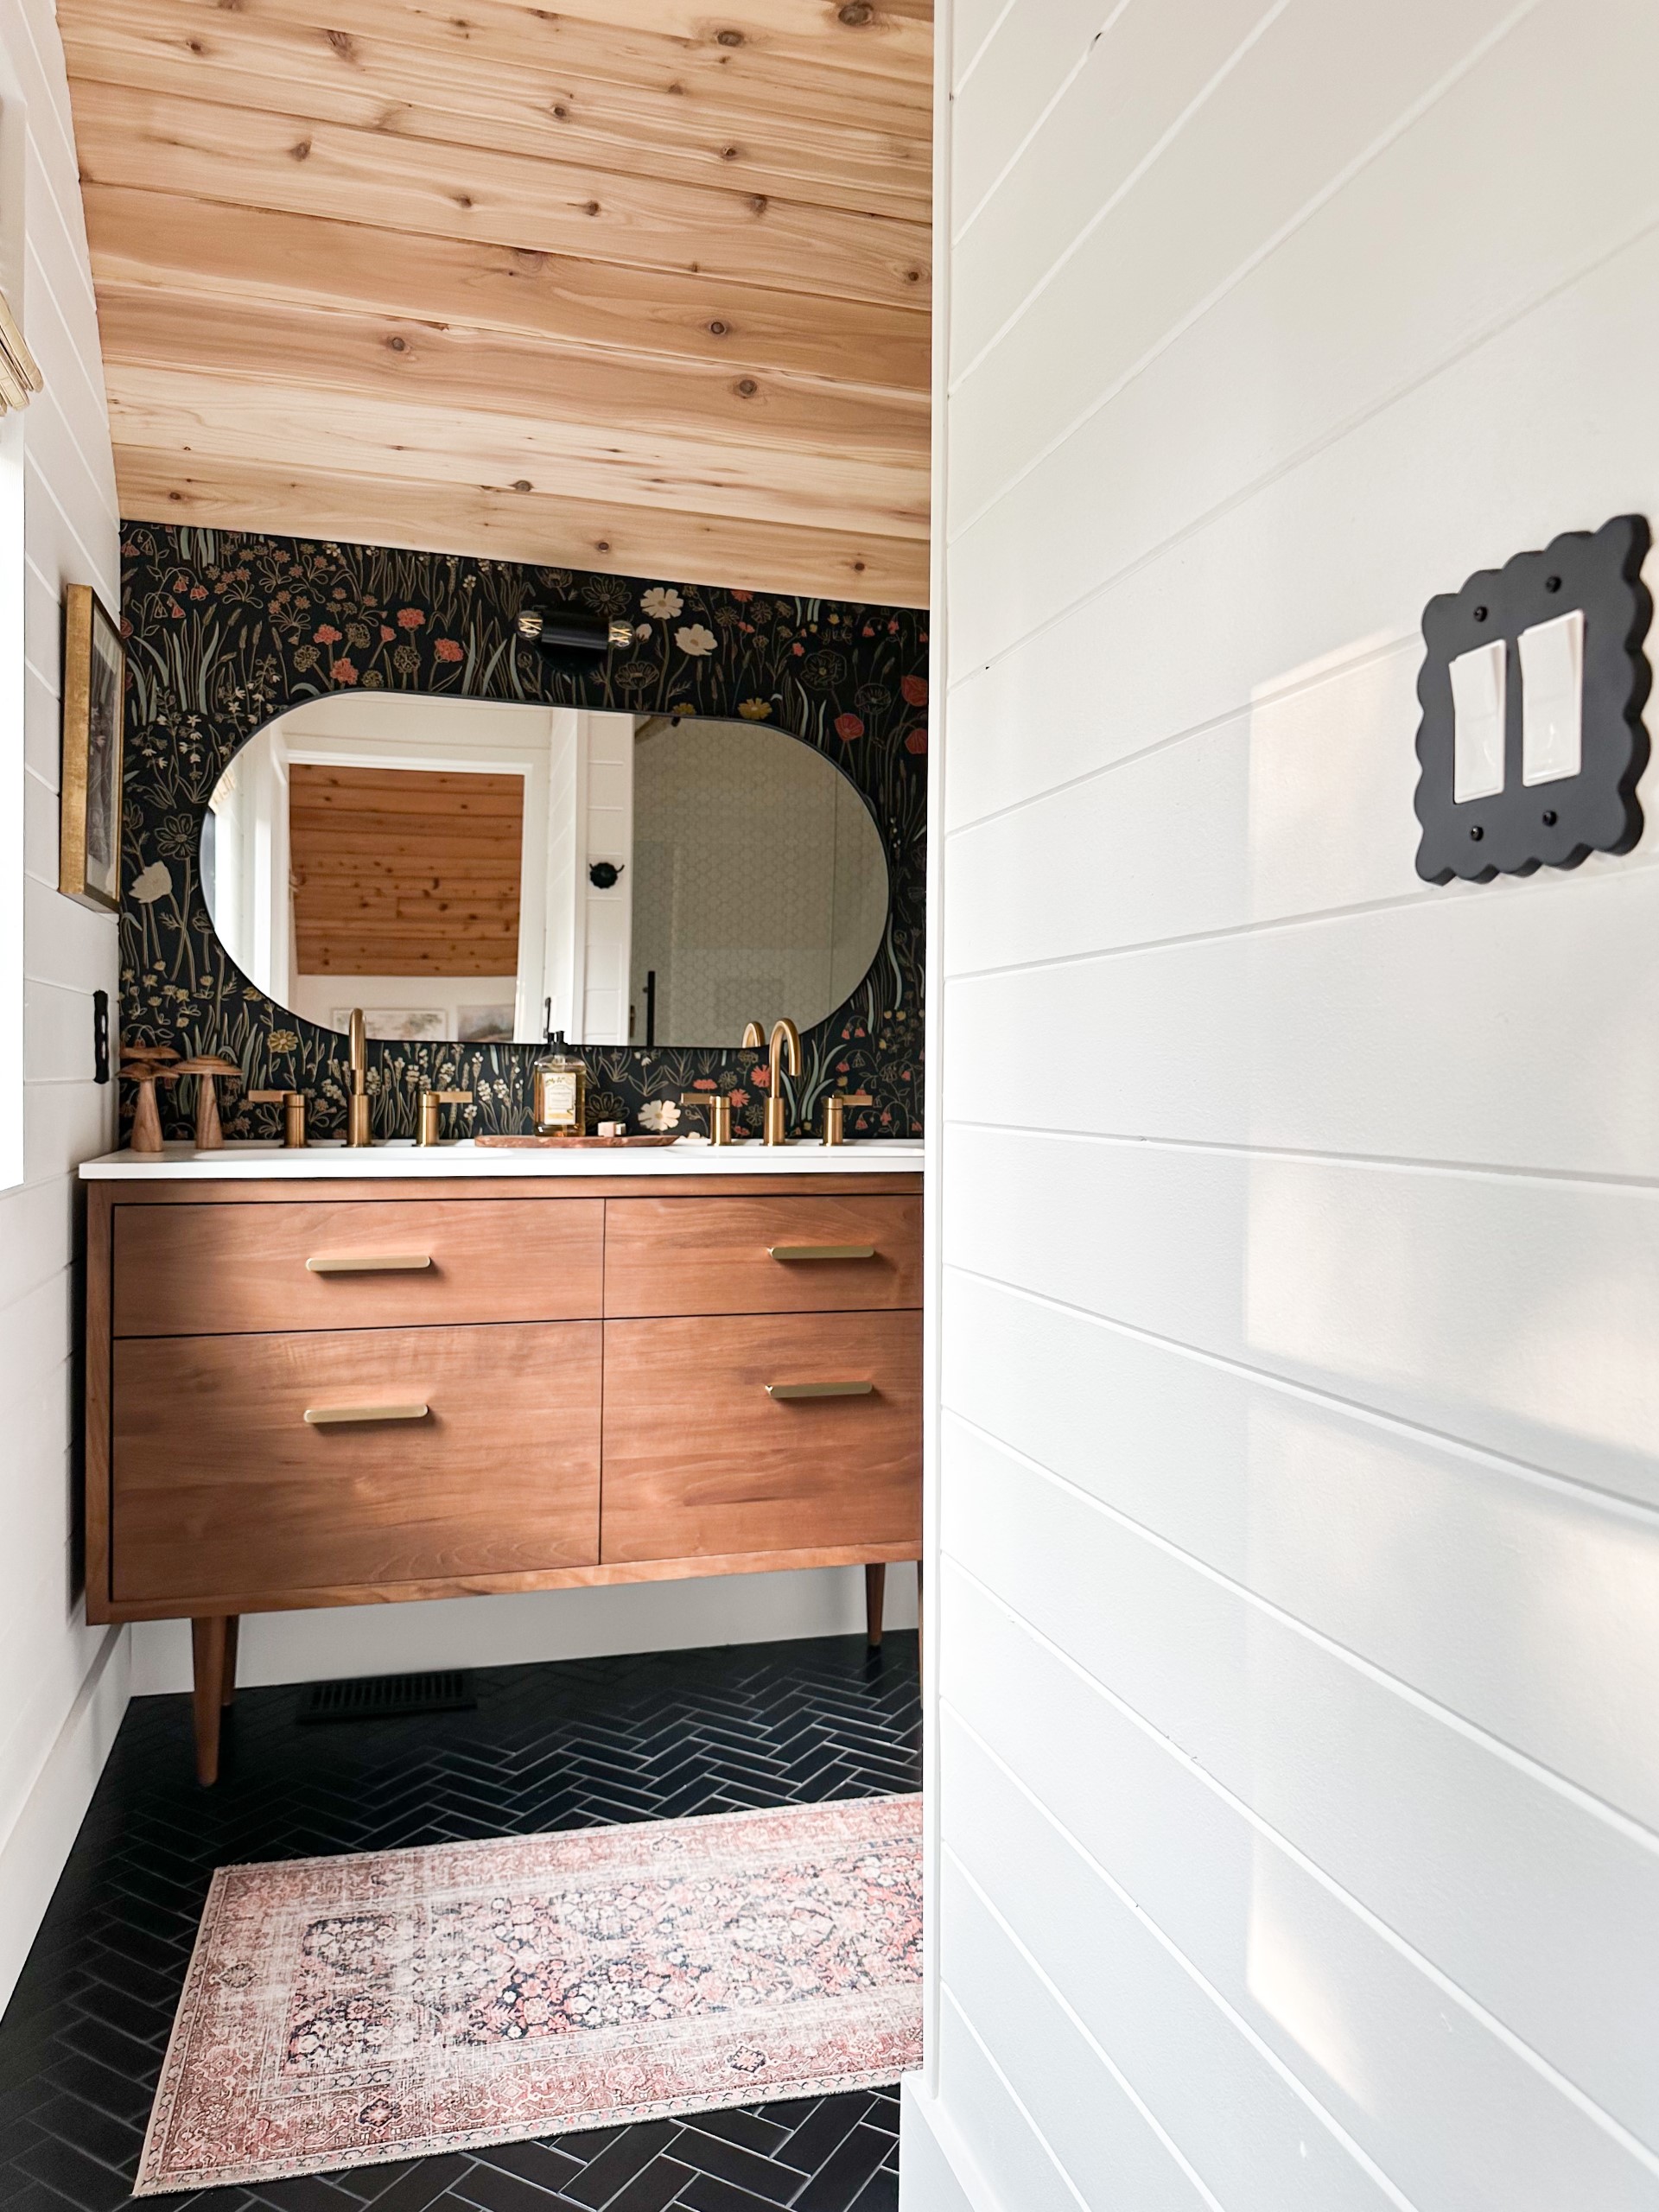
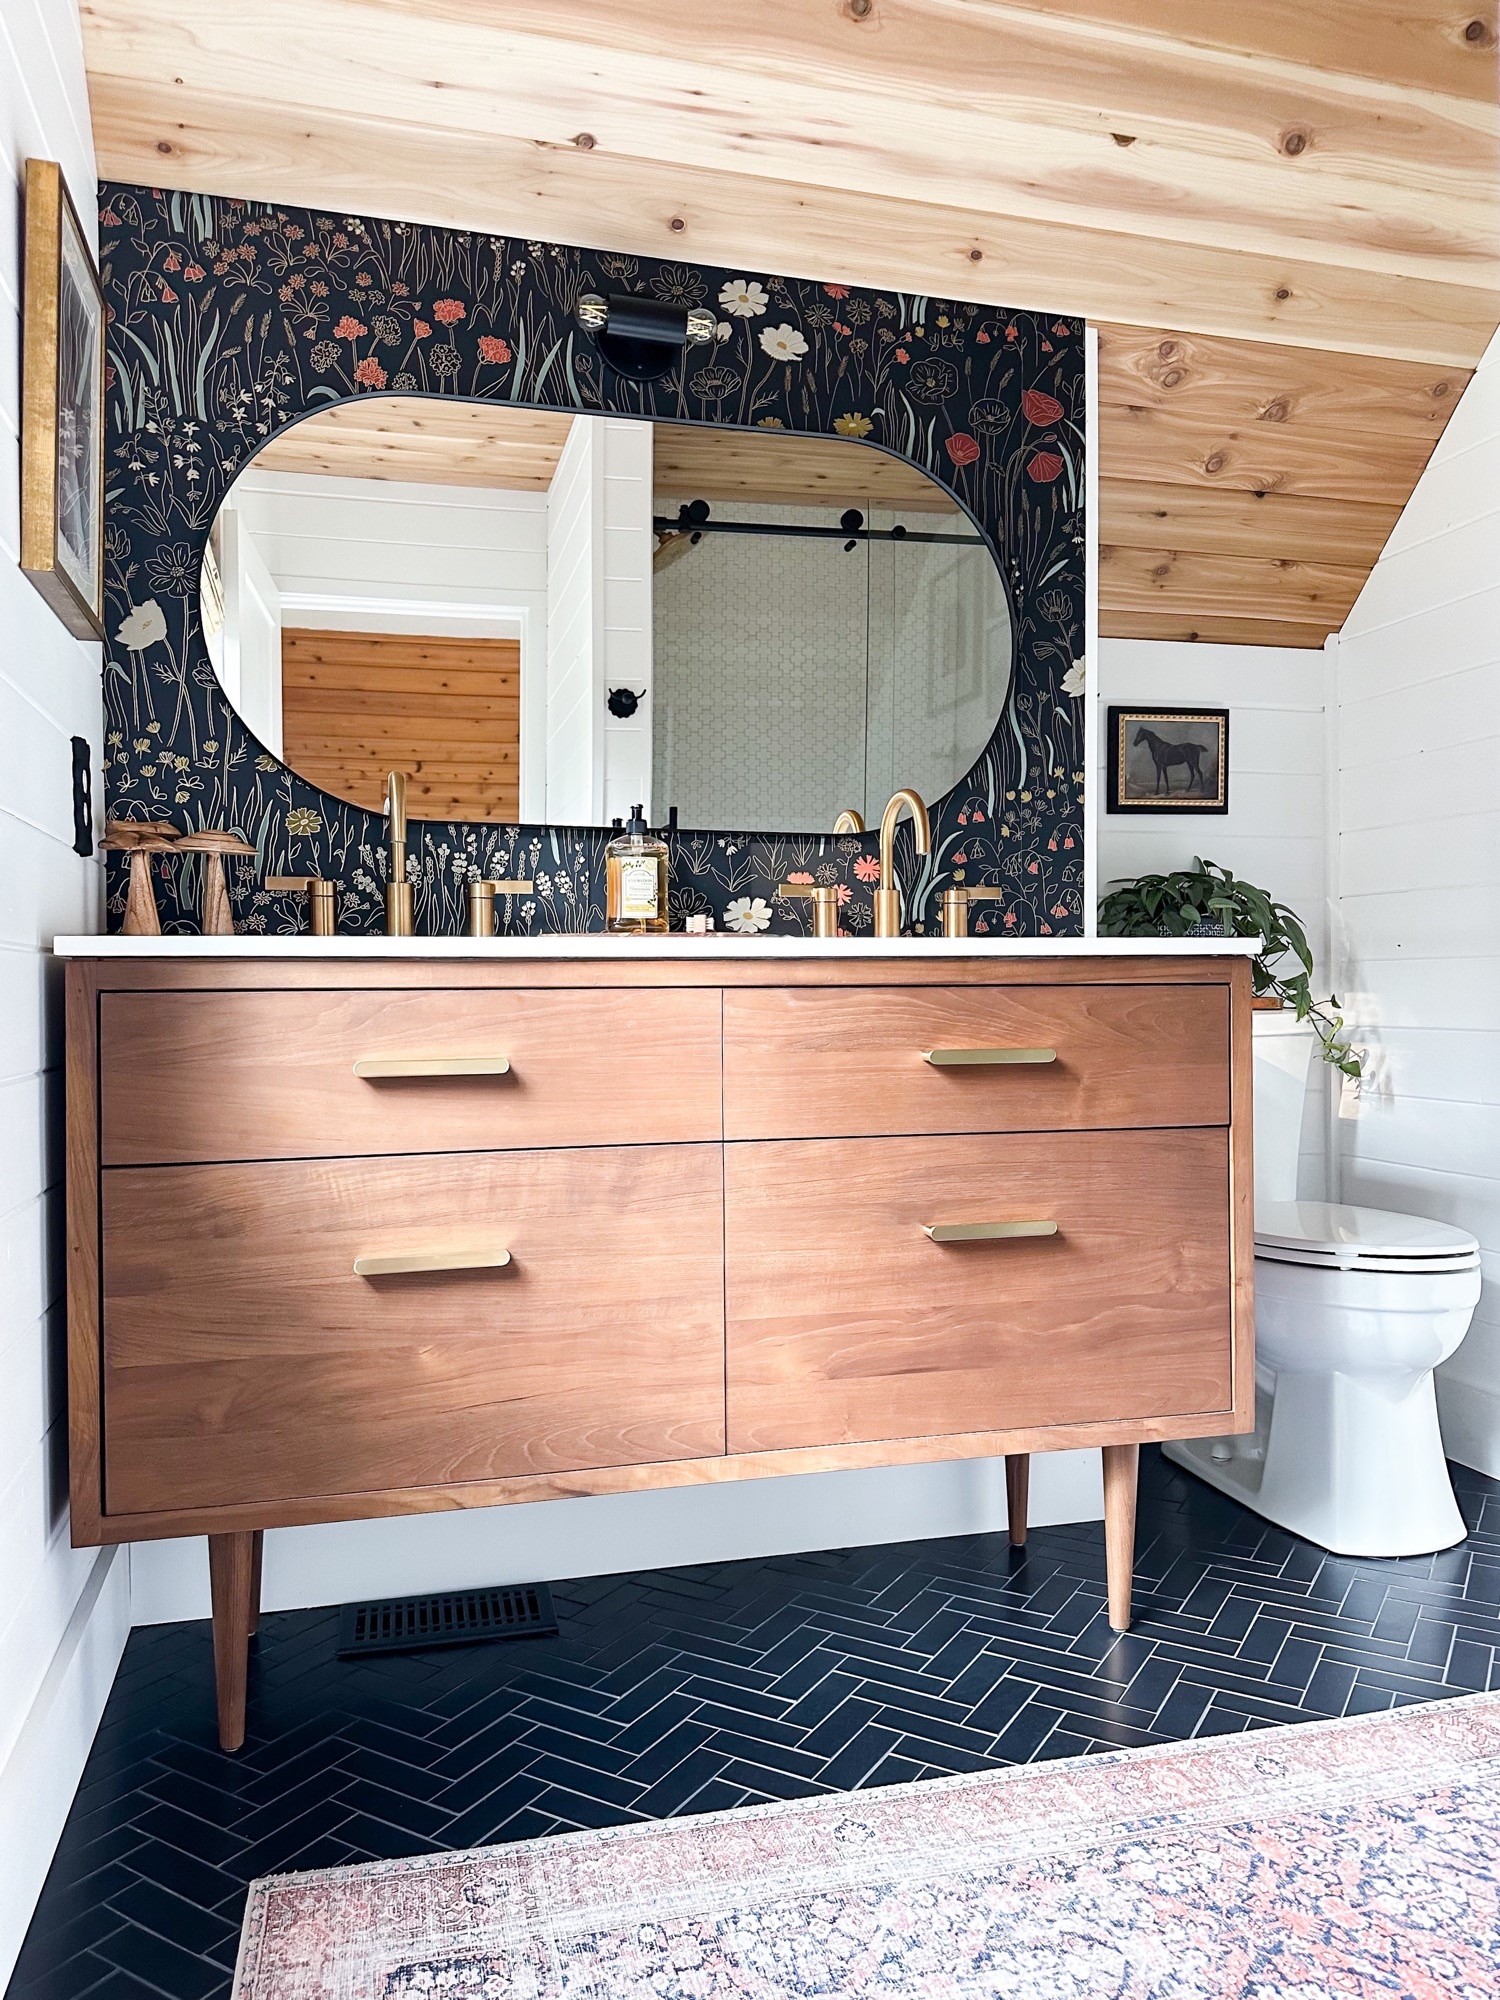
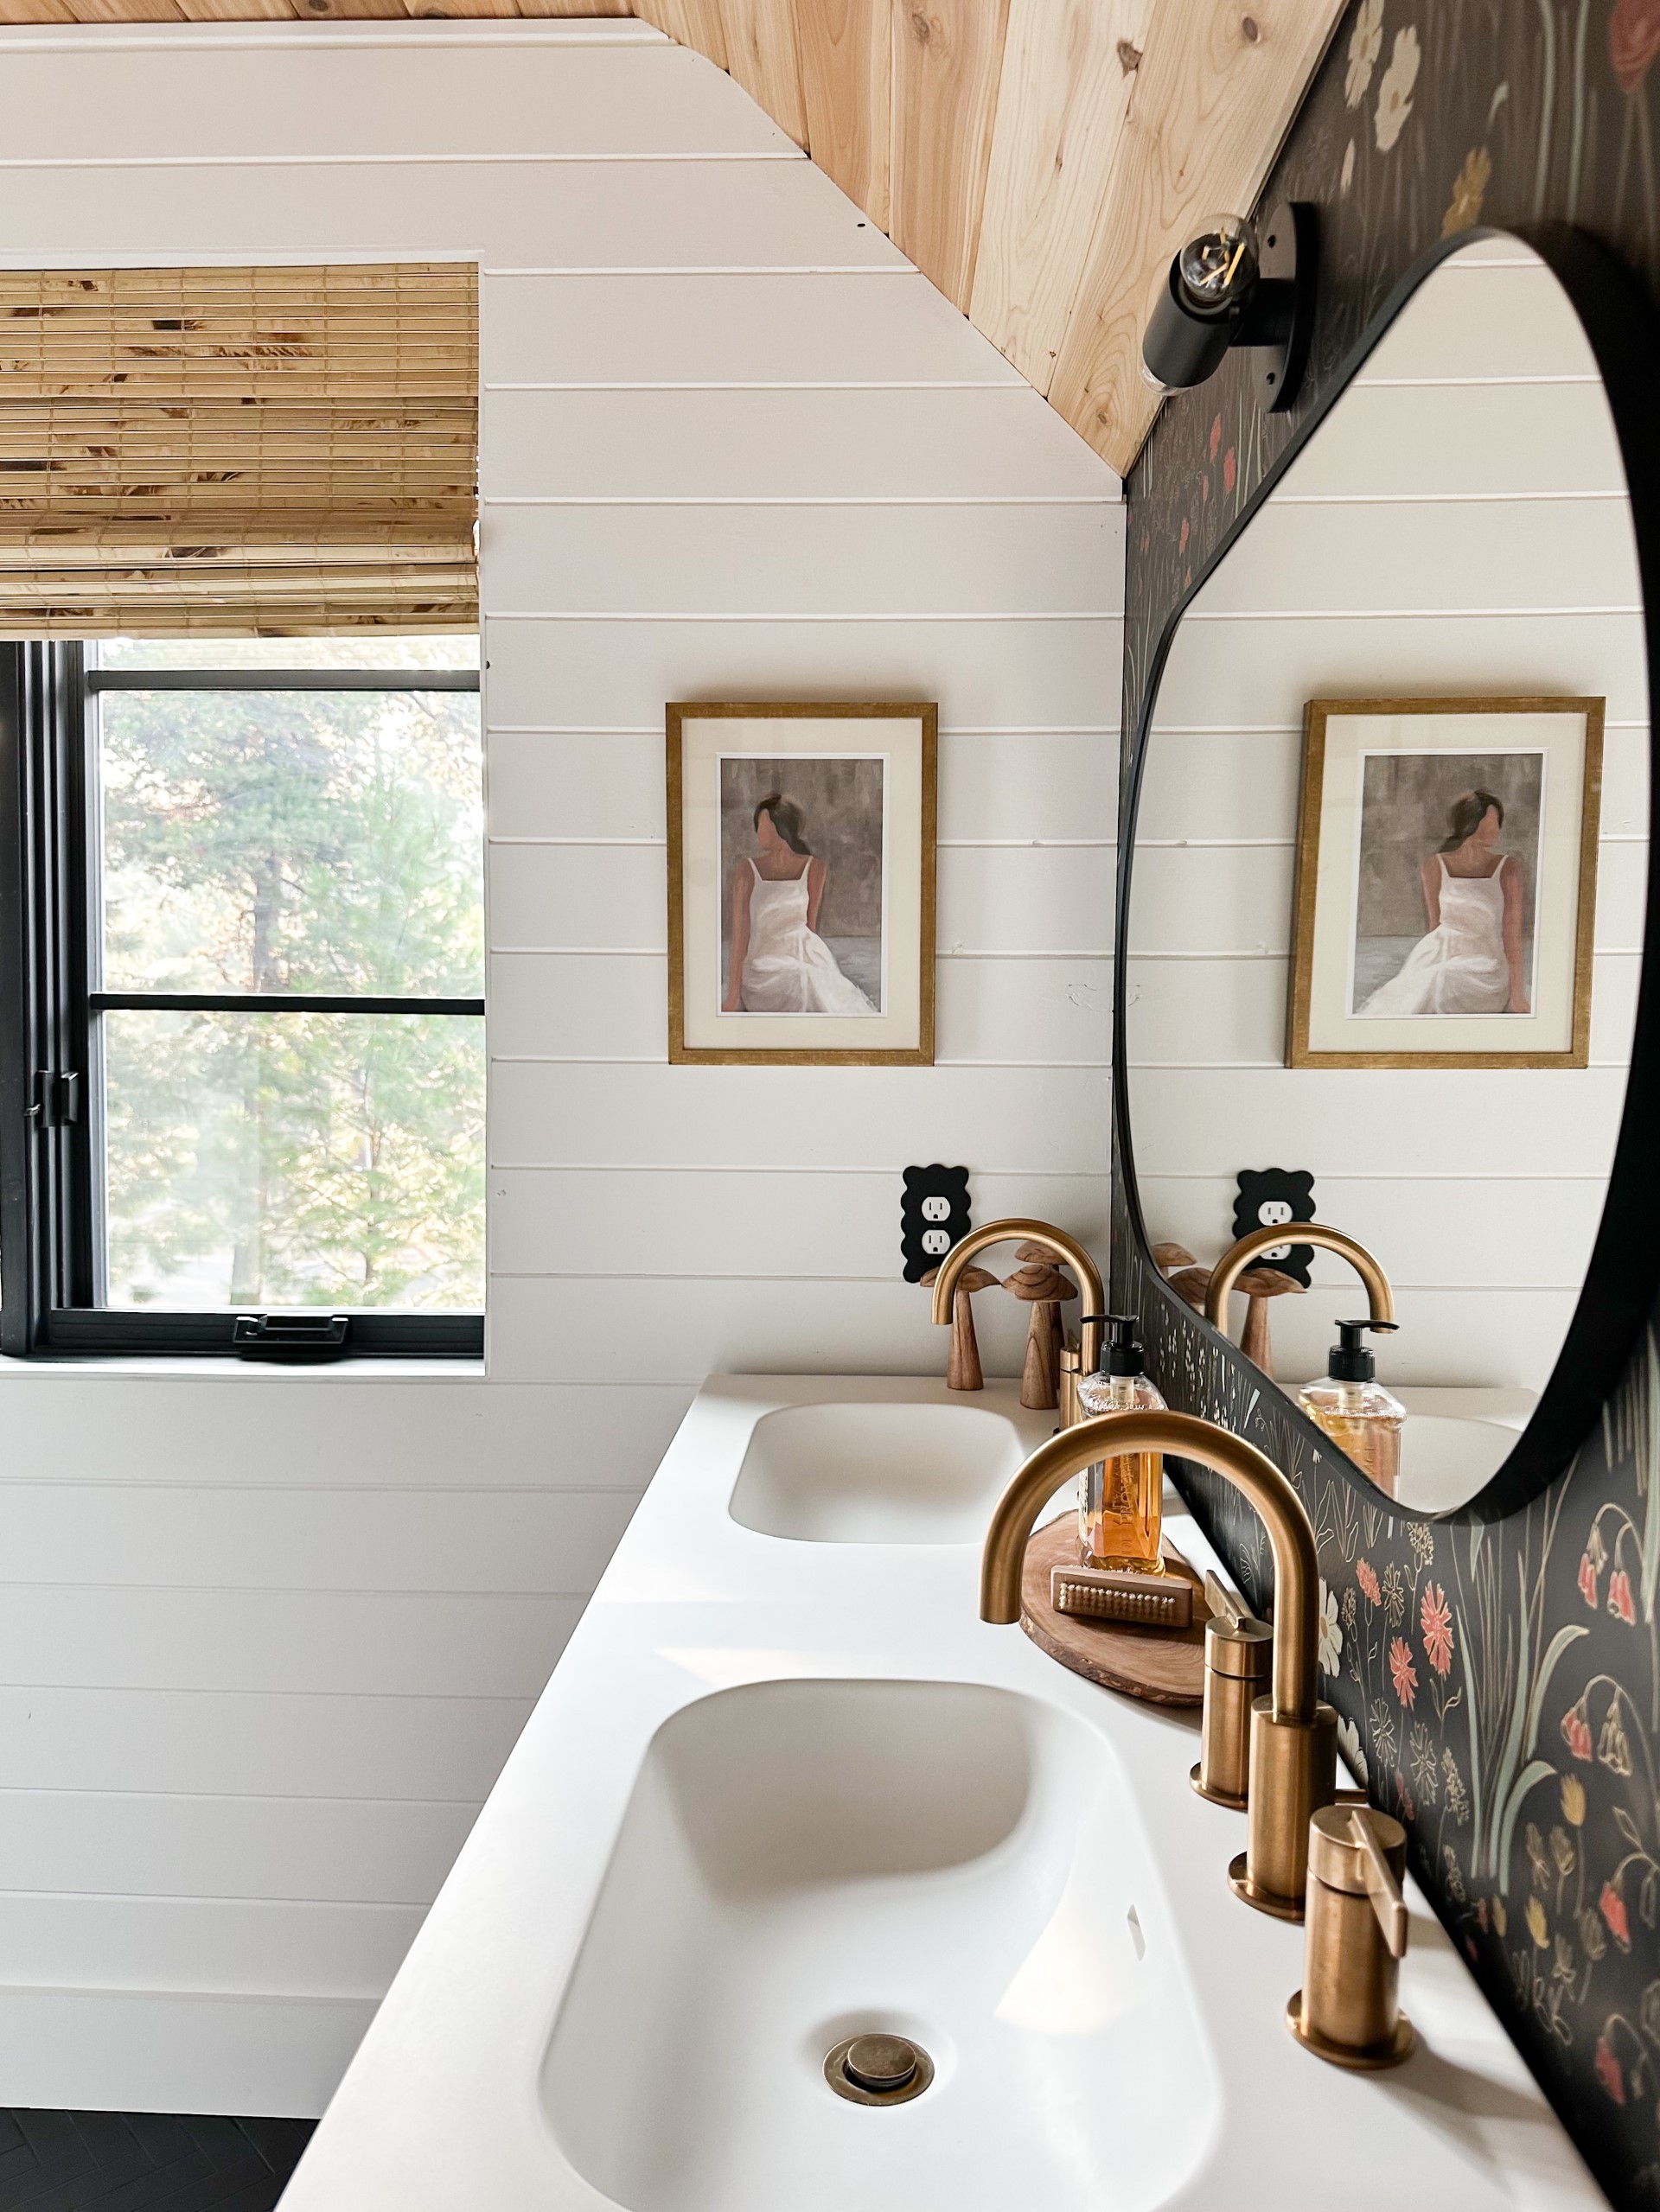
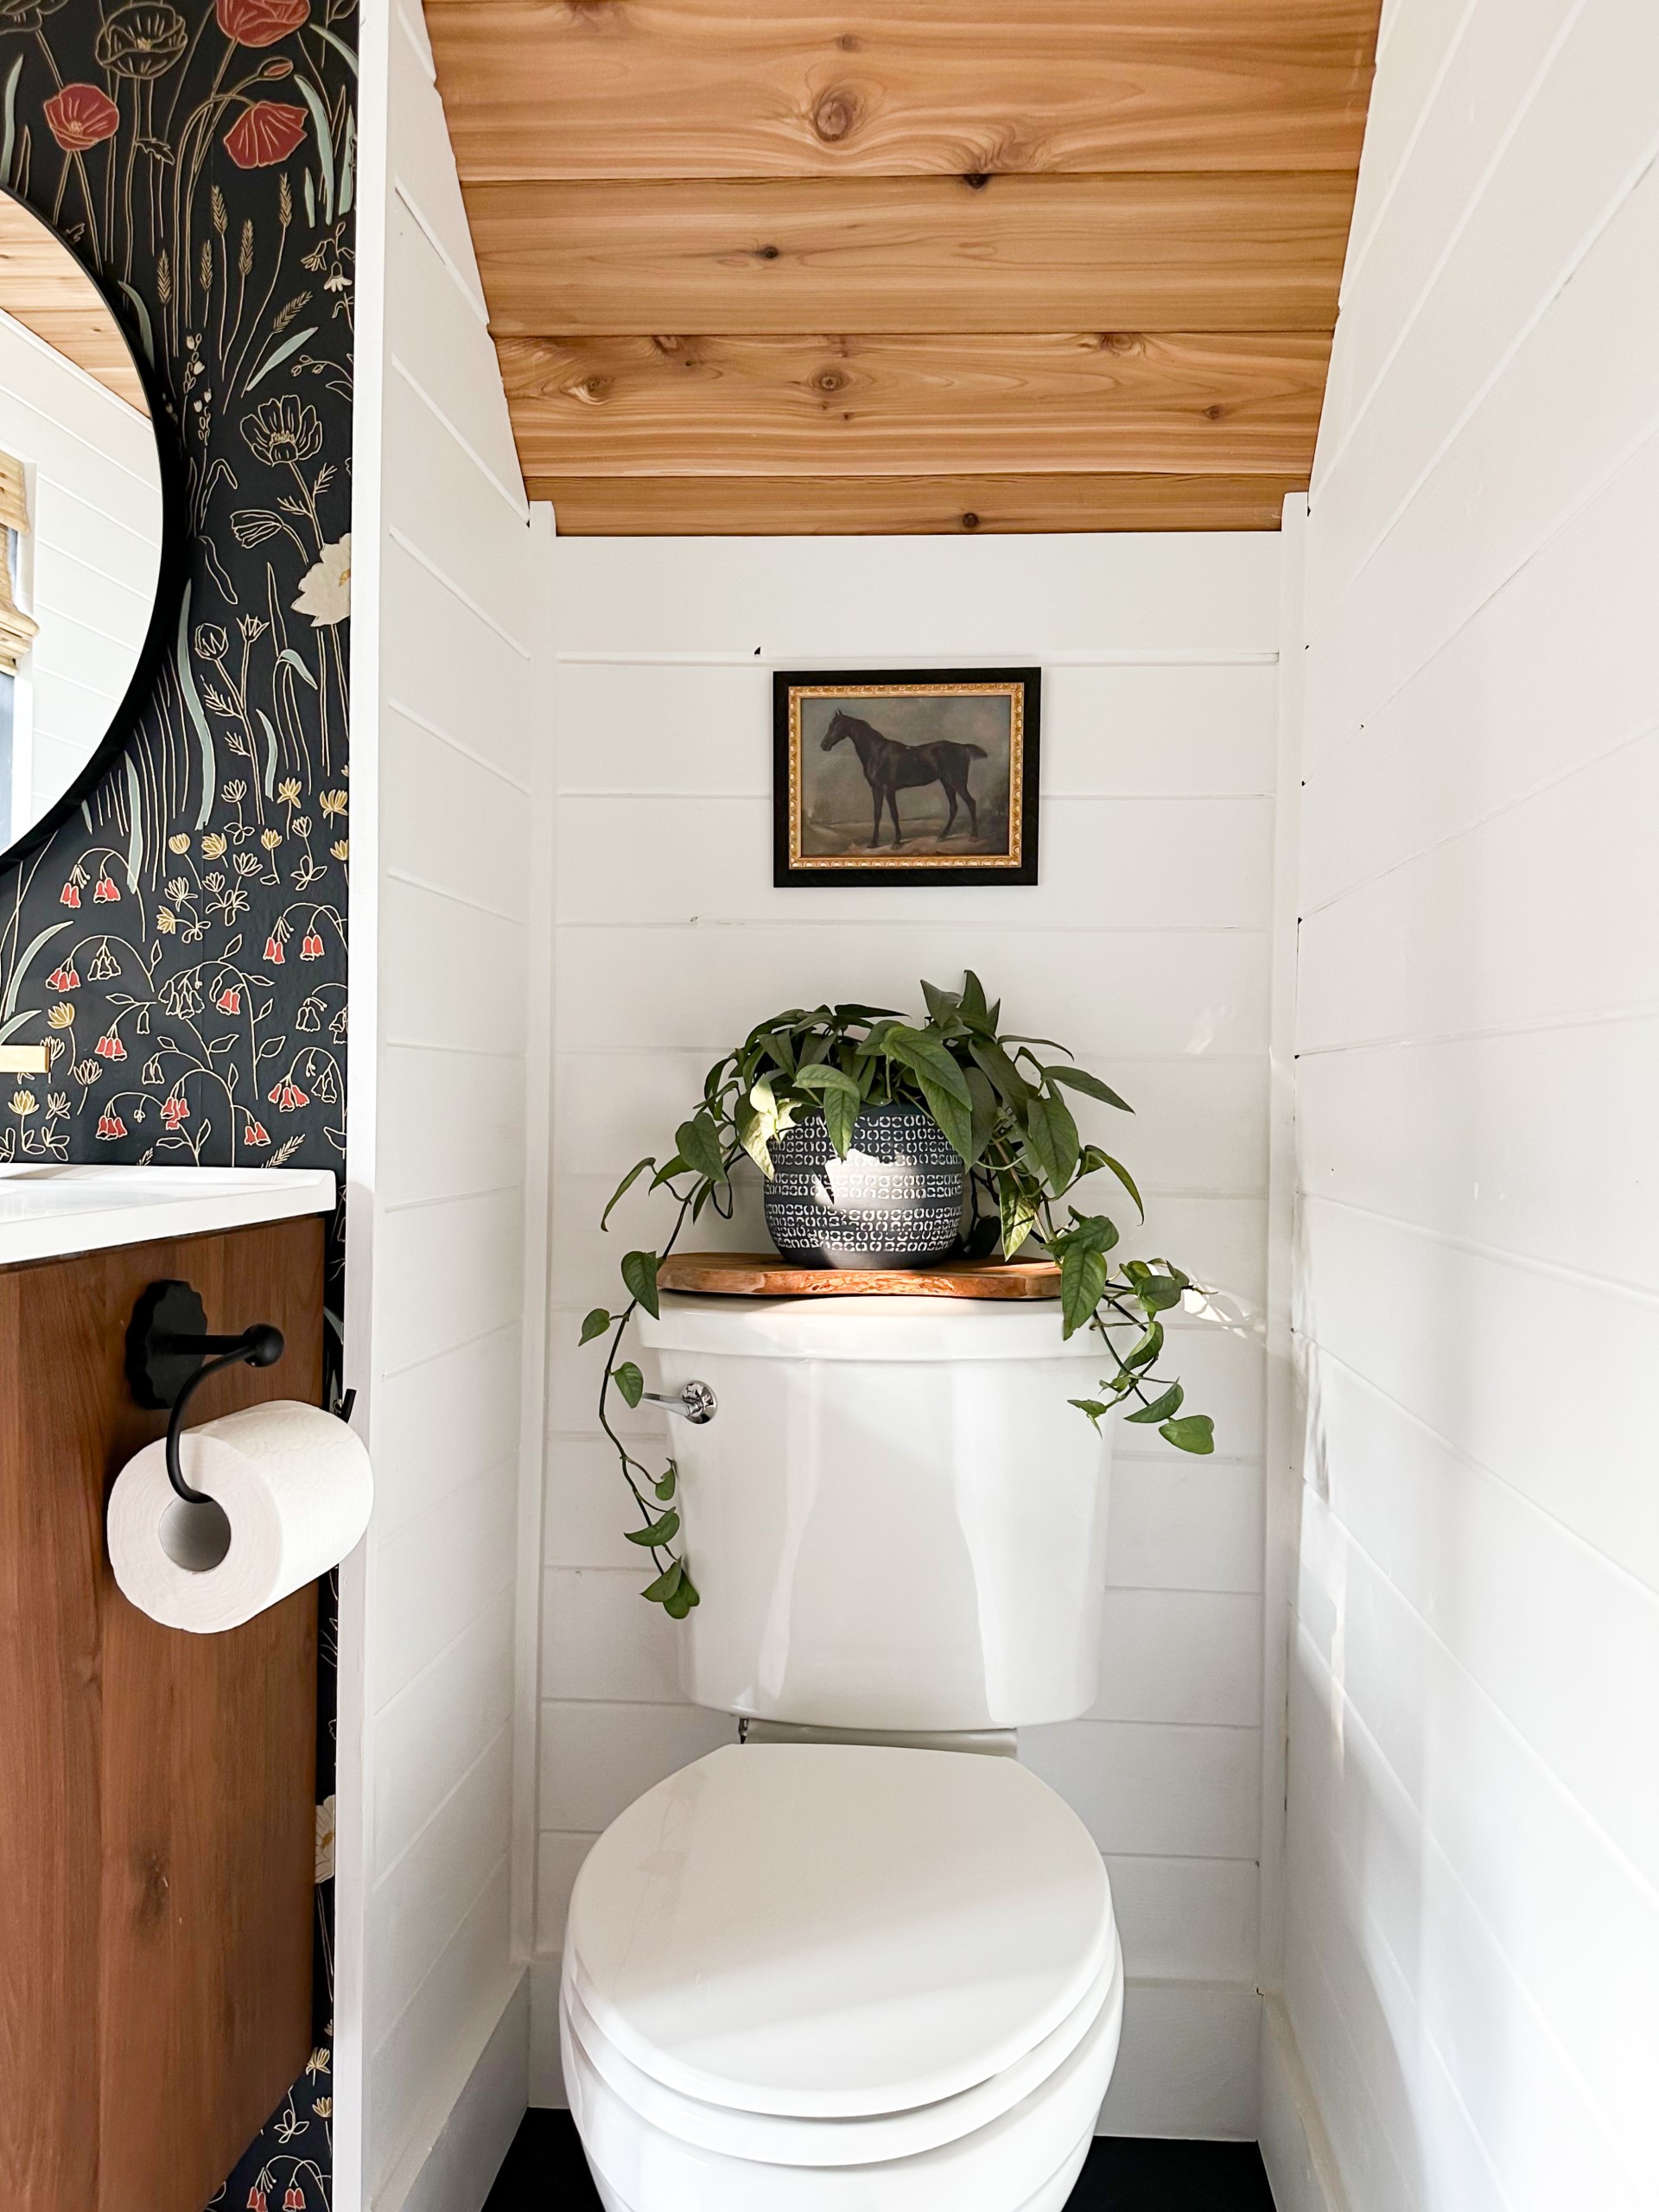
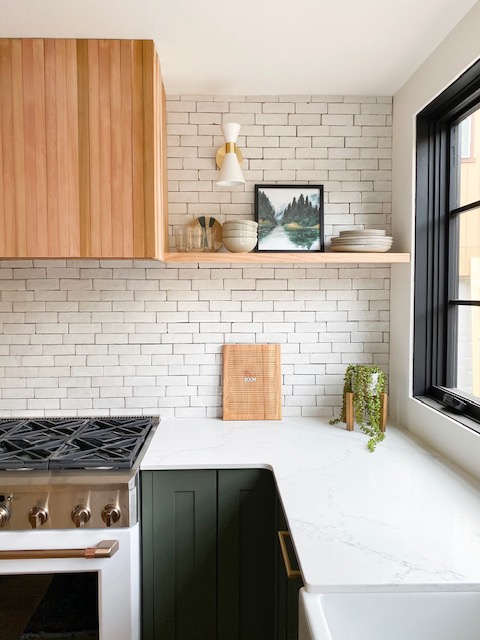
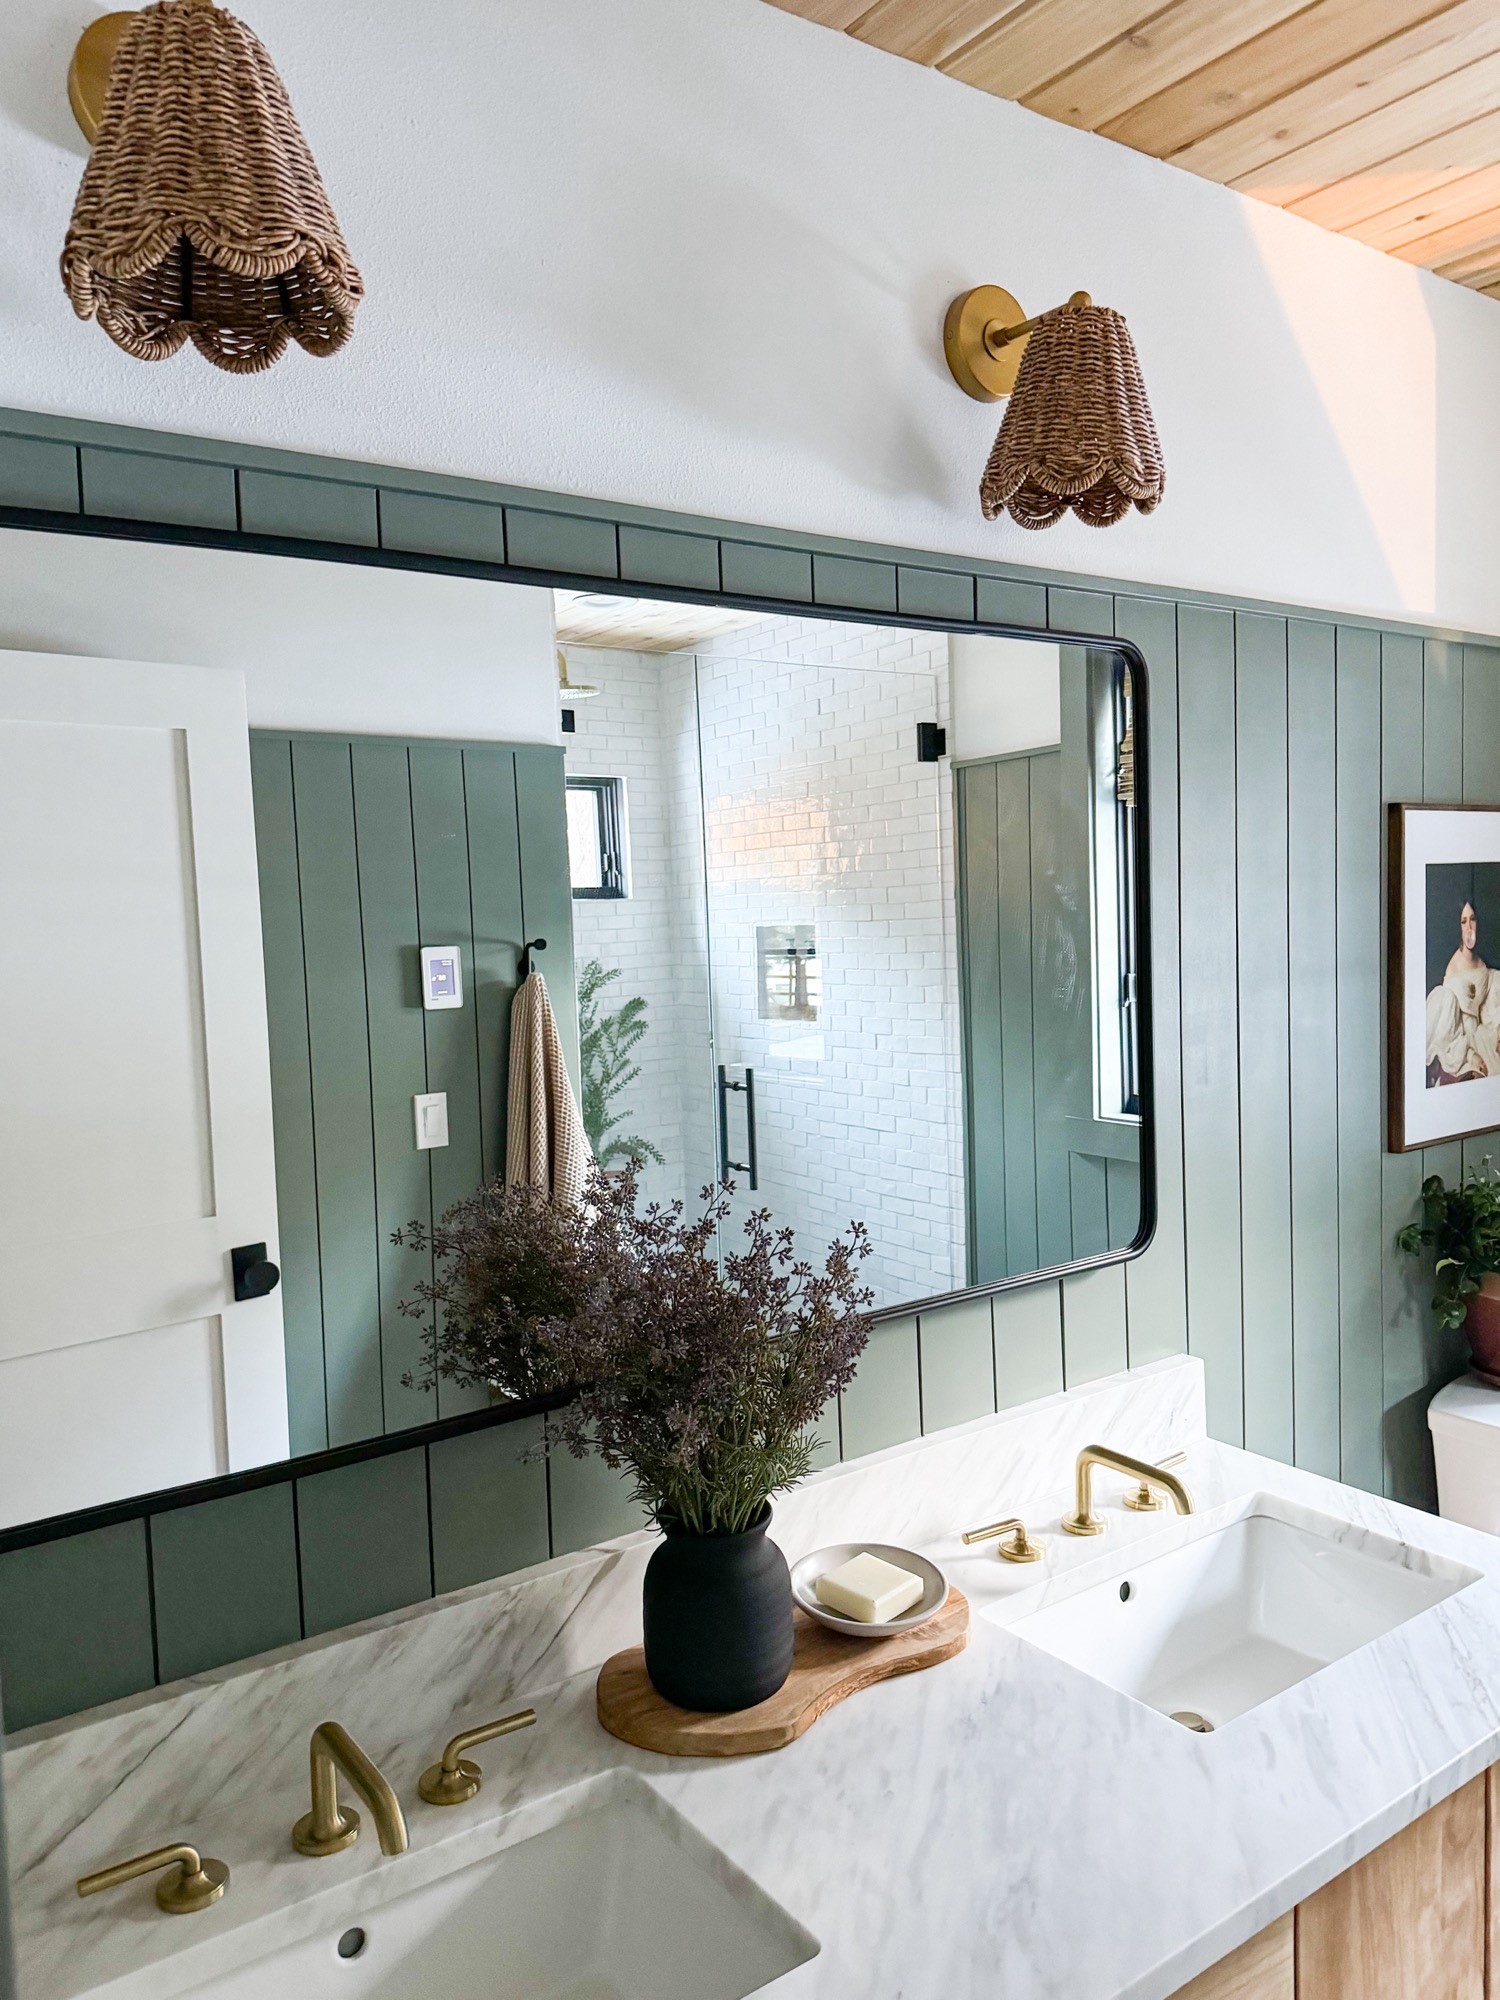
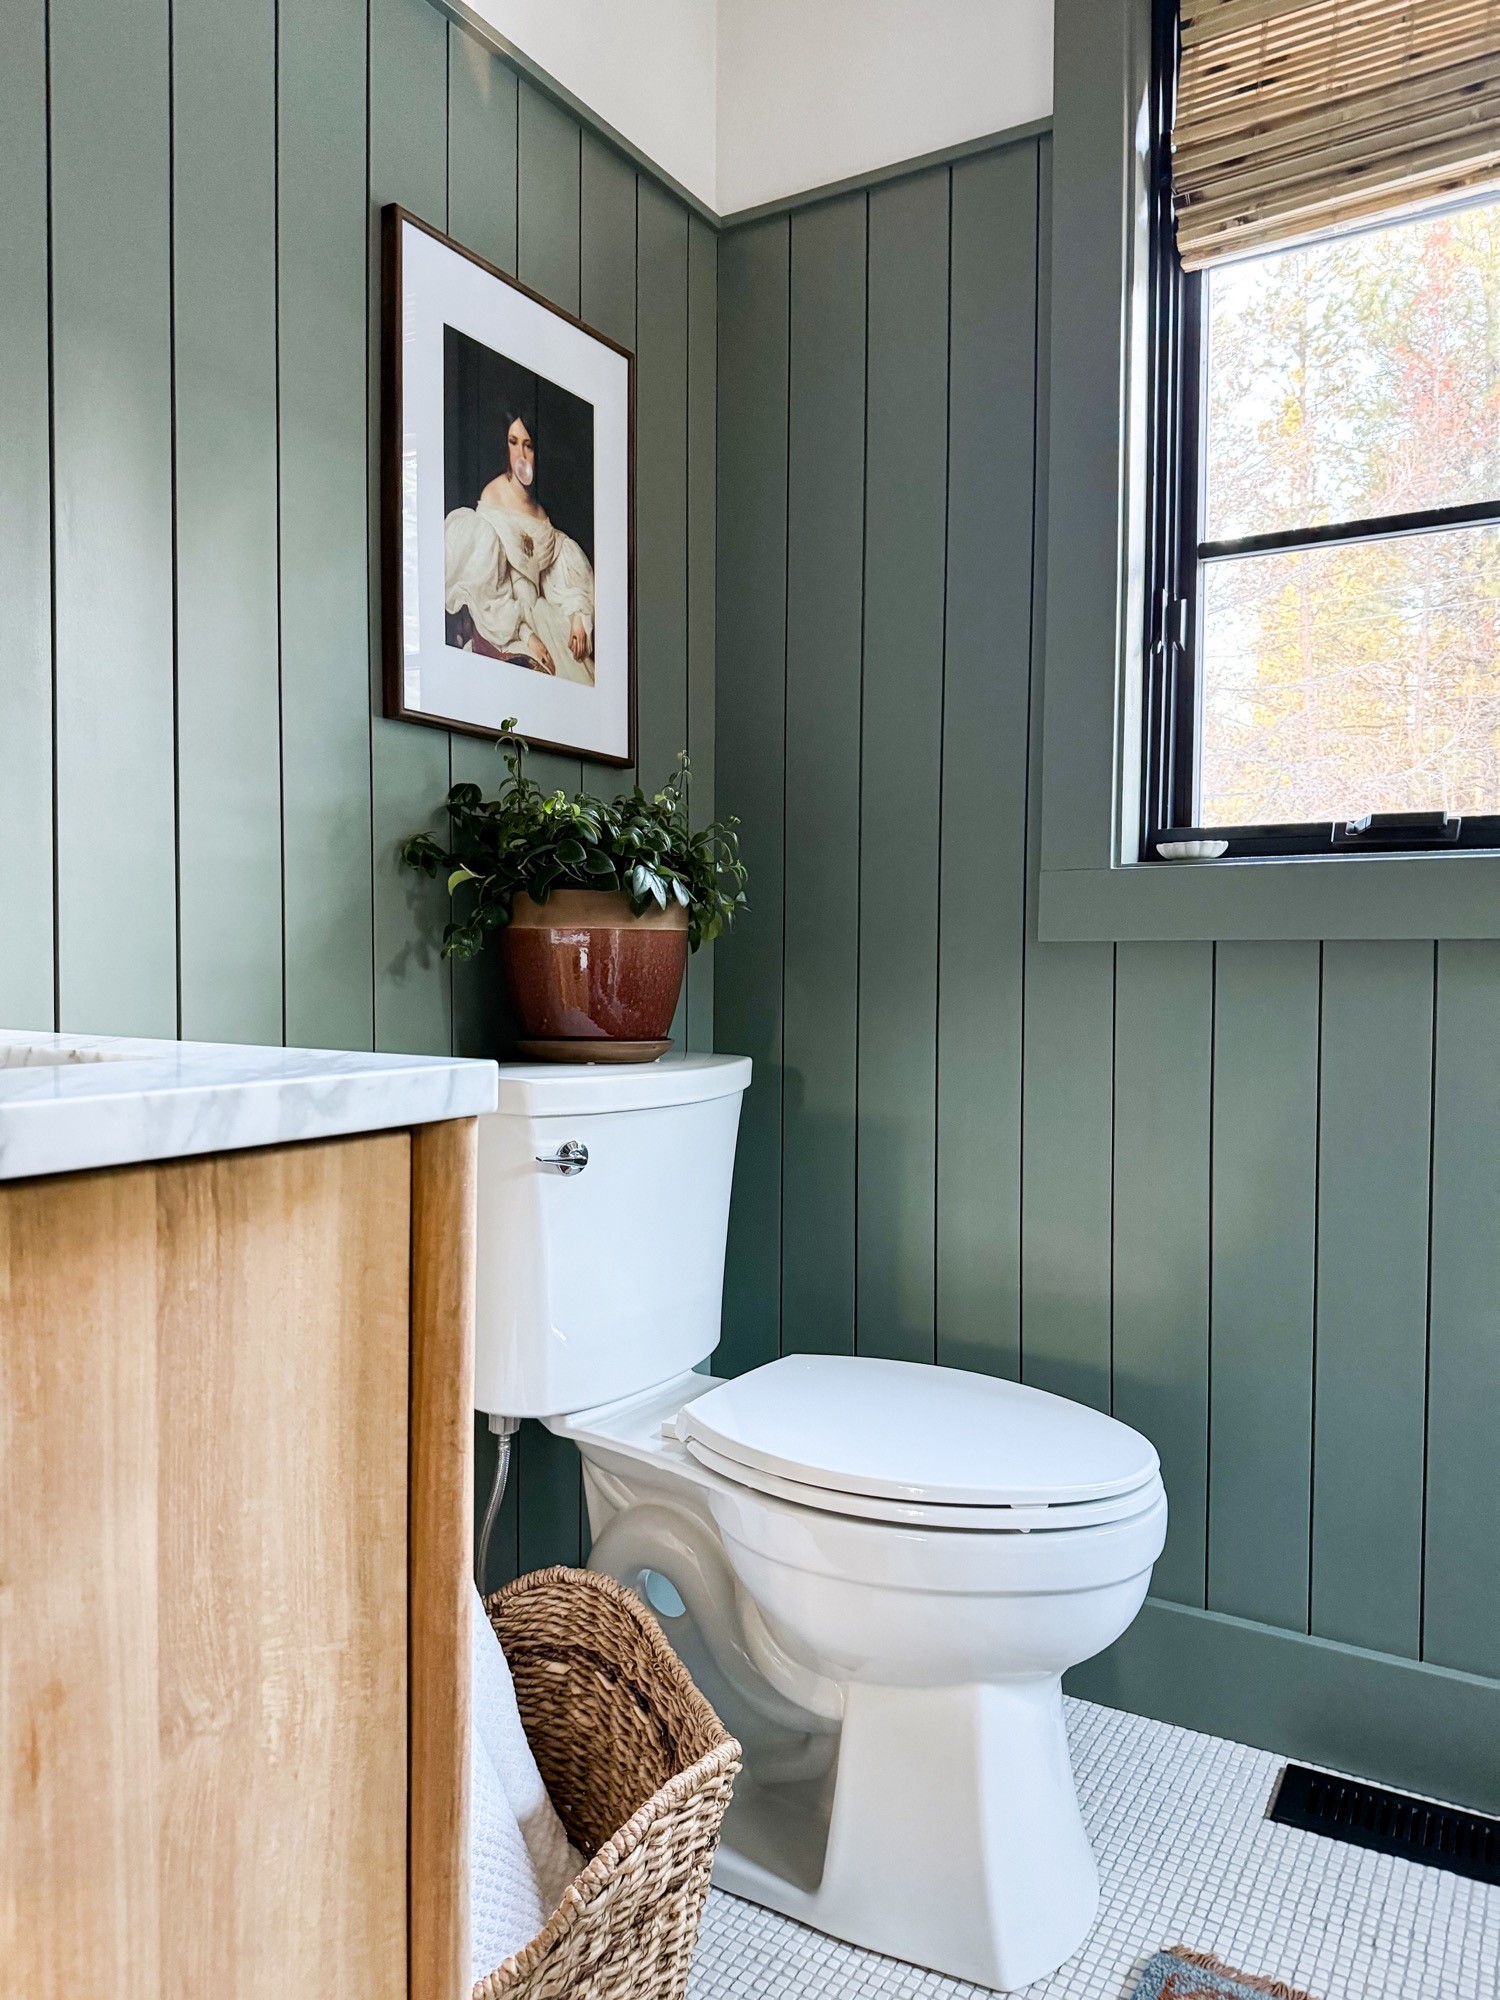
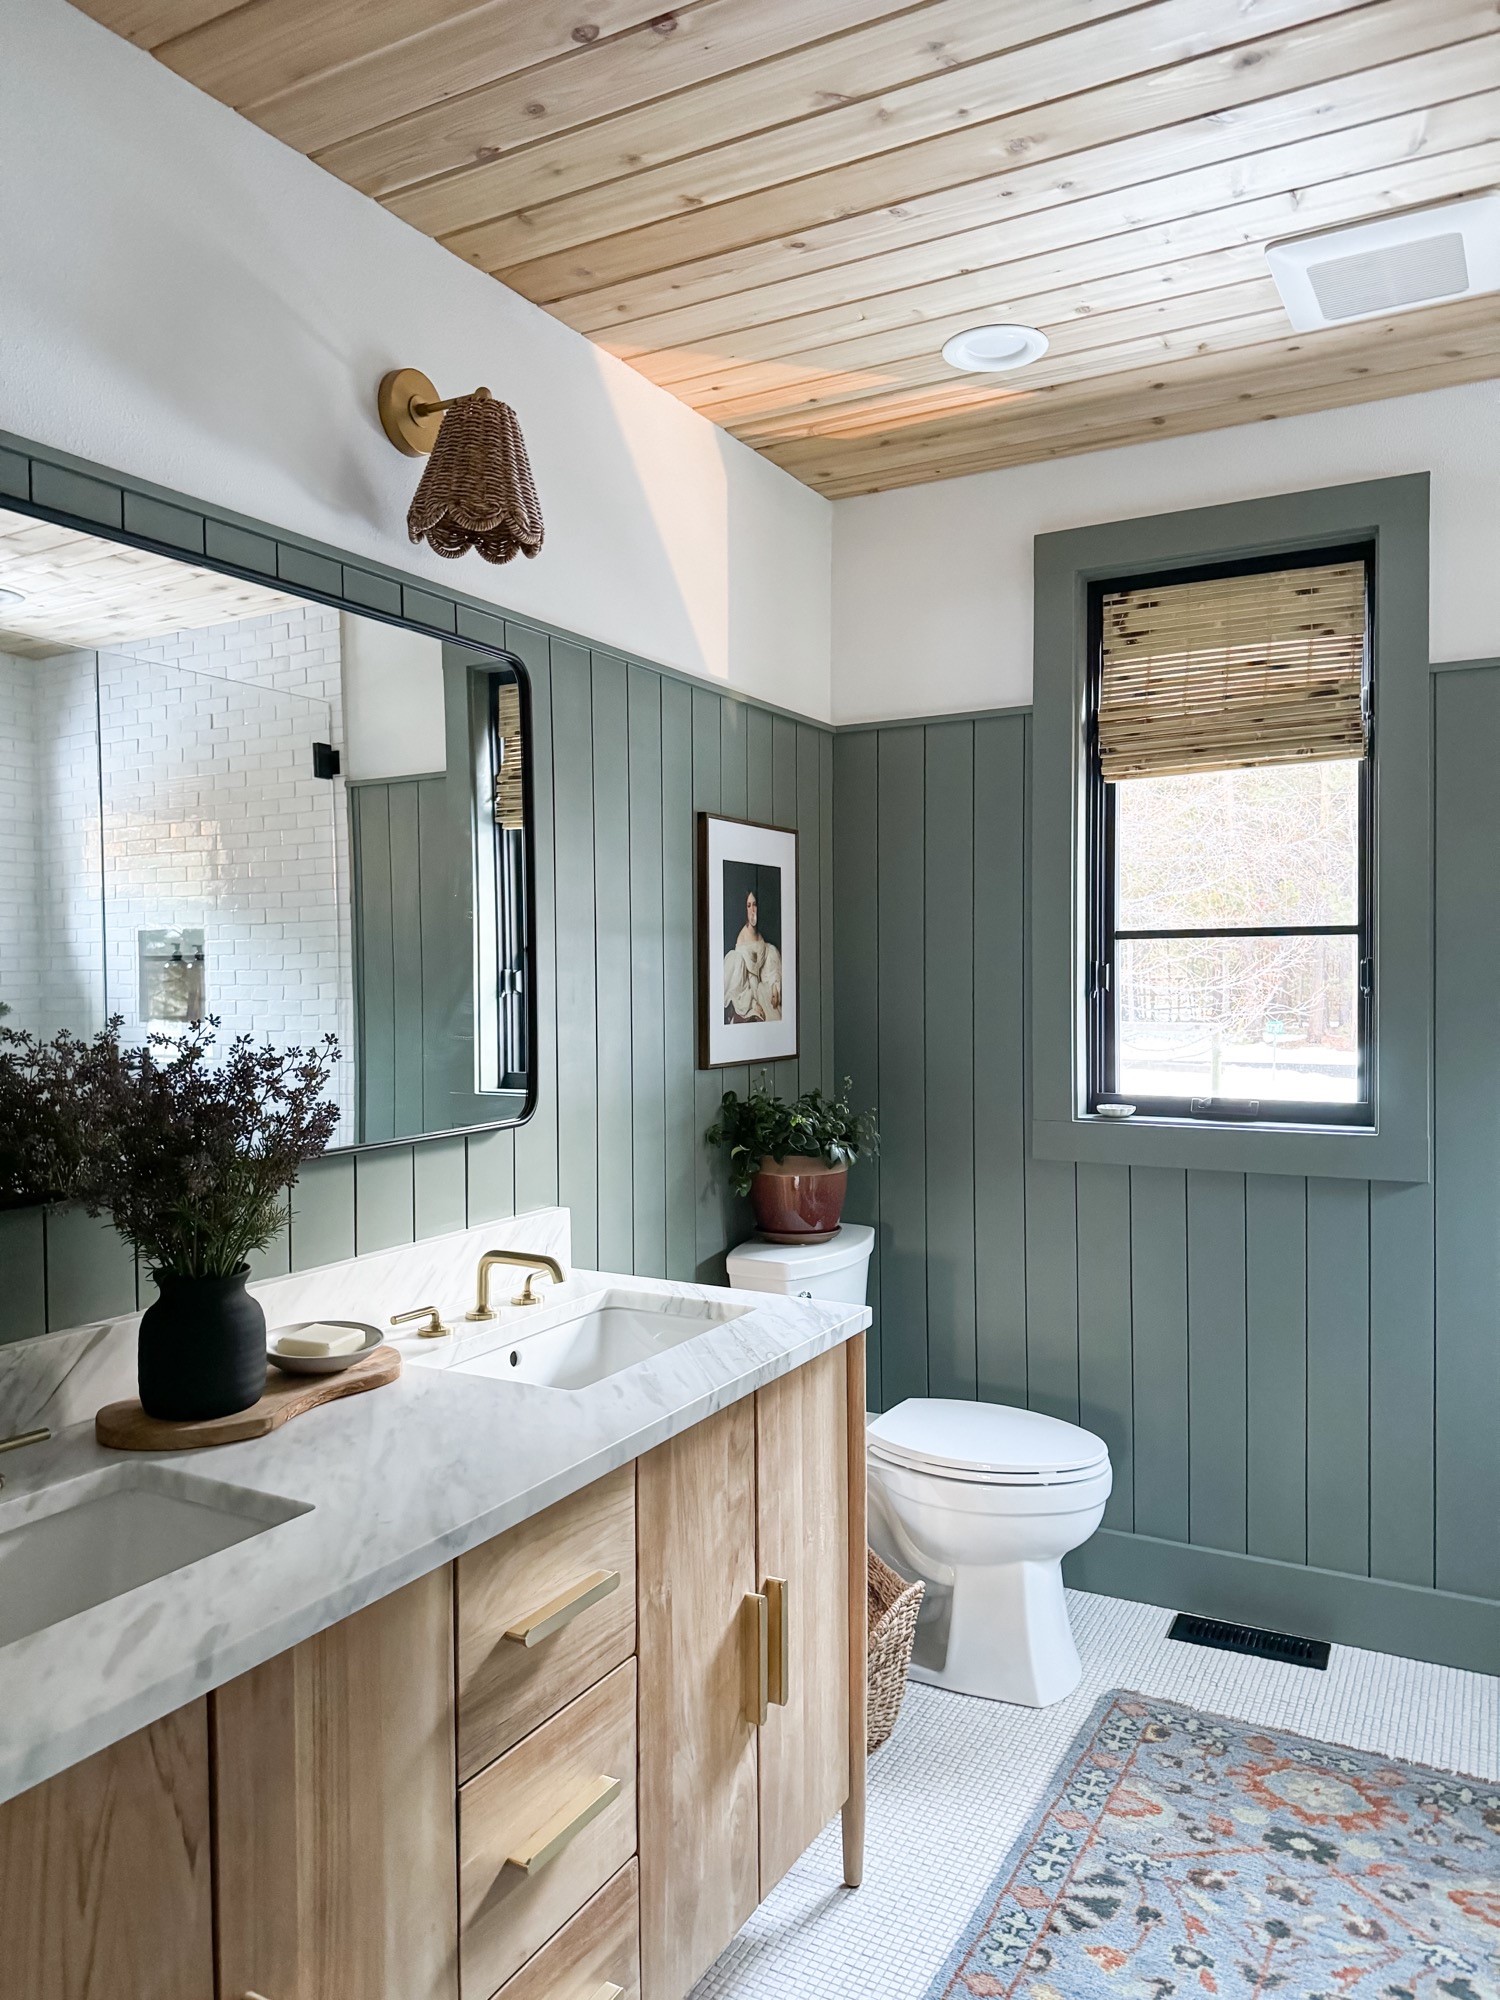
When the bathroom was finished, we immediately realized that the space was missing something. And after thinking on it for a few weeks, we decided that the bathroom needed some shiplap. We found this material at Lowe’s and I couldn’t love it more. I think it adds so much visual interest to the small space, and I love the pop of green that we used on the shiplap. The color is called Retreat by HGSW. It’s a moody green that looks different all the time, depending on the lighting.

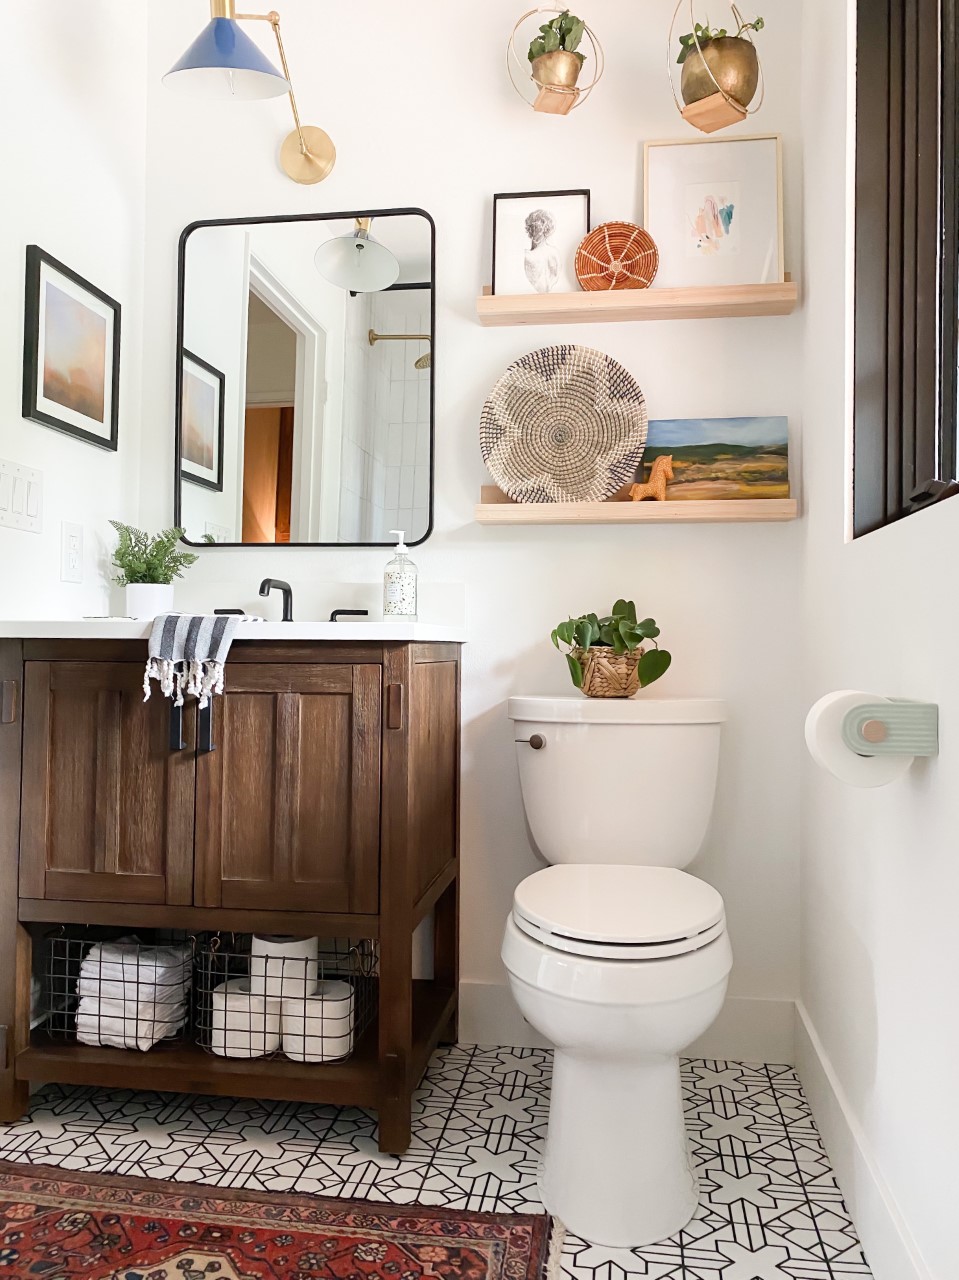
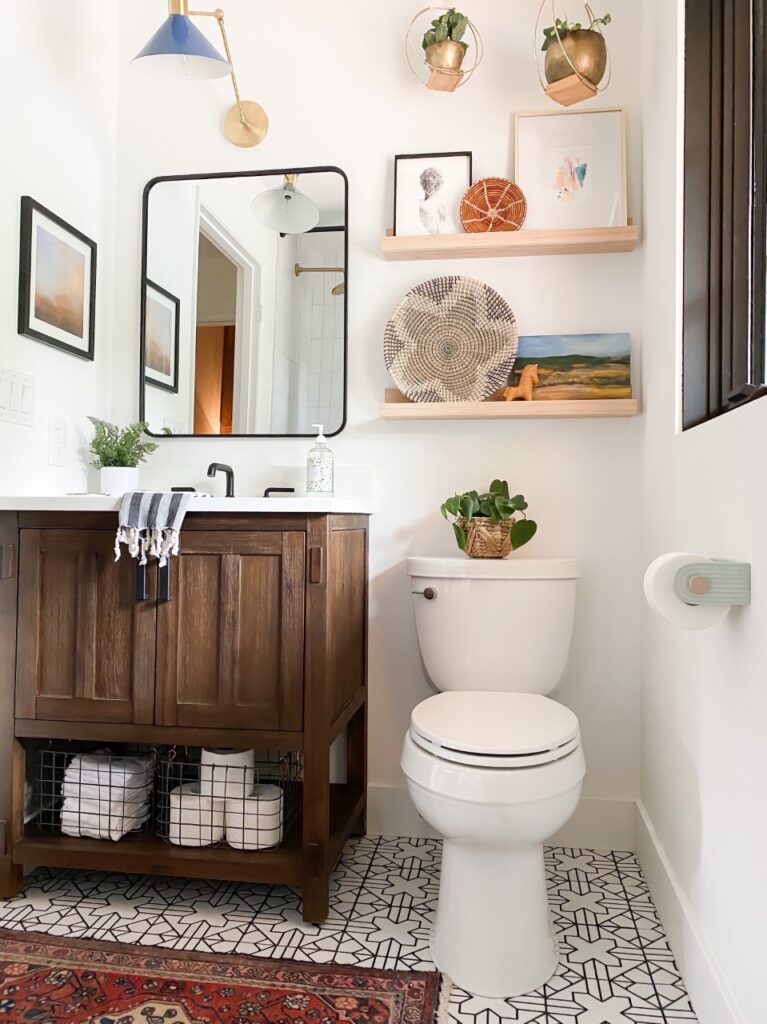
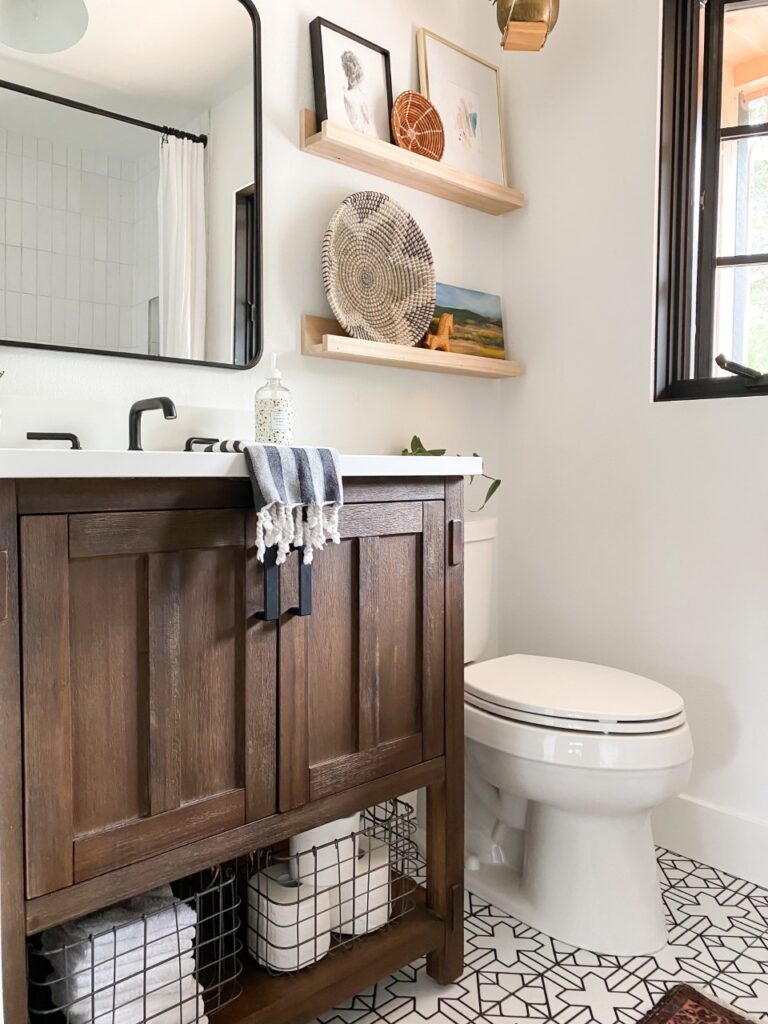
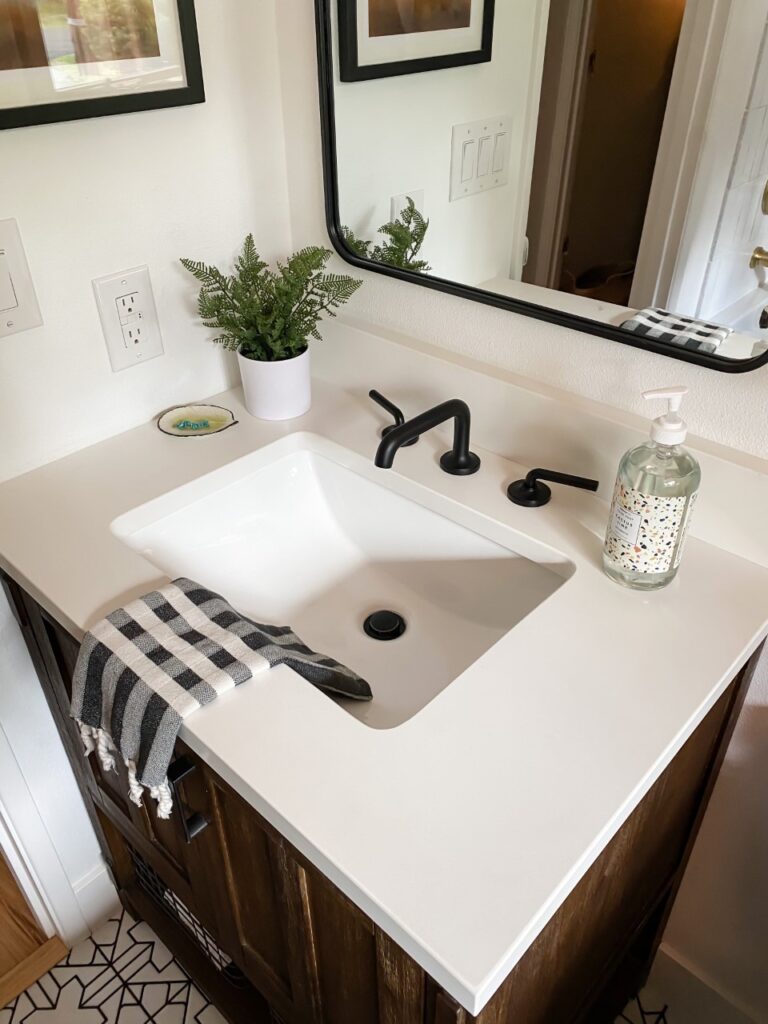
We selected this vanity that was really an easy choice for us. It’s made from solid teak – perfect for the bathroom and feels so well-made! Also, don’t ya just looooove that chunky hardware? Hubba hubba
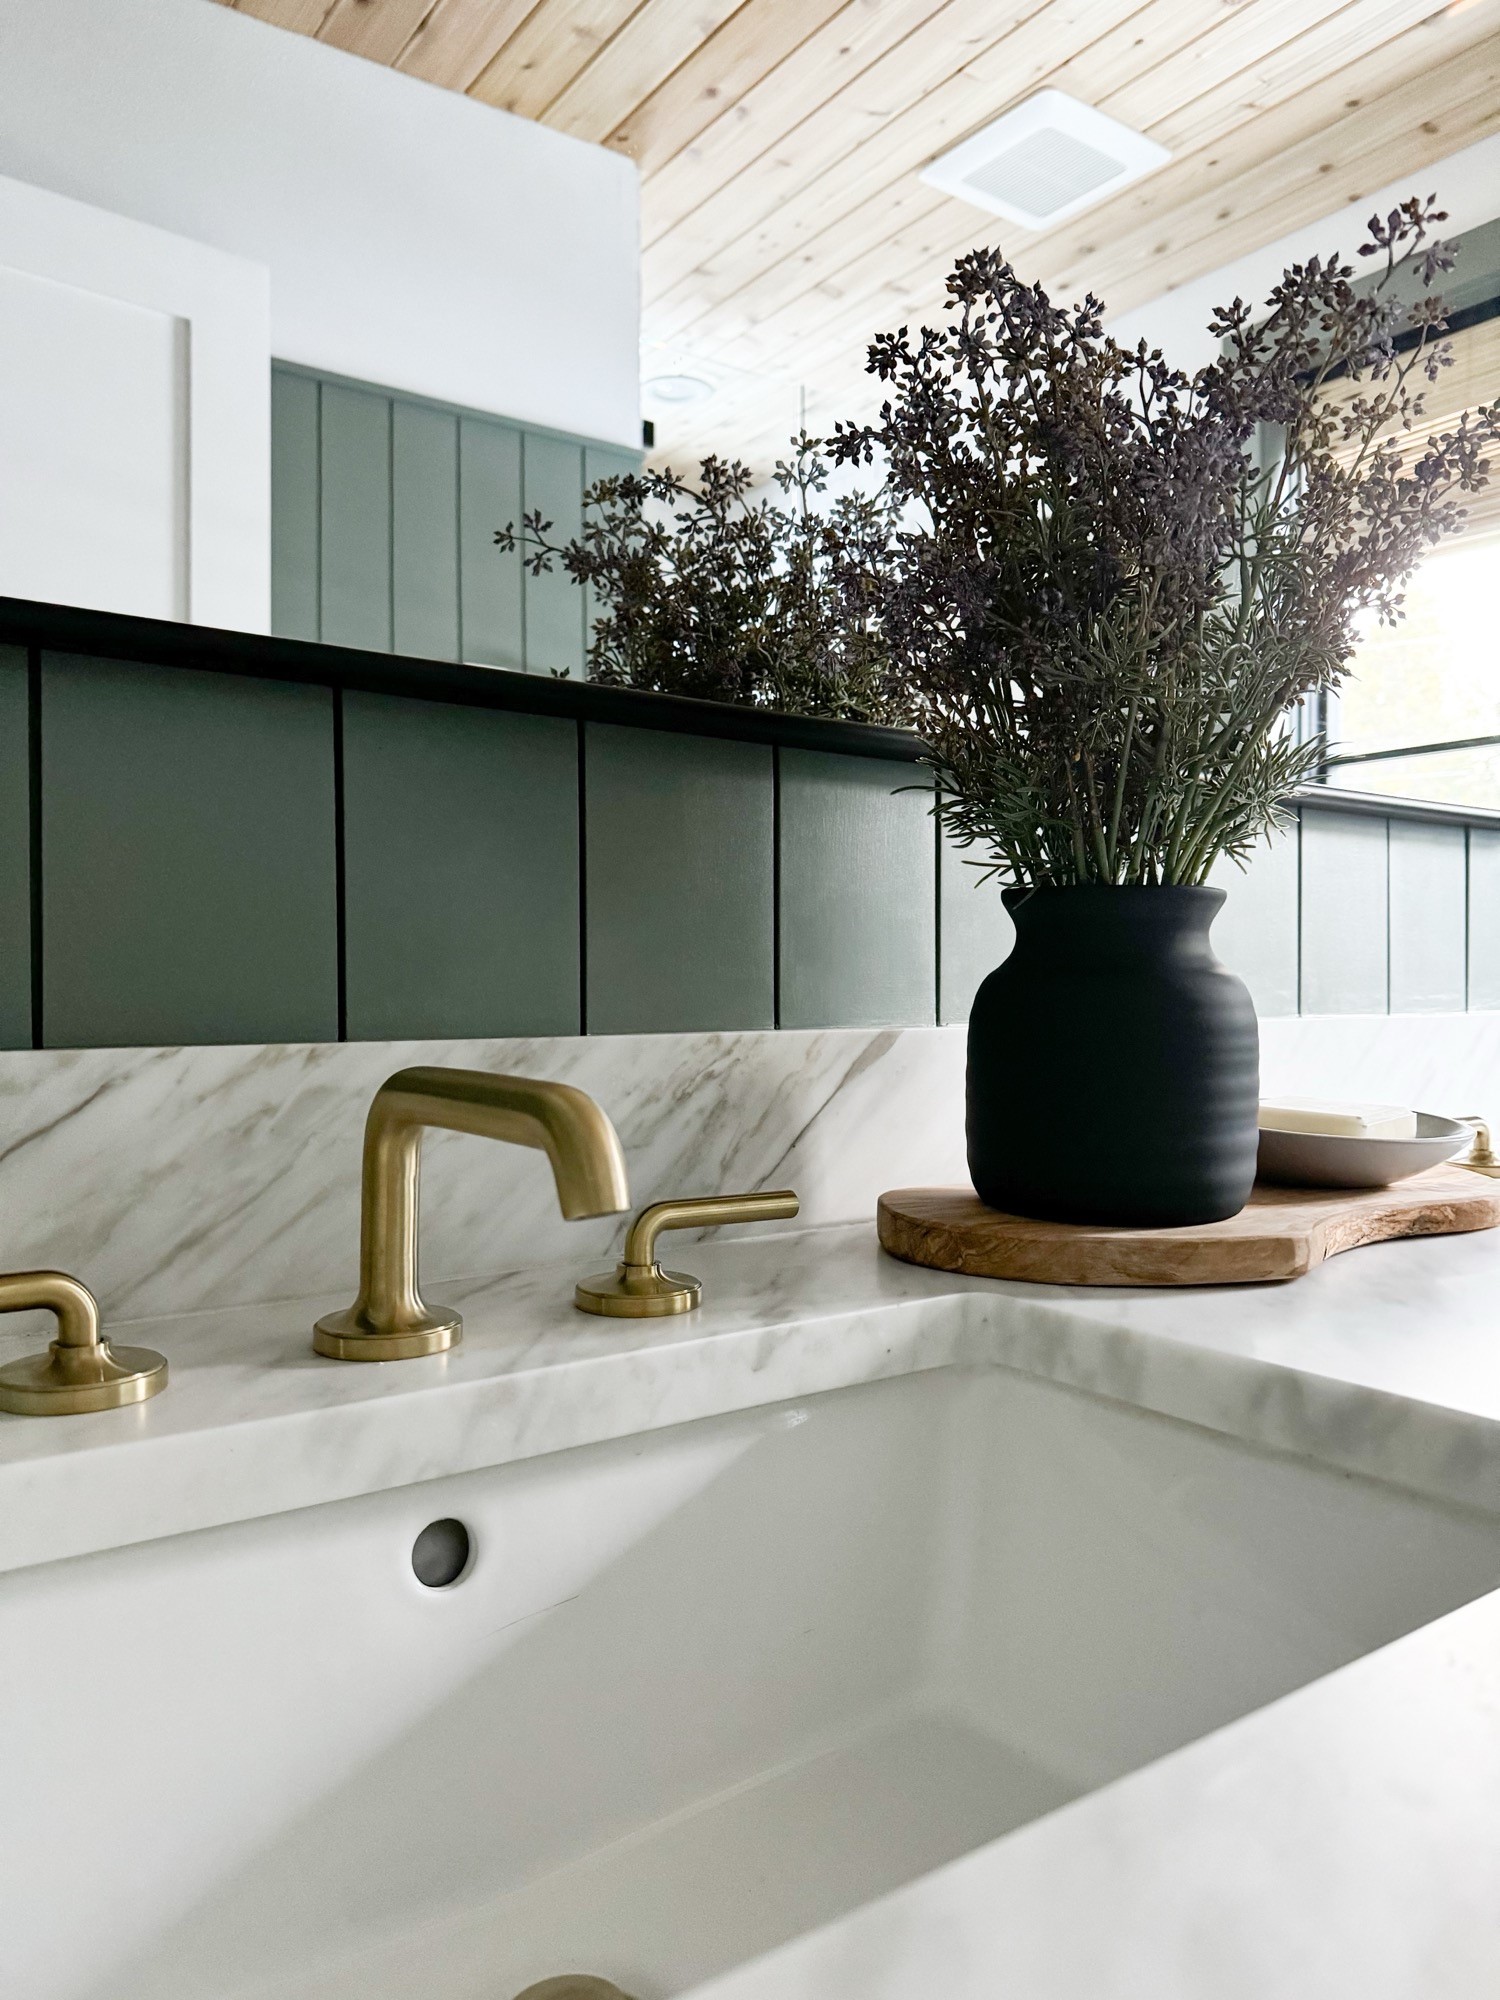
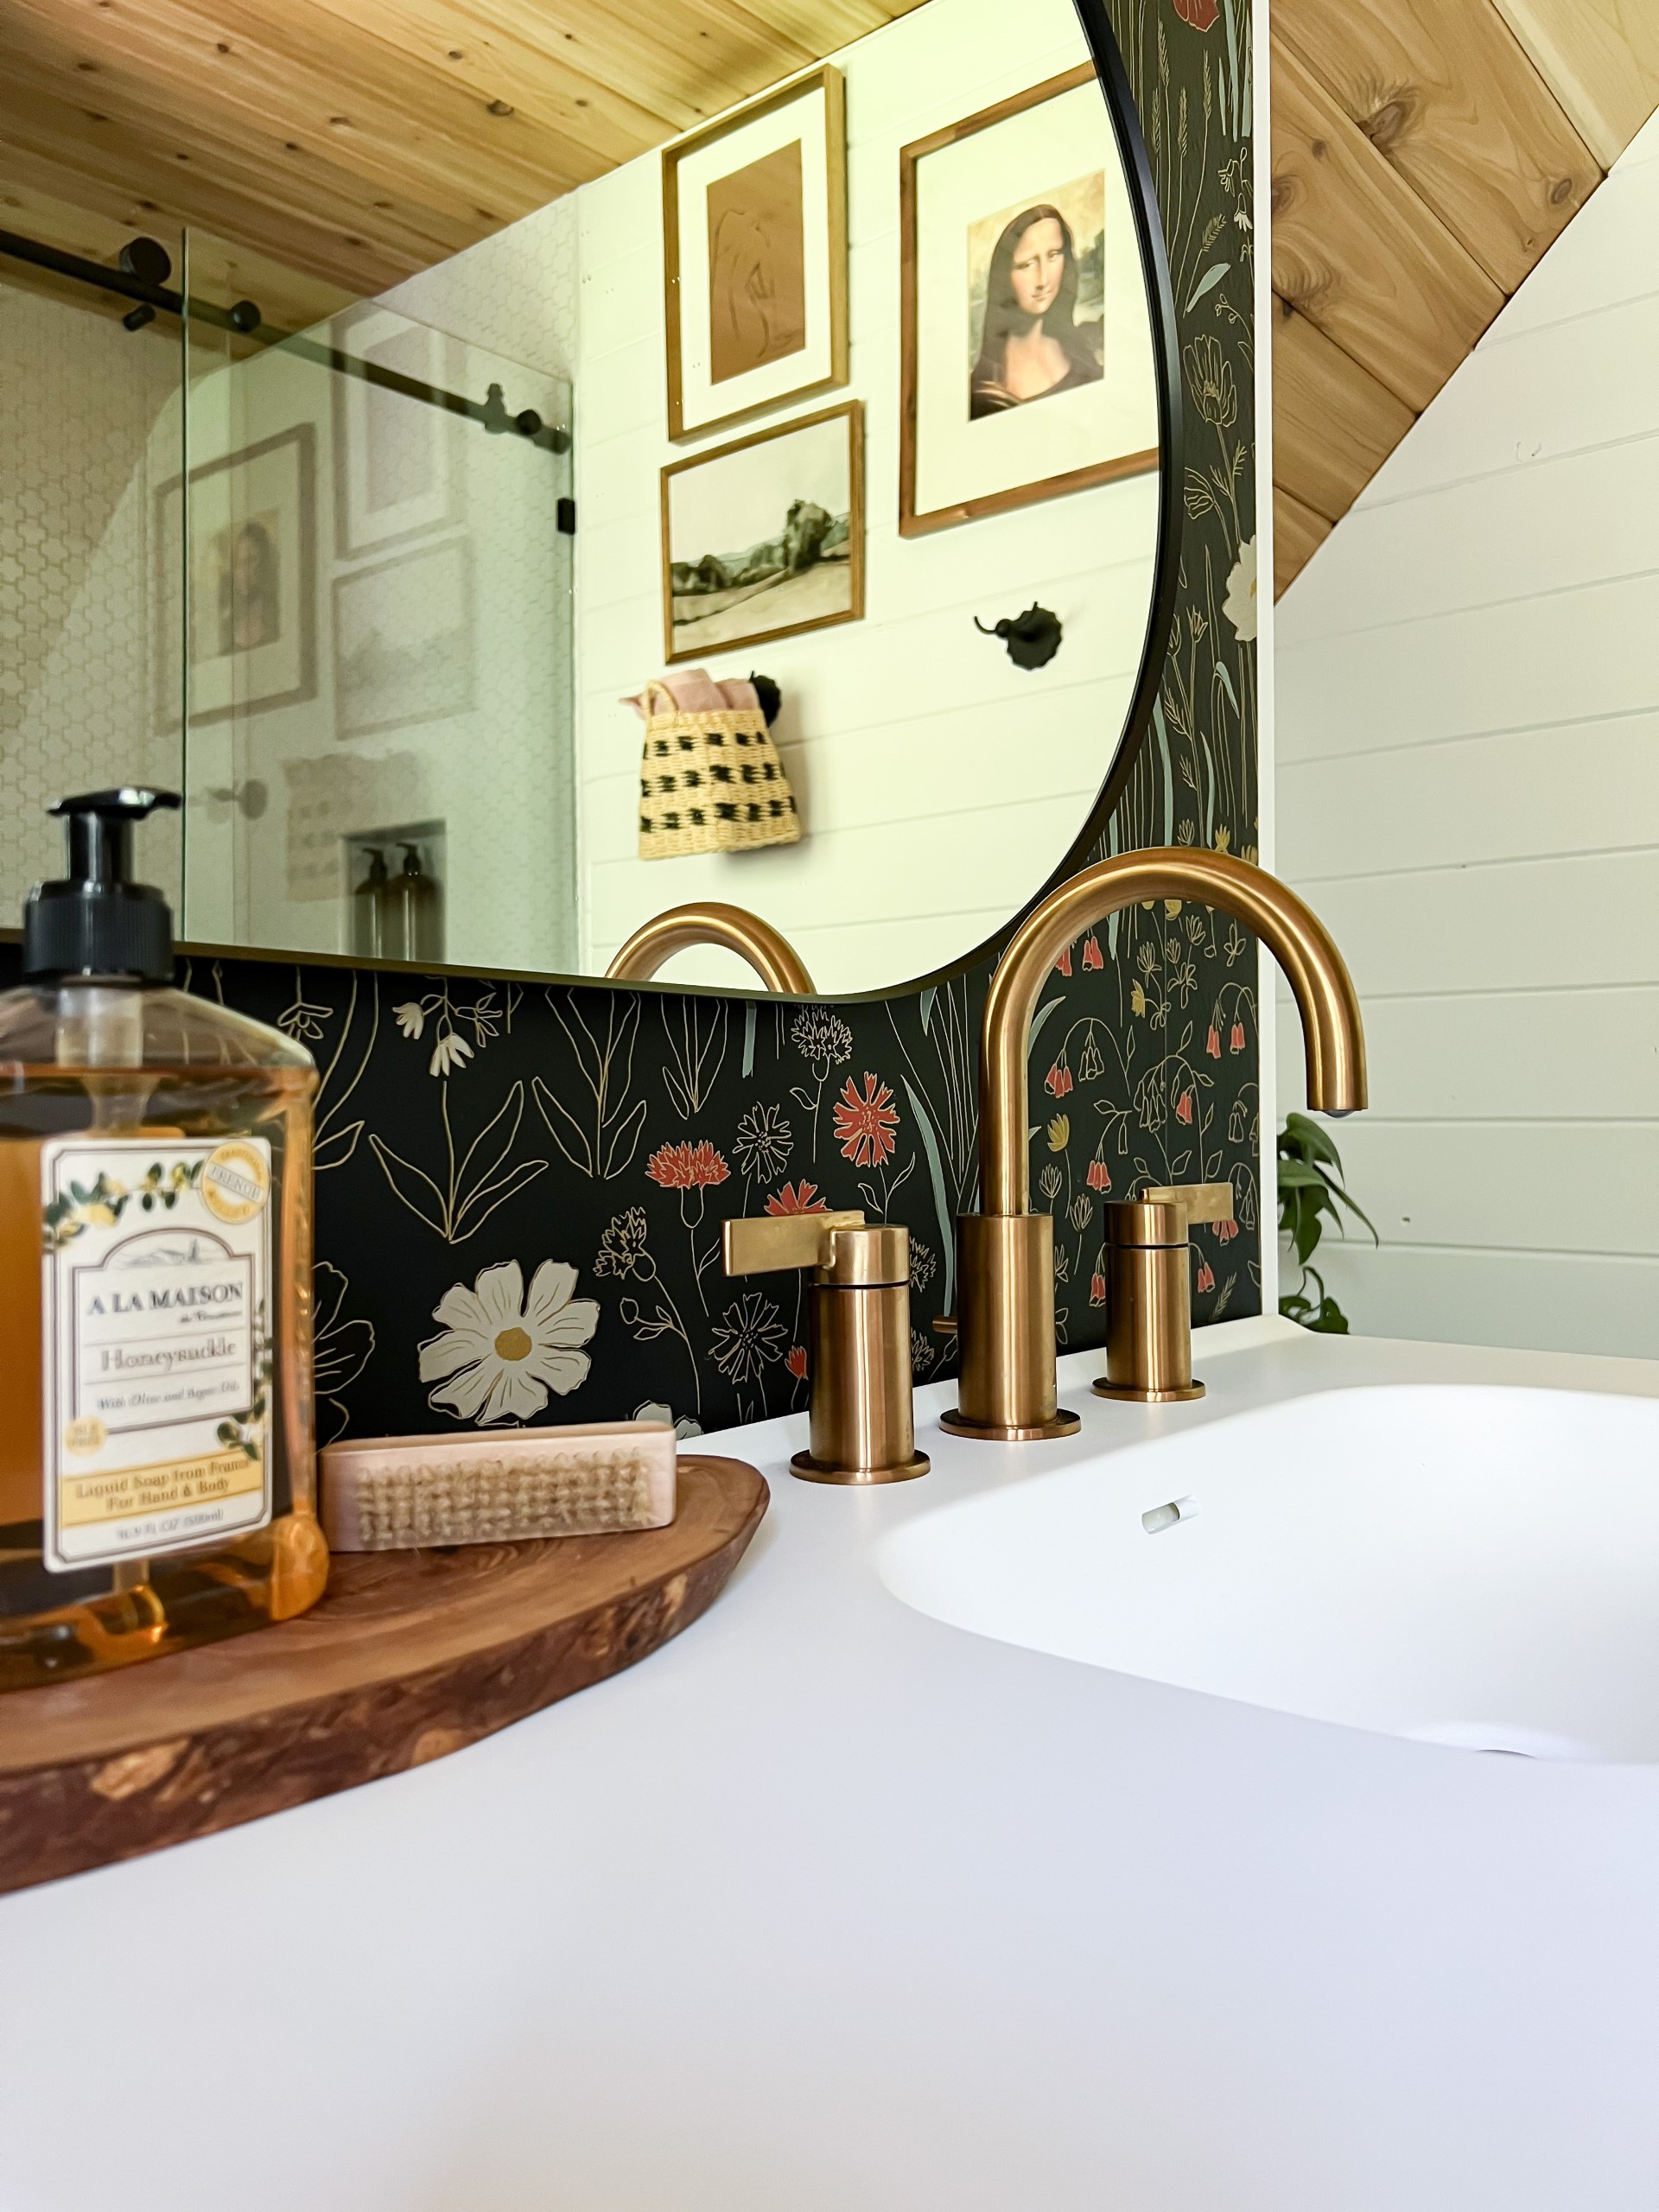
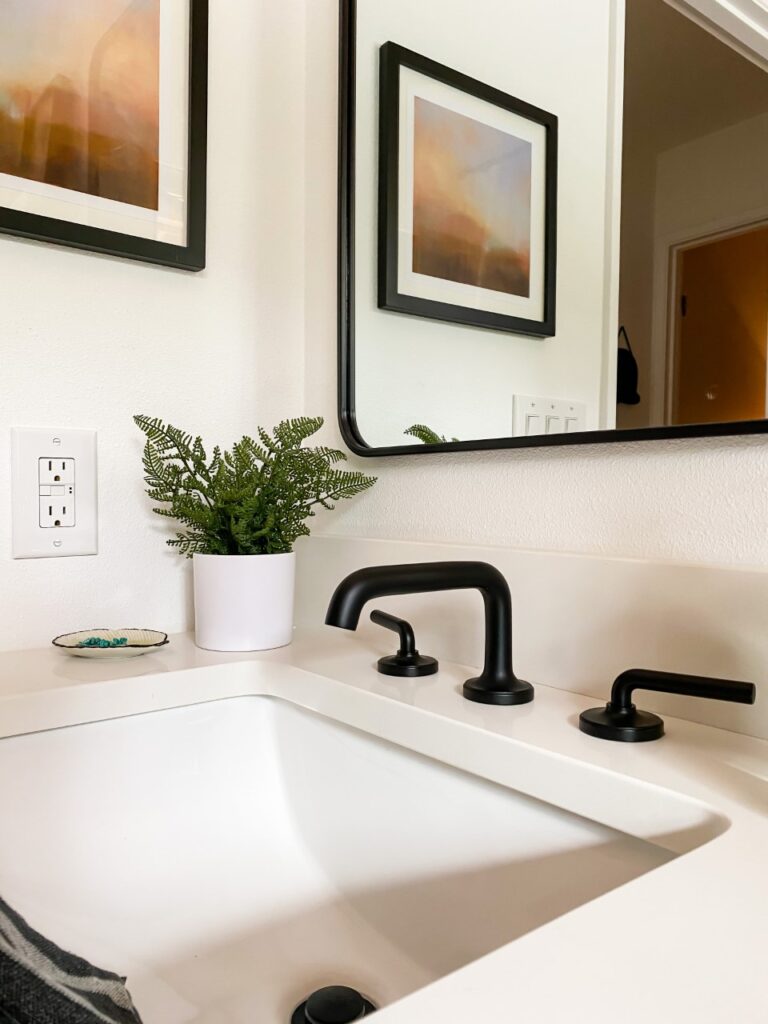
For the plumbing fixtures, we went with everything from the Tenet line from Pfister Faucets. I adore their brushed gold color option and the clean lines. It’s functional and beautiful. A winning combo, I think!
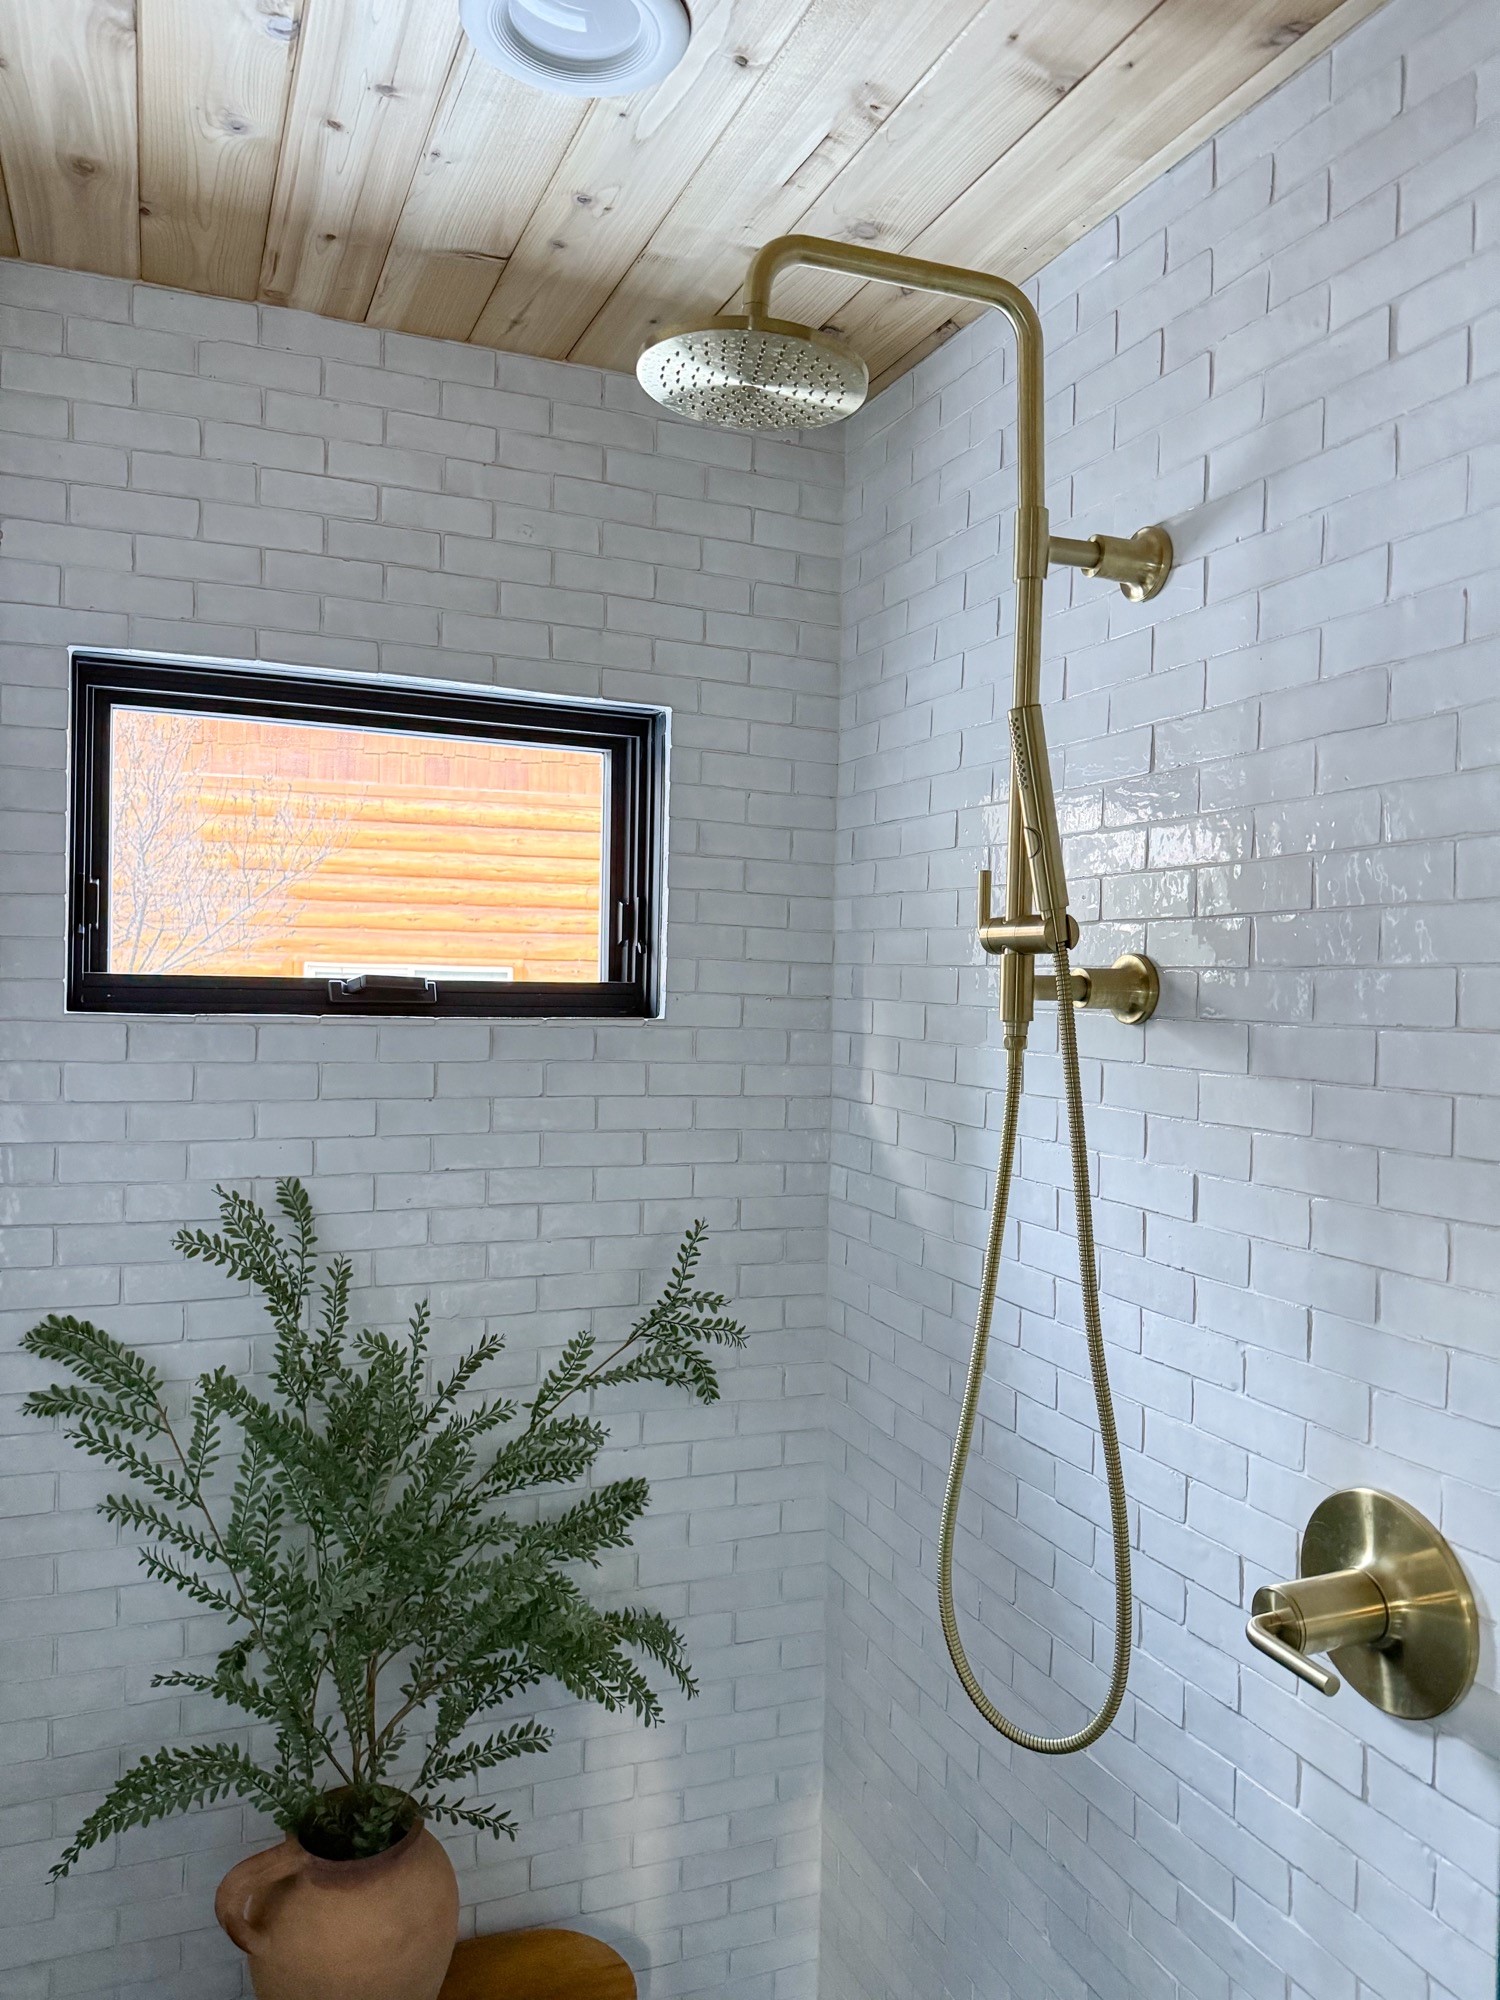
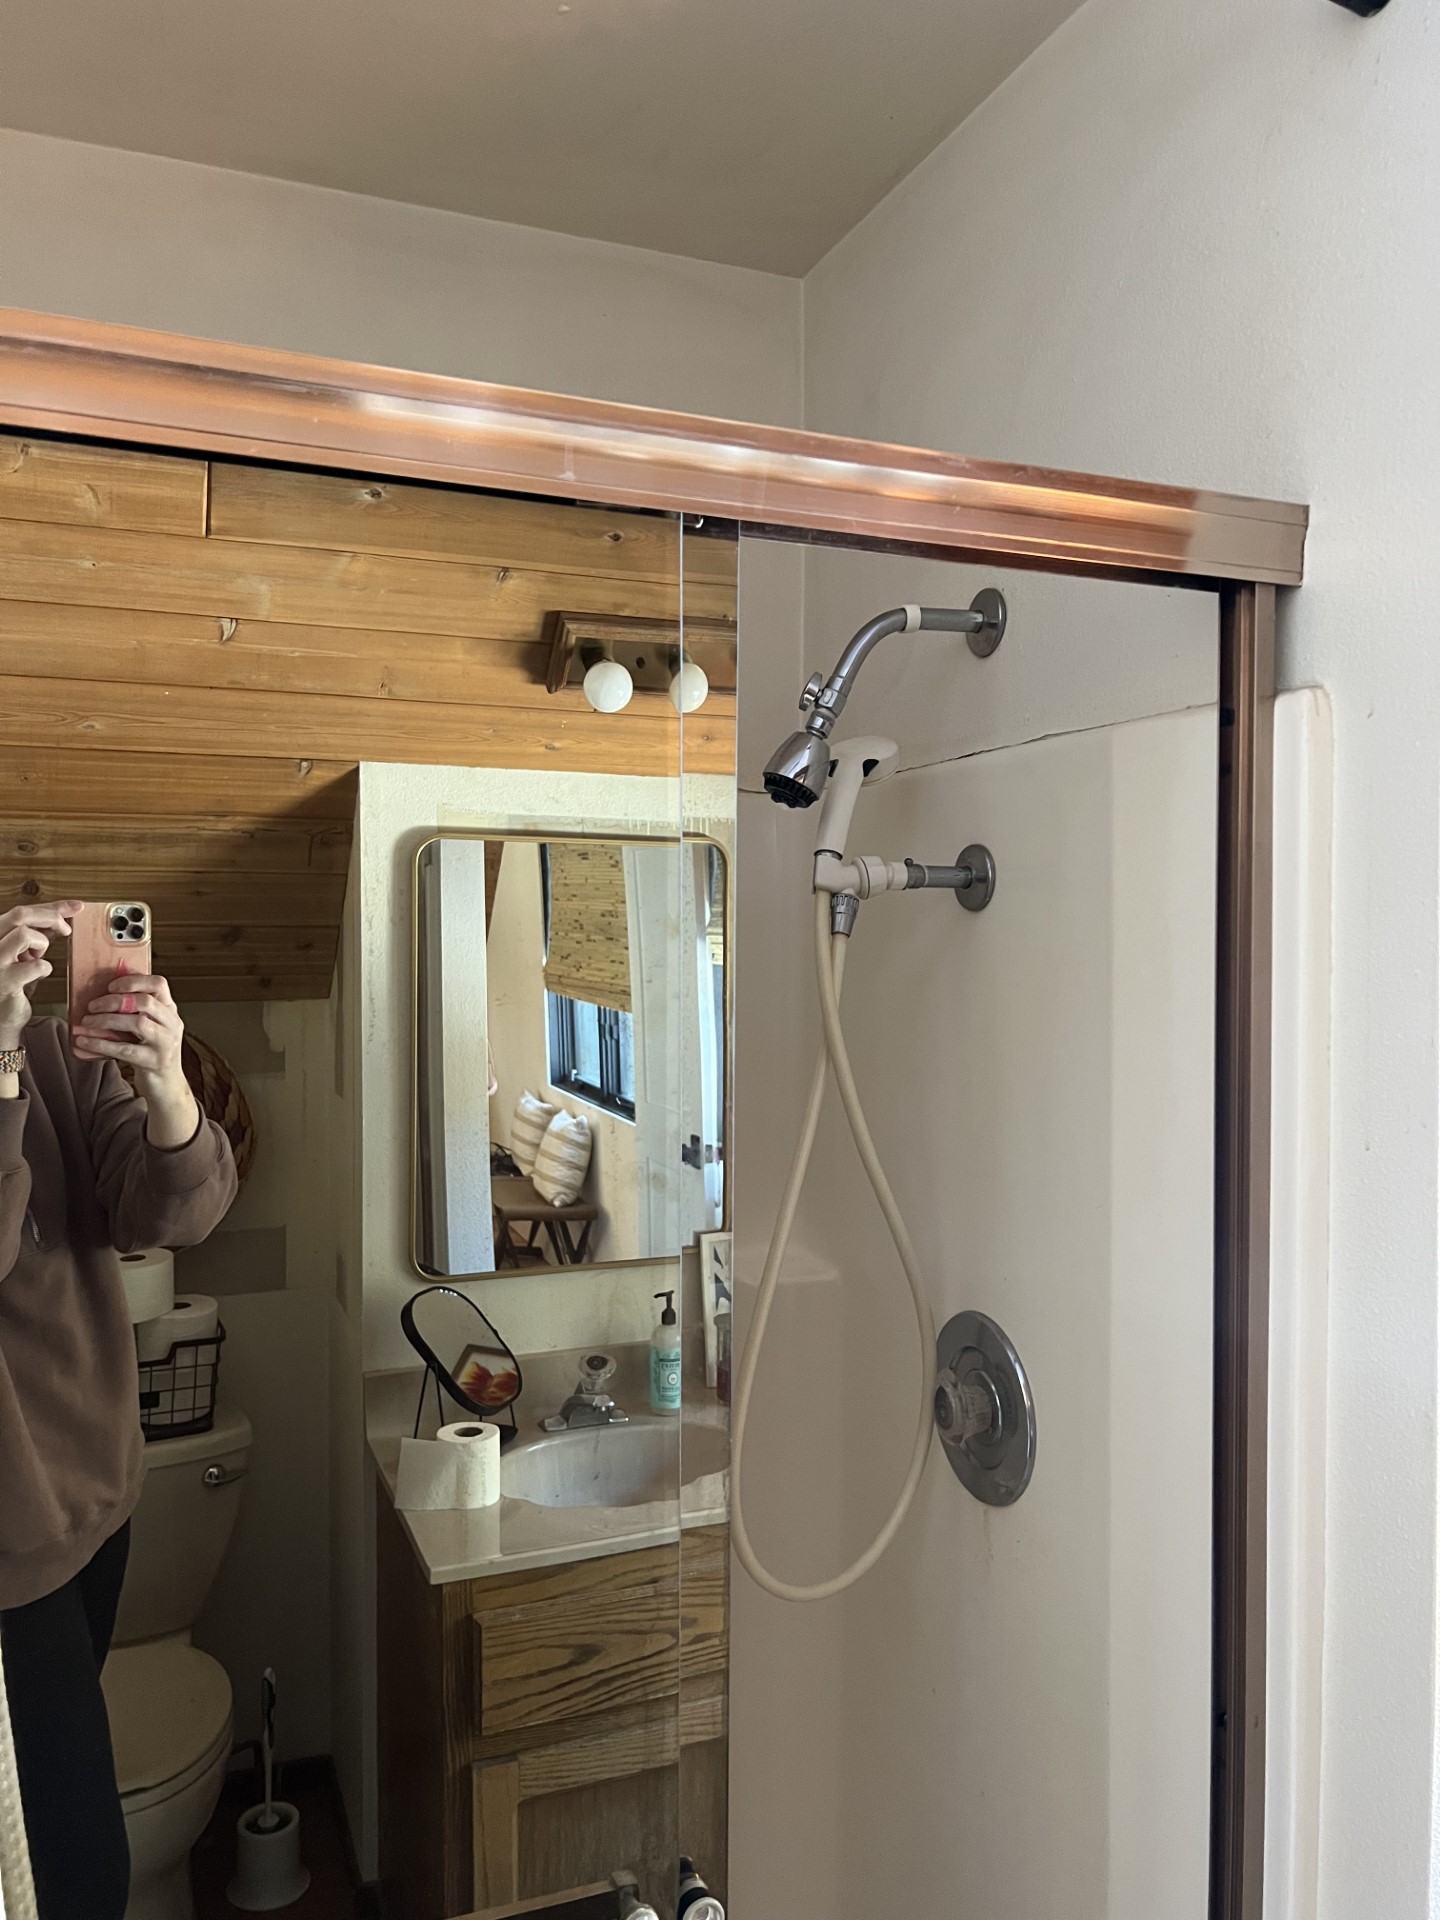
I especially love the handheld shower option, and is so nice for giving your hair that extra rinse. It also makes scrubbing up kids and/or pets a breeze!
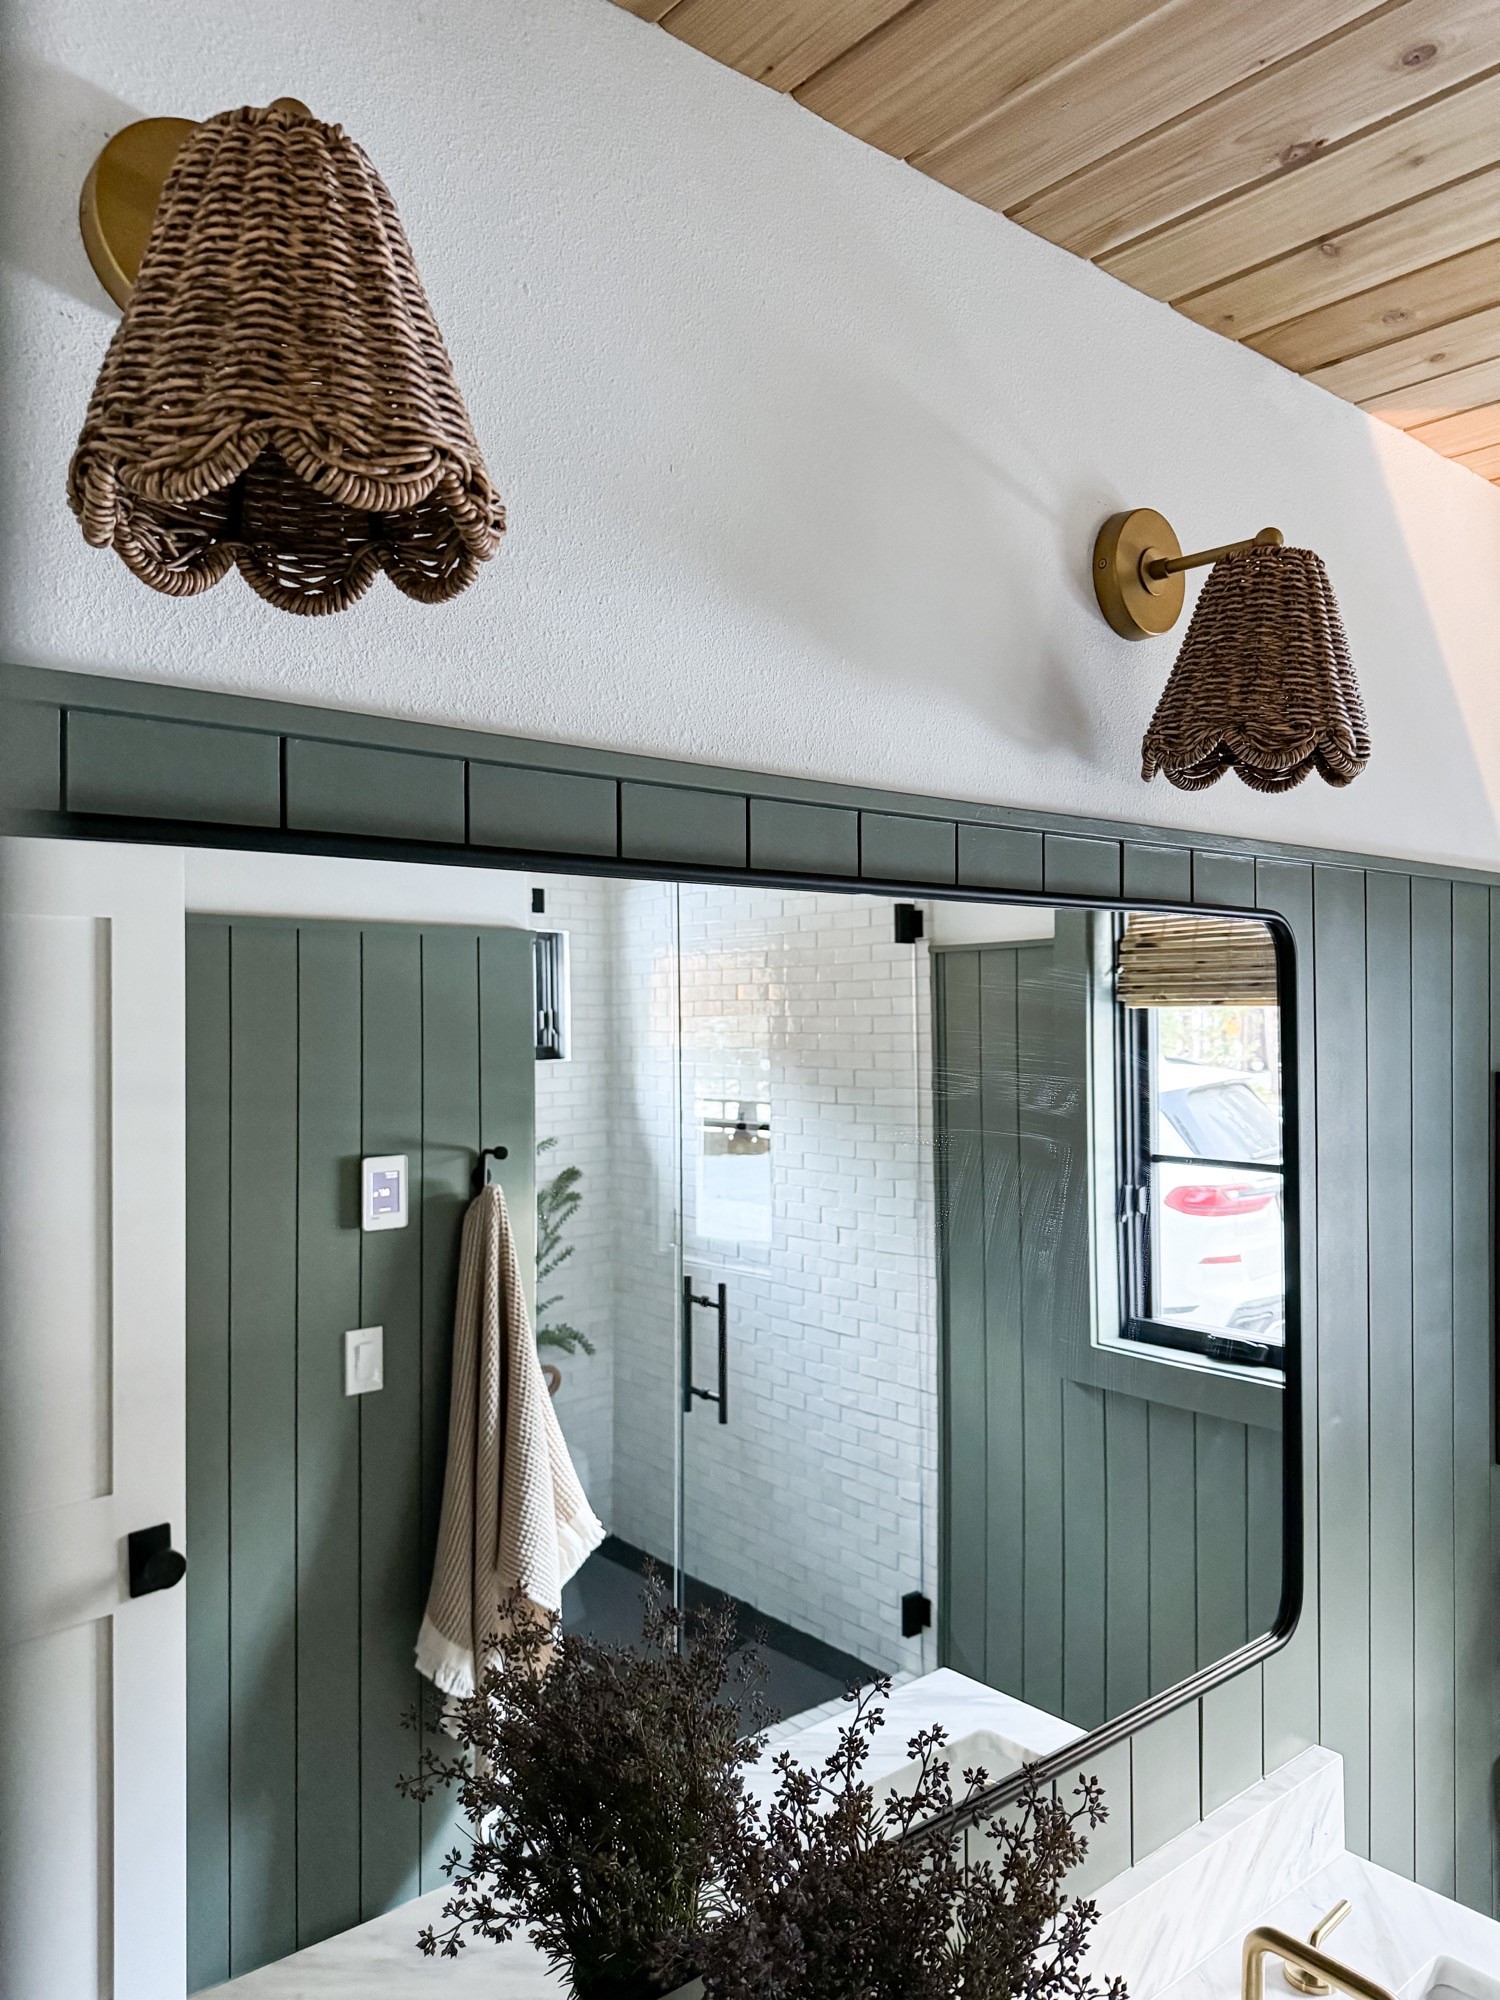
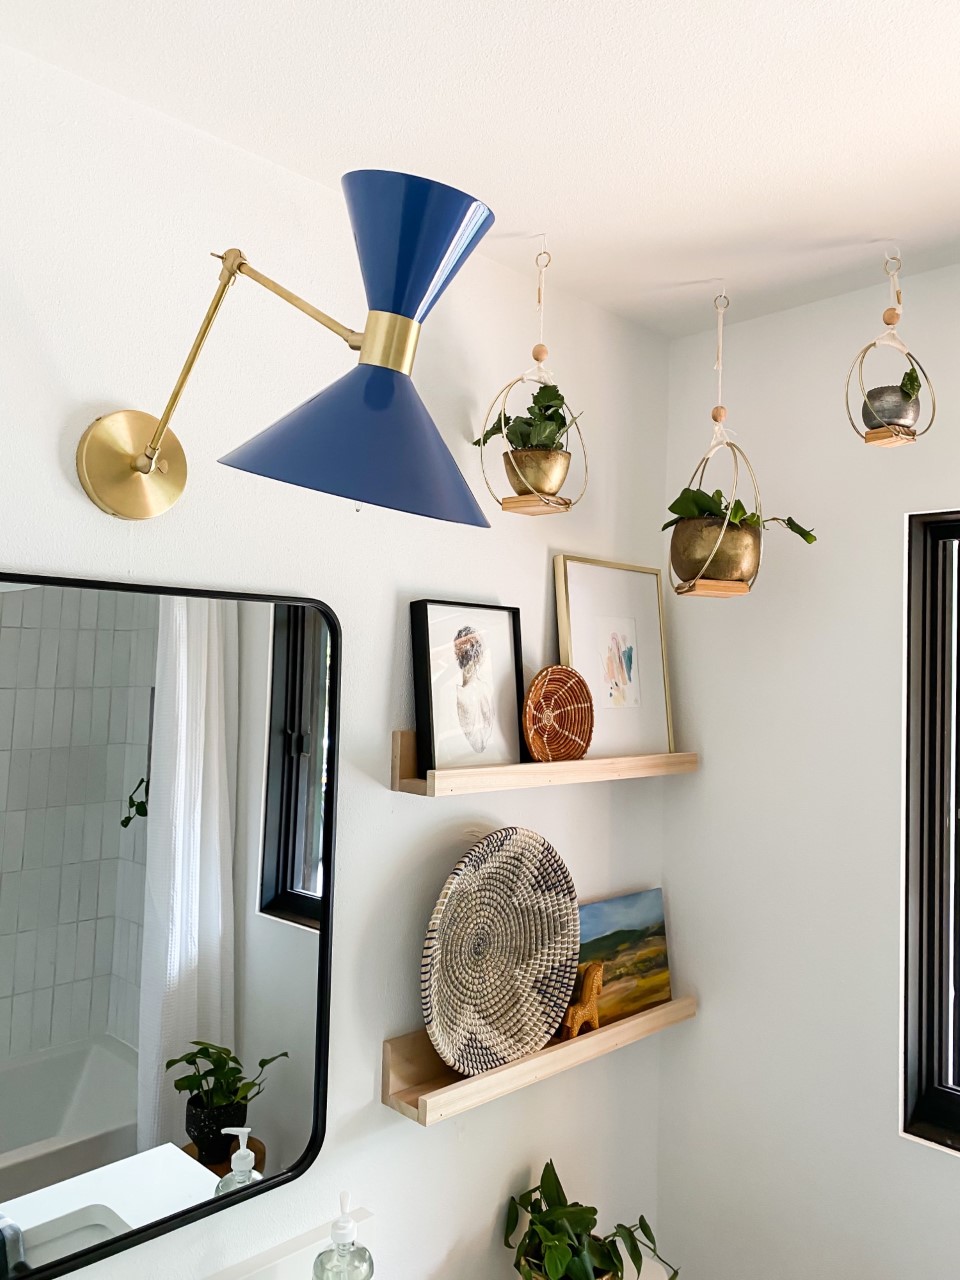
These sconces were quite the controversial topic over on my Instagram page, and lots of you had big opinions about them. I originally went with a different pair, but ultimately swapped them out for these ones. In the end, I couldn’t pass on that wicker shade or the scalloped detail. They cast the most lovely, filtered light at night that I’m kind of obsessed with, tbh. The mirror we selected is simple and adds a little pop of black, which I wanted to incorporate.

I know this bathroom build was a long process, and thank you guys for all of your support, and for always being our biggest cheerleaders. I’d love to hear what you guys think! Have a question for me? Leave me a comment below! I promise to write you back.
Sources
Paint colors:
White walls– Extra White by Sherwin Williams
Shiplap walls– Retreat by HGSW
Additional Sources: