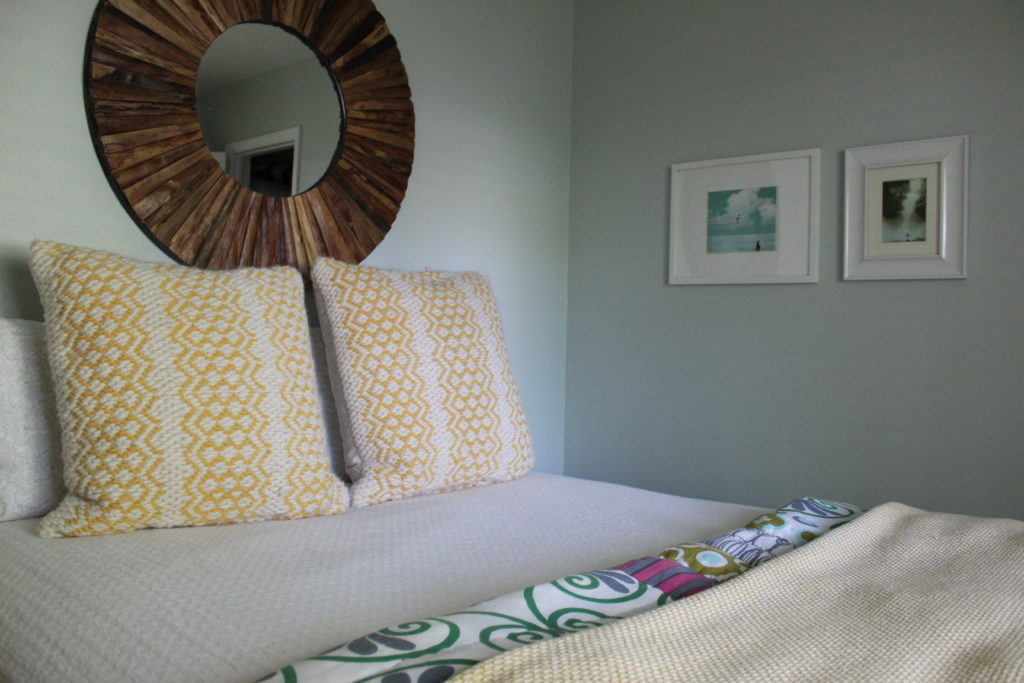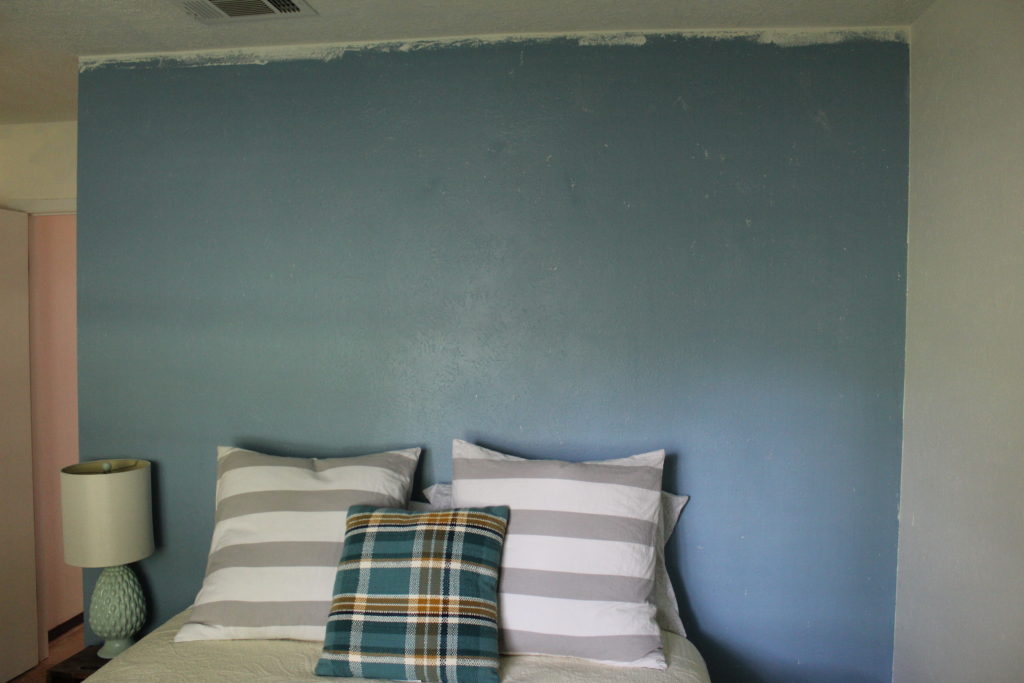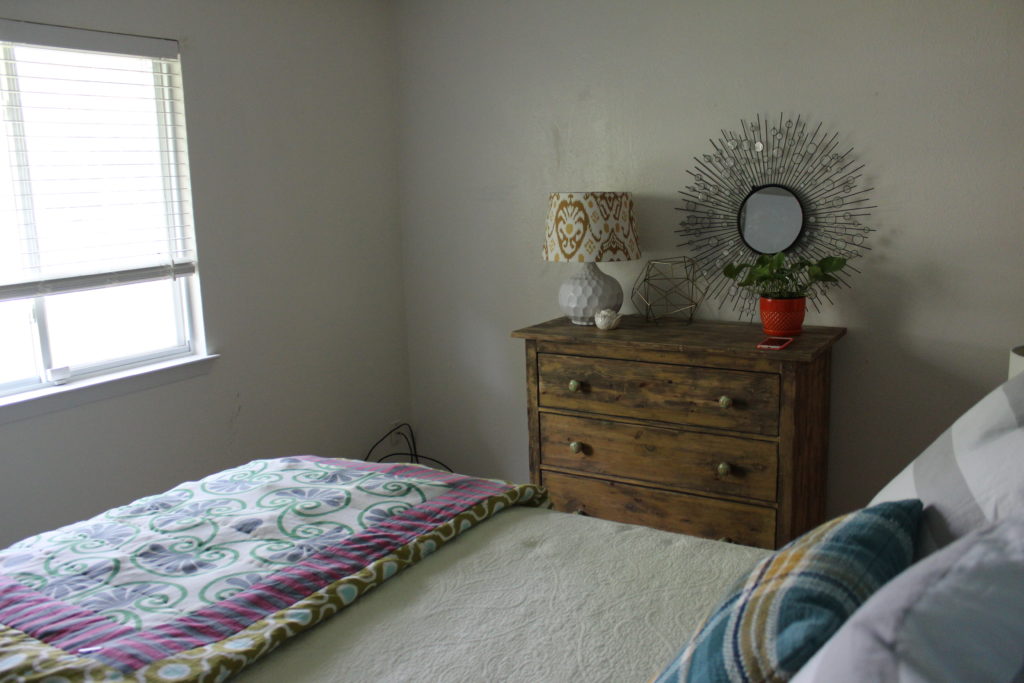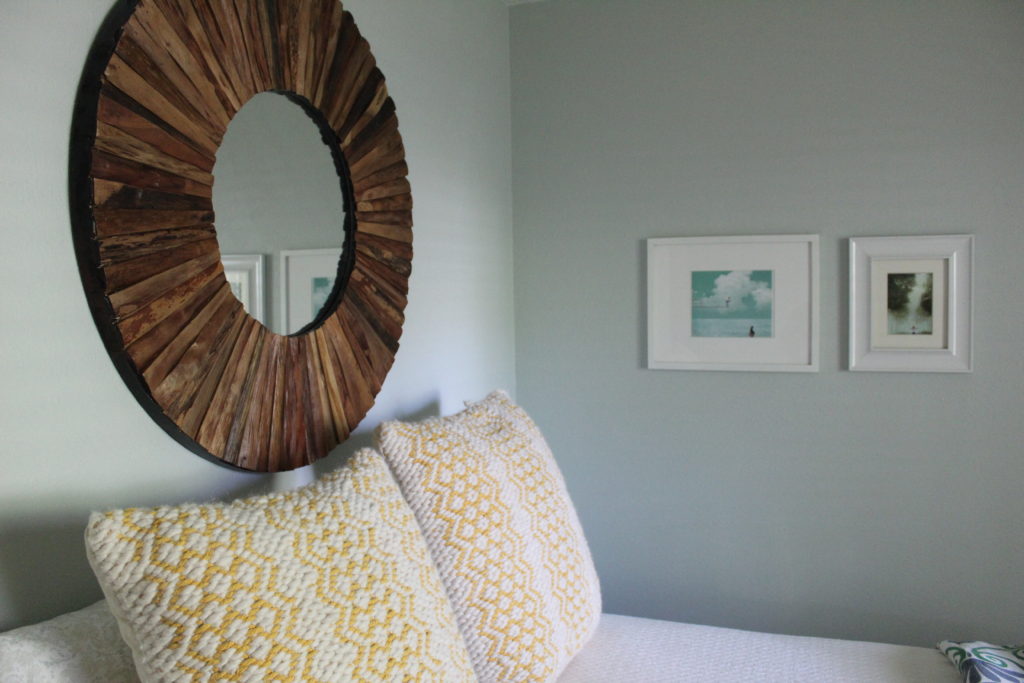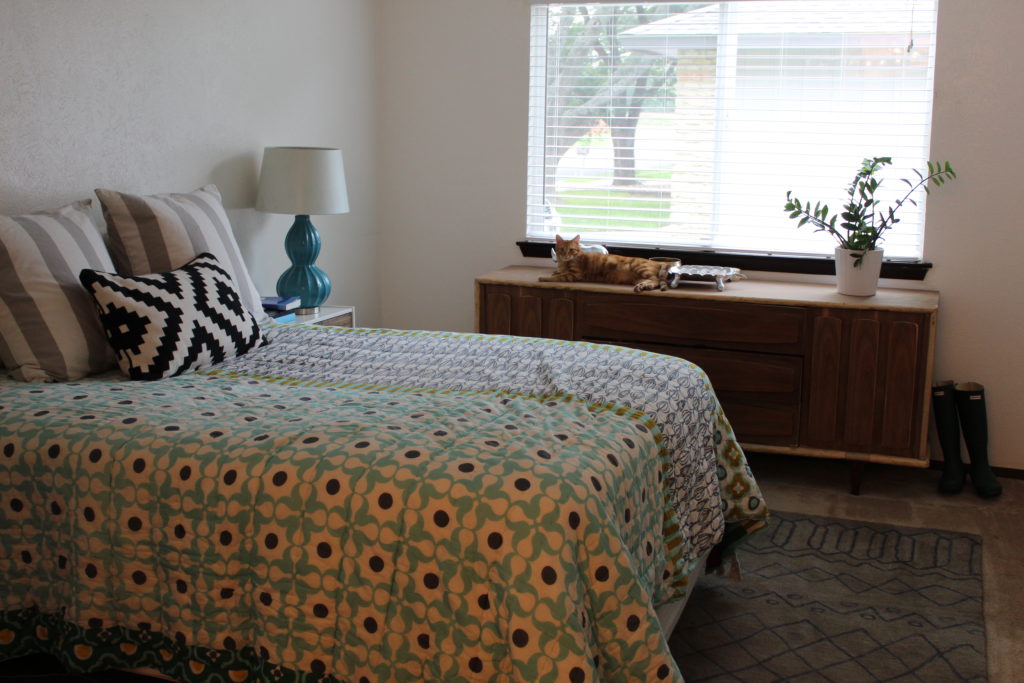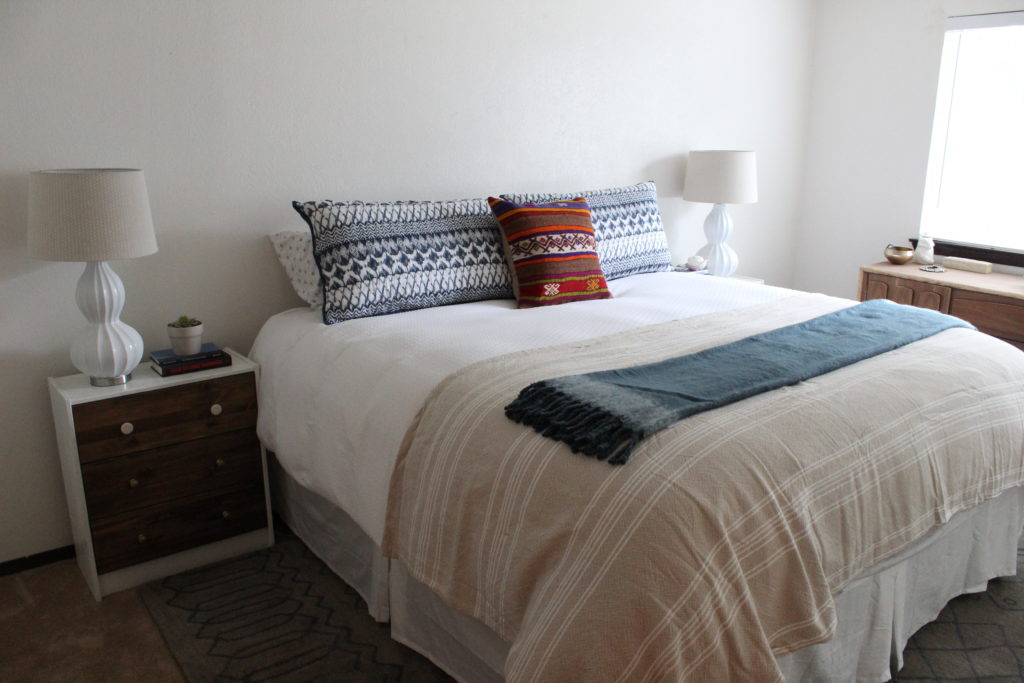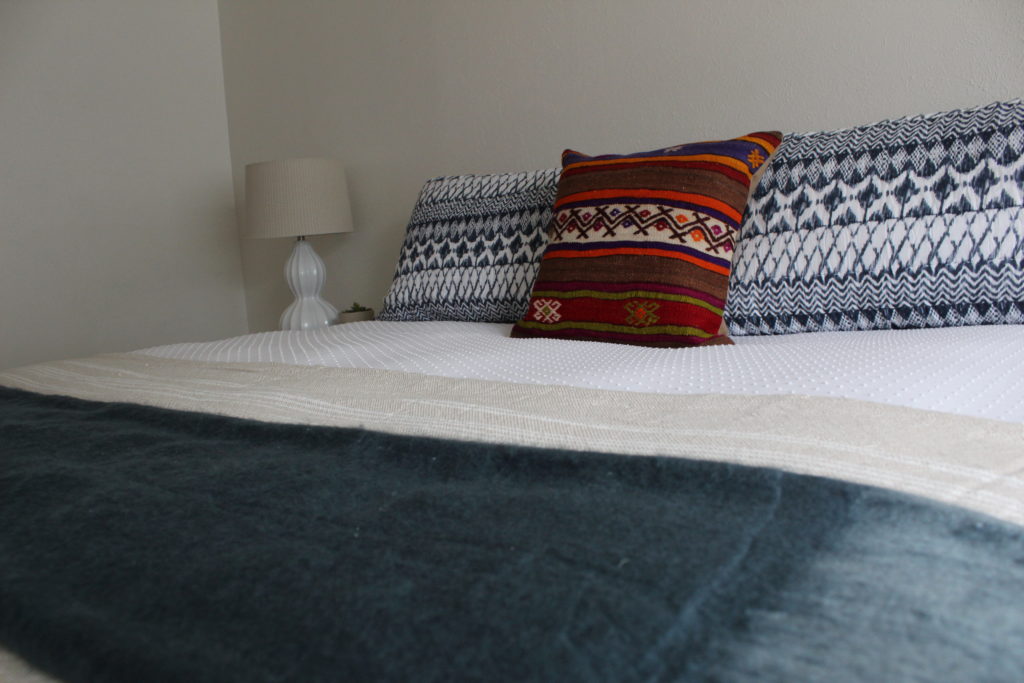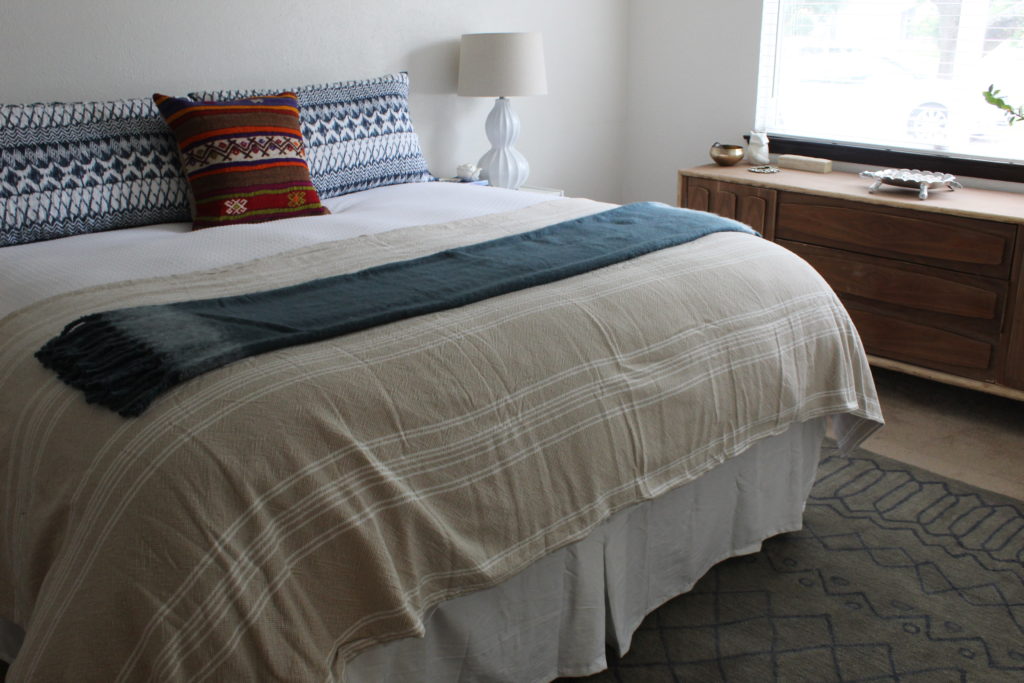
It’s been a while! Last time I updated the blog, I was busy getting ready for my folks to arrive from Oregon for two weeks. In preparation, I painted and made some easy updates to the guest room. Well, I am happy to report that my parents loved the room and were very comfy in there for the duration of their visit. We had such a wonderful two weeks. The weather was terrible and it rained almost every day they were here. Everyone kept joking that they must have brought the rain with them from Oregon because rain in Texas during the month of August just isn’t a thing.
They have been here a handful of times for visits so we weren’t too worried about doing touristy type stuff around the area but instead focused on projects around the house that Nate needed help to complete. Also, my parents had only seen our new house in pictures so they were anxious to finally see it in person. Because of the bad weather, we mostly hung out together, cooked, (oh, how I miss EVERYTHING my mom makes) completed some projects around the house and watched some good TV (Game of Thrones and The Night Of on HBO) But, it was so nice to spend some time with my mom and dad and we actually got a lot accomplished too!
Also, the kids started school. Grey started kindergarten and Nolan started second grade. I was a little (ahem…a lot) sad to see them go because it feels so early this year. Before Labor Day? What? And don’t even get me started on Grey starting school…how did this happen so fast?? Here is the obligatory first day of school picture. Now let’s move on before I start to weep…again.

But I mentioned projects! It was amazing to have the help of my dad! Nate and I found that it was easier to pull the trigger on some decisions with his help with some things that we previously had been talking to death. Talking with no action to follow. The first couple days they were here, we turned attention toward this eye sore in the middle of our living room.
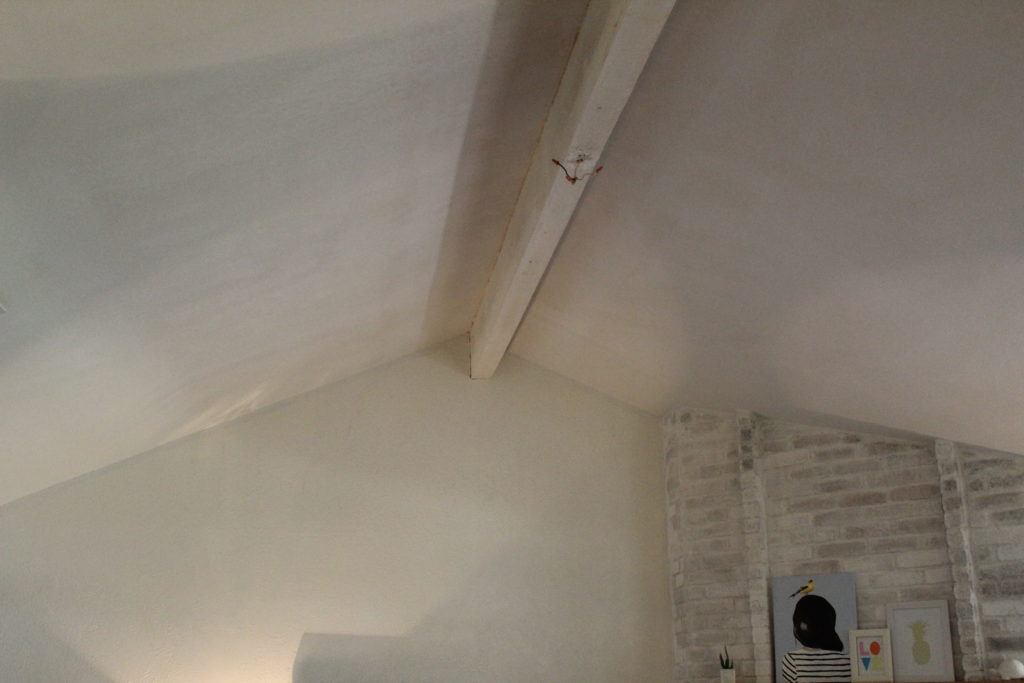
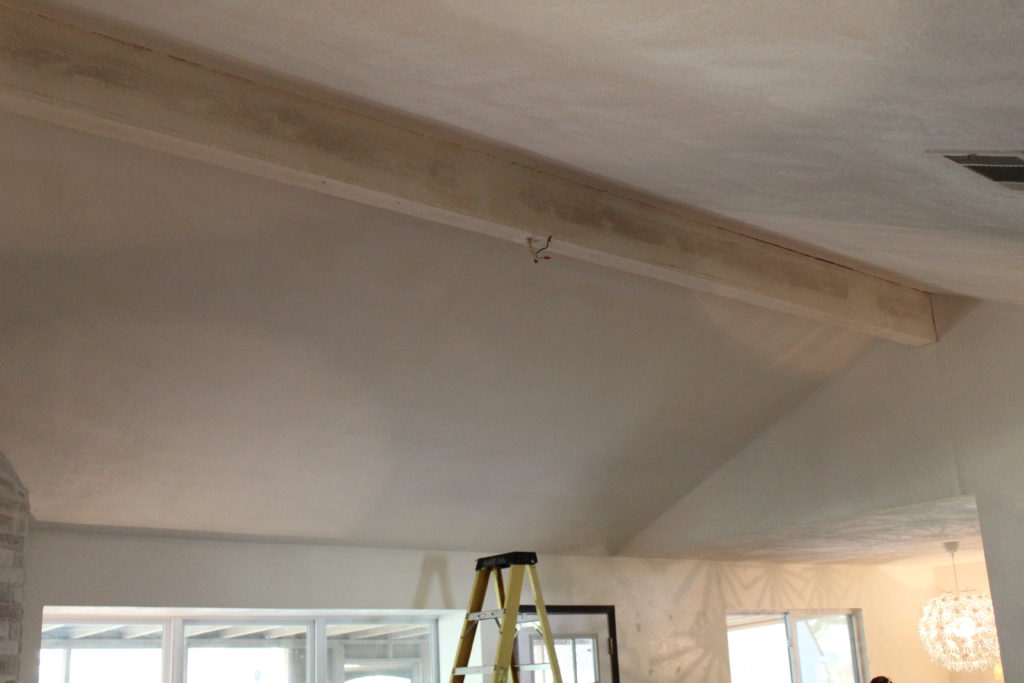
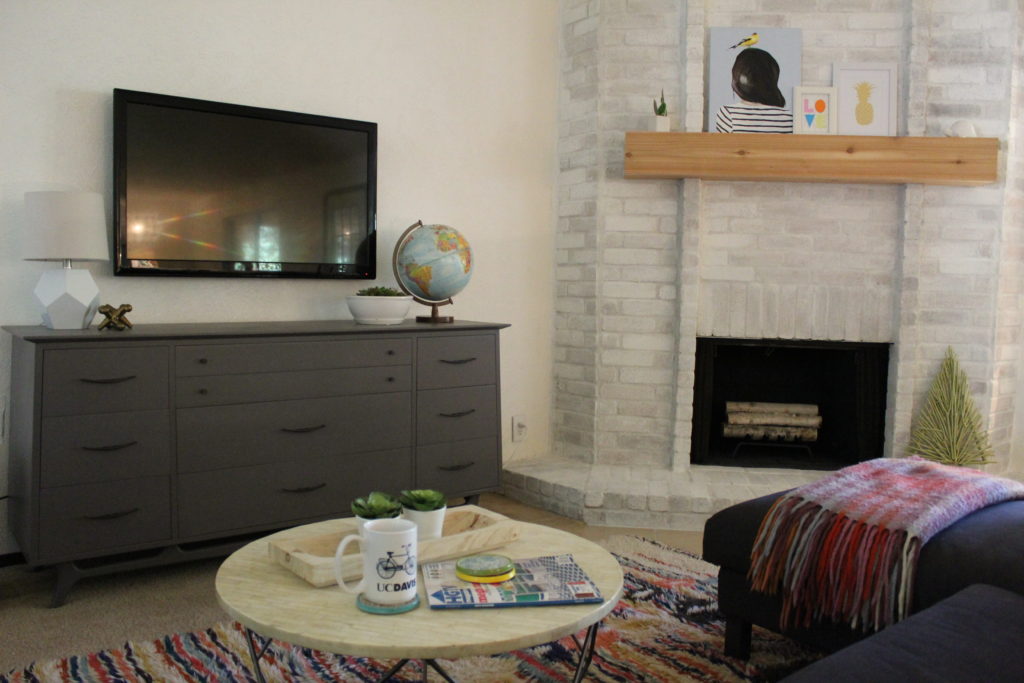
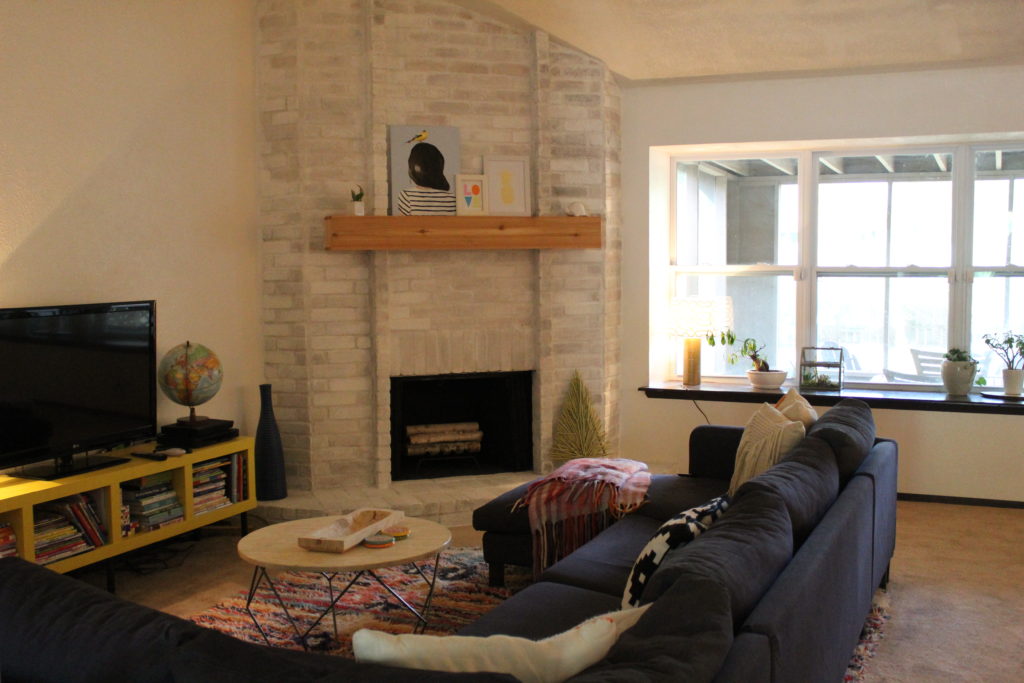
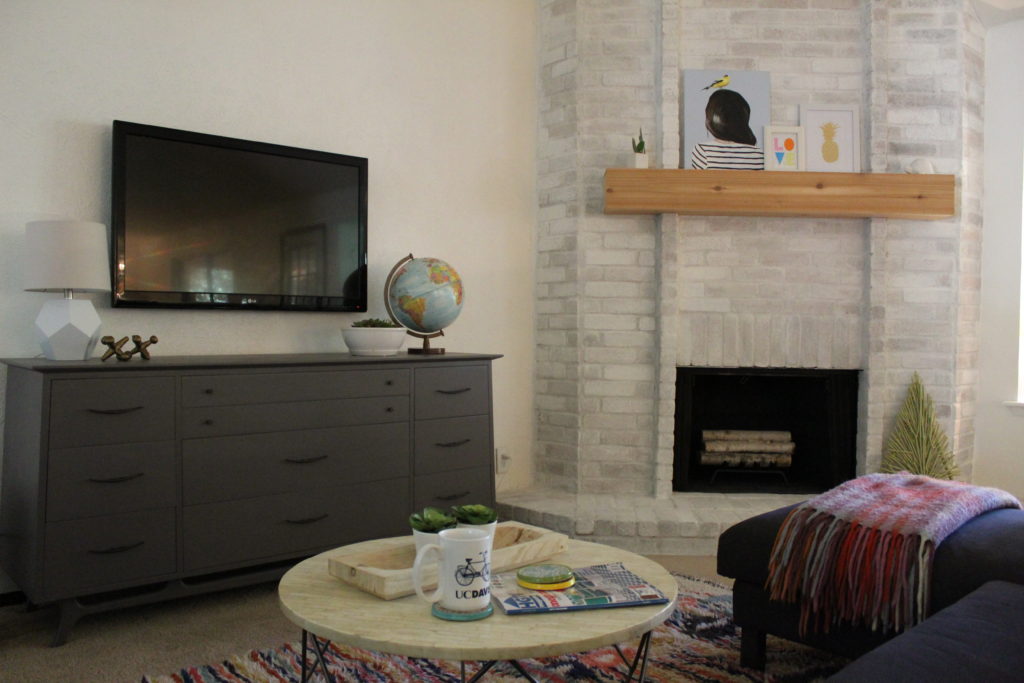
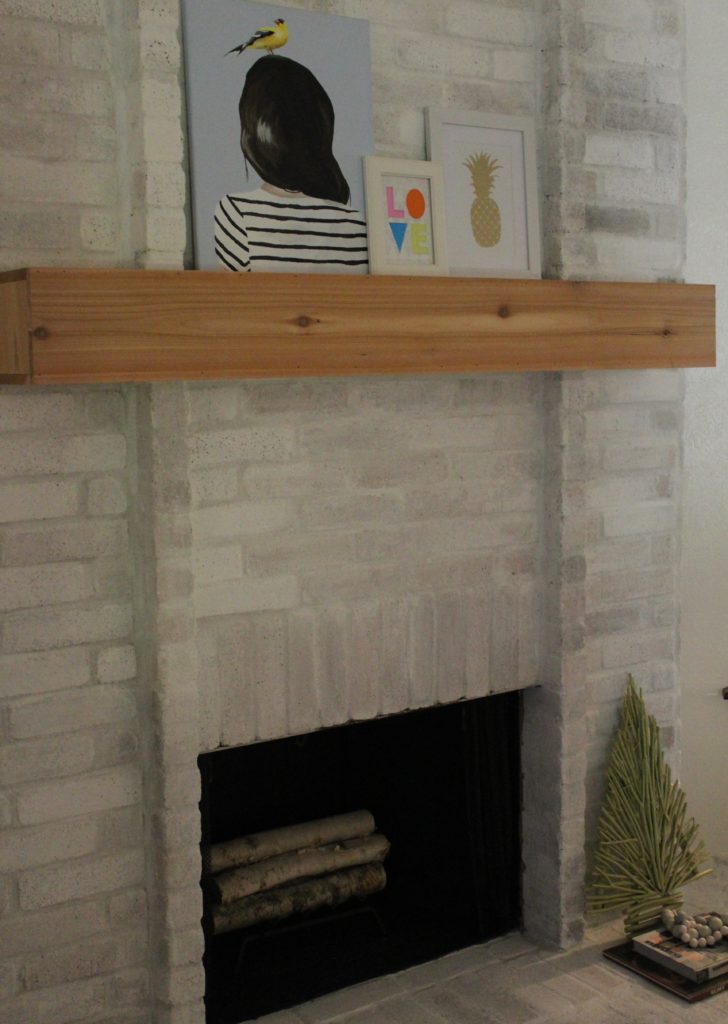
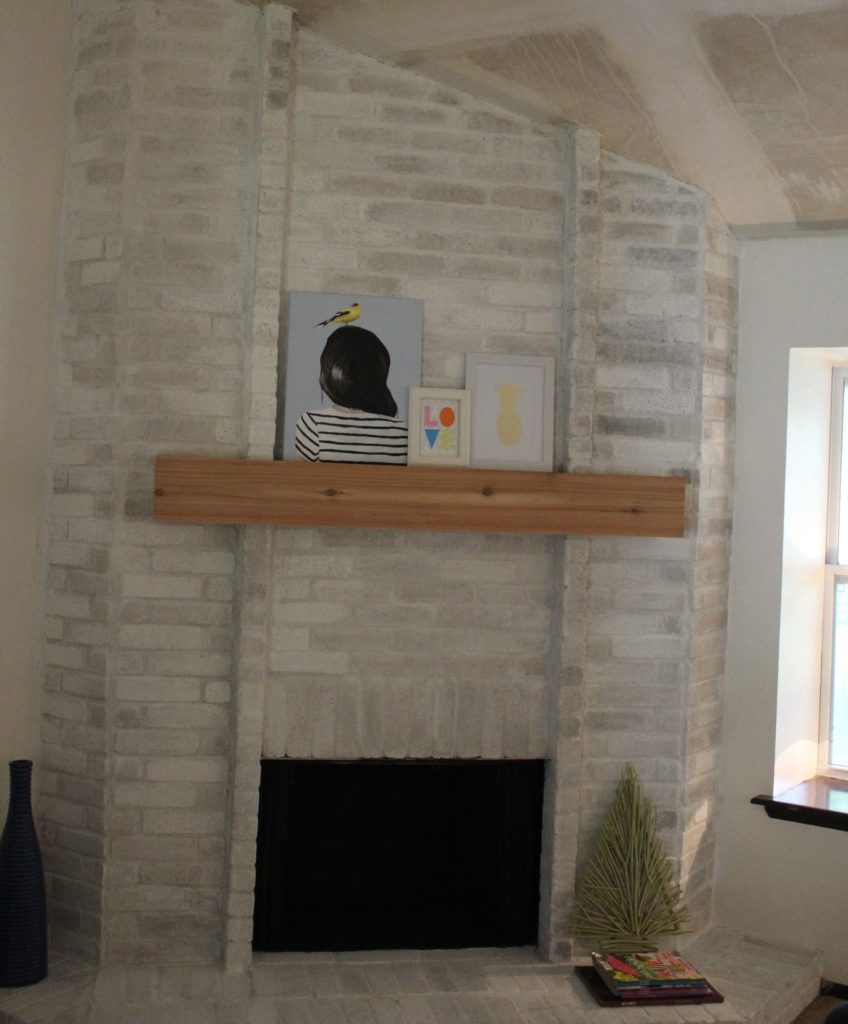
This beam goes across our entire living room and was covered in popcorn texture when we moved in. When we scraped the ceiling, we scraped the beam and never made a plan for what we would do next. My mom and dad loved our fireplace mantel that we made and thought that wrapping the beam in the same cedar planks we used for the mantel would be the easiest way to dress this baby up and would compliment the existing mantel. Here is a reminder of what the finished fireplace mantel looked like back before we had the ceilings done.
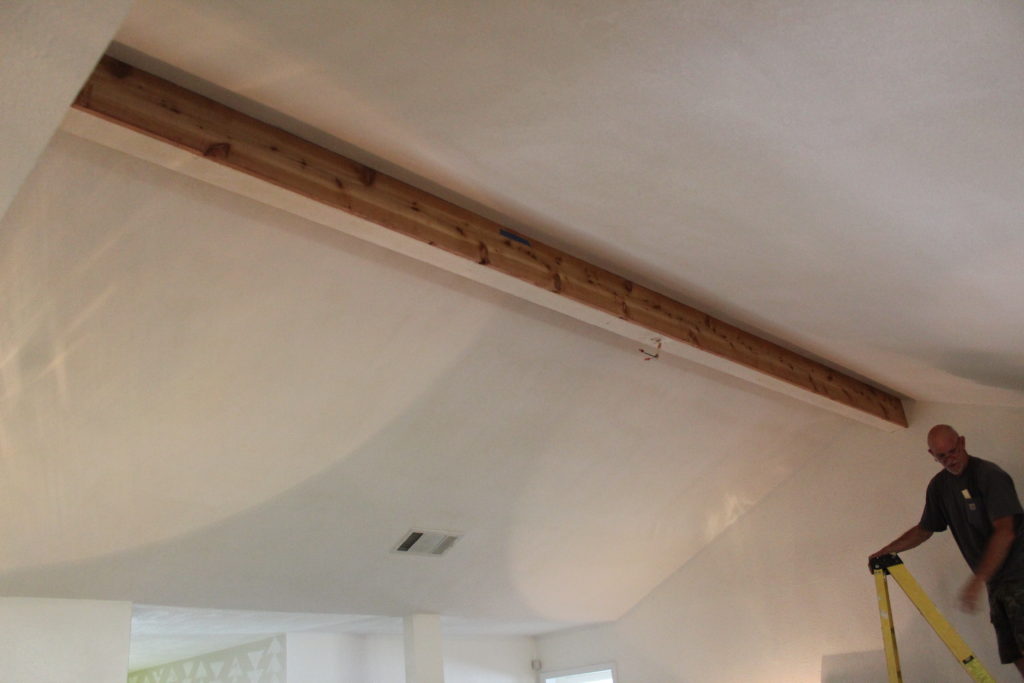
After calling around to a couple lumber yards, we found our lumber in stock and had it delivered right to the house. We had to go though an actual lumber yard because the planks that we needed were over 18 feet long and we knew that we didn’t want any seams where we joined more than one piece together. After they were delivered, it was just a matter of CAREFULLY measuring and ripping the boards to size. After a few nails with the nail gun, we were in cedar love. Just call me Joanna Gaines.
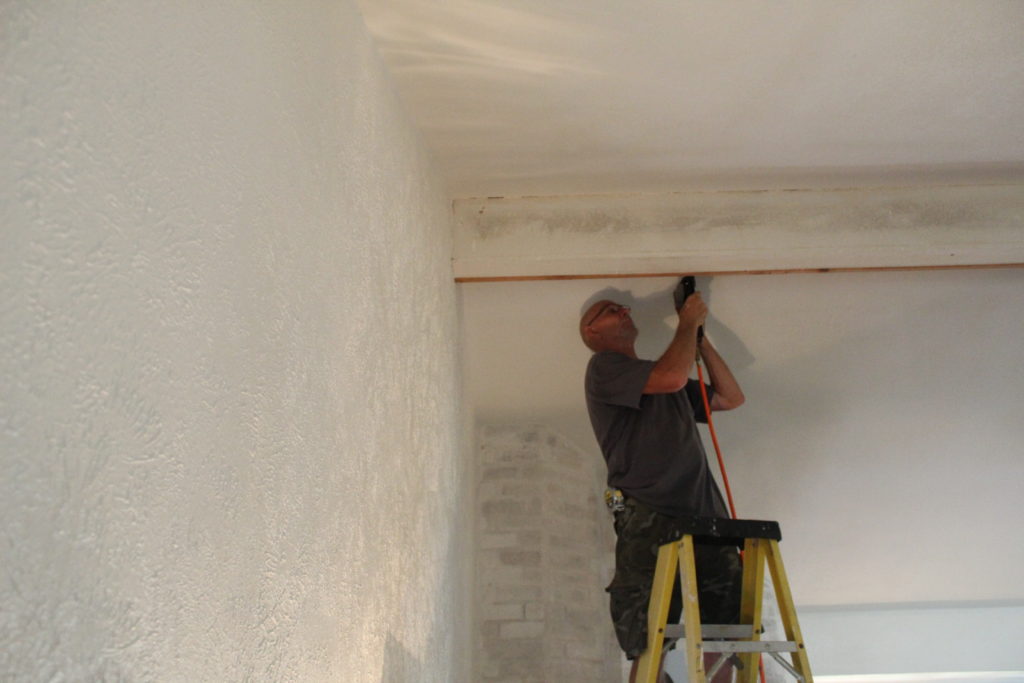
We had some exposed electrical in the middle of the beam that was used to wire a ceiling fan when we moved in but we had taken it down and decided that we didn’t need a ceiling fan in the middle of the room. We have been pretty comfortable in Texas with the A/C in the summer and heat in the winter, without the help of any ceiling fans. With all that being said, we turned the breaker off and capped the wiring with plastic connectors and used electrical tape to ensure that everybody stayed where they should be when it went back up in the ceiling.
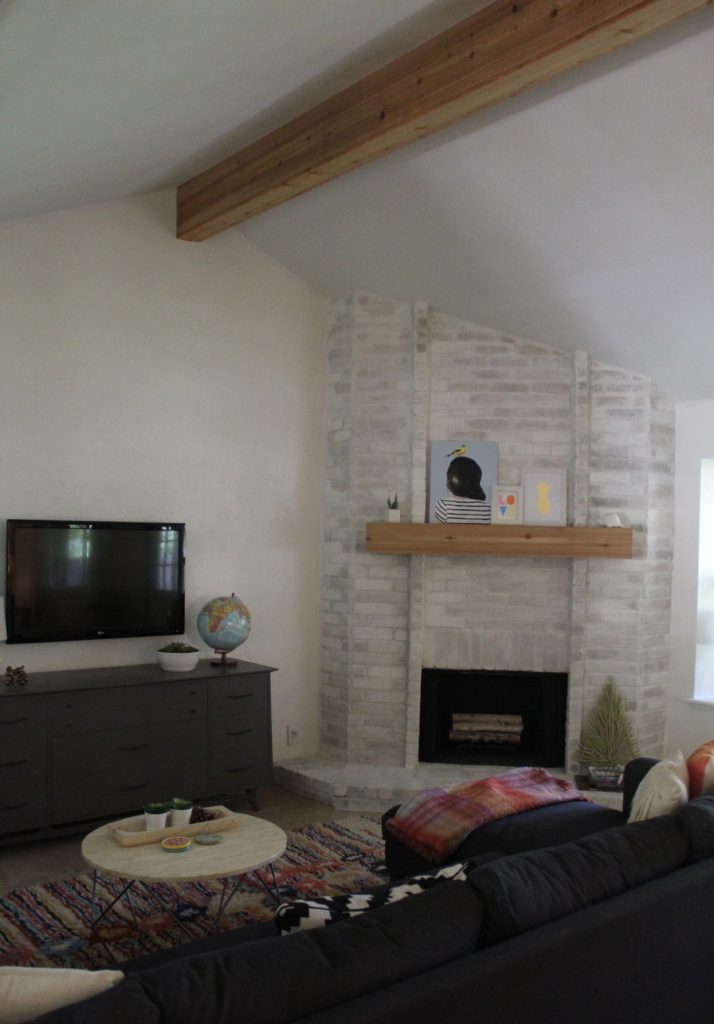
I love the way it breaks up all that white and gives the room some texture. Also, how cute does the mantel and the beam look together? MFEO. Totally.
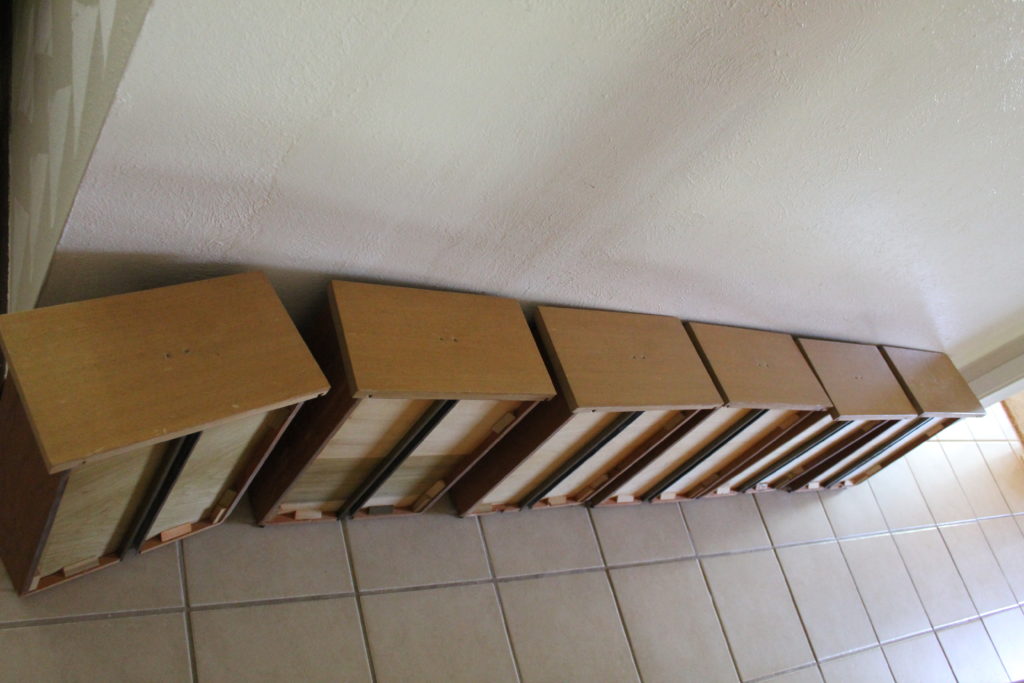
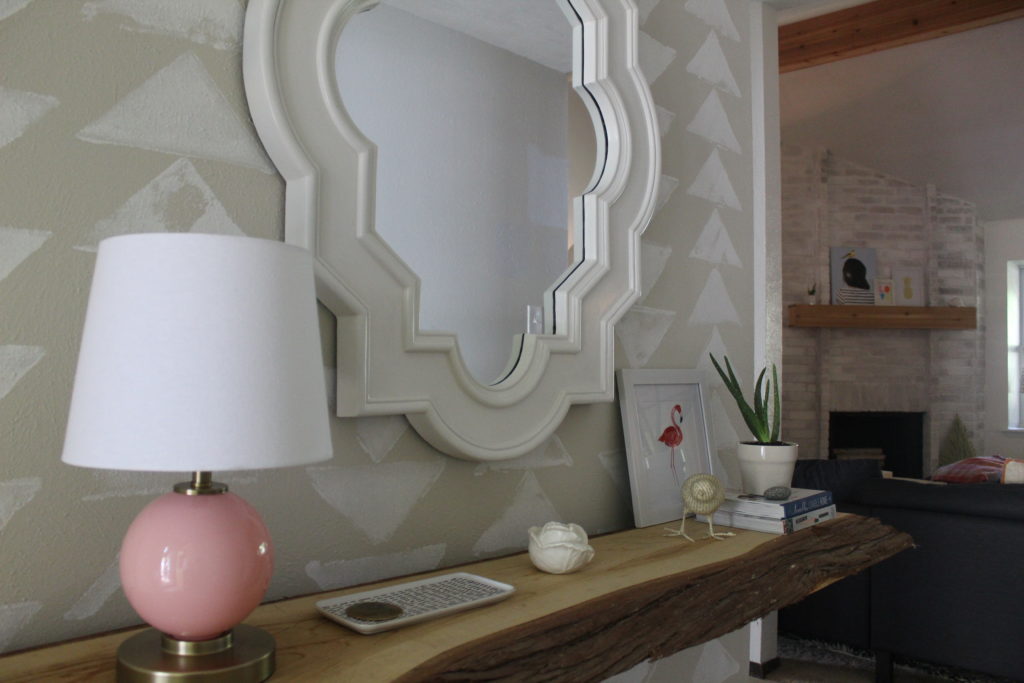
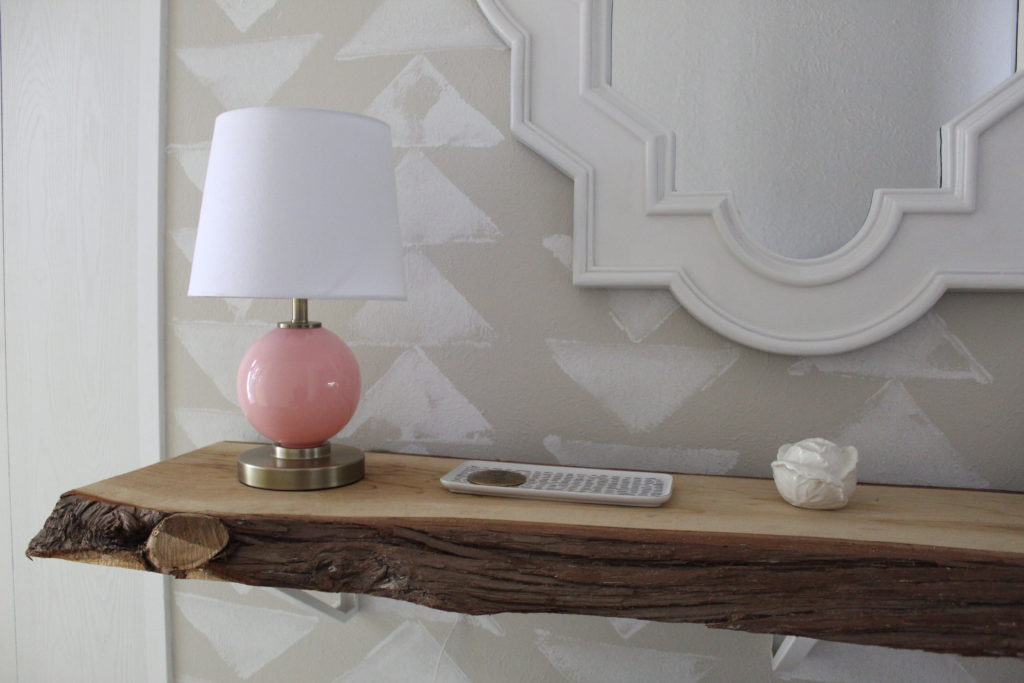
While we were on a cedar kick, I have had this live edge chunk of cedar that has been sitting in our garage for two years. It’s twelve feet long that I bought from a guy in Oregon who had his own mill for cutting lumber. Why twelve feet? Well, our sectional is twelve feet long and I thought this live edge would be a perfect table top to live behind the sofa for lamps, remotes and books. But, our sectional floats in the middle in the room here at our new house and so there is no need for a table behind the sofa.
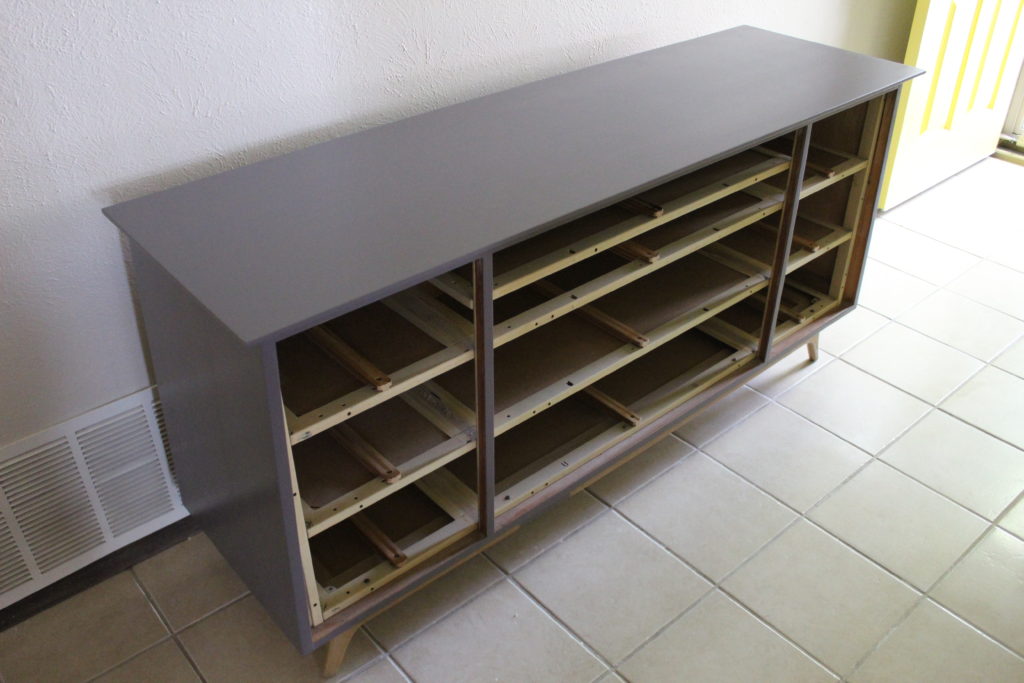
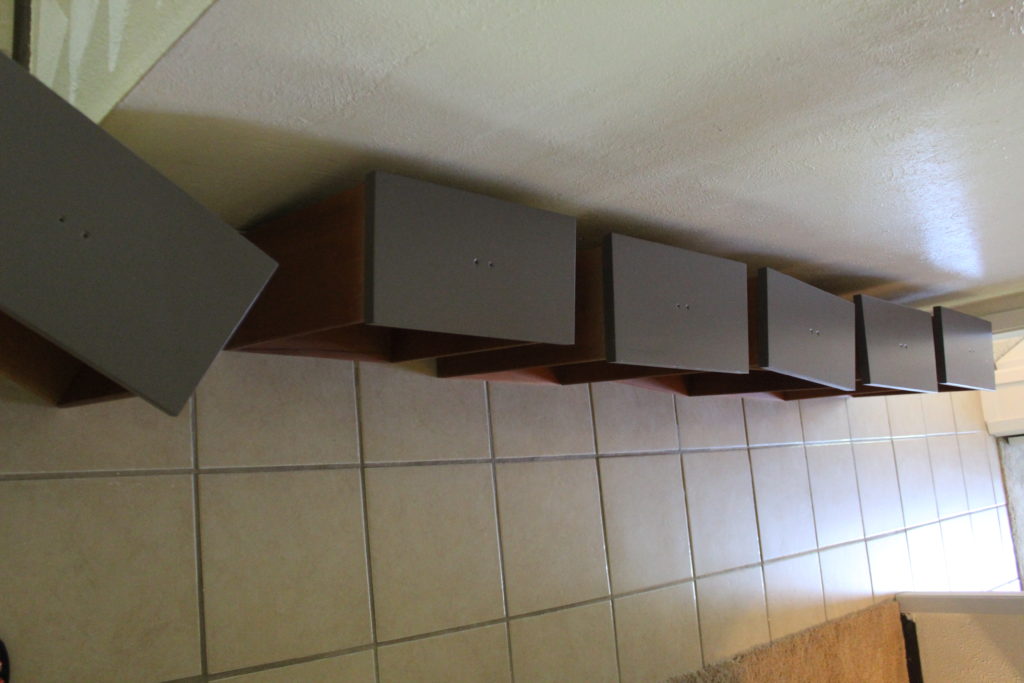
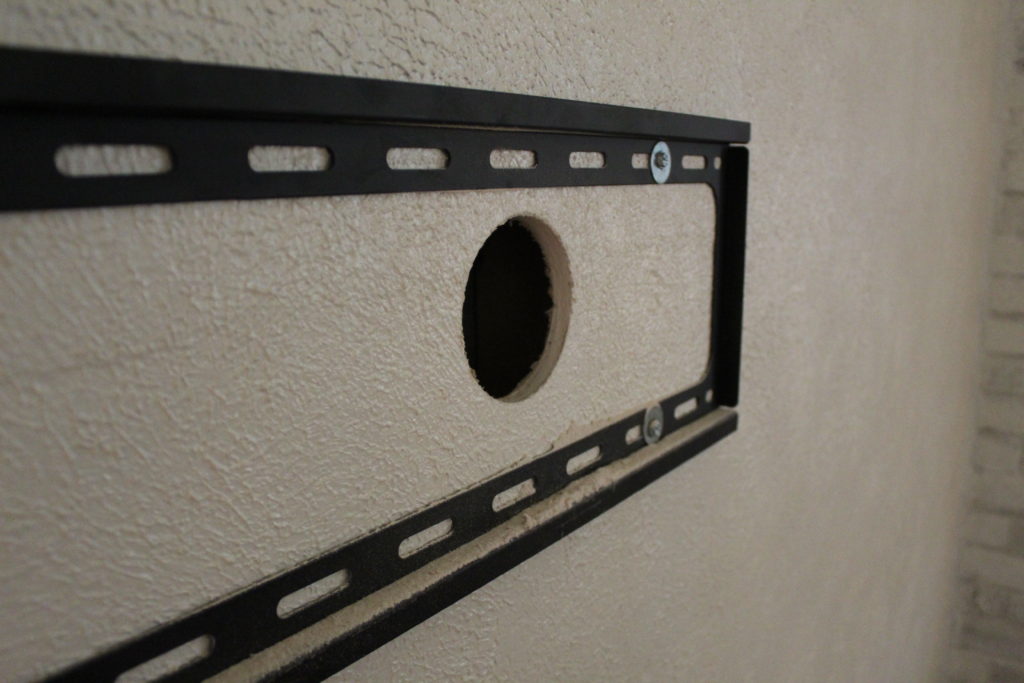
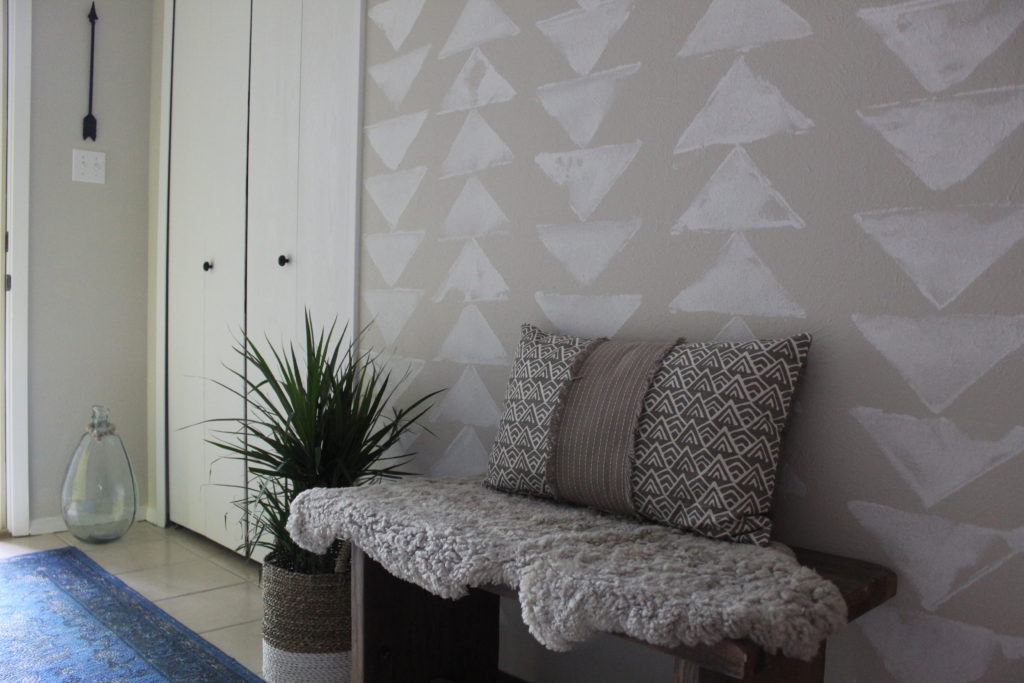
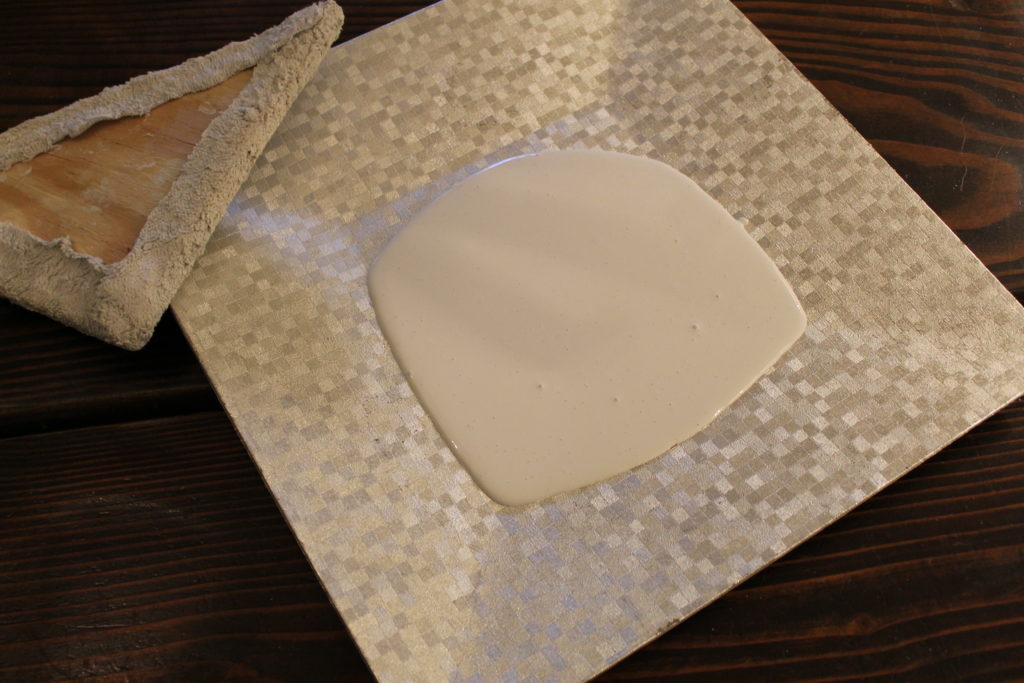
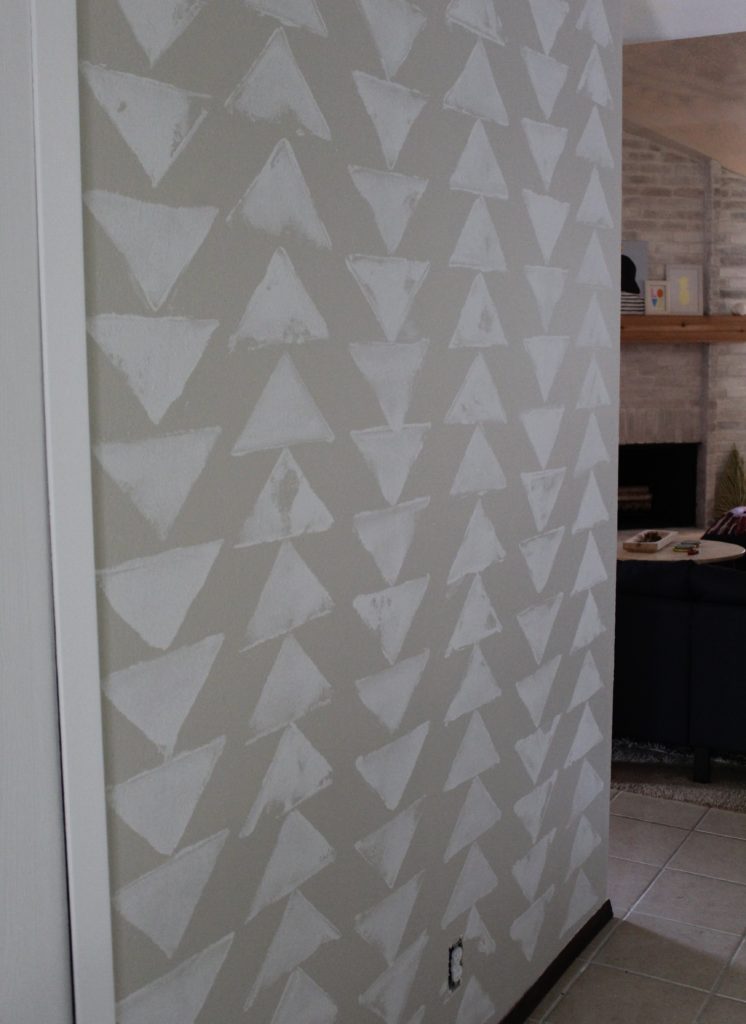
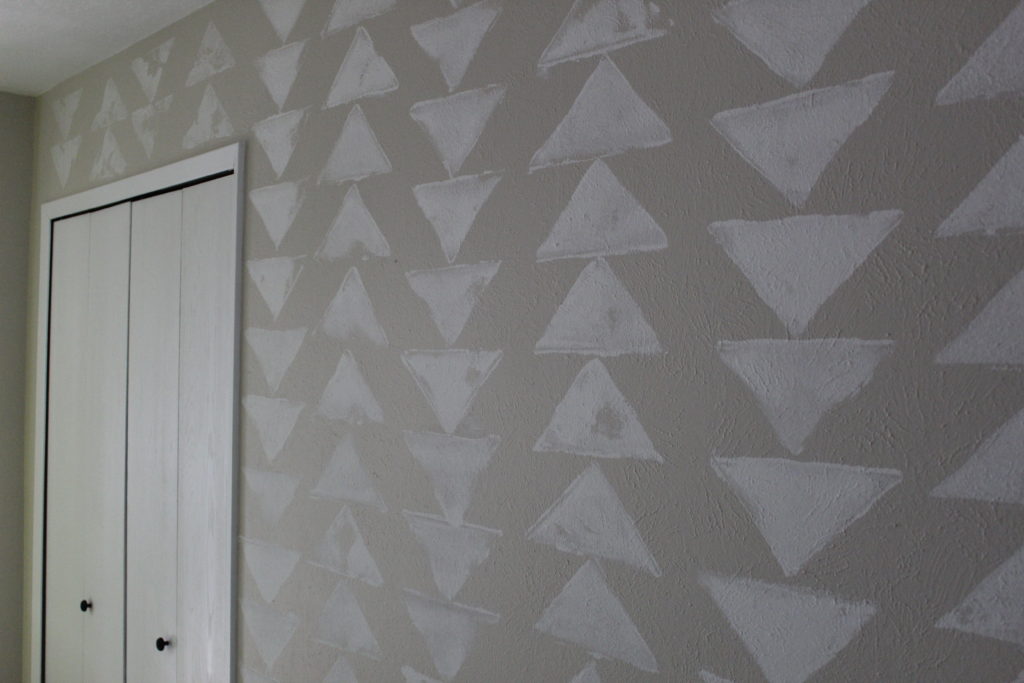
Well, my mom had the brilliant idea to make a floating shelf in our entryway. Previously, I had made a DIY tribal stamp for the walls in the entryway but hadn’t given much thought to what furniture should live in that space. I had a little bench in there but in person, it felt much too small for the space so we decided that a shelf with a mirror would be a much more practical use for the space. We used three brackets from IKEA and my dad secured it to the wall one afternoon while Nate was at work.
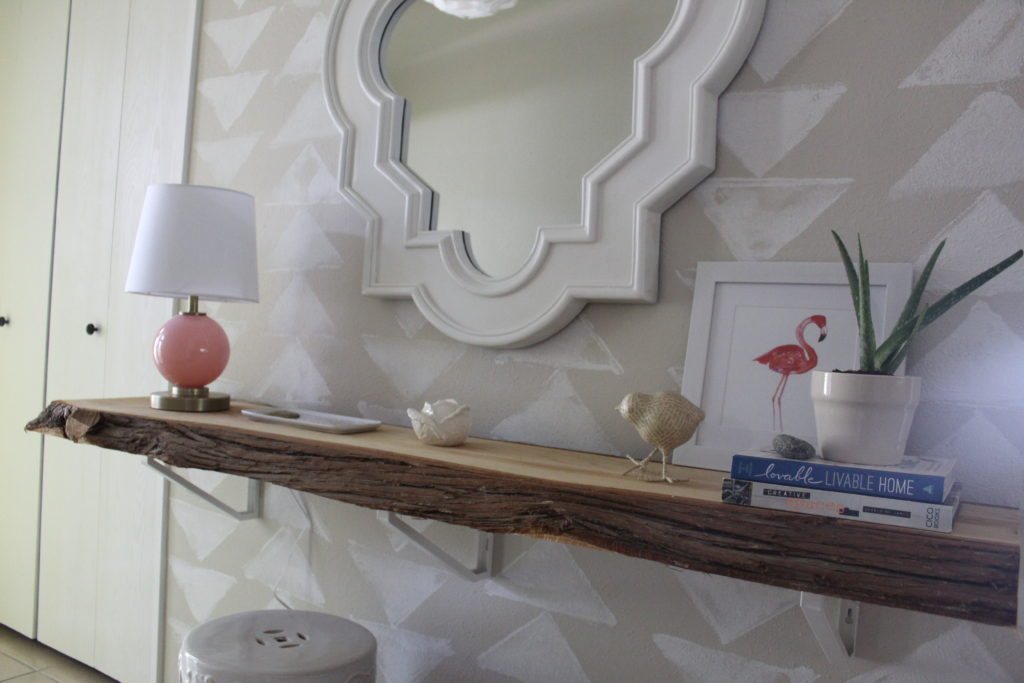
I love that we finally got to use this piece after all this time. Now, I am thinking that I just need some cute baskets for underneath and a runner for the floor and I will call this space done…for now.
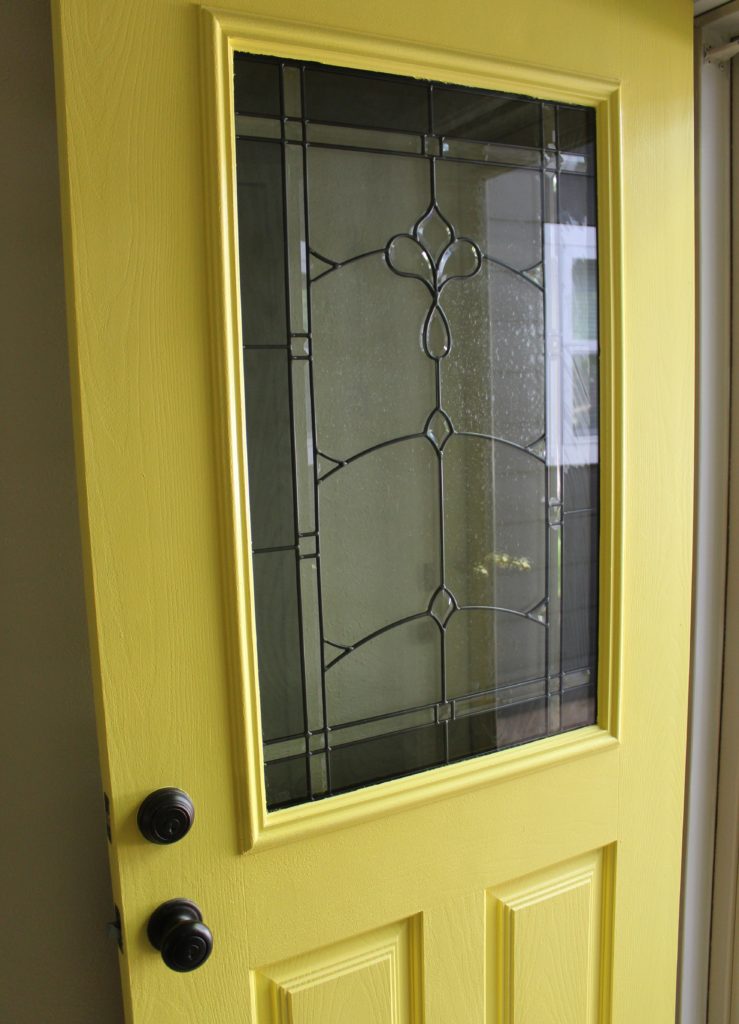
Also, remember how I said I wanted to change the glass out of our front door because the pattern was feeling a little too traditional for our house?
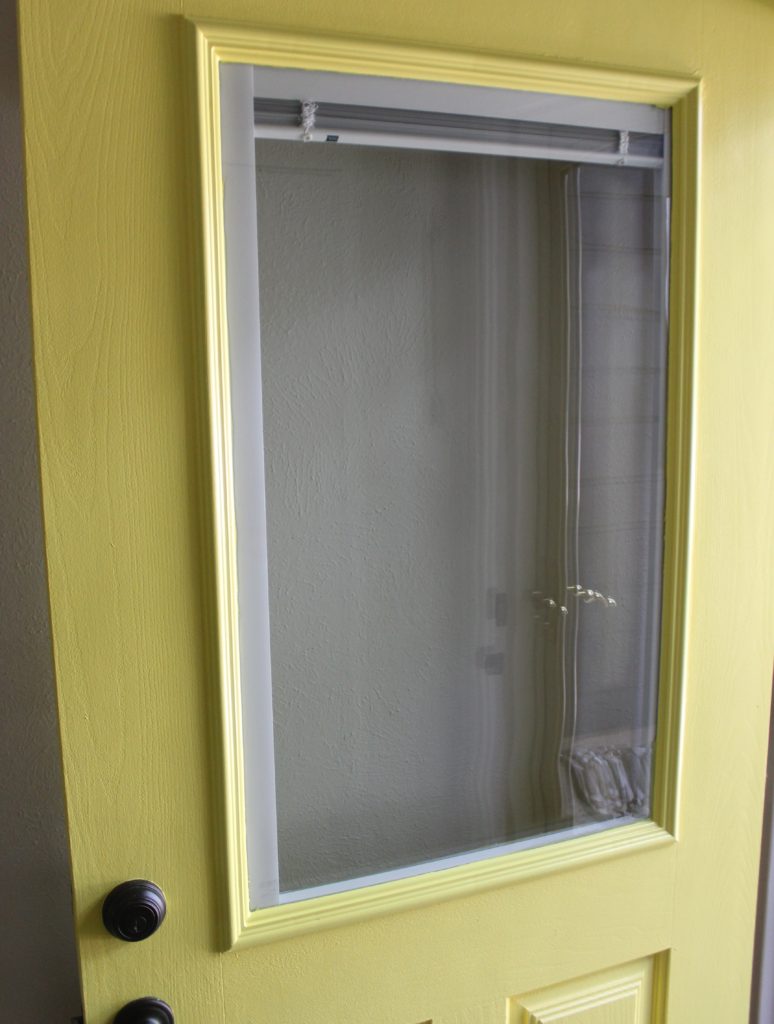
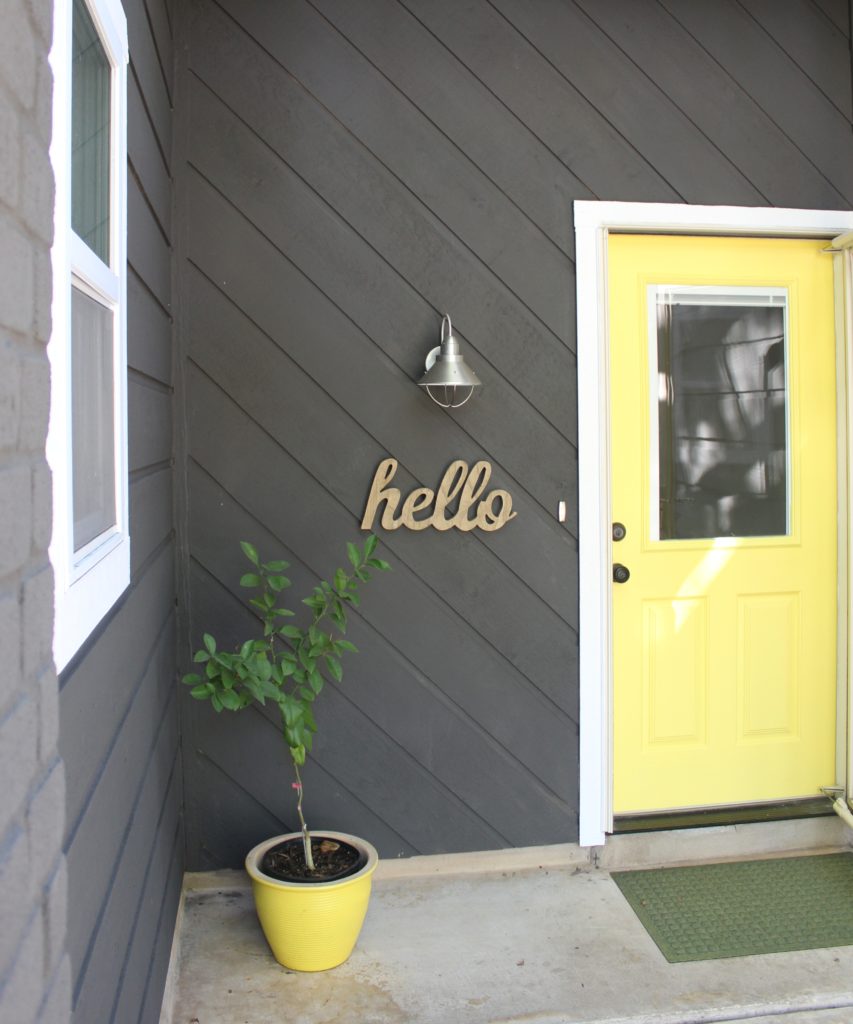
We tracked down a clear window to replace it with and my dad installed it for me. It’s very simple but it has blinds on the inside so with the little flick of a switch, the blinds come down at night for privacy. To say that I love this upgrade would be an understatement.
So, those are just some of the fun things that have been going on around here for the last two weeks. I am already missing my parents but they are coming back to Austin in November just in time for baby boy to arrive. Wait until you see what we did to the kitchen! It’s a good one.