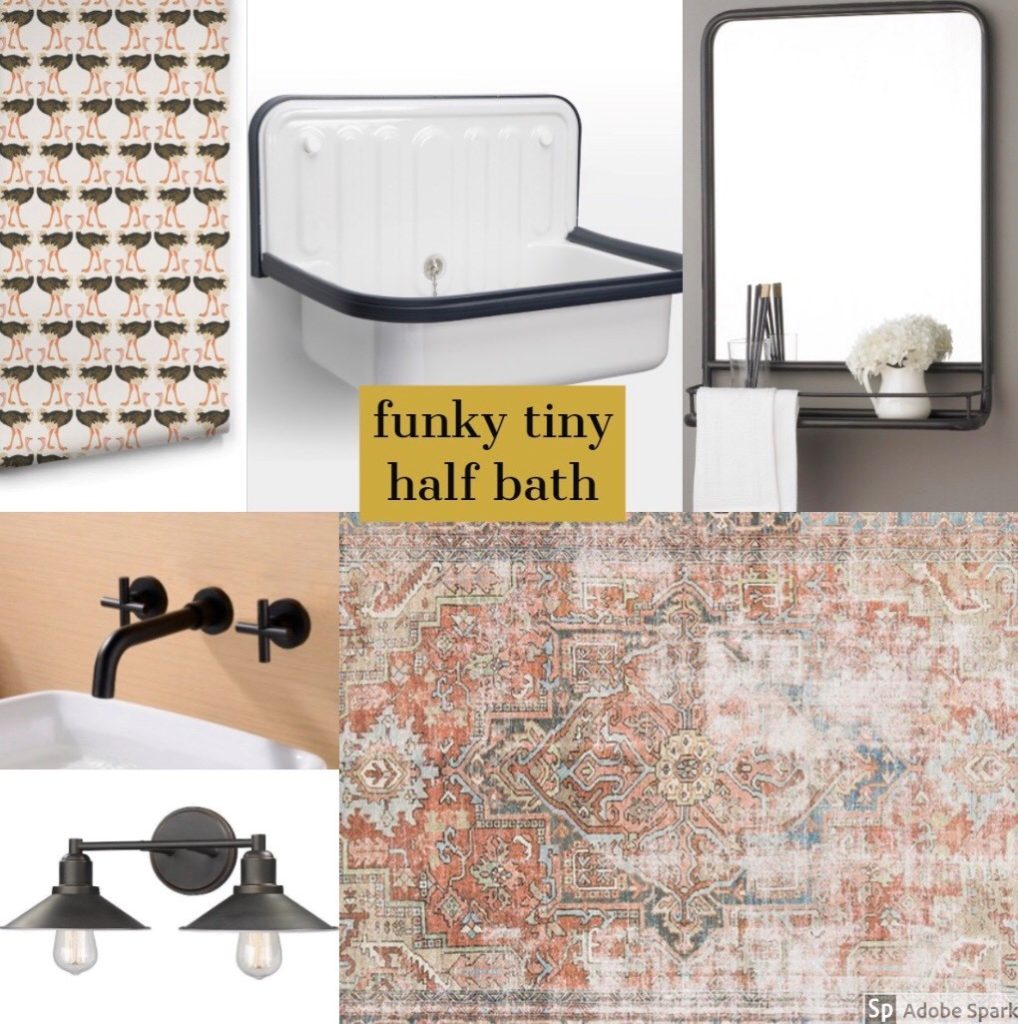
Well…it’s that time again! It’s time for the weekly update for the One Room Challenge. Can you believe it’s already week four of my bathroom remodel? As a quick recap, I am redoing my bathroom over six weeks and am sharing the progress here, in real time, as part of the One Room Challenge. Here’s a link back to Week One, Week two, and Week Three. And just in case you need another refresh, here is the mood board that I put together as a sort of blue print and for inspiration.
This week was a fun one! We spent the last few days wallpapering the bathroom and although I was a little nervous about diving in, it was actually pretty fun once we got into a groove! When the wallpaper arrived, I was so delighted/excited that I couldn’t wait to get started.
I’ll give you the general rundown on the actual process of wallpapering so you can get the jist. The process is pretty simple and if I can do it, you can do it, too! It’s all about paying attention to details and making sure your lines are straight. Once you have straight lines, the process starts cruising. Measure first, and pre-cut your strips of wallpaper so that you aren’t measuring and trying to cut the paper when the adhesive is on the wall. Because we found that it starts drying really fast. We used a chalk line to mark straight lines and used that as a guide to line the individual pieces of paper to. The adhesive goes into the wall with a roller, and the sheet just sticks right onto the wall. Start smoothing with your flat edge to get all the bubbles out and use a SHARP razor to make your cuts at the ceiling. Done and done! Like I said, this is a very short summary of the process.
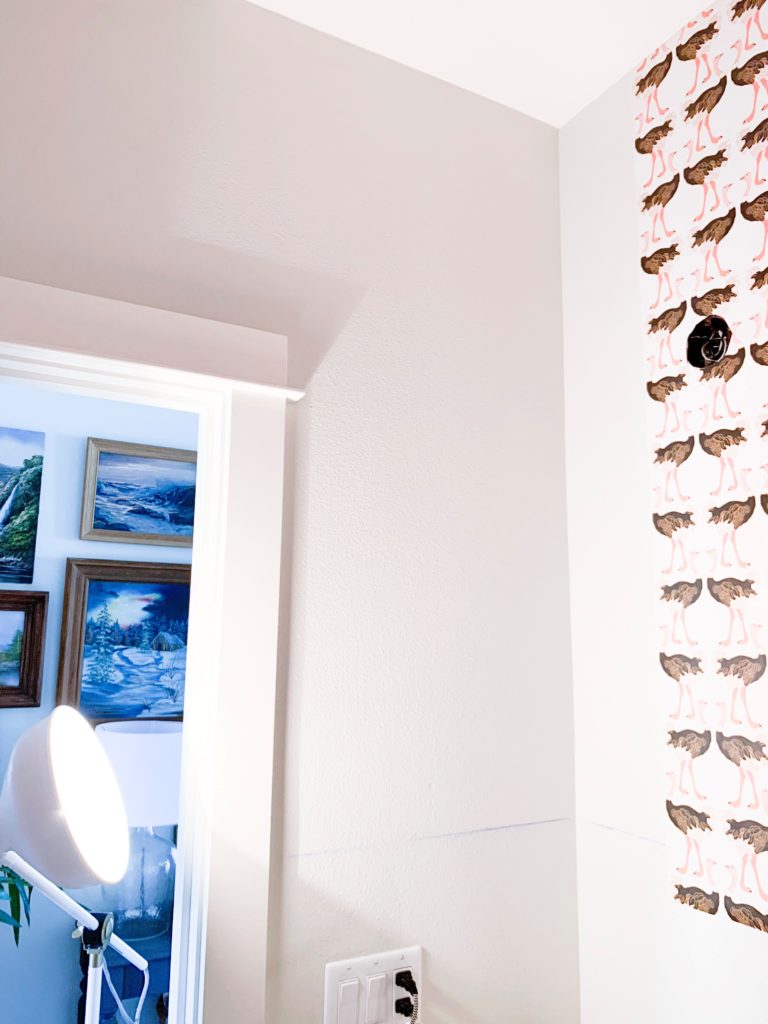
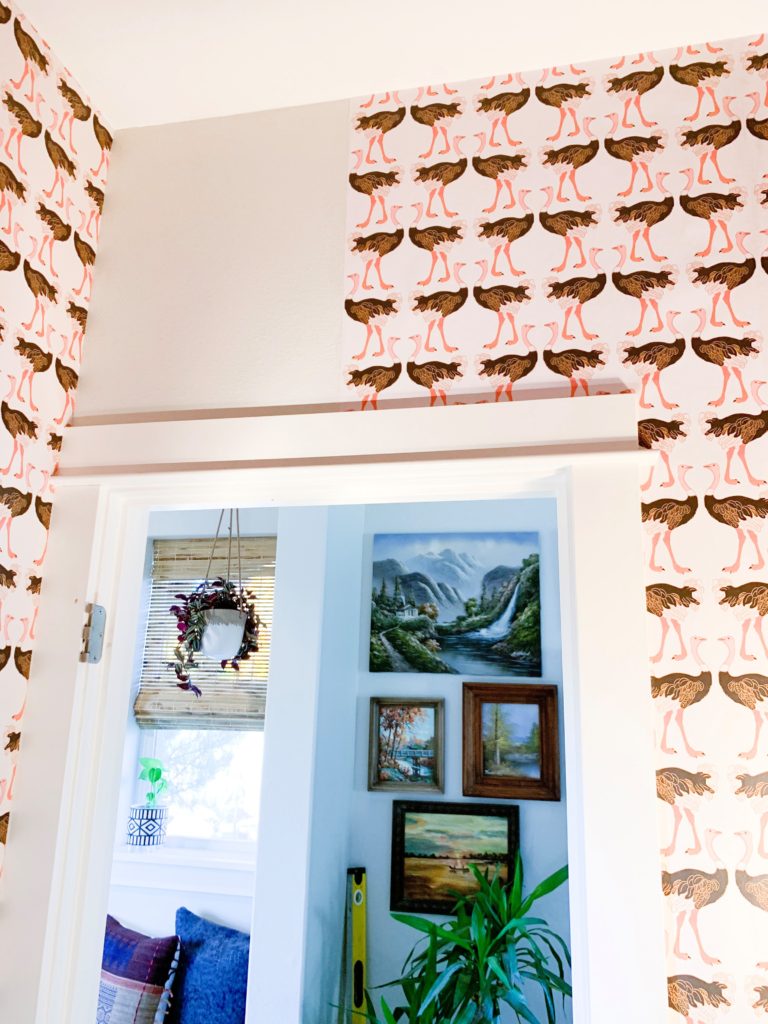
We decided we were going to st0p half way down the wall as we are installing wainscoting on the lower portion of the walls to really give this tiny space some pizzazz. The light fixture arrived yesterday and I’m smitten. It’s just perfect and looks so sharp next to all those black ostriches.
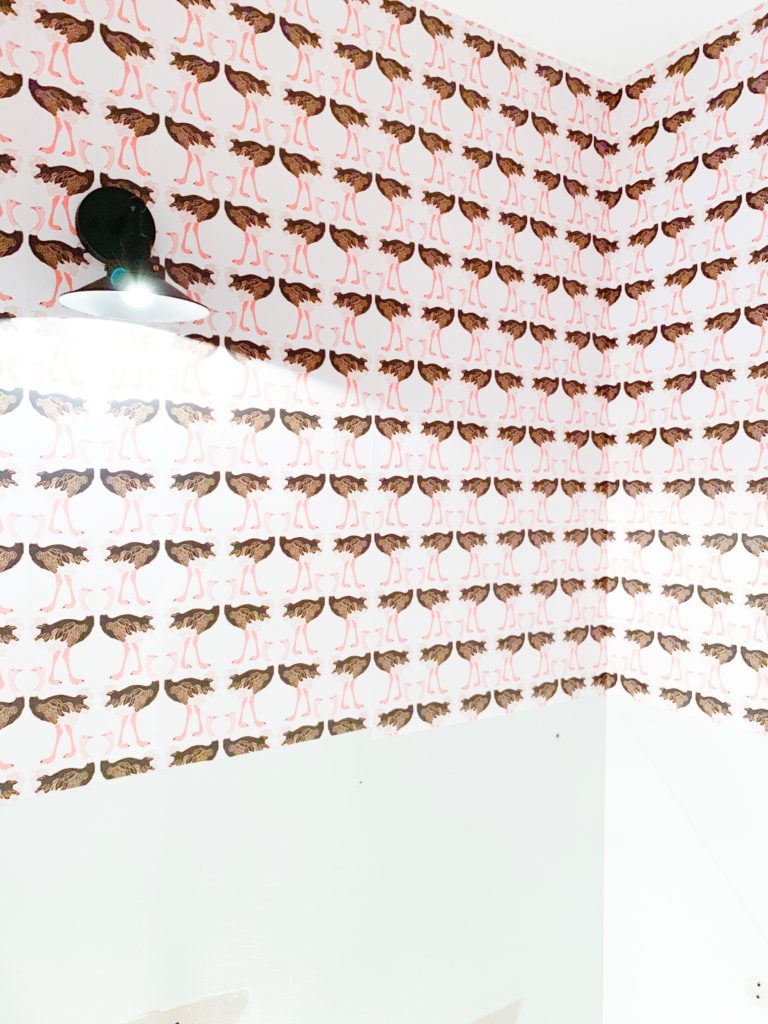
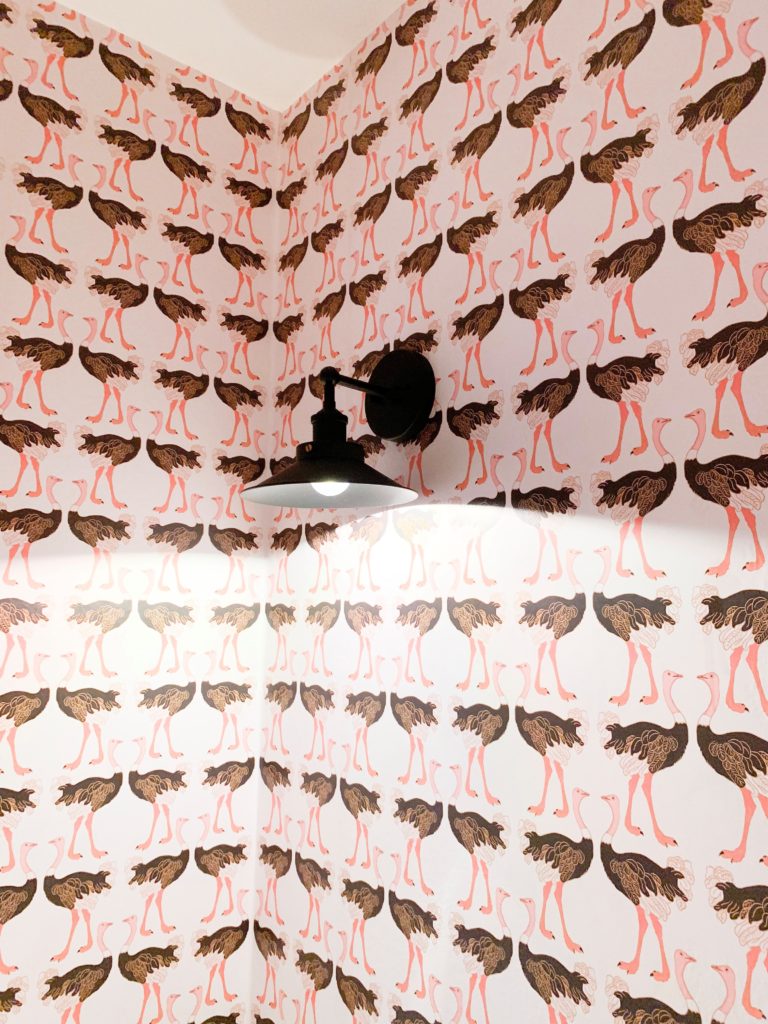
Now that the wallpaper is up, next on the to-do list is the plumbing. We are changing the plumbing so that it can accommodate a faucet that comes directly out of the wall. Once this is done, then we can start installing the wainscoting. My hubby started on one of the walls so I will give you a sneaky peaky. I will have to fill in all the knots and nail holes with wood filler and then all of the wood will be painted black. Or a color that’s very close to black.
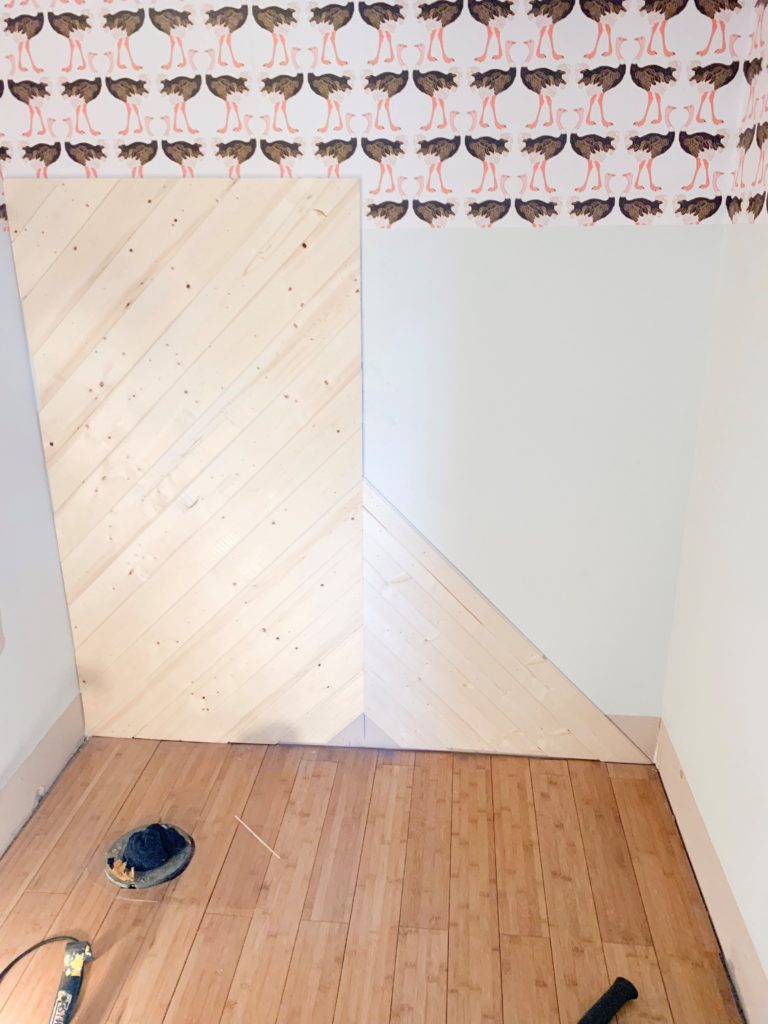
So that’s where we’re at! What do you think of the ostriches? Do you love them as much as I do? Anybody have any wallpapering horror stories they want to share? I sure read about some doozies online when I was doing research before we started. Only two weeks to go so I’ll be back next week with lots (hopefully) to report on!


6 comments
Love the wallpaper, Courtney! And I love that you’re doing the faucet right out of the wall! Excited to see the final design 🙂
Thank you SOOOOOOOO much Meredith! I appreciate the compliment and you coming over to check it out! XOXO
Your web site has superb material. I bookmarked the website
Thank you so much, Dana! I really appreciate it!